by bcwood16
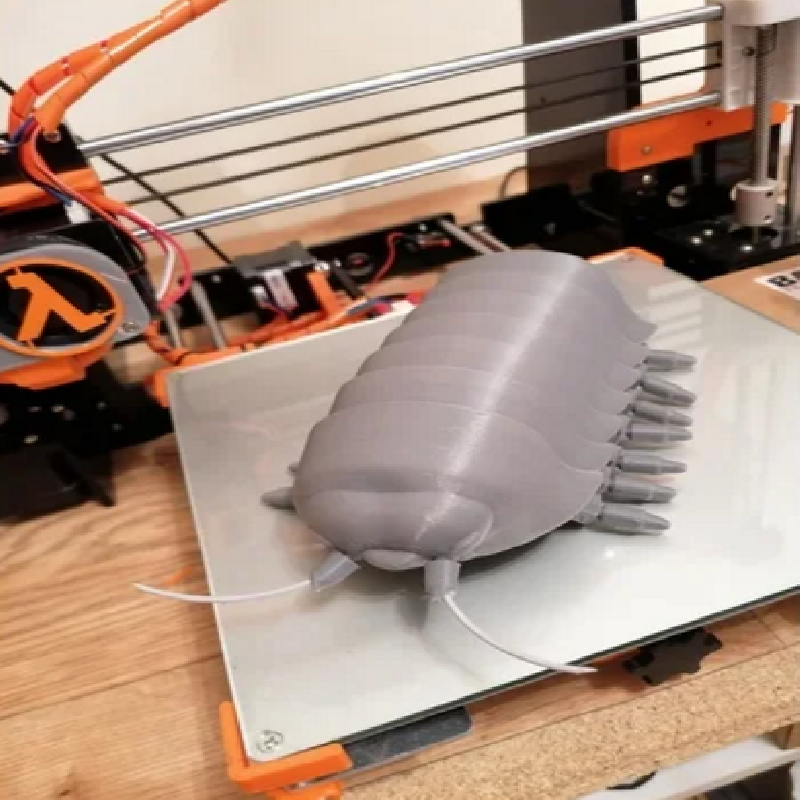
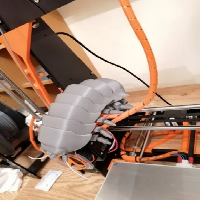
Designed an articulated Woodlouse by request. The bug is to be used to teach children about bugs and woodlice.....and other buggy related things! It was designed as an educating tool.
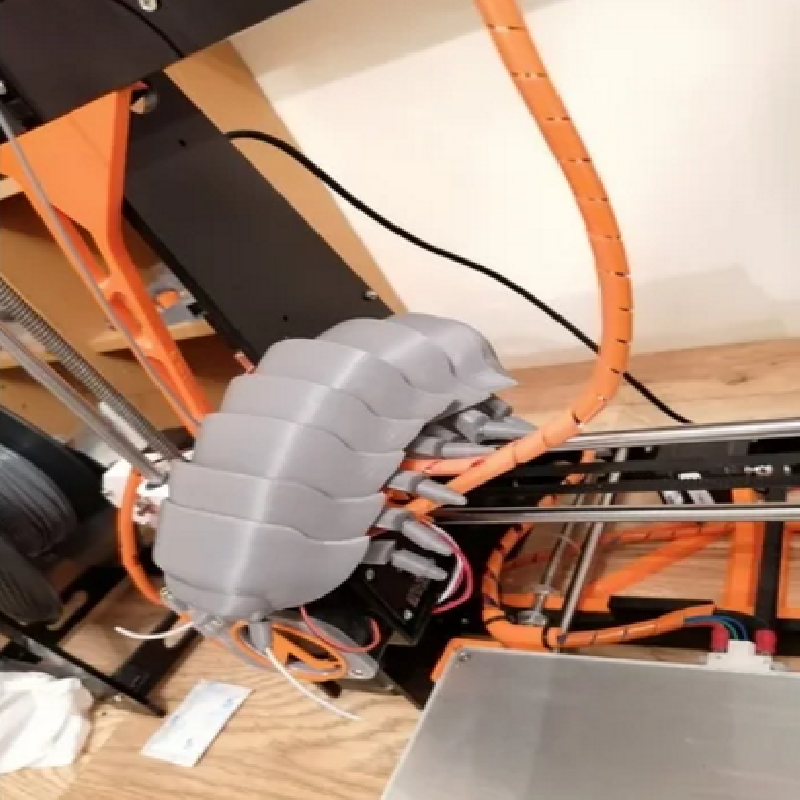
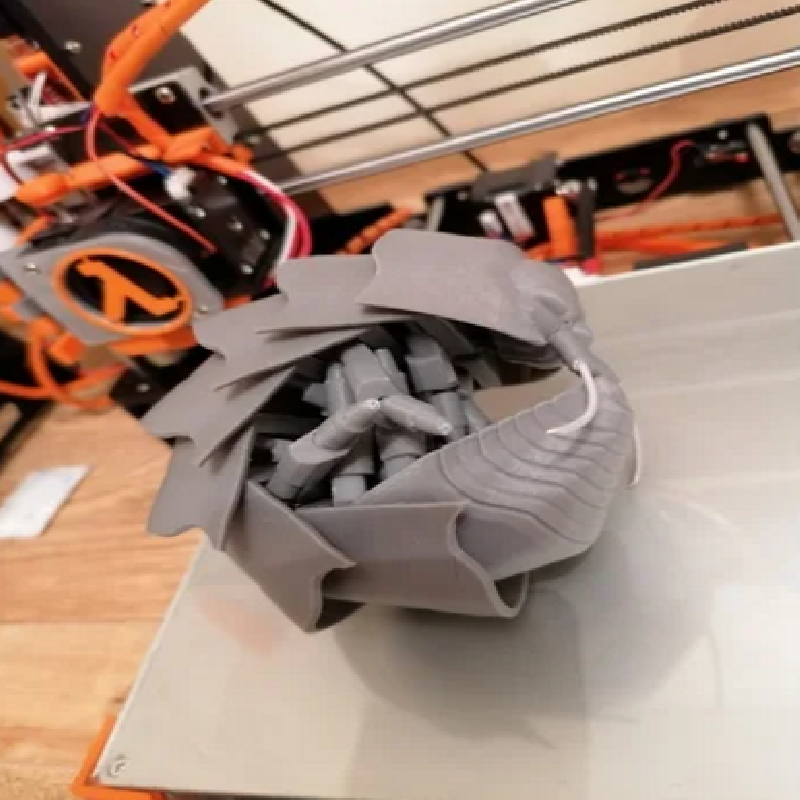
The Woodlouse has been designed to print in modules and simply connect together. It should be a fairly simple print, but, please DO read everything below before making it.
The connections are a ball socket, at first it may seem too big to push into the other shells socket. With a hard push the ball should 'POP' into the socket and move around freely with hardly no friction. As kids handle things roughly the connection needs to be strong as not to pop out, but rotate loose enough that no pressure is forced on the plastic. Please push the ball into the socket straight and dont wiggle it about while pushing as this will likely damage it. If the ball/socket feels too tight once in it can be popped back out, but again pull out in a positive straight fashion, dont pull it side ways.
TIP - Print one middle shell (6 required), then print the head connection, this is just a post with the ball socket on ready for the head to slide on. As this is a quick print you can gauge how well the ball fits and rotates, then you can plan ahead for the next shell if the ball needs a little sanding or is ok as it is etc
(Please note this has only been tested to work with PLA, other materials may need sanding on the ball socket)
This print may be a little unusual in the fact you may need two different types of infill density on the same part.The shells can be printed with 15% infill or less, but the socket and post supporting it should be 100% infill. This is to ensure the ball socket is not crushed when popping into socket and to add strength......you dont want woodlouse to split into two! In Cura you can add the supplied Cube and set it as an overlap model with the new infill set to 100%. (See picture). You may need to turn off 'Automatic snapping to bed'. You could simply print the whole shell as 100% infill but this may take a while!
All STL's are uploaded in the orientation they should be printed.
CONSTRUCTION
The number of items needed is indicted as a number at the end of the file name.
DONT resize the model
Recommend these steps
1) Print one shell
2) Print head connection (check fitting of ball socket, good 'POP' in and not easy to come out, but wiggle about with no stiffness)
3) Print other five shells (DONT connect them up yet.....tempting as it may be)
4) Print the seven left and seven right legs (100% infill), raft may help
5) Print the leg ends, 14 needed. 100% Infill....again raft may help as tall little things
6) Snap the leg end ball socket into each leg. Good solid straight push.....dont wiggle it in!
7) Mount left and right legs onto each shell. Simply hoop them 'over' the leg post, dont pull apart the hoop too much or it may snap.
8) NOW you can POP the shells into each other, the legs will be hard to fit if done after....hence the wait!
9) Print the tail and connect remaining legs. Connect tail to main body POP
10) Print the head, this will require supports.
11) Clean the supports from the head and make sure the hole is cleared for the connecting post to slot into. There is a nice slot/groove to pop a pokey device into if needed.
12) Print antennae base x2, these will require supports too
13) Use some filament to slot into the holes on the antennae base for the 'antennae'
14) Now connect the antennae base onto the front of the head.
15) Slide the completed head onto the head support post on front of main body. If loose you could use glue, but it should be deep enough with plenty of friction to hold in place.
16) Enjoy. All the legs should rotate in and out and the shell should 'ball' up fairly easily, its a little crowded with all the legs so a little wiggle as you close up can help. DONT force things though. Keep in mind this was originally designed as an education tool.
I wasn't going to release this as thought nobody would be interested....but it seems there are plenty of Woodlice fans out there!
Hope you enjoy it! Happy printing!
If you make any, post a pic!
Print Settings
Printer brand:
Anet
Printer:
A8
Resolution:
0.2
Infill:
15 - 100
Filament_brand:
PLA
Filament_color:
Grey
Filament_material:
PLA
Notes:
Not tested using any other material apart from PLA. Other materials may expand too much making ball socket too tight. Some sanding may be required?