by IME3D_KID
Allowing kids to learn about 3D printing by taking a project from design to printing.
Standards
Overview and Background
Before we get started, find some pictures of a cow and observe it’s structure.


Lesson Plan and Activity
Can be used in several courses Math/Art/Science/Practice
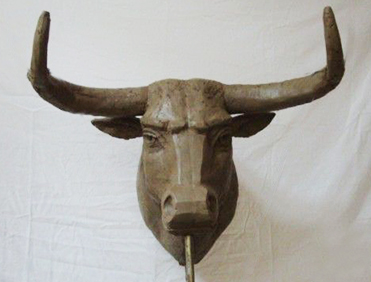
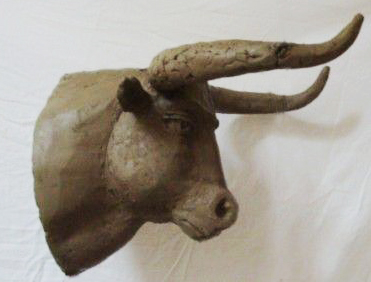
Open IME3D KID X Art3D to design this project. The instroction is in the Video Step 1 Choose“Drag Elastic”brush to make the chin area here, remember to adjust the brush size so it’ll fit your needs.And the prolonged area should be the neck. . Step 2 Squash from back and front sides, try to make this kind of a triangular shape in the front and the back to the neck area, smooth the head and continue drag out the horns. . Step 3 Use “Drag Elastic”or “Wrinkle” push the forehead back a little bit also the eyes and checks area. . Step 4 Then we drag out it’s neck, the neck is pretty important, because otherwise we are just making a helmet,looks better now. . Step 5 The chin area is a little bit too big so with the “Drag Elastic” brush we can make it smaller but not too small as it is now, push the nose back a little bit, and then switch to “Wrinkle”brush like we did with the eyes area.Drag out the brow ridge because as we can see in the OX-head picture we found, these areas are a little in front of the forehead. . Step 6 Now try to make this kind of arch. . Last step: ears and the eyes, and add a little bit details. . You can follow the video to make an ox-head or sculpt/knead it as anything you want! Now let’s get started!
Materials Needed
What will you need
IME3D KID Art3D software, A 3D printer, pictures of a OX-Head