For all those who've downloaded my Mangalore Grenade with no likelyhood of ever actually making it, now you can not make it more completely with the little vernier knob that goes on the end.
I've read that this now-obsolete knob was also used on Zorg's ZF-1 somewhere, so there's another bunch of Fifth Element fans who can also not use it.
You will doubtless notice I haven't put the numbers on the dial. I think that level of detail is beyond most printers, so I haven't bothered. Eventually I'll work out some artwork for 2D printing it on paper. Or you could try finding some tiny rub-down lettering if they still have it in your part of the world. (Anyone old enough to remember Letraset? That was great stuff.)
Printer Brand: MakerBot
Printer: MakerBot Replicator 2
Rafts: Yes
Supports: Yes
Resolution: fine: 0.1mm
Infill: 20%
Notes:
Examples illustrated were printed in PLA

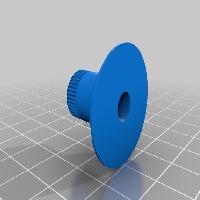
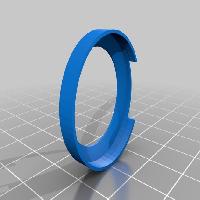
The knob lever is glued to the knob bottom as shown, and the knob dial is snapped up into the knob base so that it is free to turn. Then dial and base are pressed down over the bottom piece, capturing the dial.
Eagle-eyed makers will notice there are two versions of the files for the 'knob base' and 'knob bottom'. The first four files are all you need to make the knob, but I found quite a bit of careful filing/sanding was needed to get them to fit together properly. The dimensions are accurate, but my old Makerbot doesn't make allowance for filament thickness. The alternate files 'knob base 2' and 'knob bottom reduced' are tweaked slightly - a little larger and smaller respectively - to fit together more easily.
Assembly to grenade;
More photos to follow (soonish).
To attach the knob to the top of your grenade you will need a short 6mm or 1/4 inch screw/bolt and a 2mm grub-screw. Just like on the original RS components knob, the grub-screw screws into the little hole in the side of the 'knob dial'. Then you poke the bolt up inside the grenade and out through the hole in the top, where you see the alignment features for the knob bottom that now suddenly make sense. Slide the knob assembly onto the bolt until it seats properly on top of the grenade and tighten the grubscrew.