by HellDan
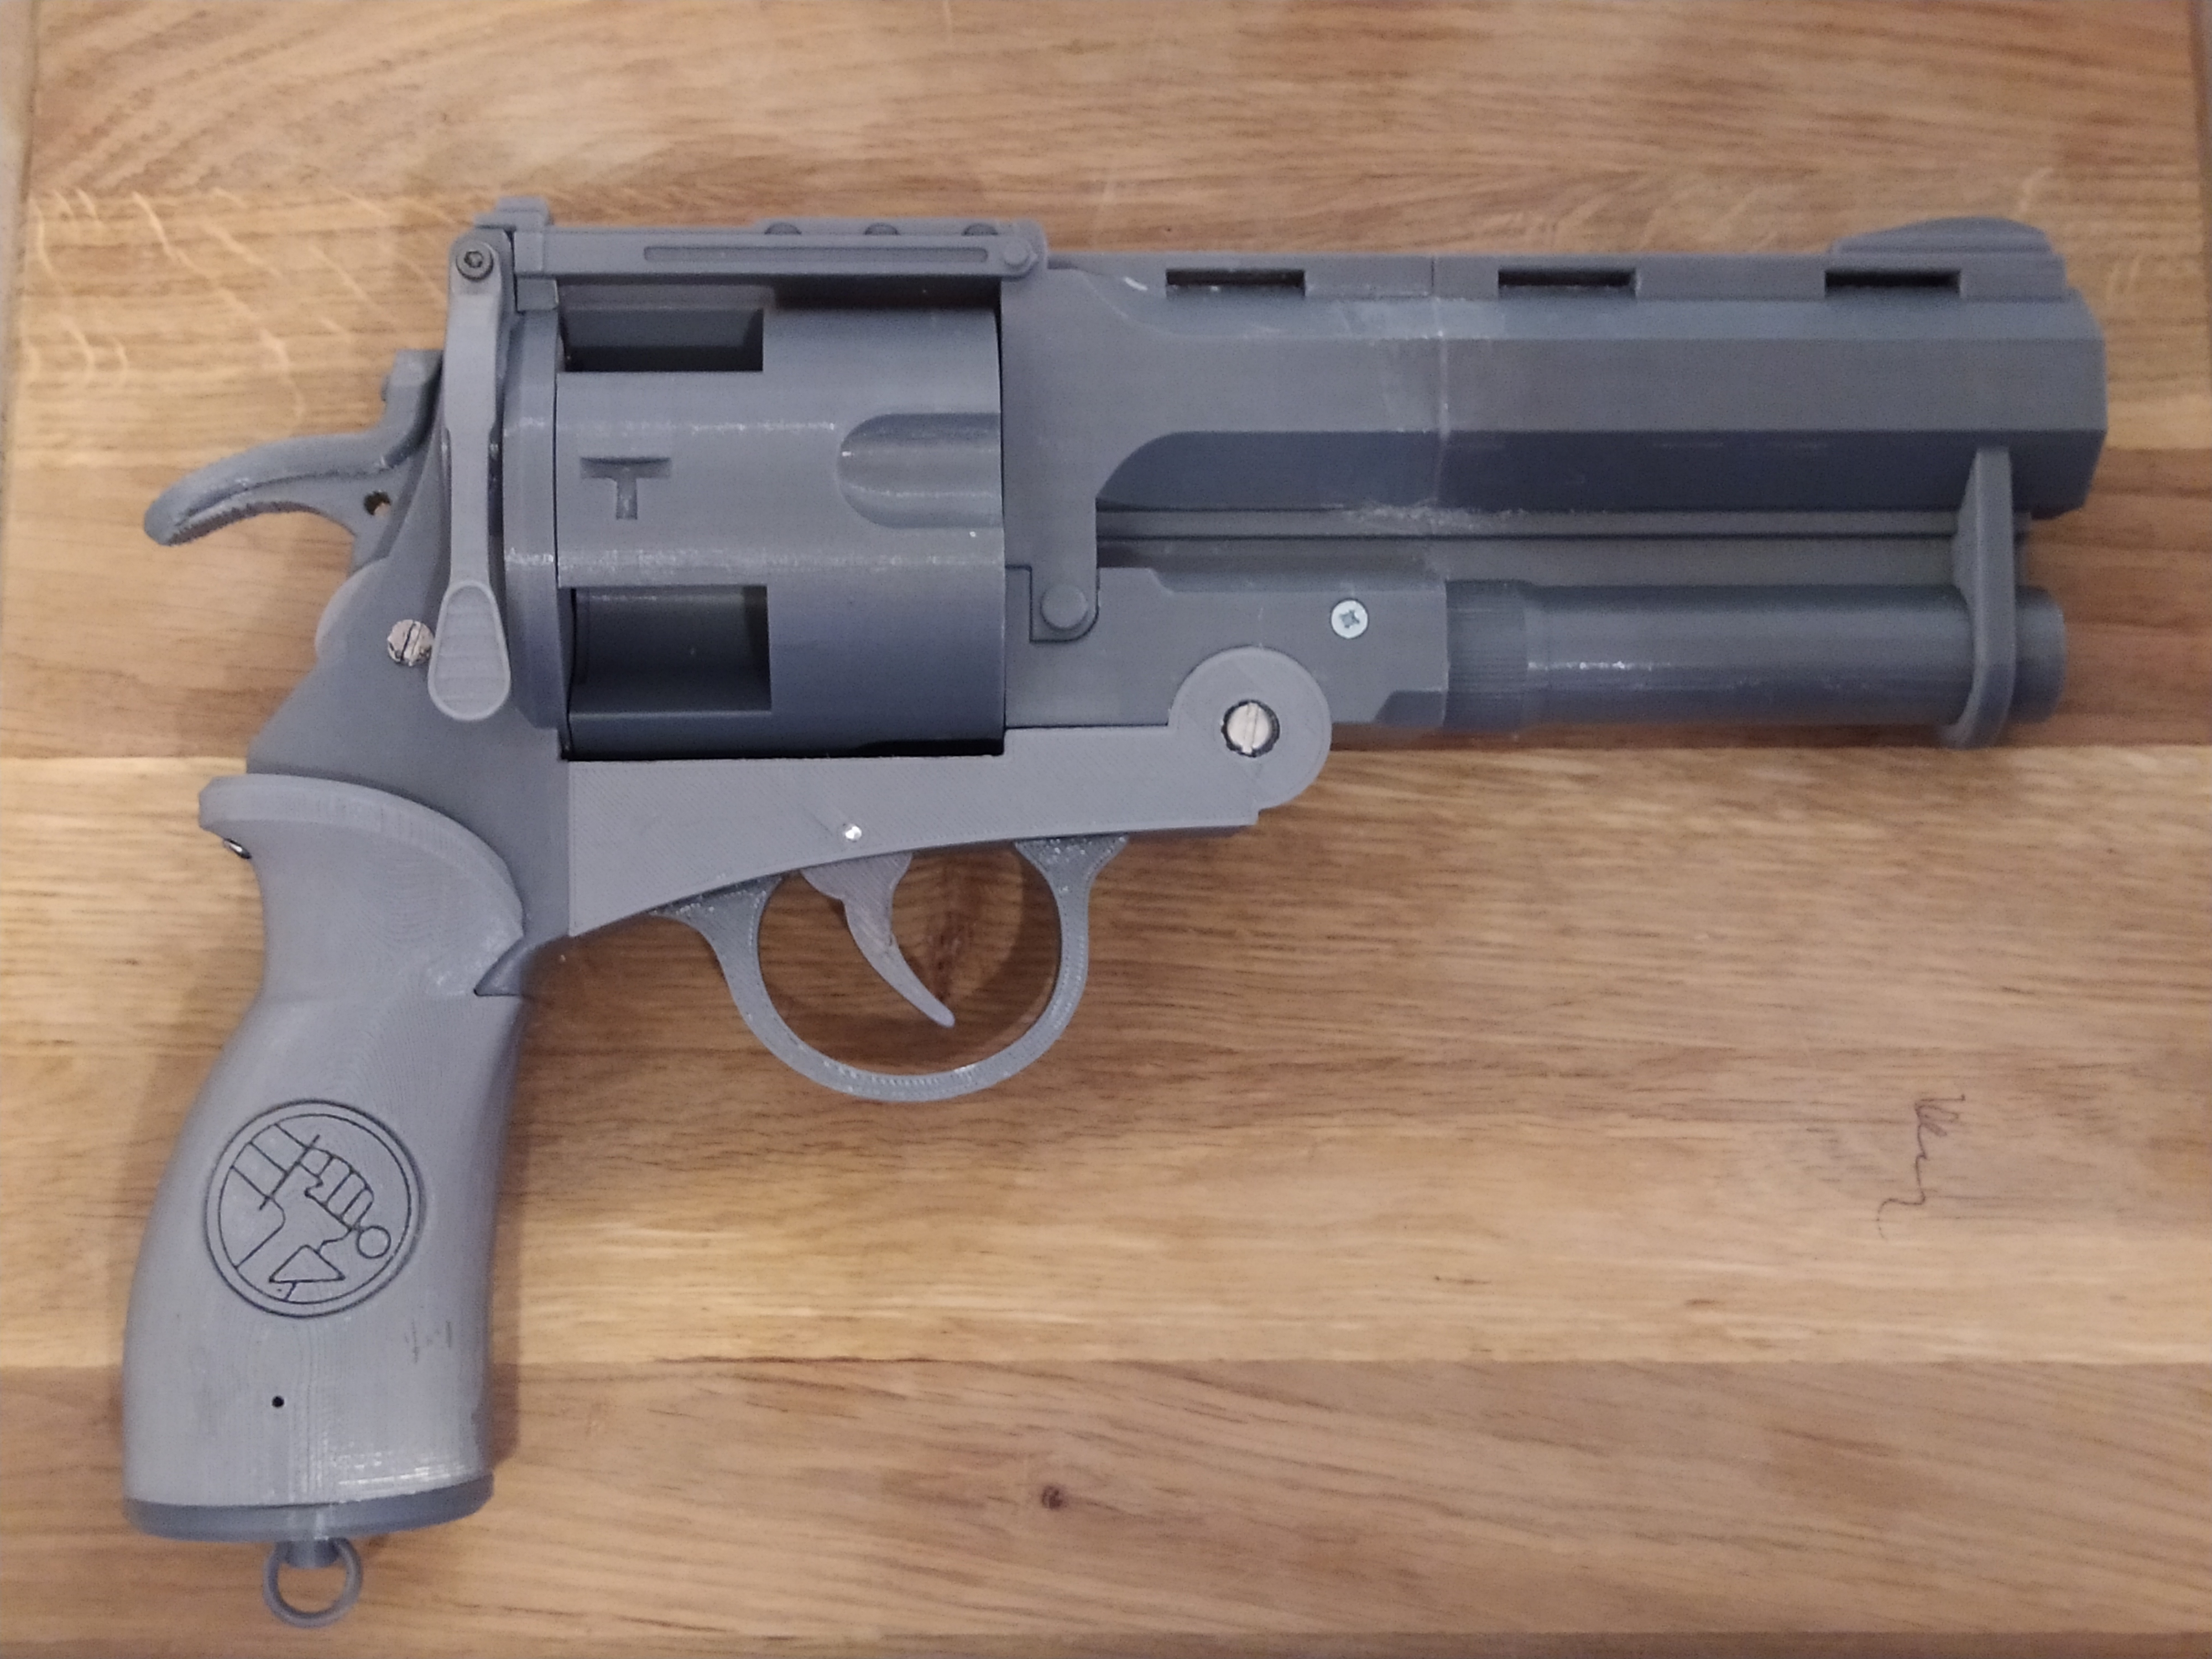
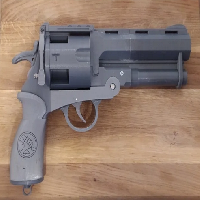
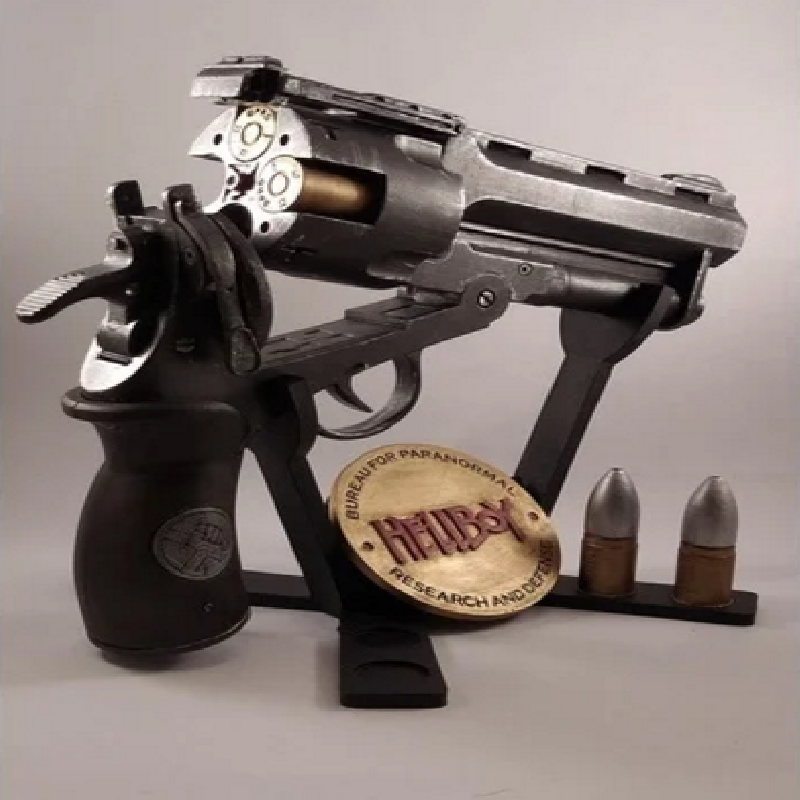
The goal with my Hellboy gun(The good samaritan) has always been that i want to add sound to it. But i haven't had the time to figure all the electronic parts out yet. So for now the gun is a soundless display piece.
Hope you enjoy it!
Print Settings
Printer brand:
Prusa
Printer:
i3 MK3
Rafts:
Yes
Supports:
Yes
Resolution:
0.2 mm
Infill:
20% and 100 %
Filament_brand:
-
Filament_color:
Grey
Filament_material:
PLA
Post-Printing
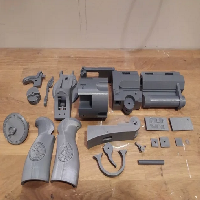
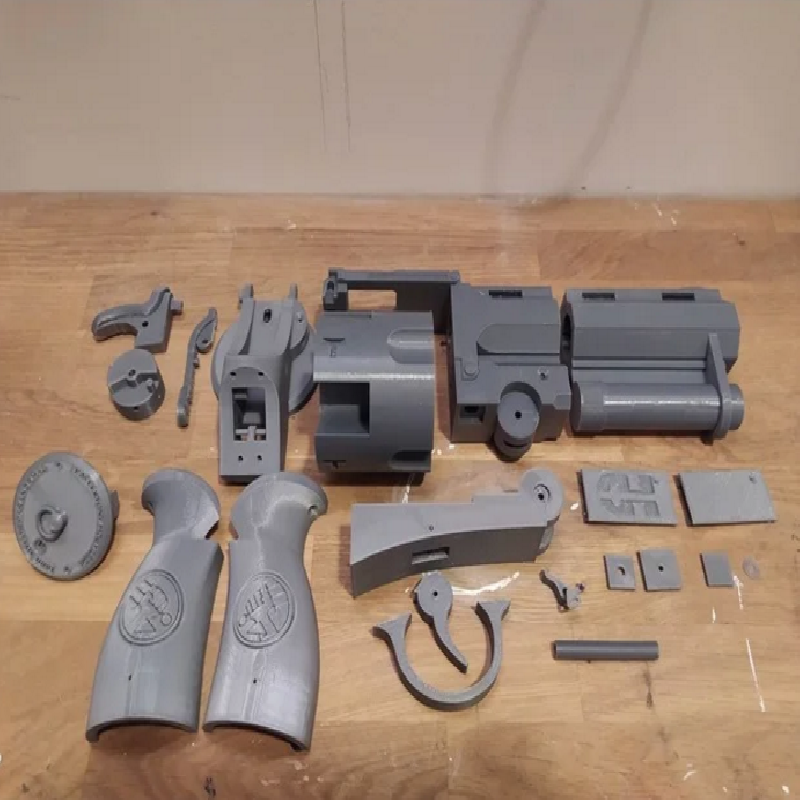
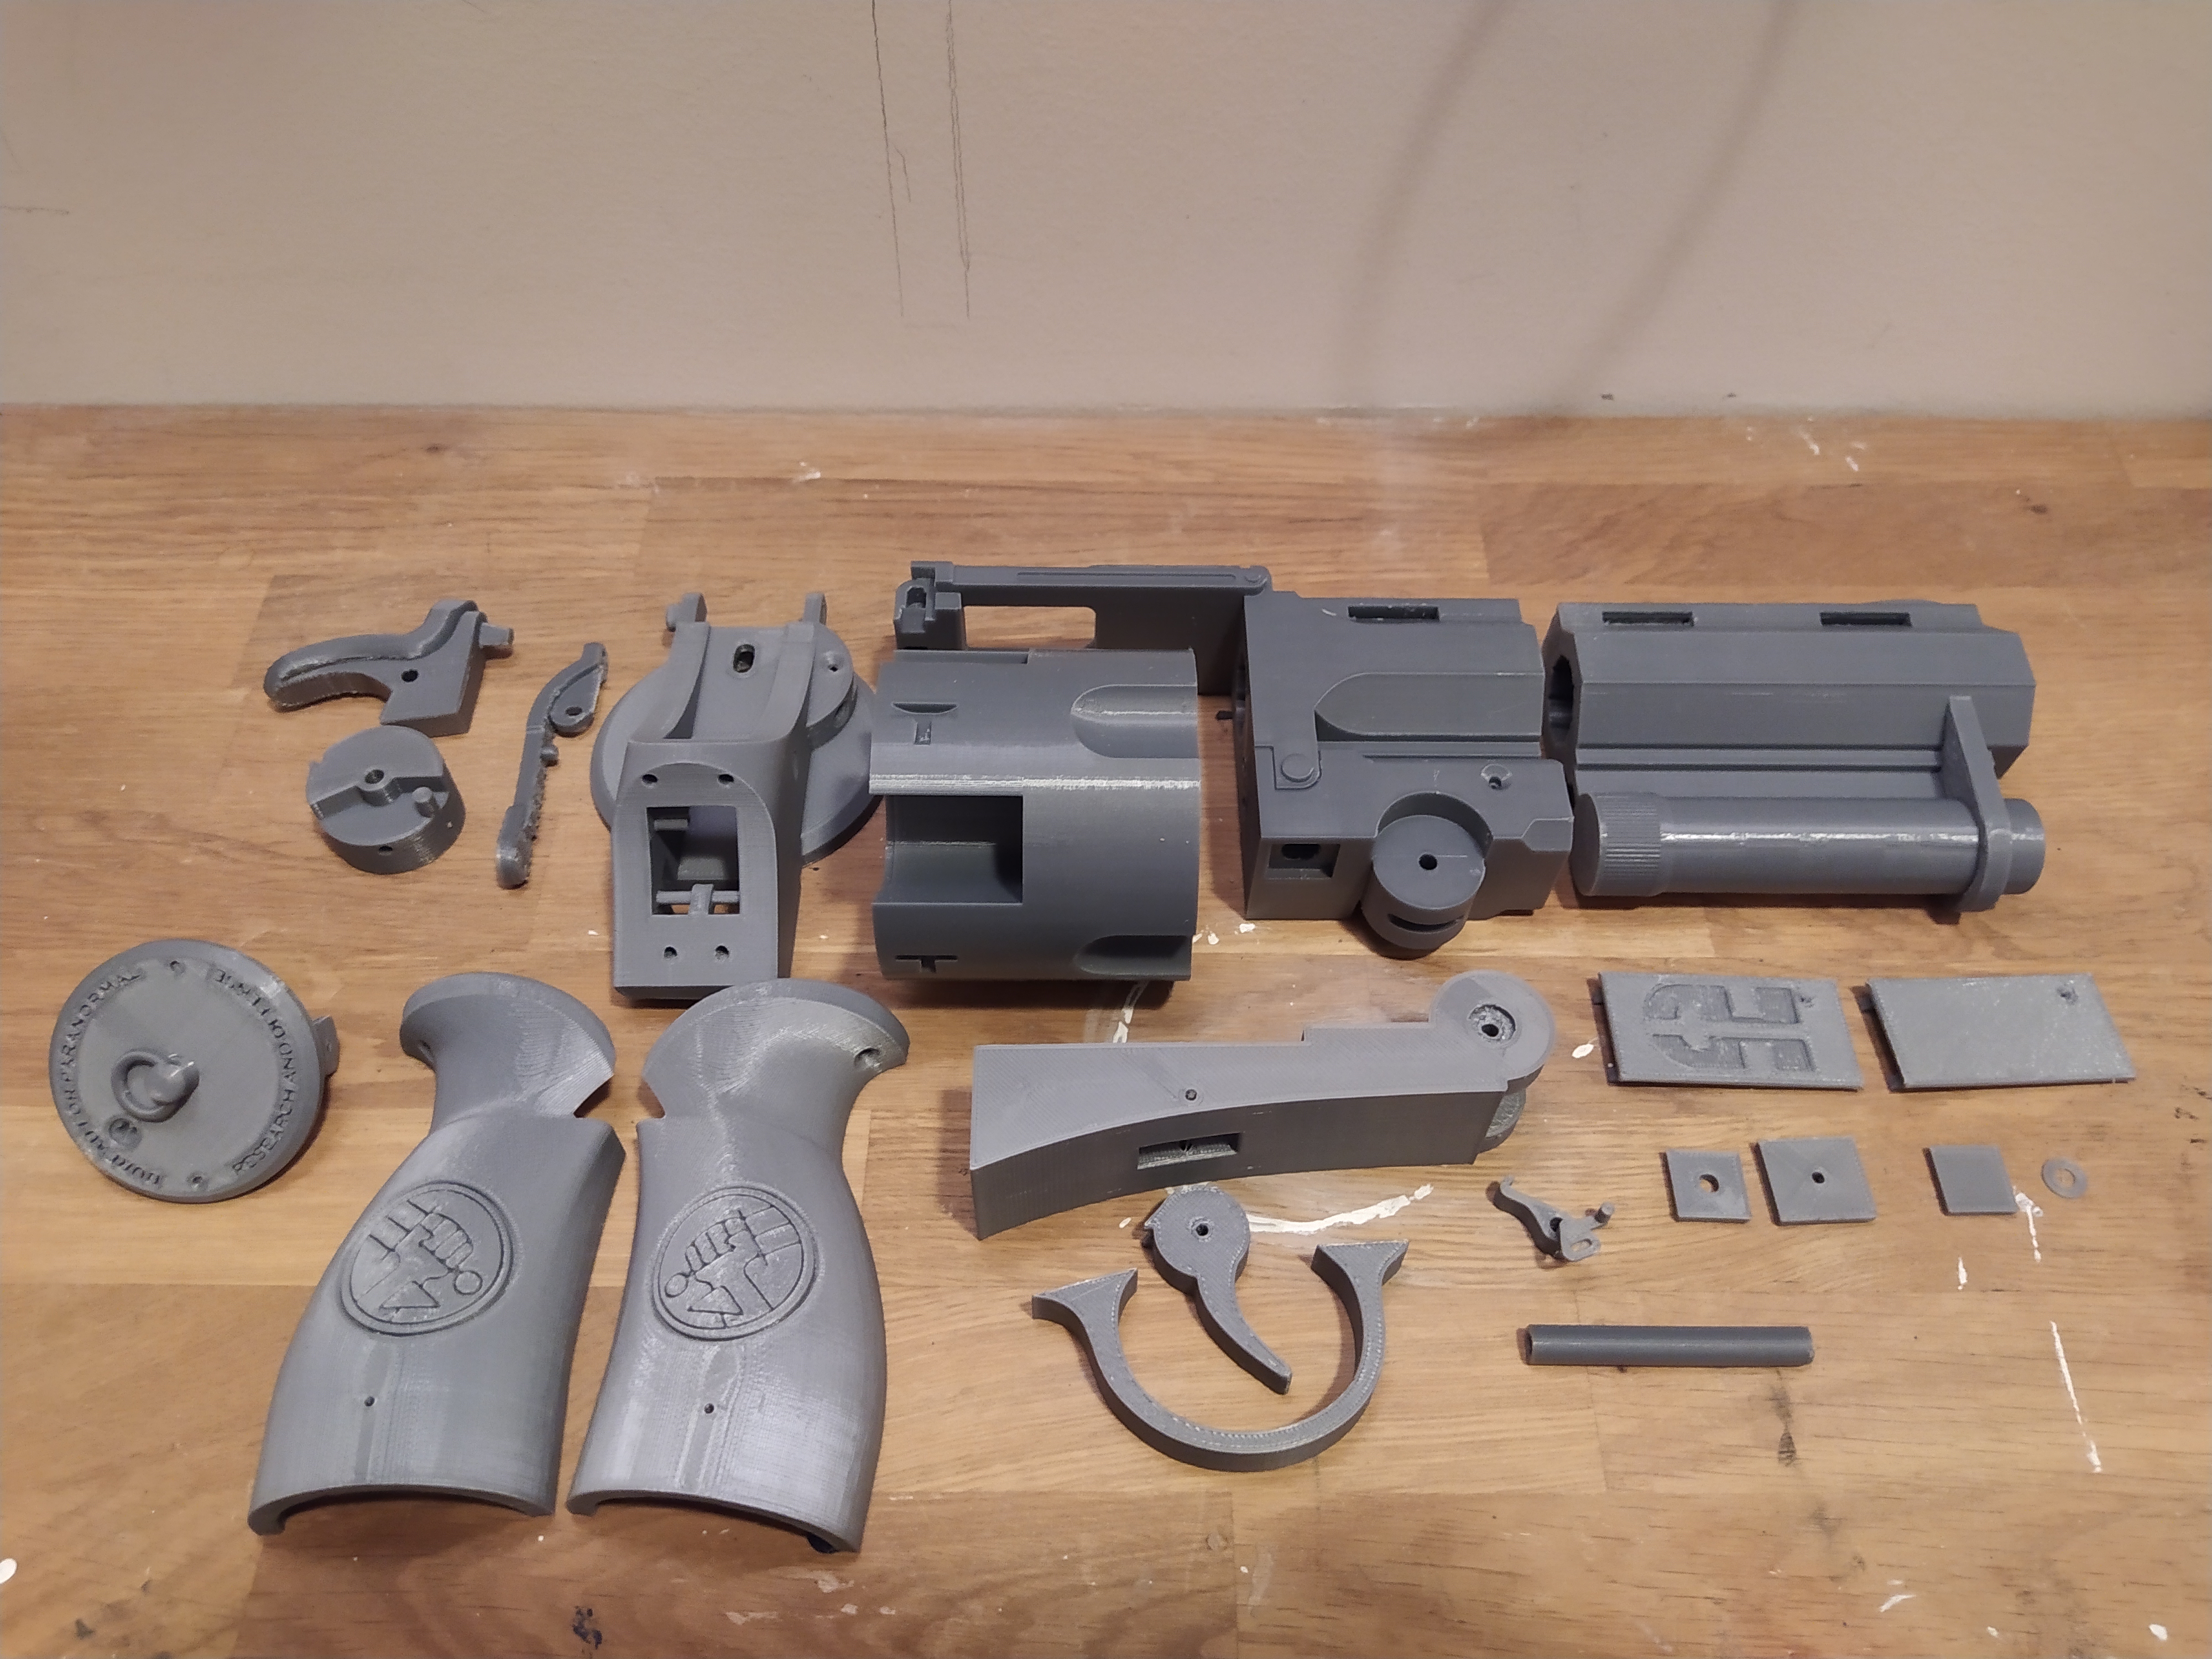
Instructions how to put the gun together
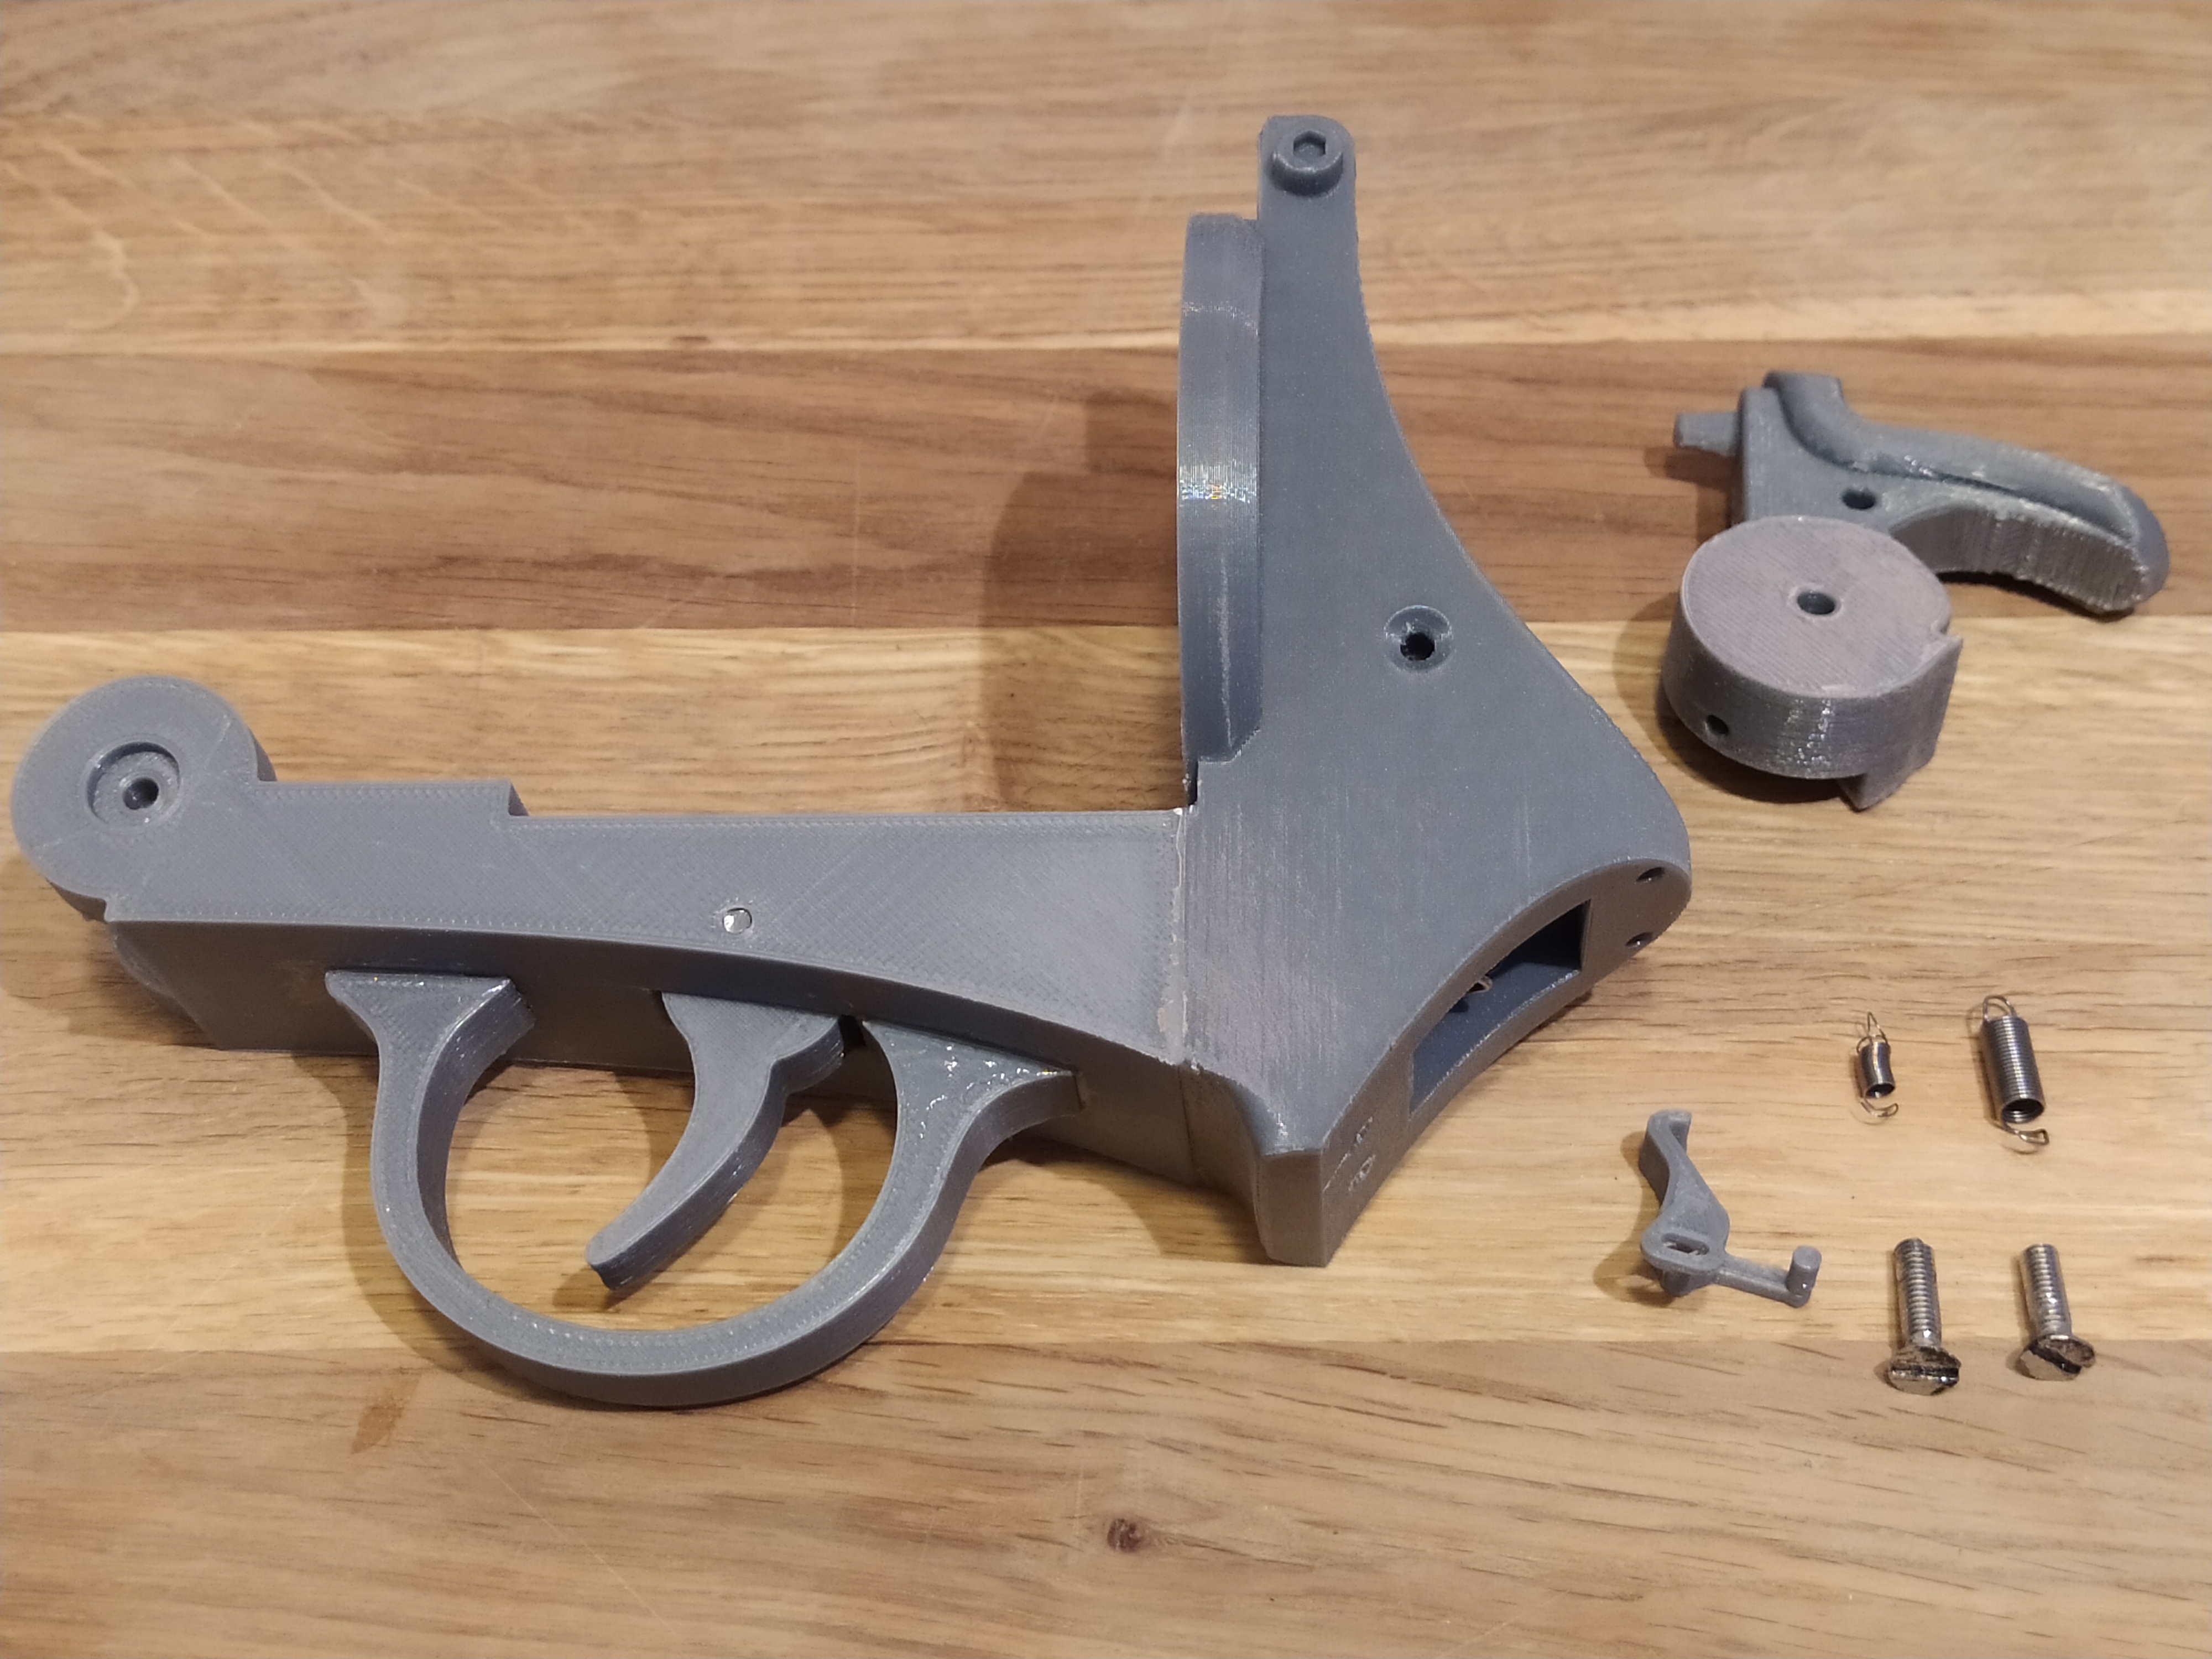
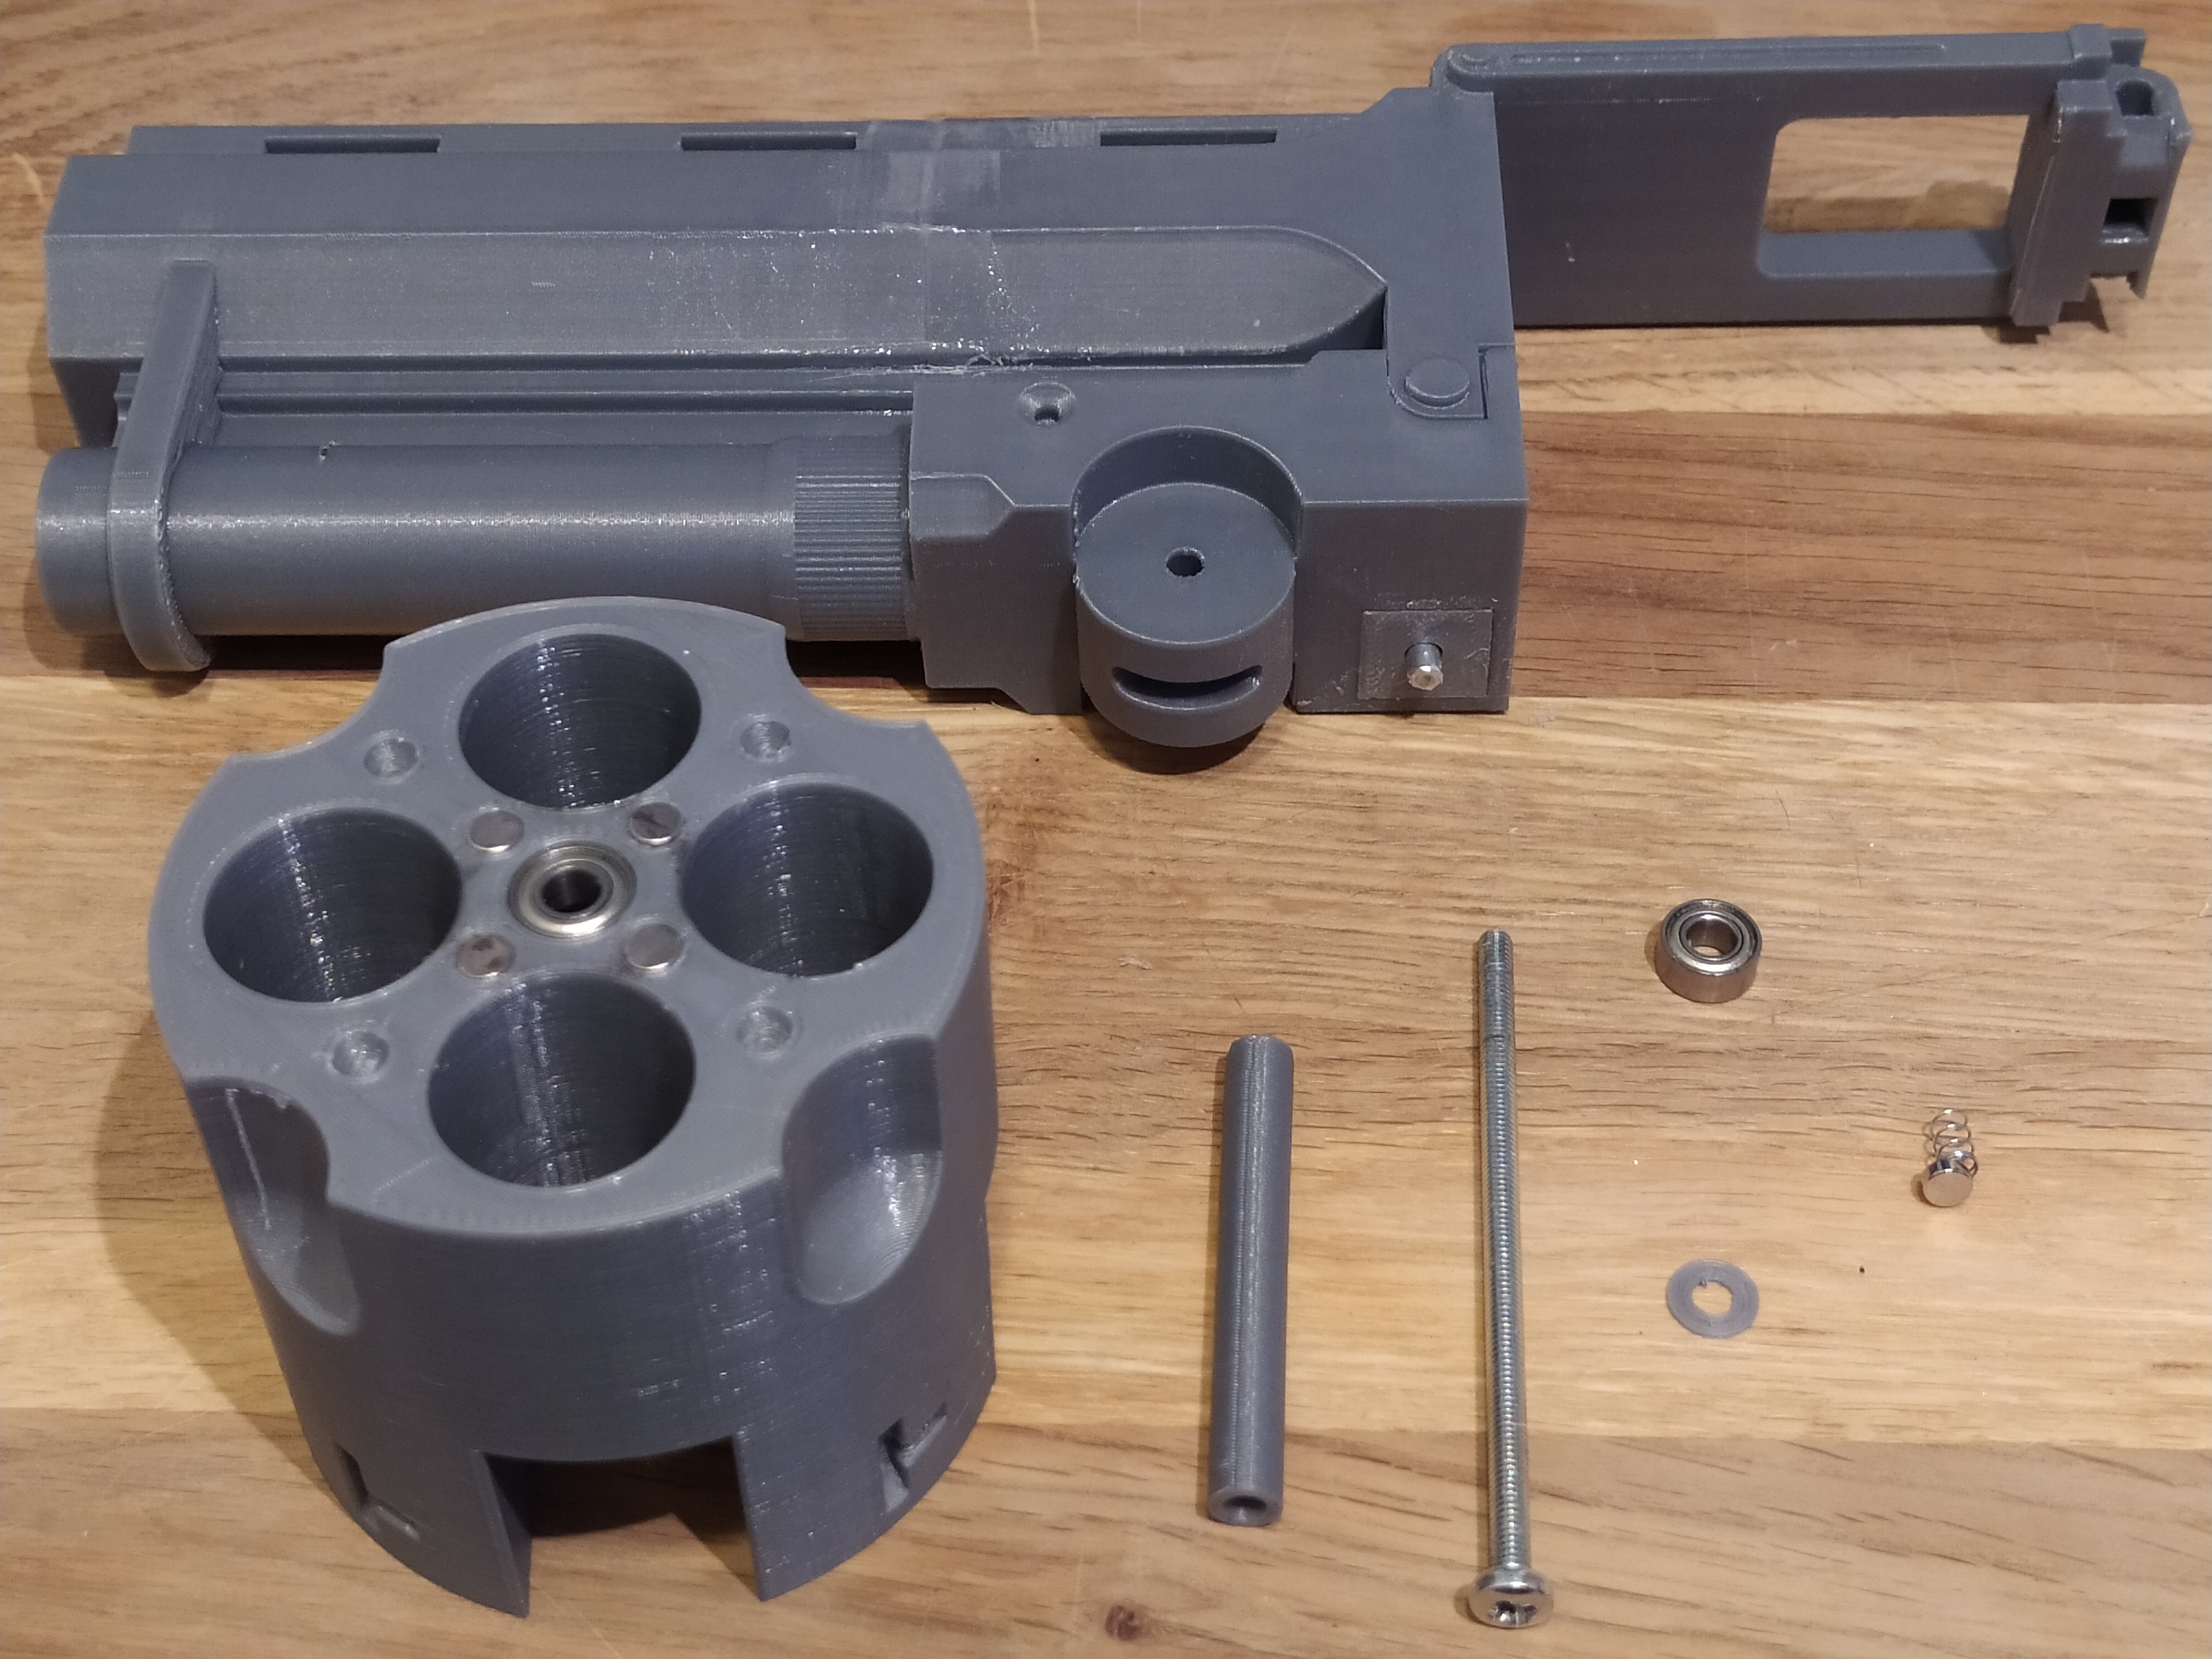
This is all the parts you need to put the gun together. Besides the printed parts you allso need a couple of springs, screws, rivets, piano wire (1mm and 2.5 mm) and glue (ca or epoxy).
Step 1
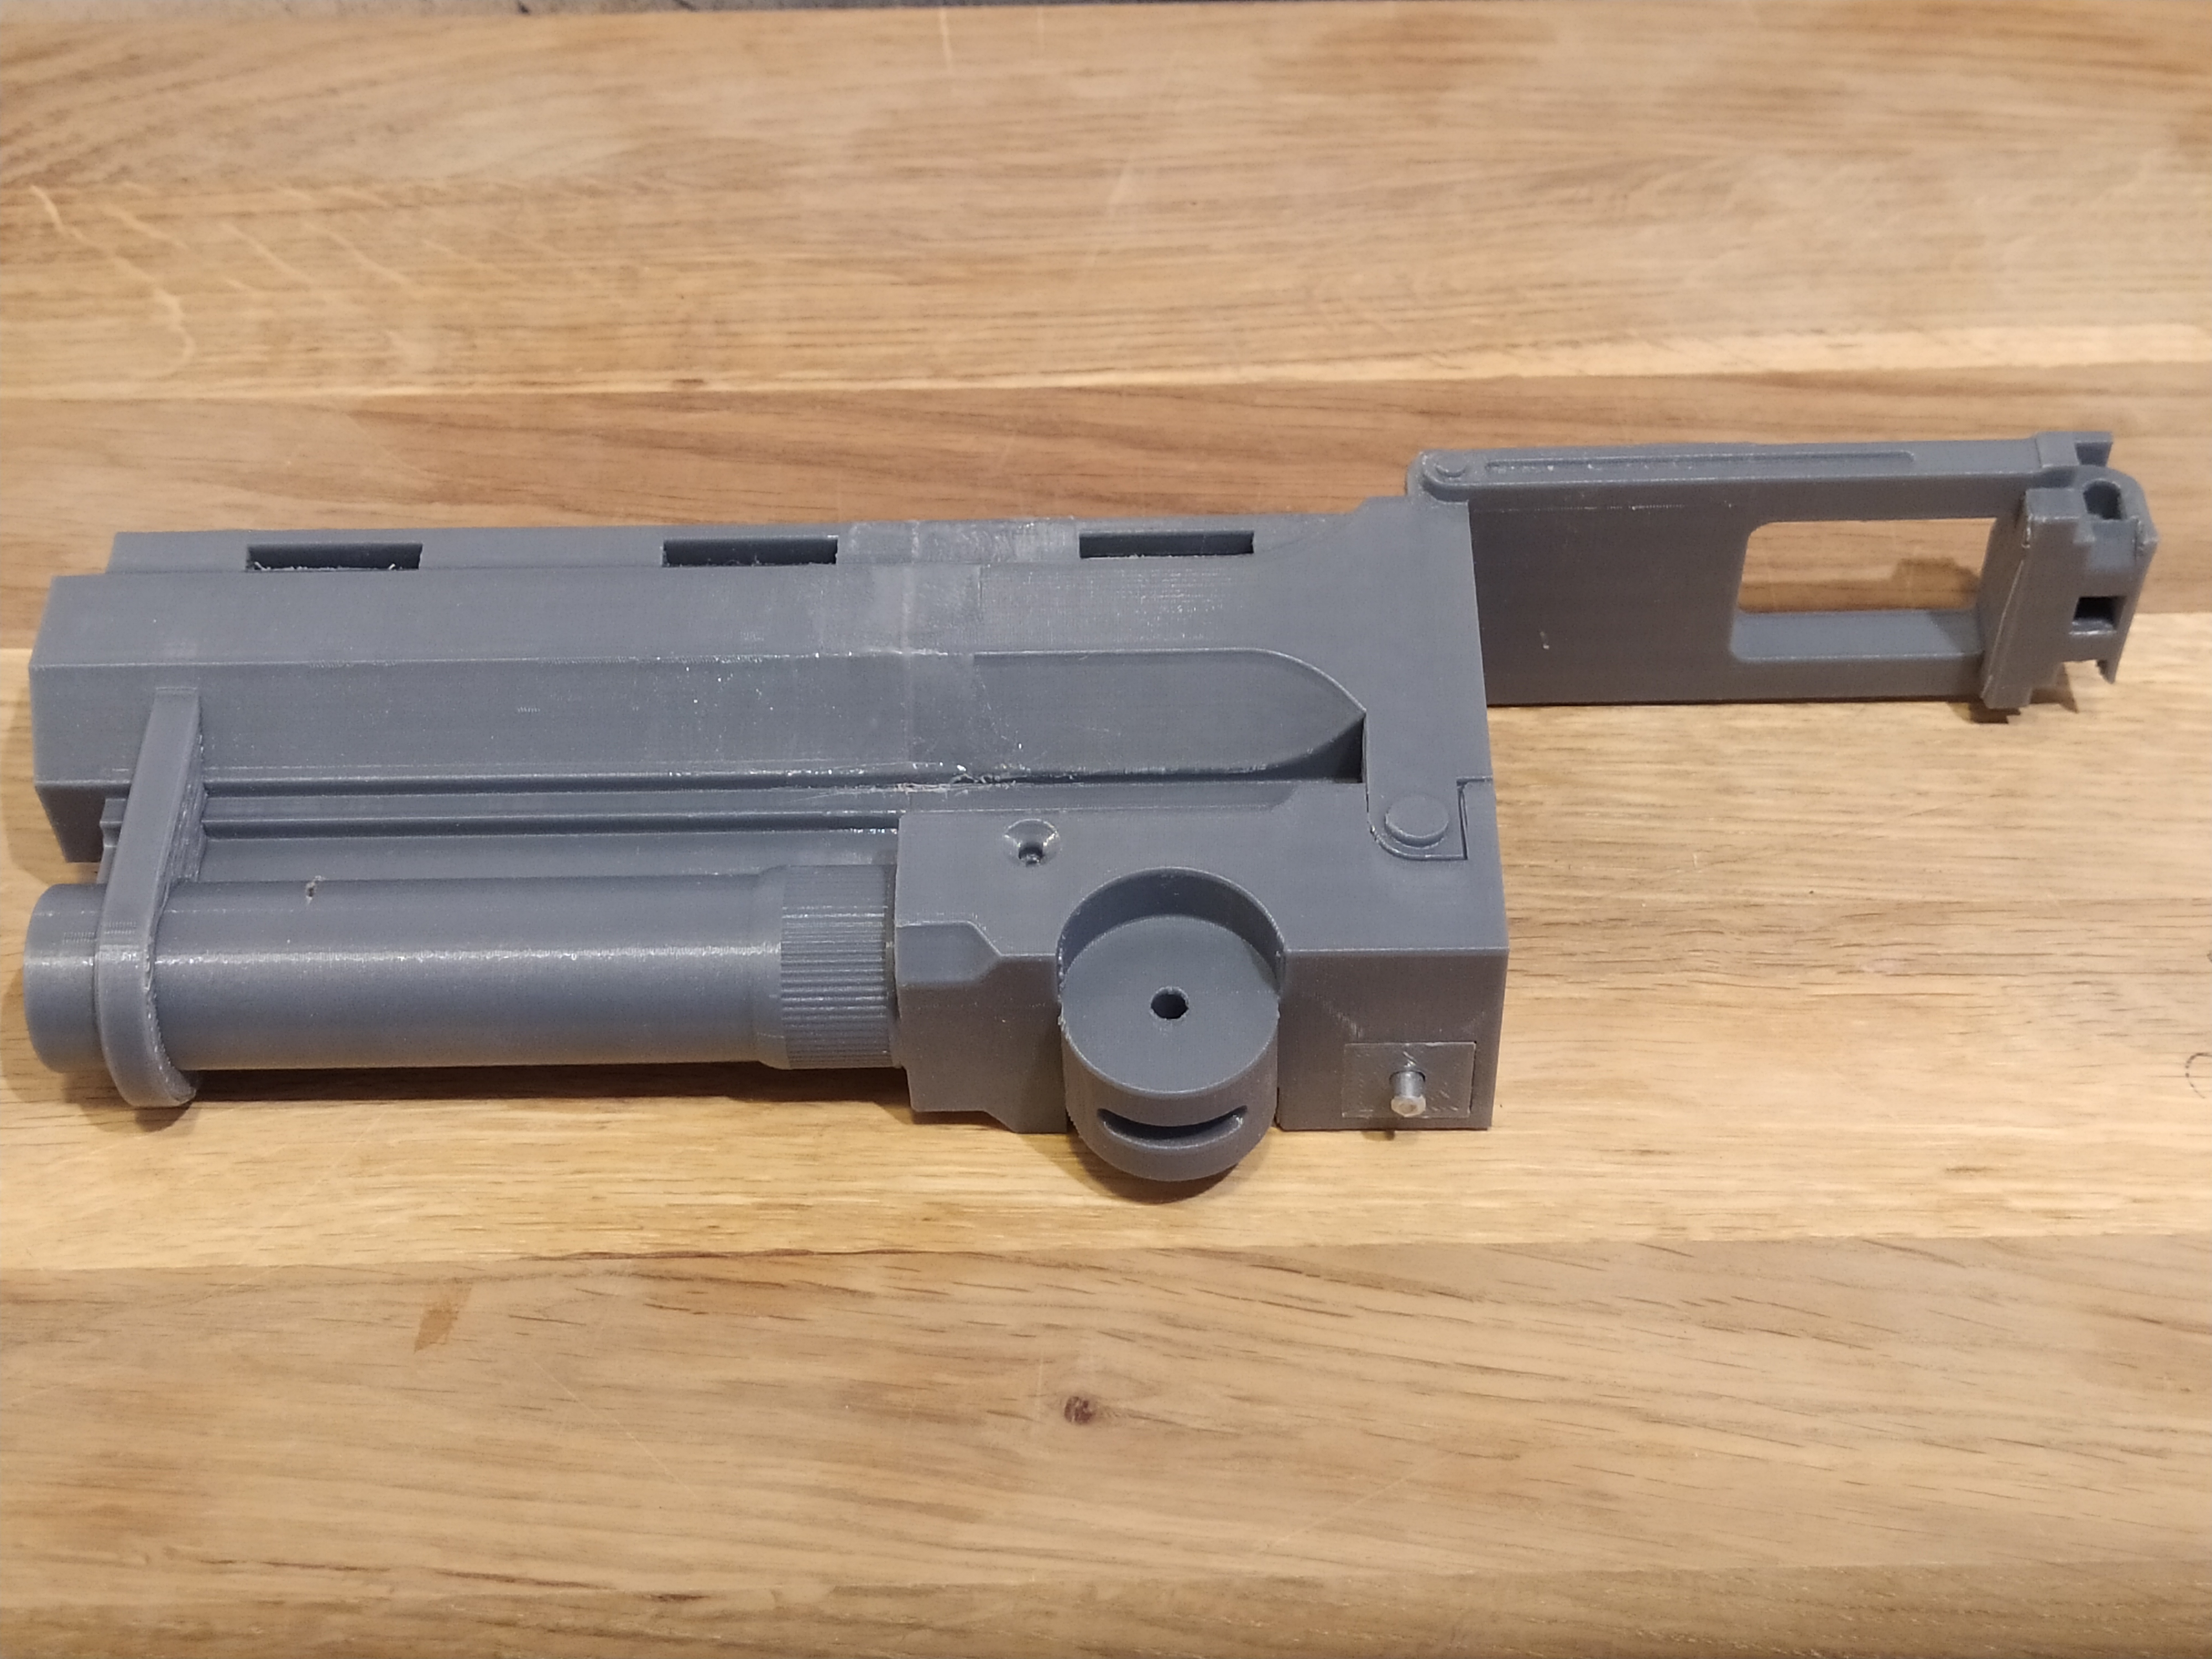
Glue the Barrel_Split1.stl and Barrel_Split2.stl together with epoxy or ca. Or print out the full gun barrel(Barrel.stl) if you have a printer with a larger print surface. I printed this parts at 0.2 mm with 20% infill.
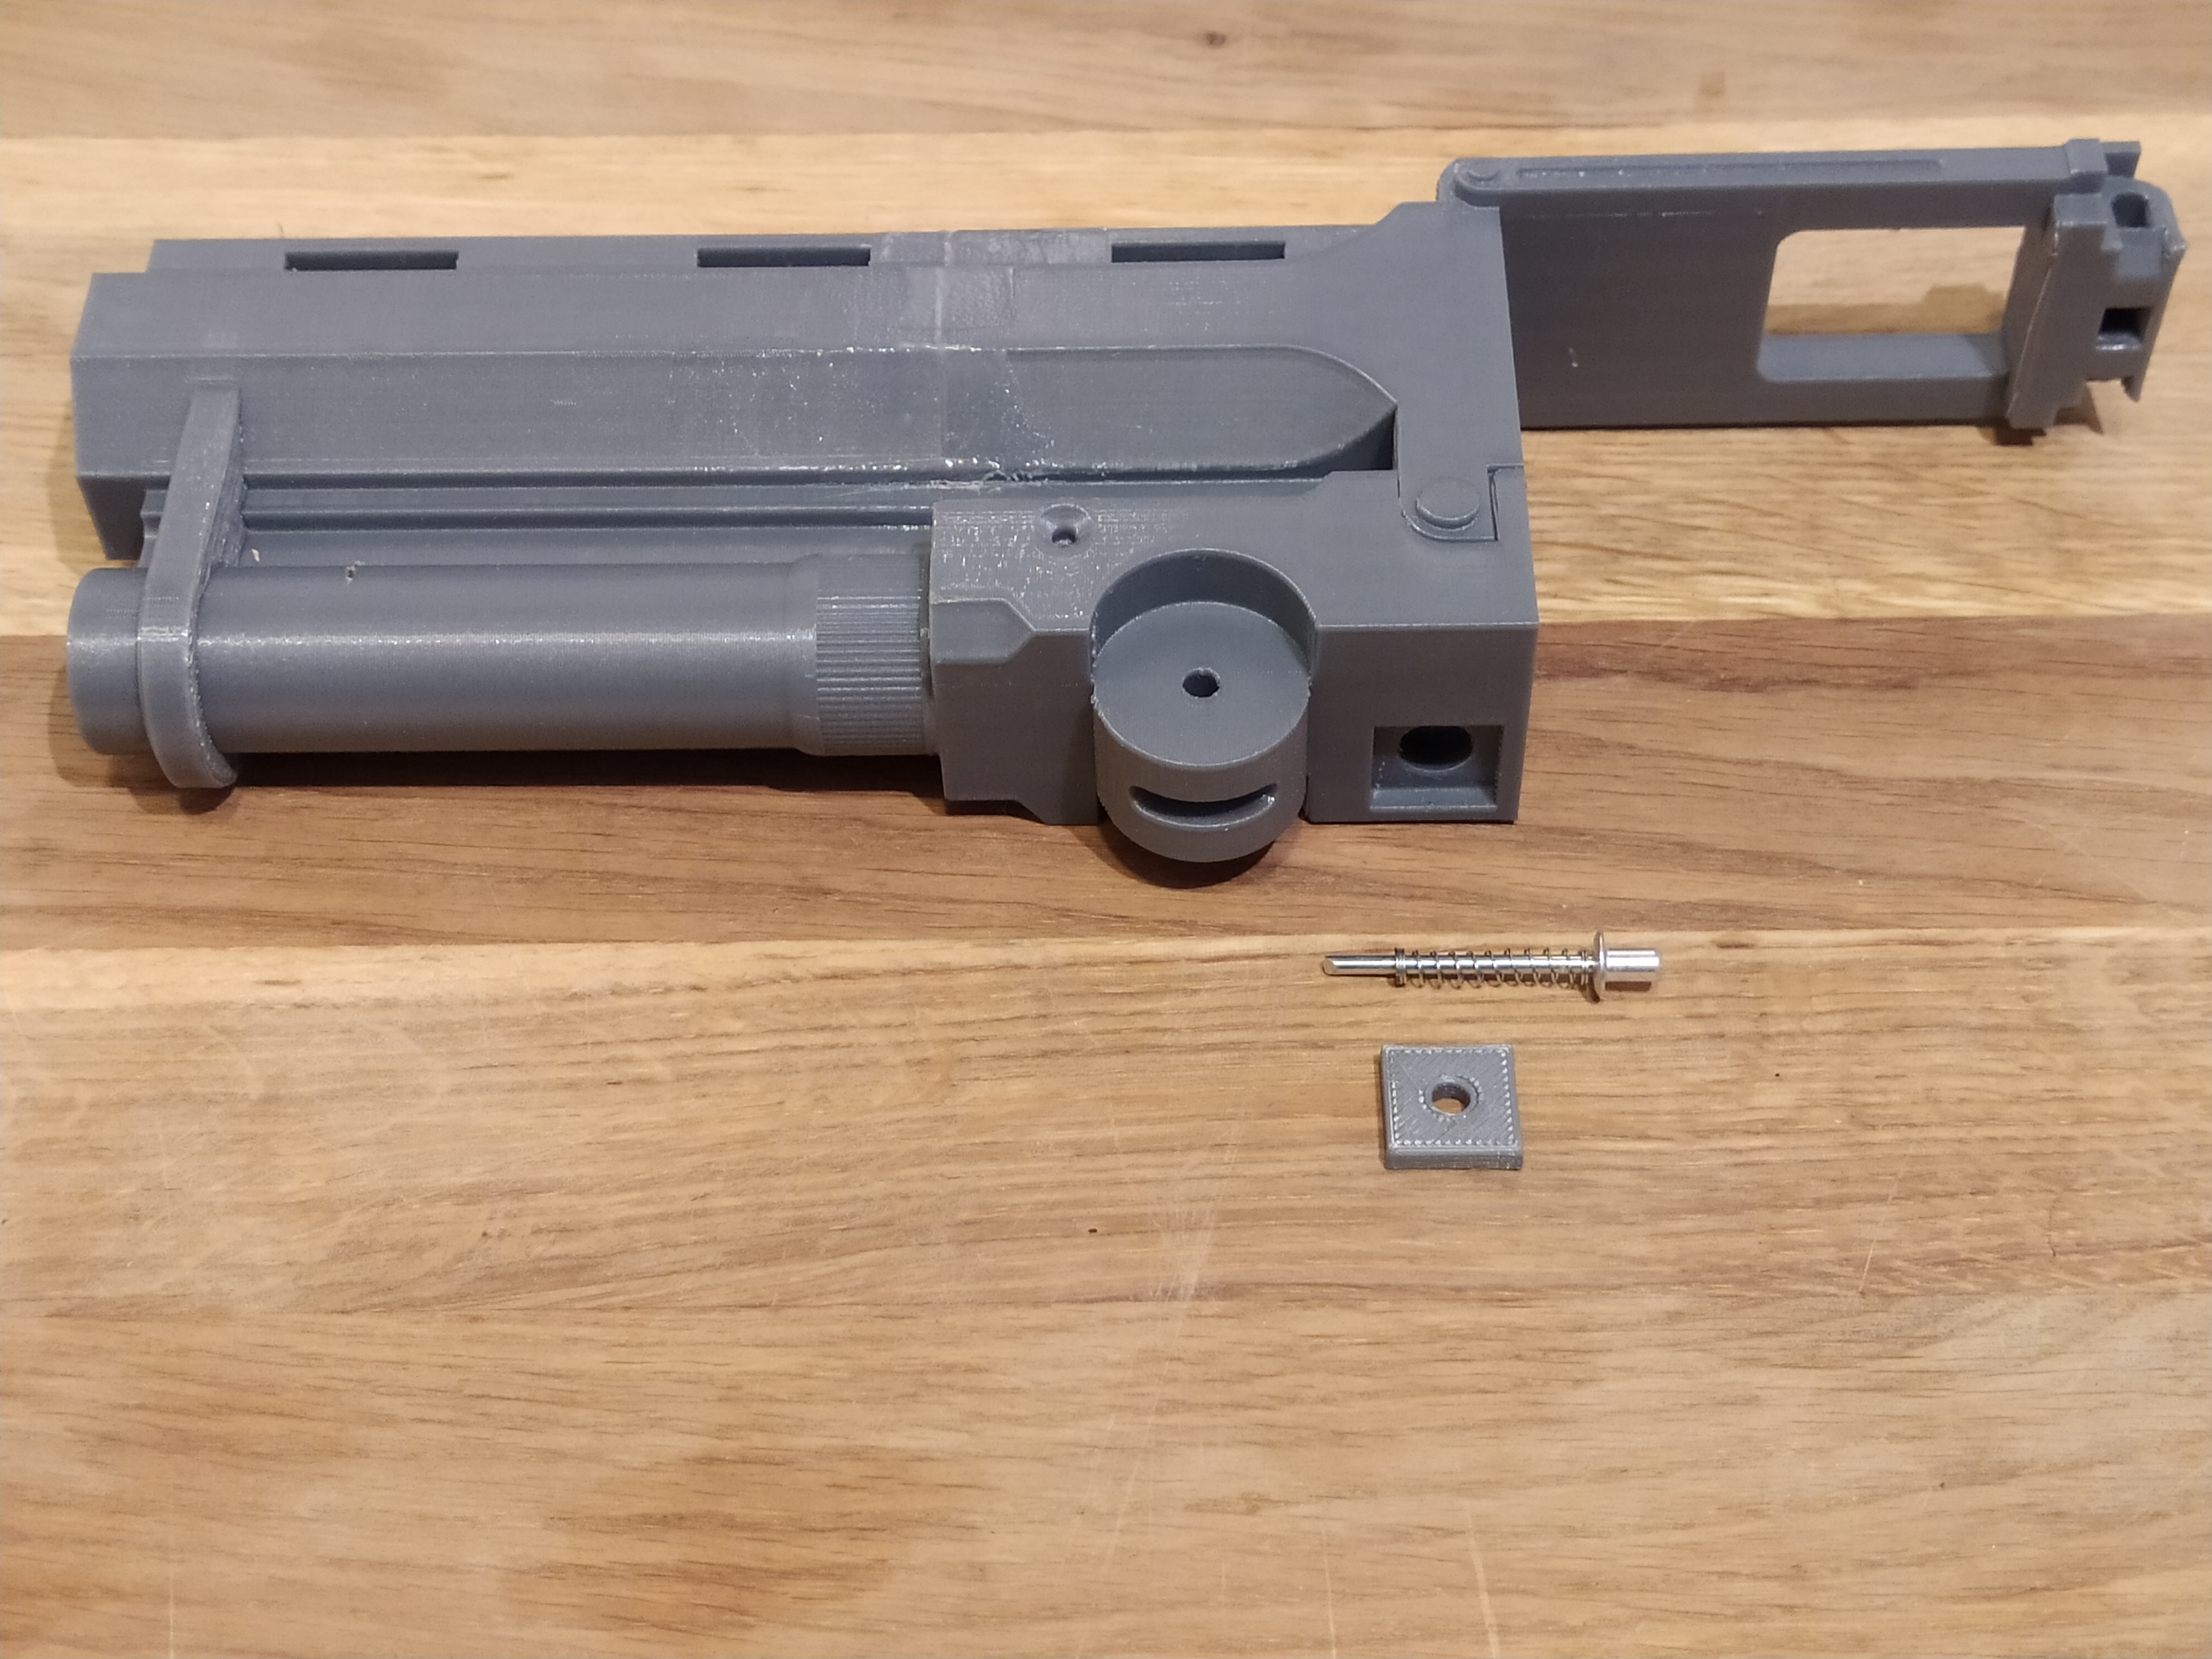
Step 2
In tis step you need a rivet, spring(i'm using a spring from a ballpoint pen) and the printed part called barrelPlate.stl Put the spring on the rivet and place it in the hole of the barrel and place the barrelplate on the rivet. push it in place and make a mark on the rivet. Cut the rivet so it's flat with the hole of the barrelplate. When everything fits and and are working, glue the barrelplate in place. BarrelPlate.stl: 0.2 mm with 100% infill
Step 3
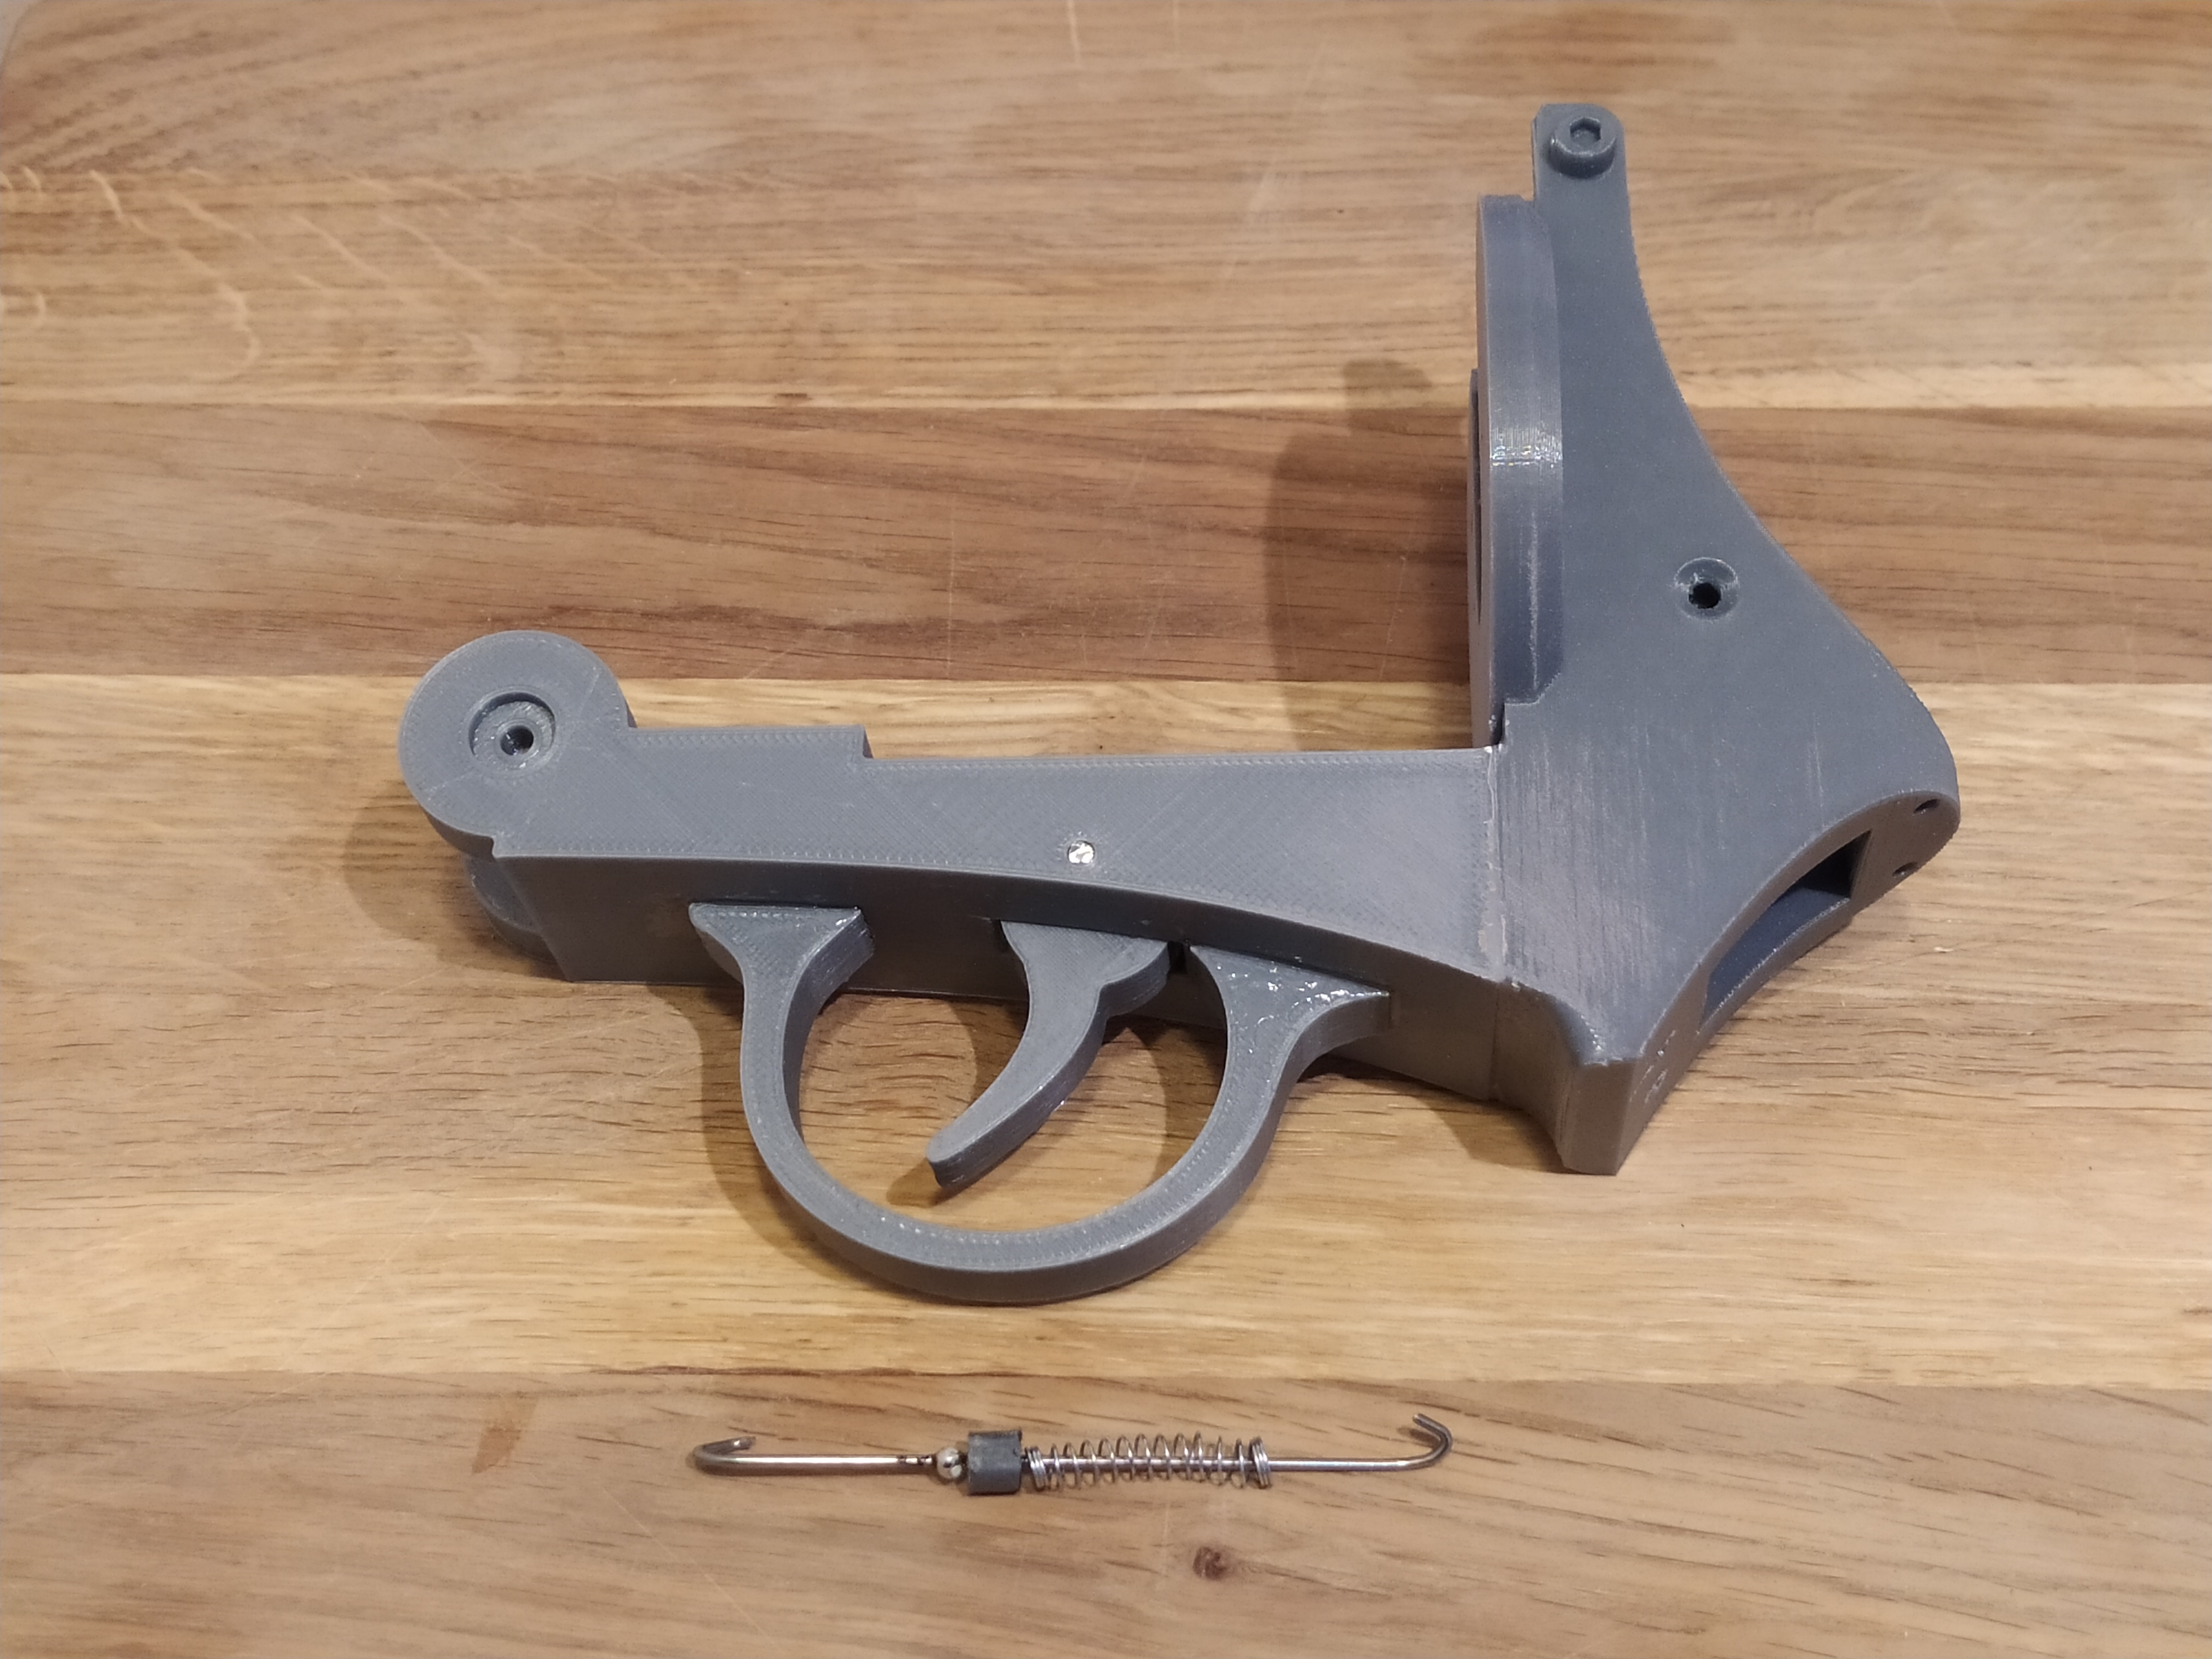
In this step you need the 3d printed parts called BackFrame_Split1.stl, BackFrame_Split2.stl, BackFramePlate.stl, Trigger.stl and TriggerGuard.stl. You also need a 2.5 mm piano wire that has a length of about 36 mm. Begin with gluing BackFrame_Split1 and BackFrame_Split2 together and then glue the triggerguard on the back frame. Add the trigger from the top and push the piano wire thru the hole. BackFrame_Split1.stl and BackFrame_Split2.stl: 0.2 mm, 20% infill BackFramePlate.stl, Trigger.stl and TriggerGuard.stl: 0.2 mm, 100% infill
Step 4
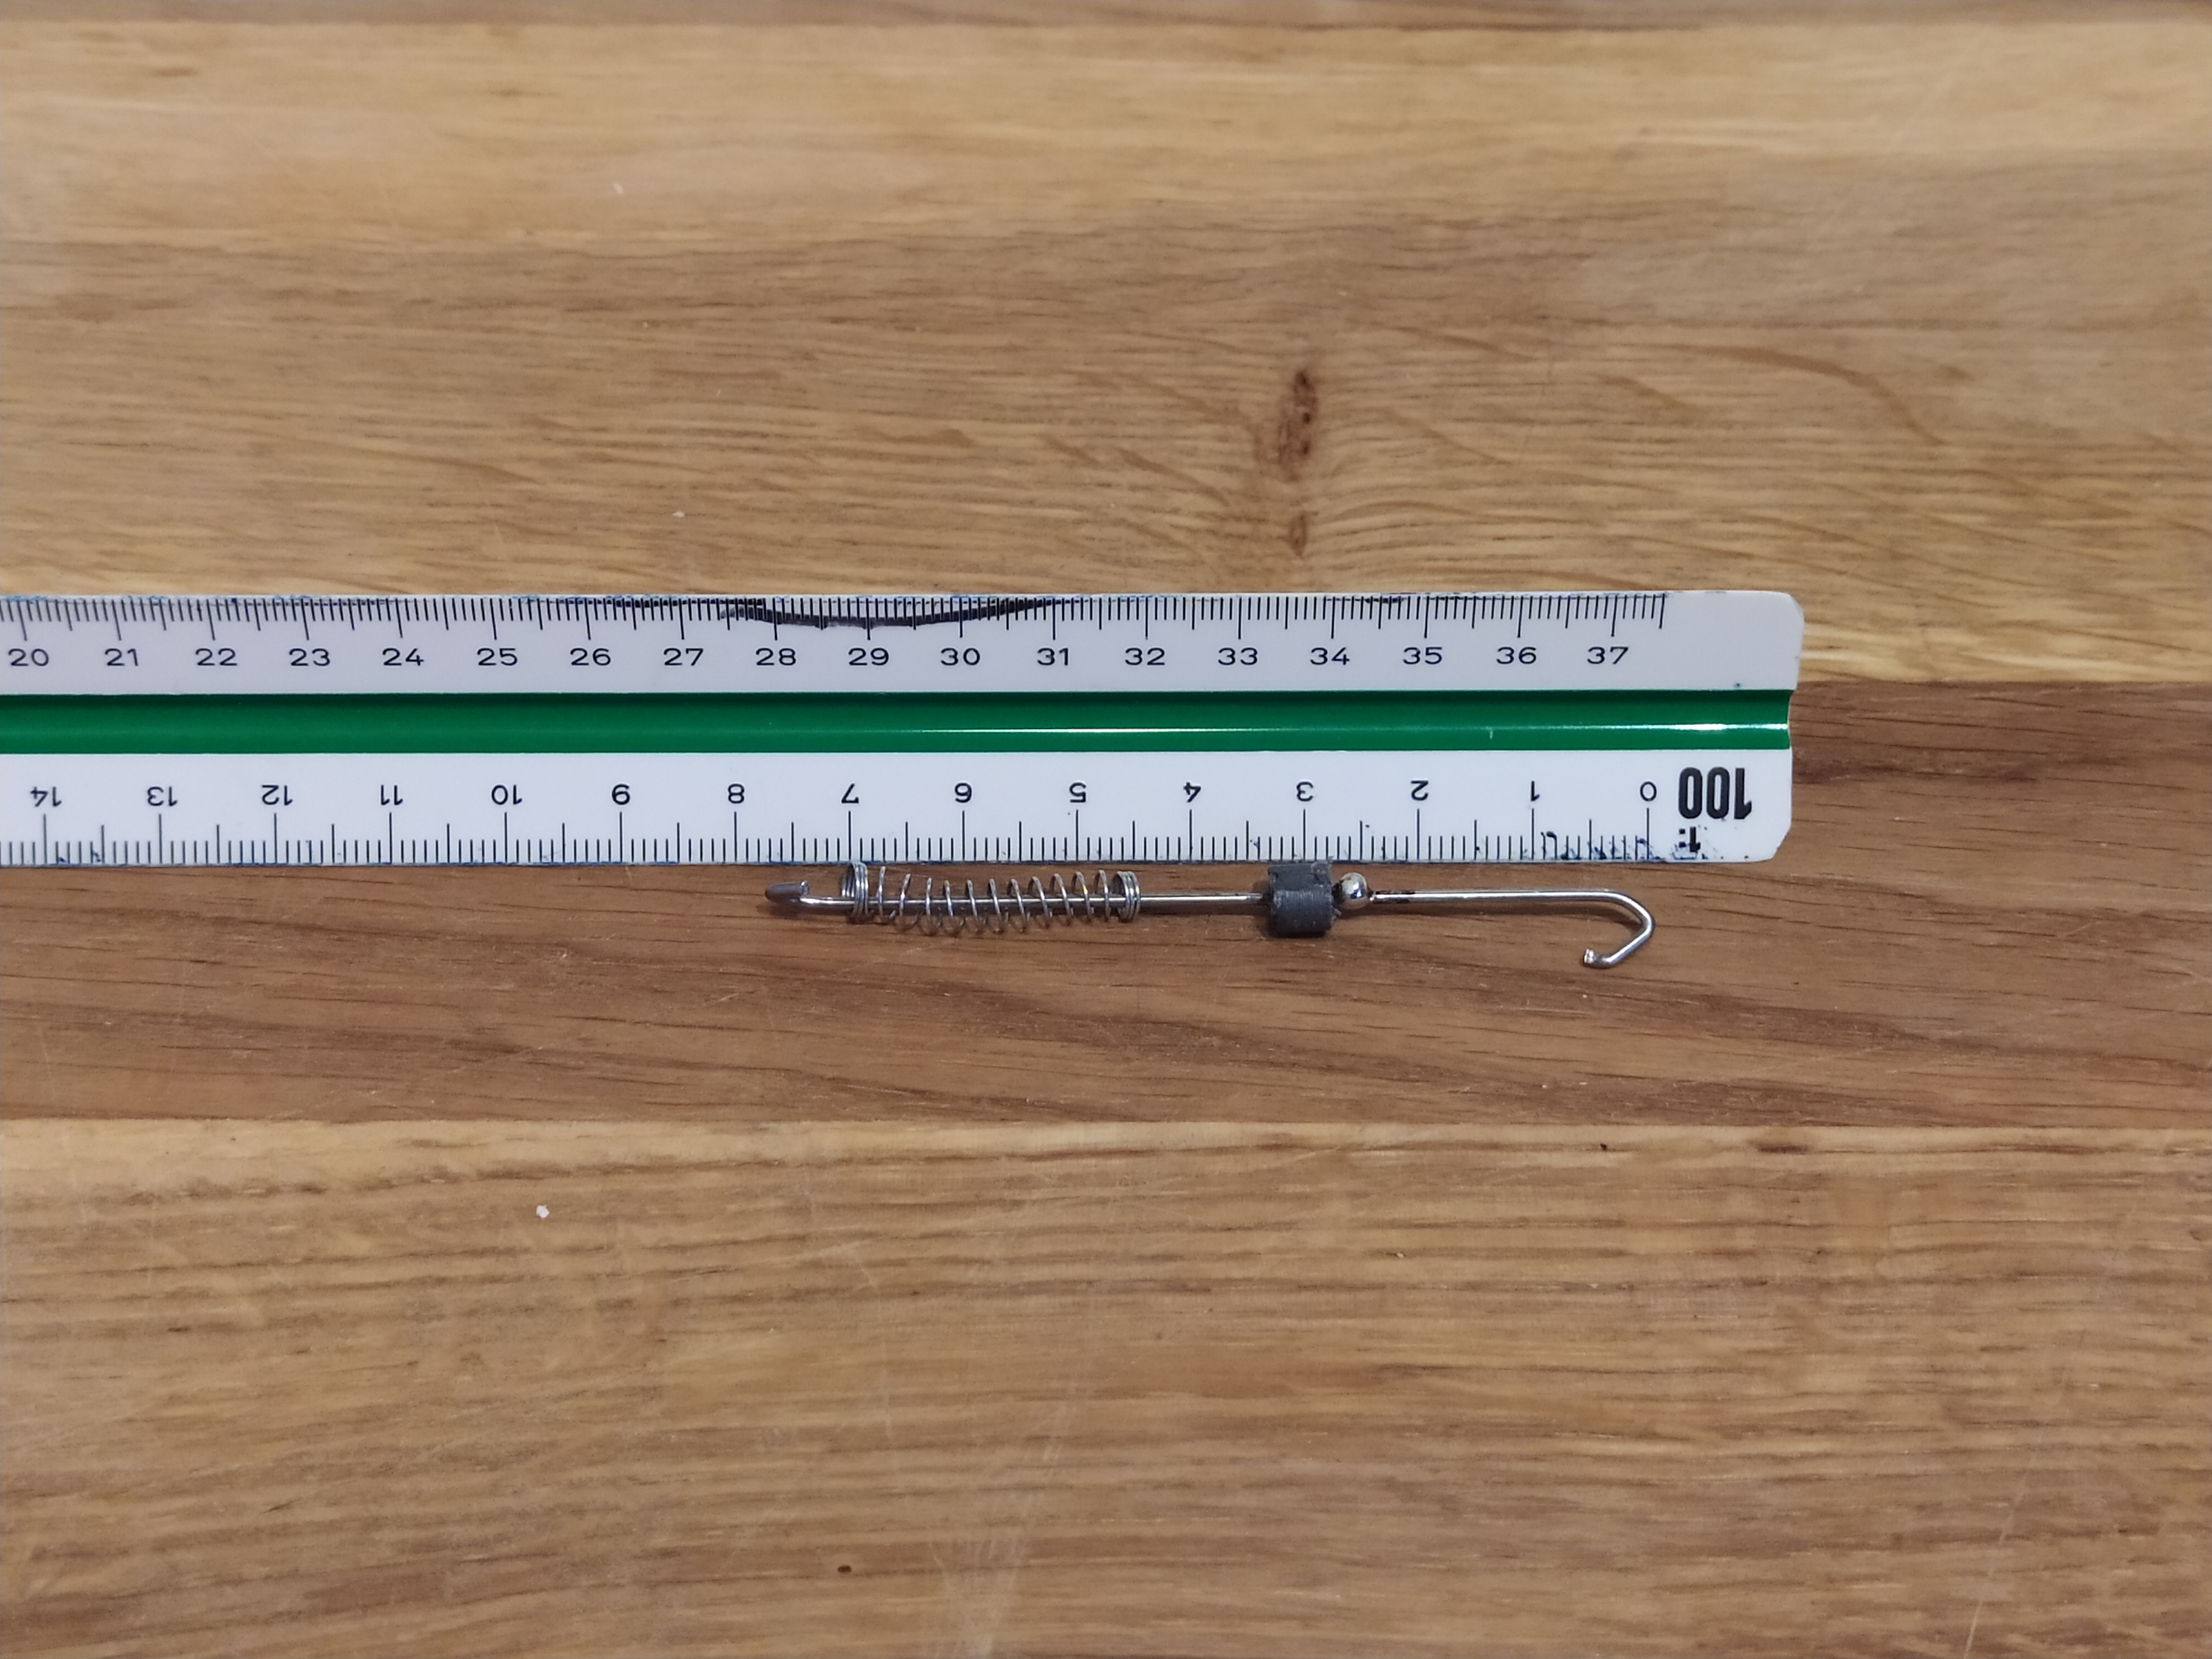
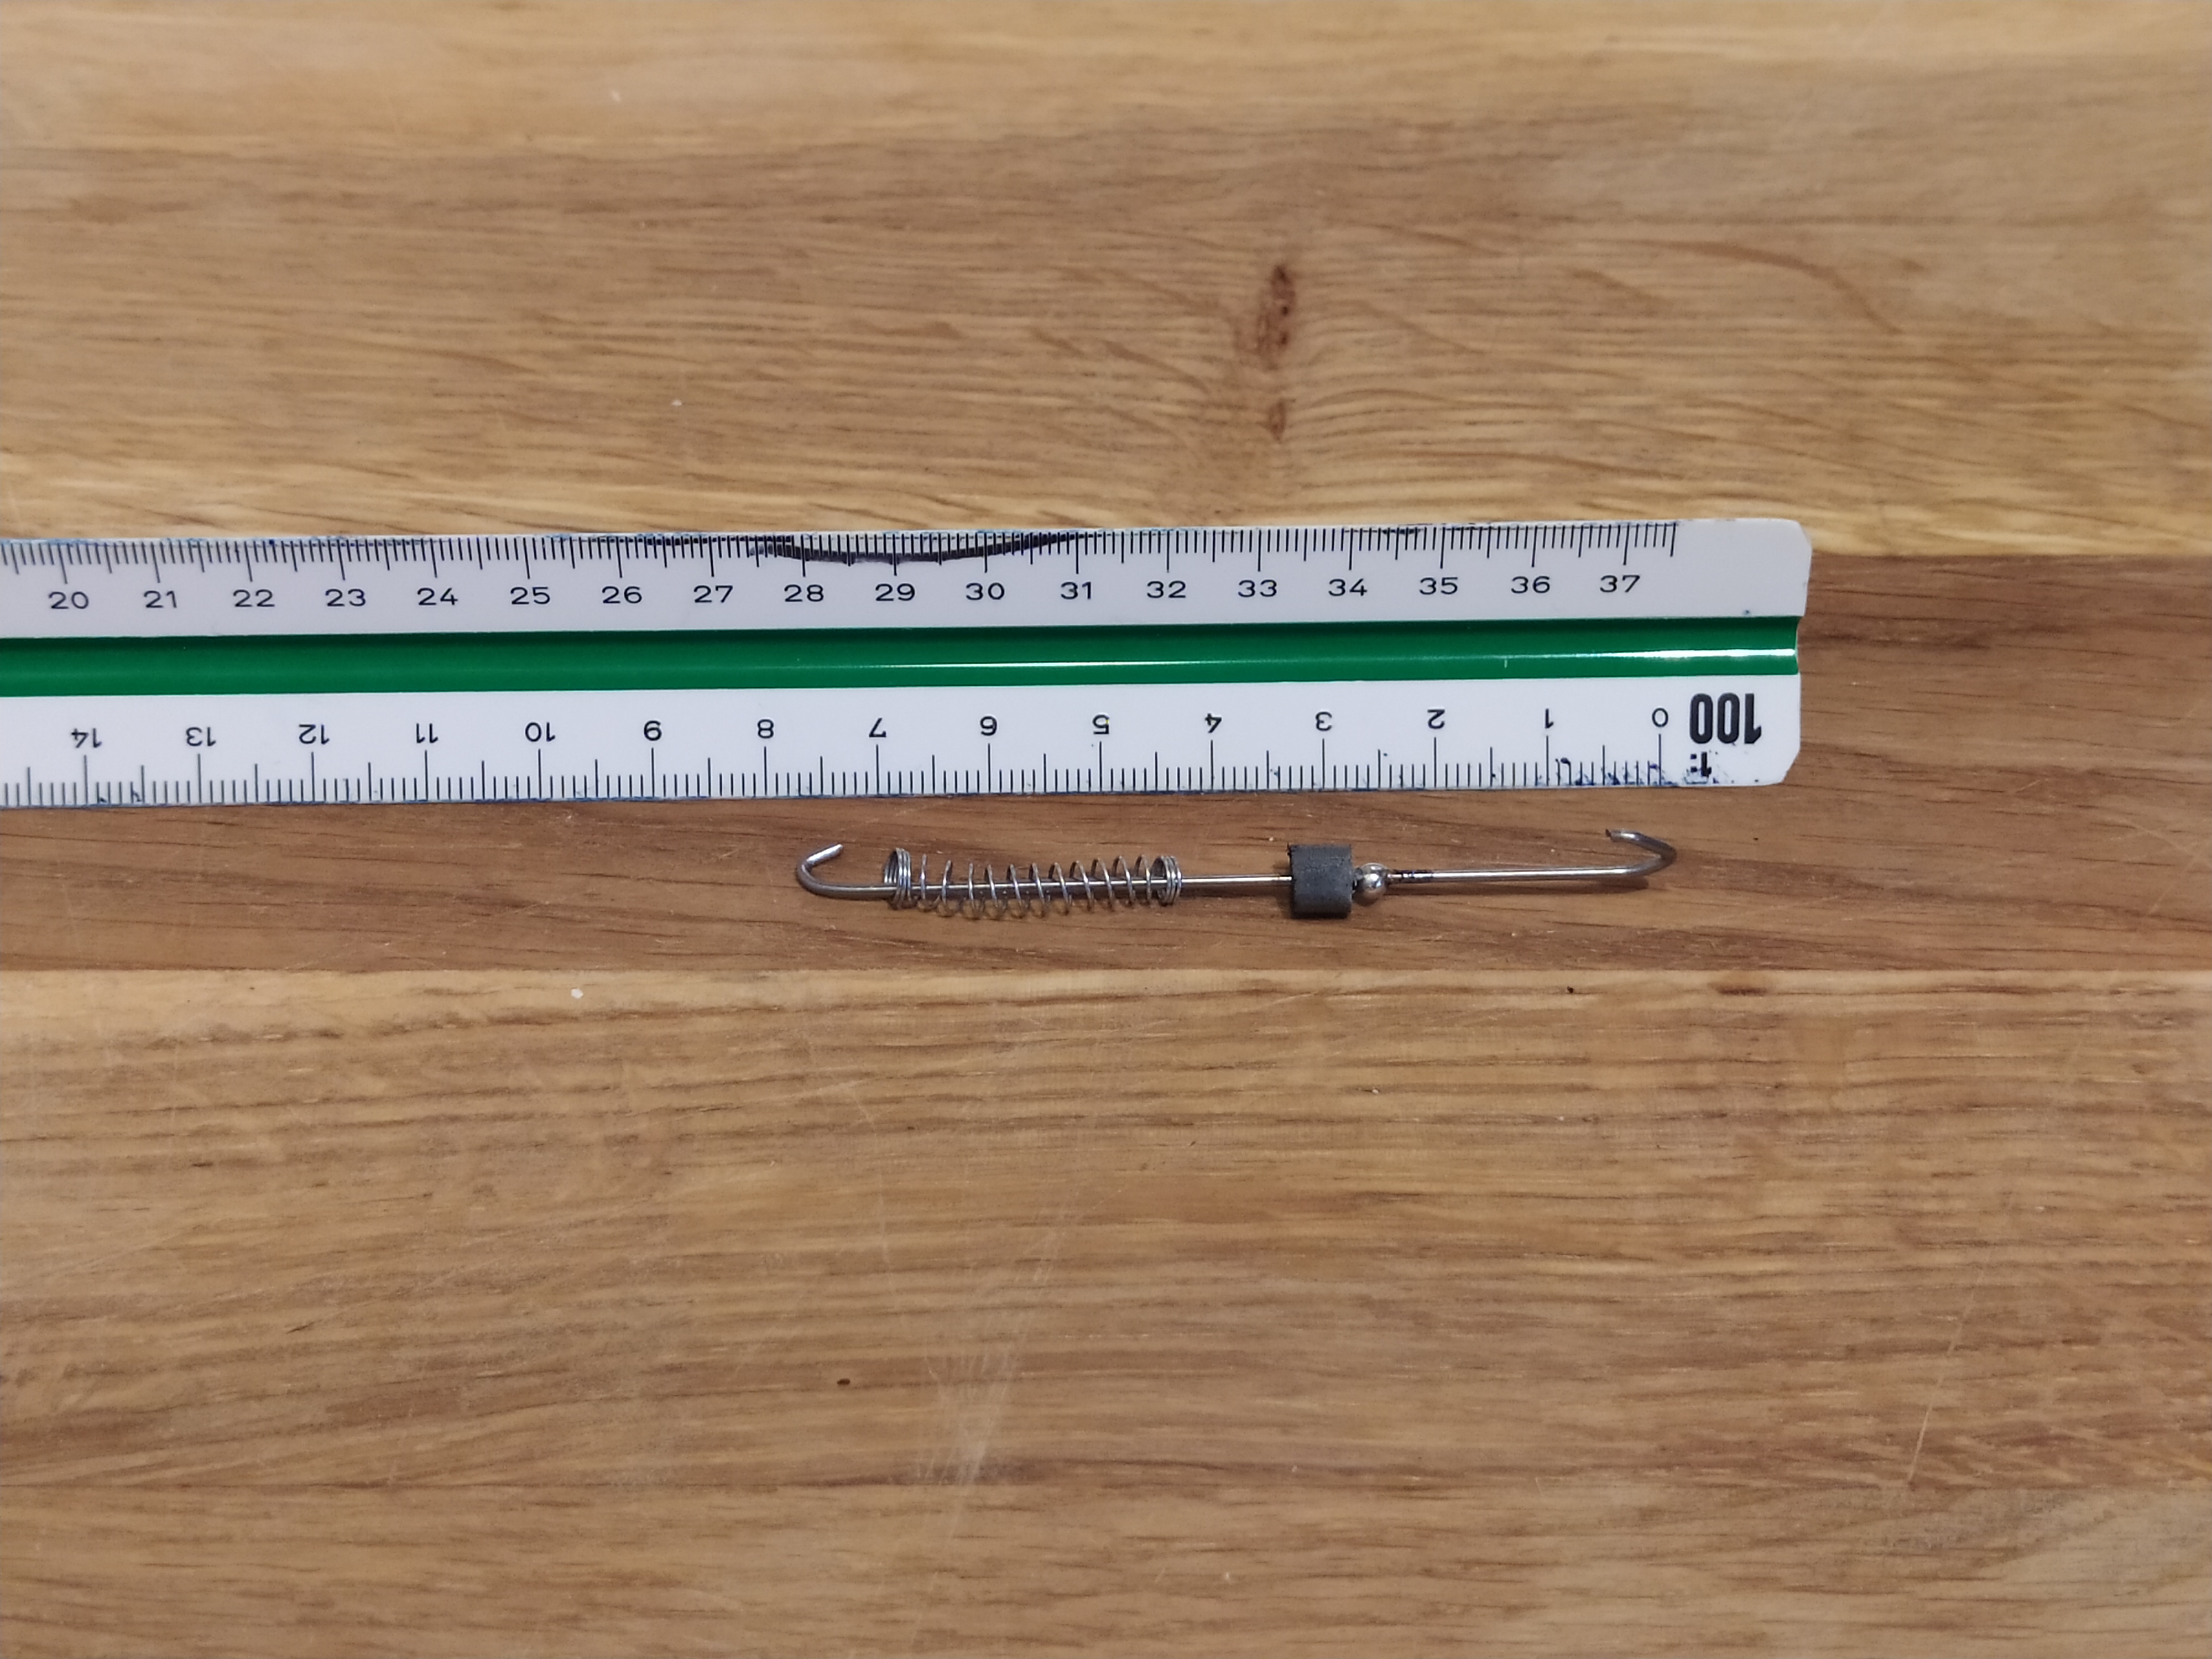
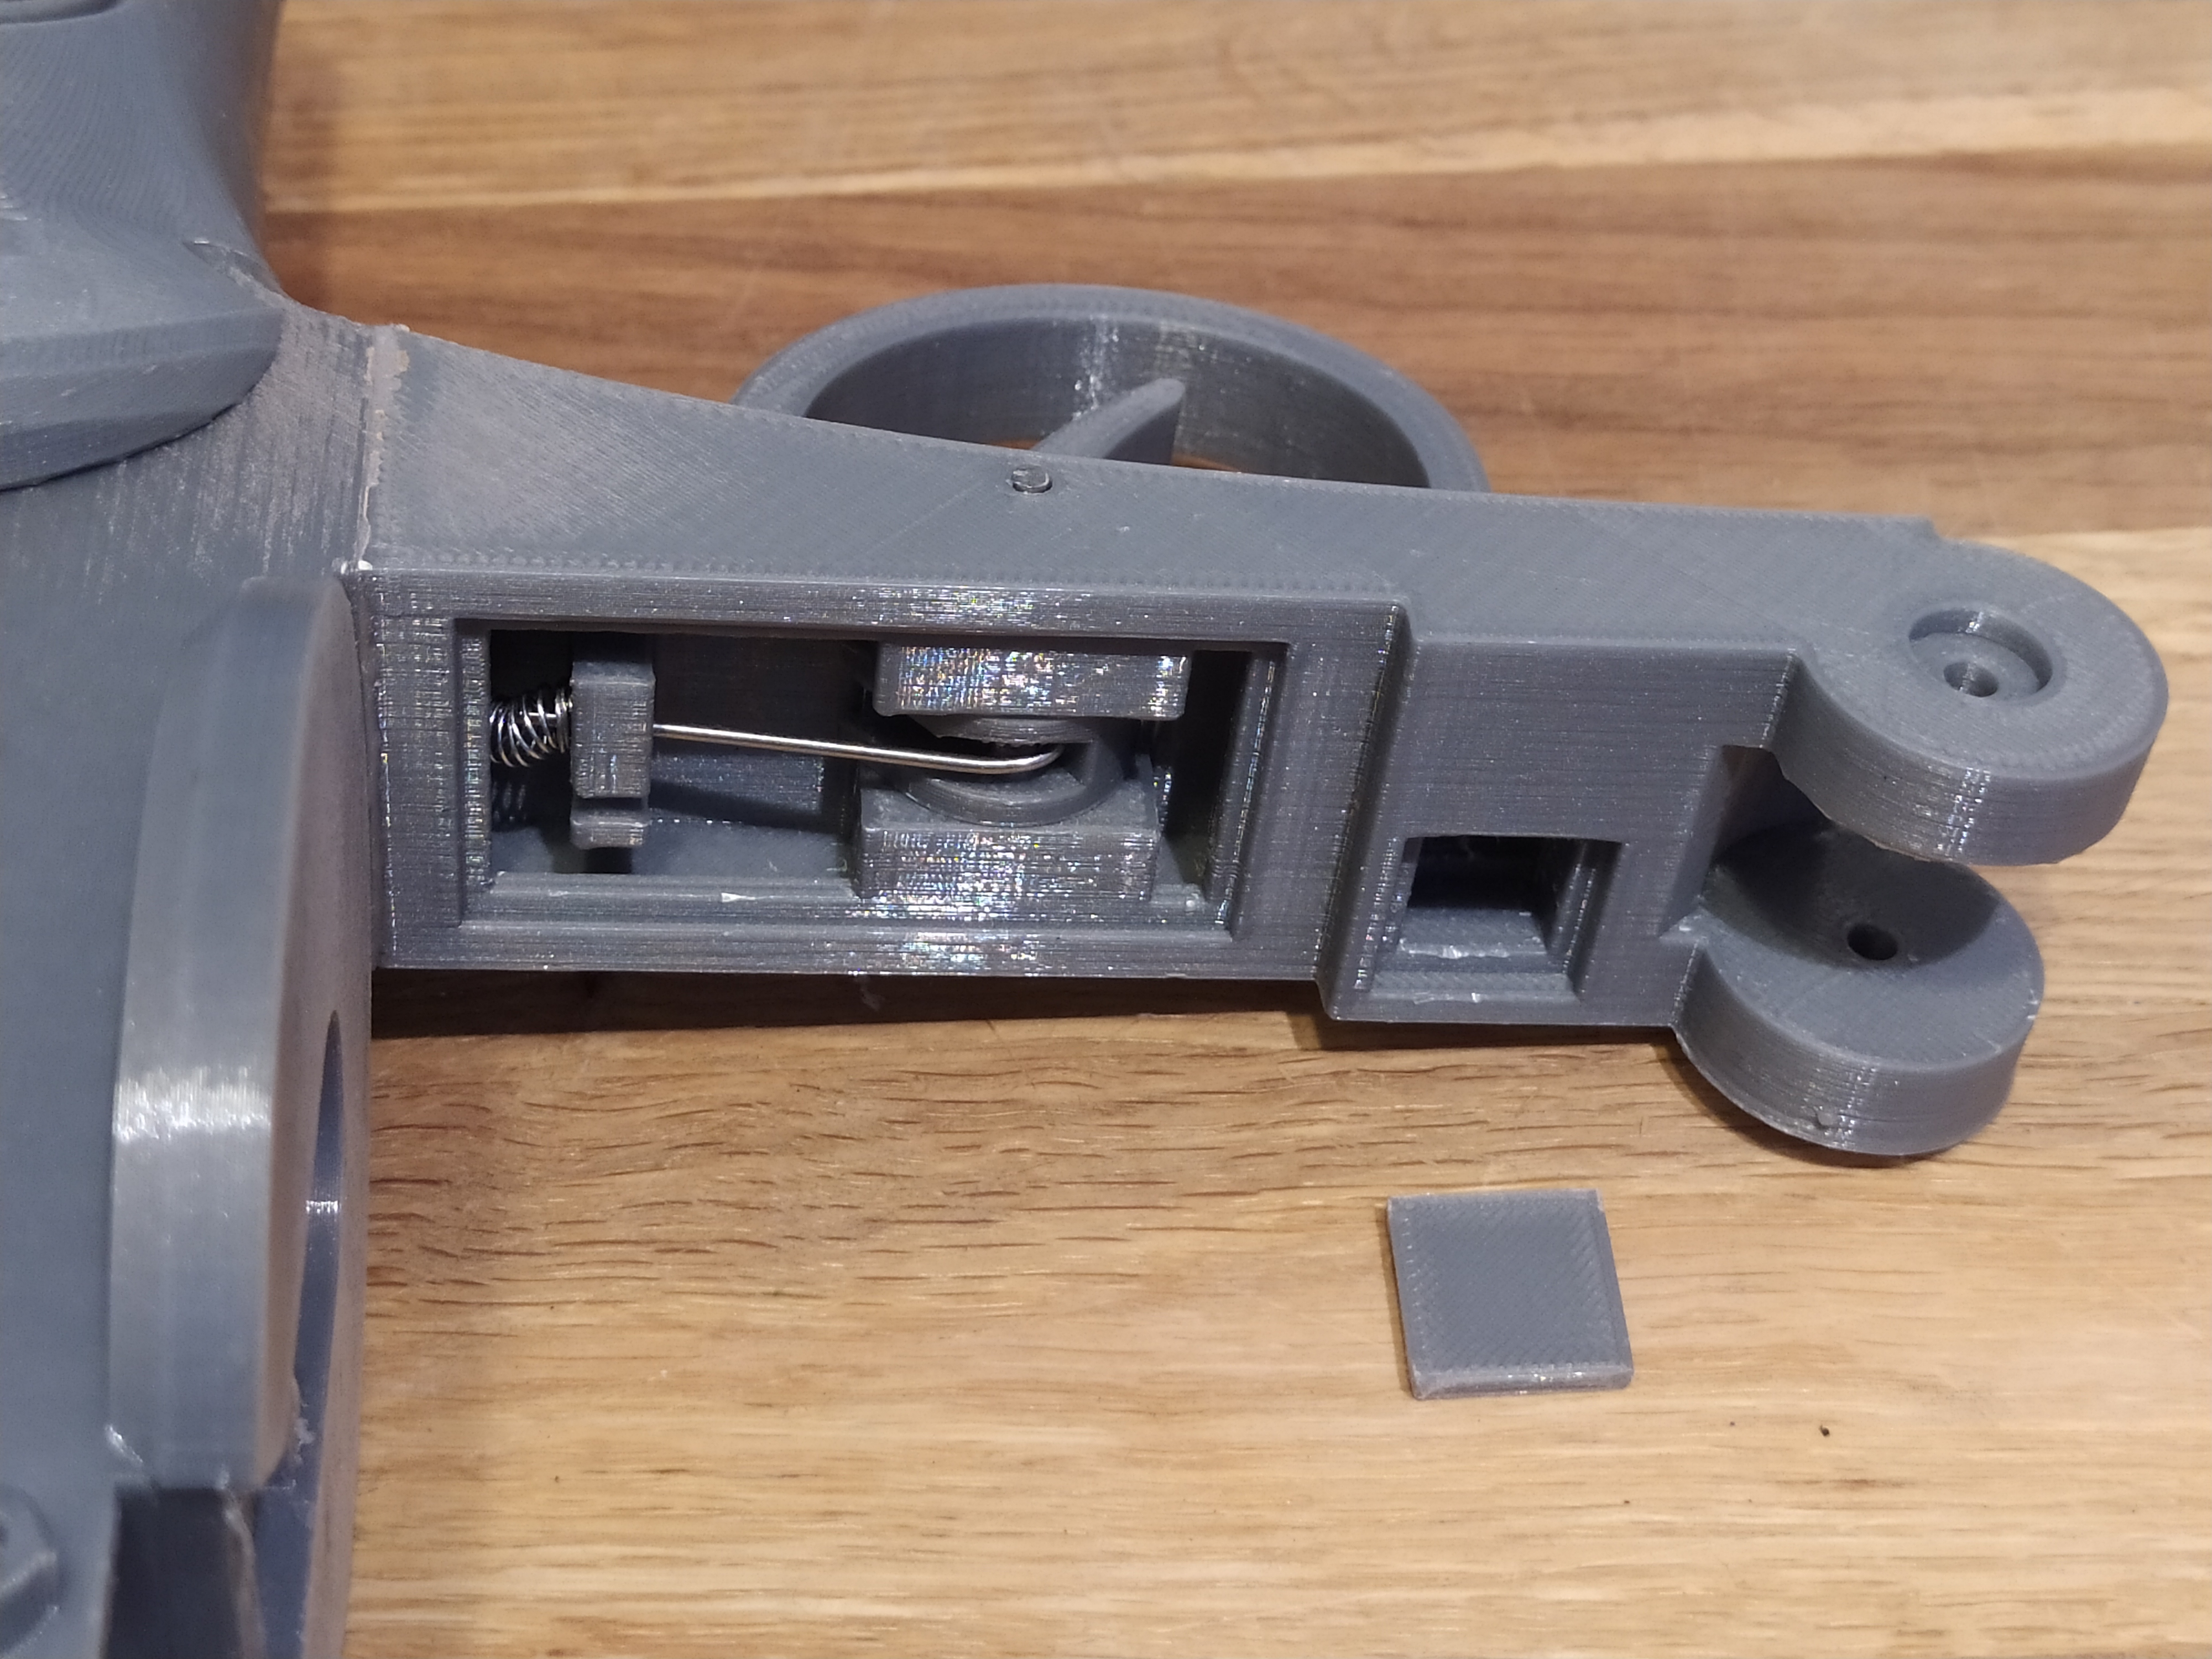
This step can be a little tricky and even some frustration can occur :-). The 3d printed parts you need is HammerLock.stl, Hammer_1.stl, Hammer_2.stl, 1mm piano wire, springs and a stopper for the trigger spring on the piano wire. Start by gluing the hammer together. Cut and bend the piano wire like the picture below. Start by making a bend for the hammer, messure about 7.5 cm and make a mark. Bend the wire to make a hook for the hammerlock. but before you do this, add the spring and the stopper. HammerLock.stl, Hammer_1.stl and Hammer_2.stl: Printed with 0.2mm and 100% infill
Put the hammerlock on the pin on the backframe. Guide trigger wire thru the backframe and mount it on the hammerlock and then the trigger. Mount the little spring between the hammerlock and the backframe.
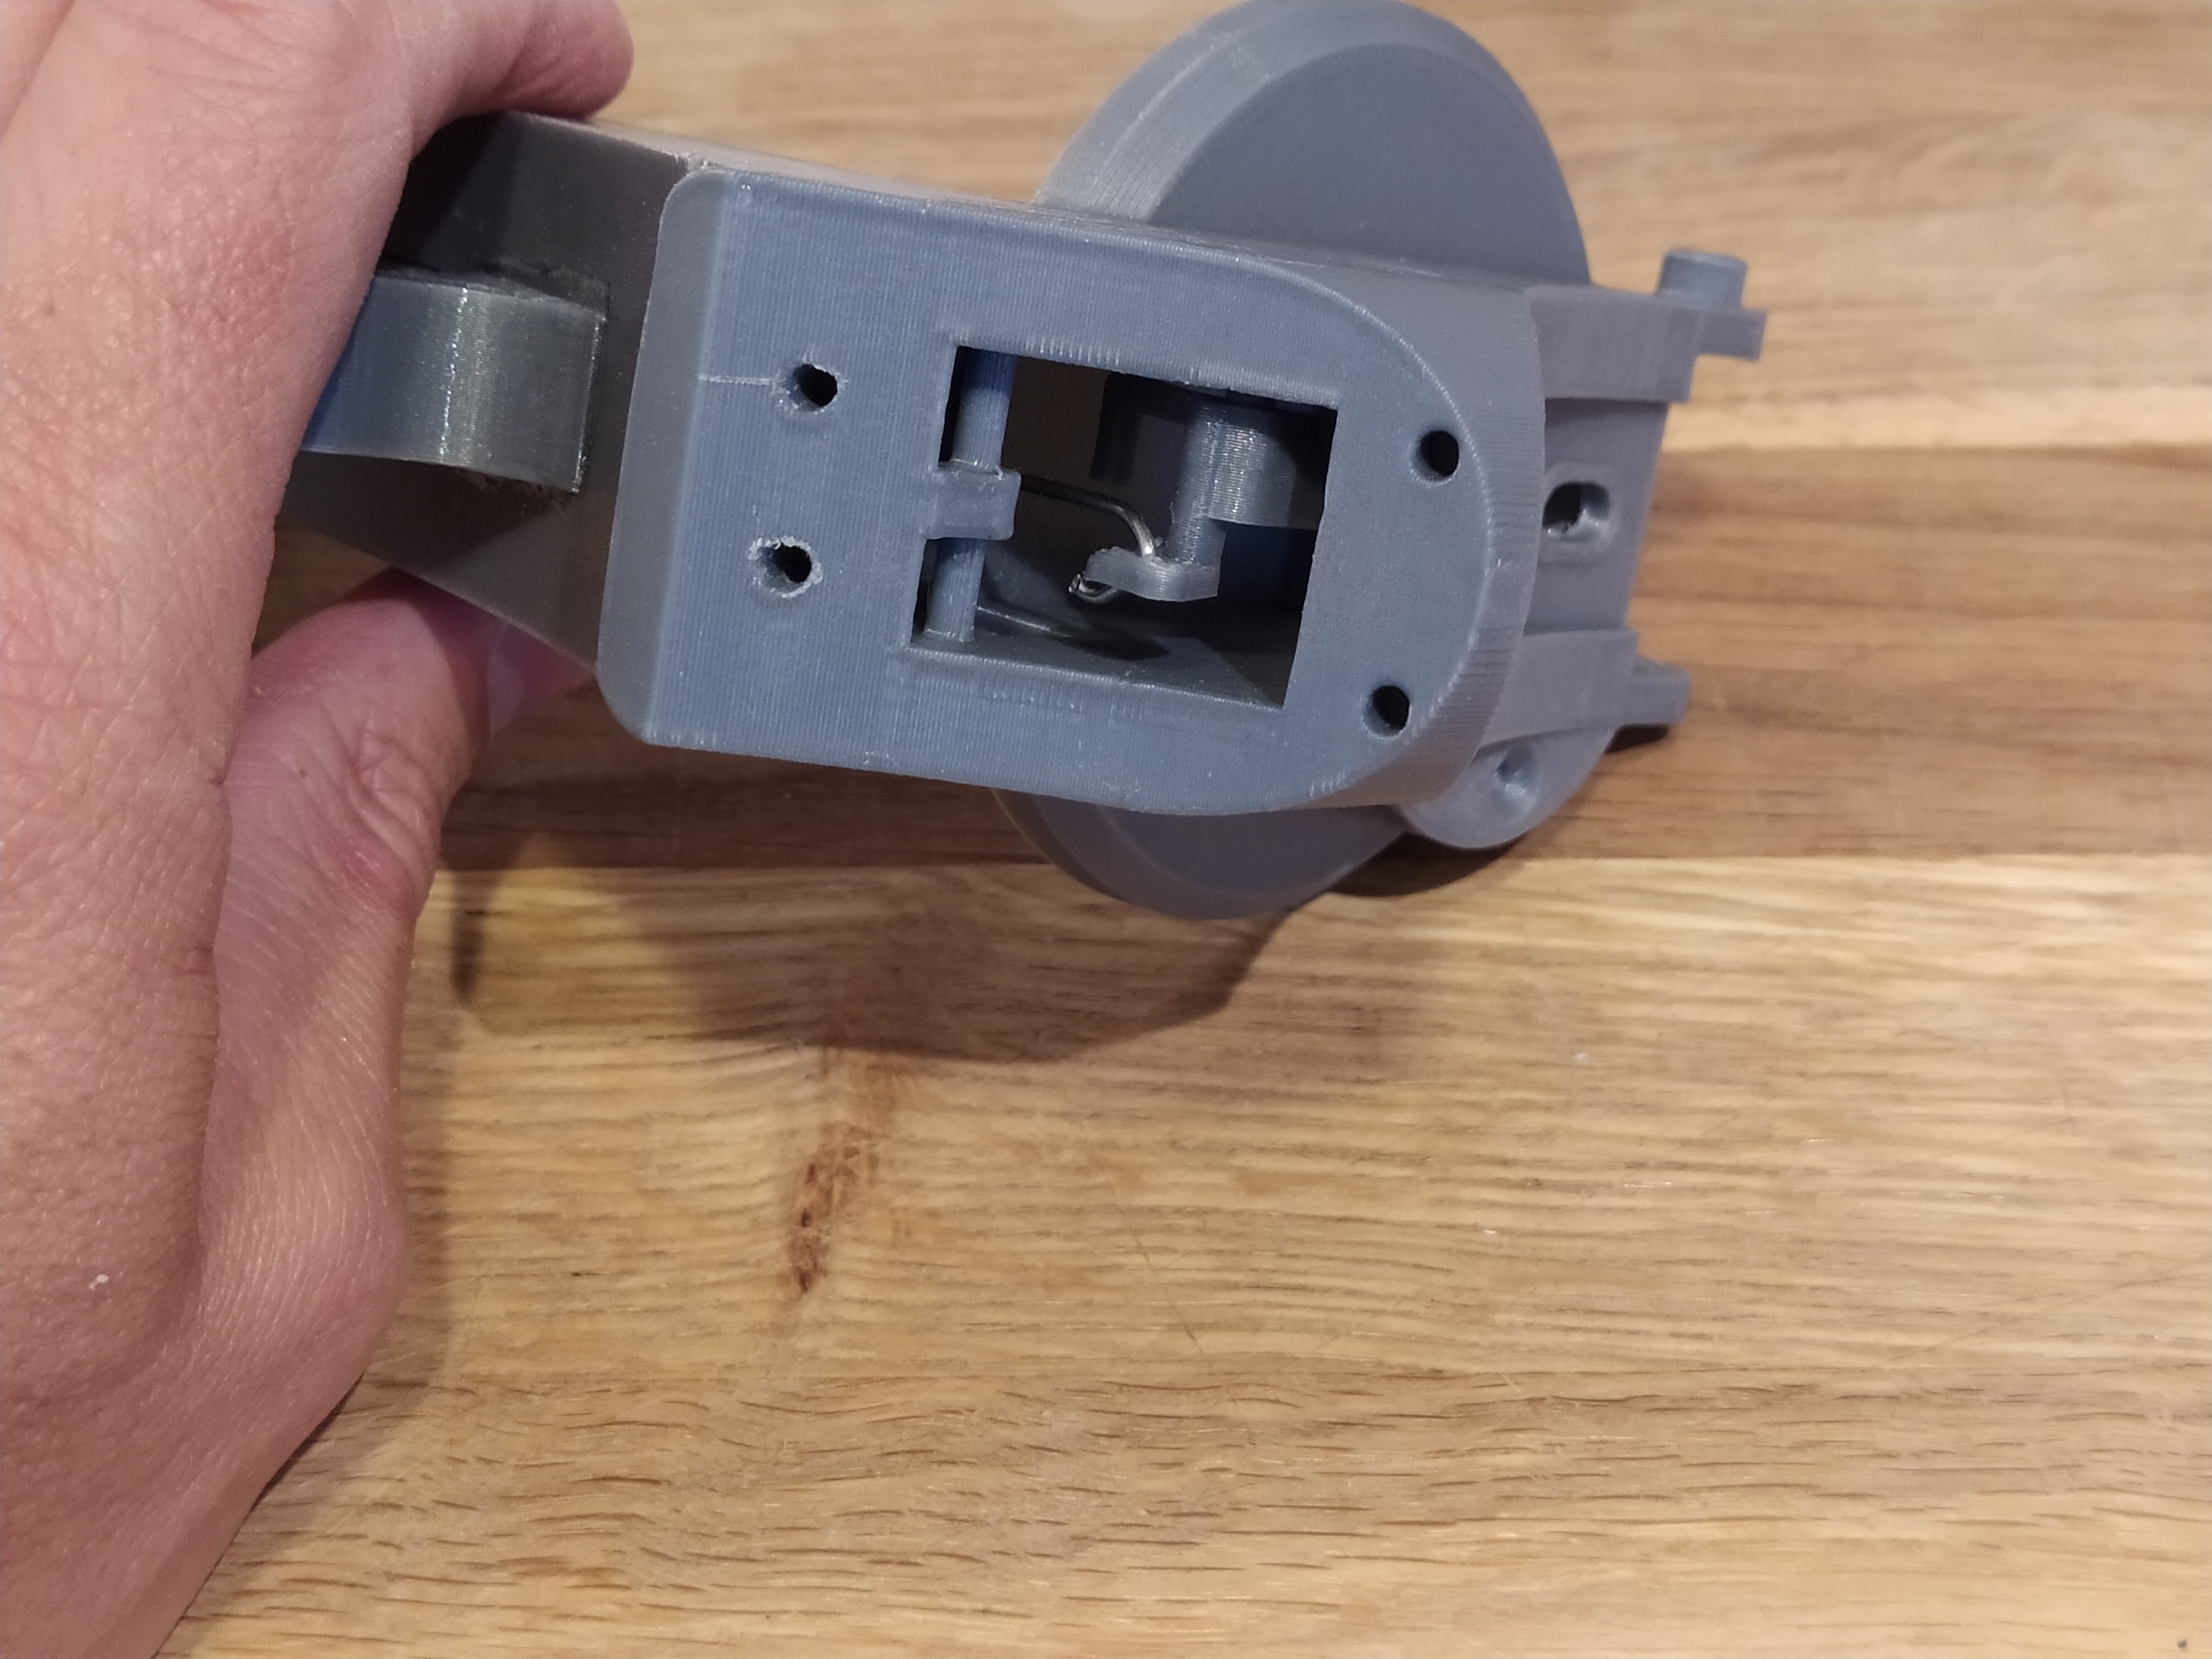
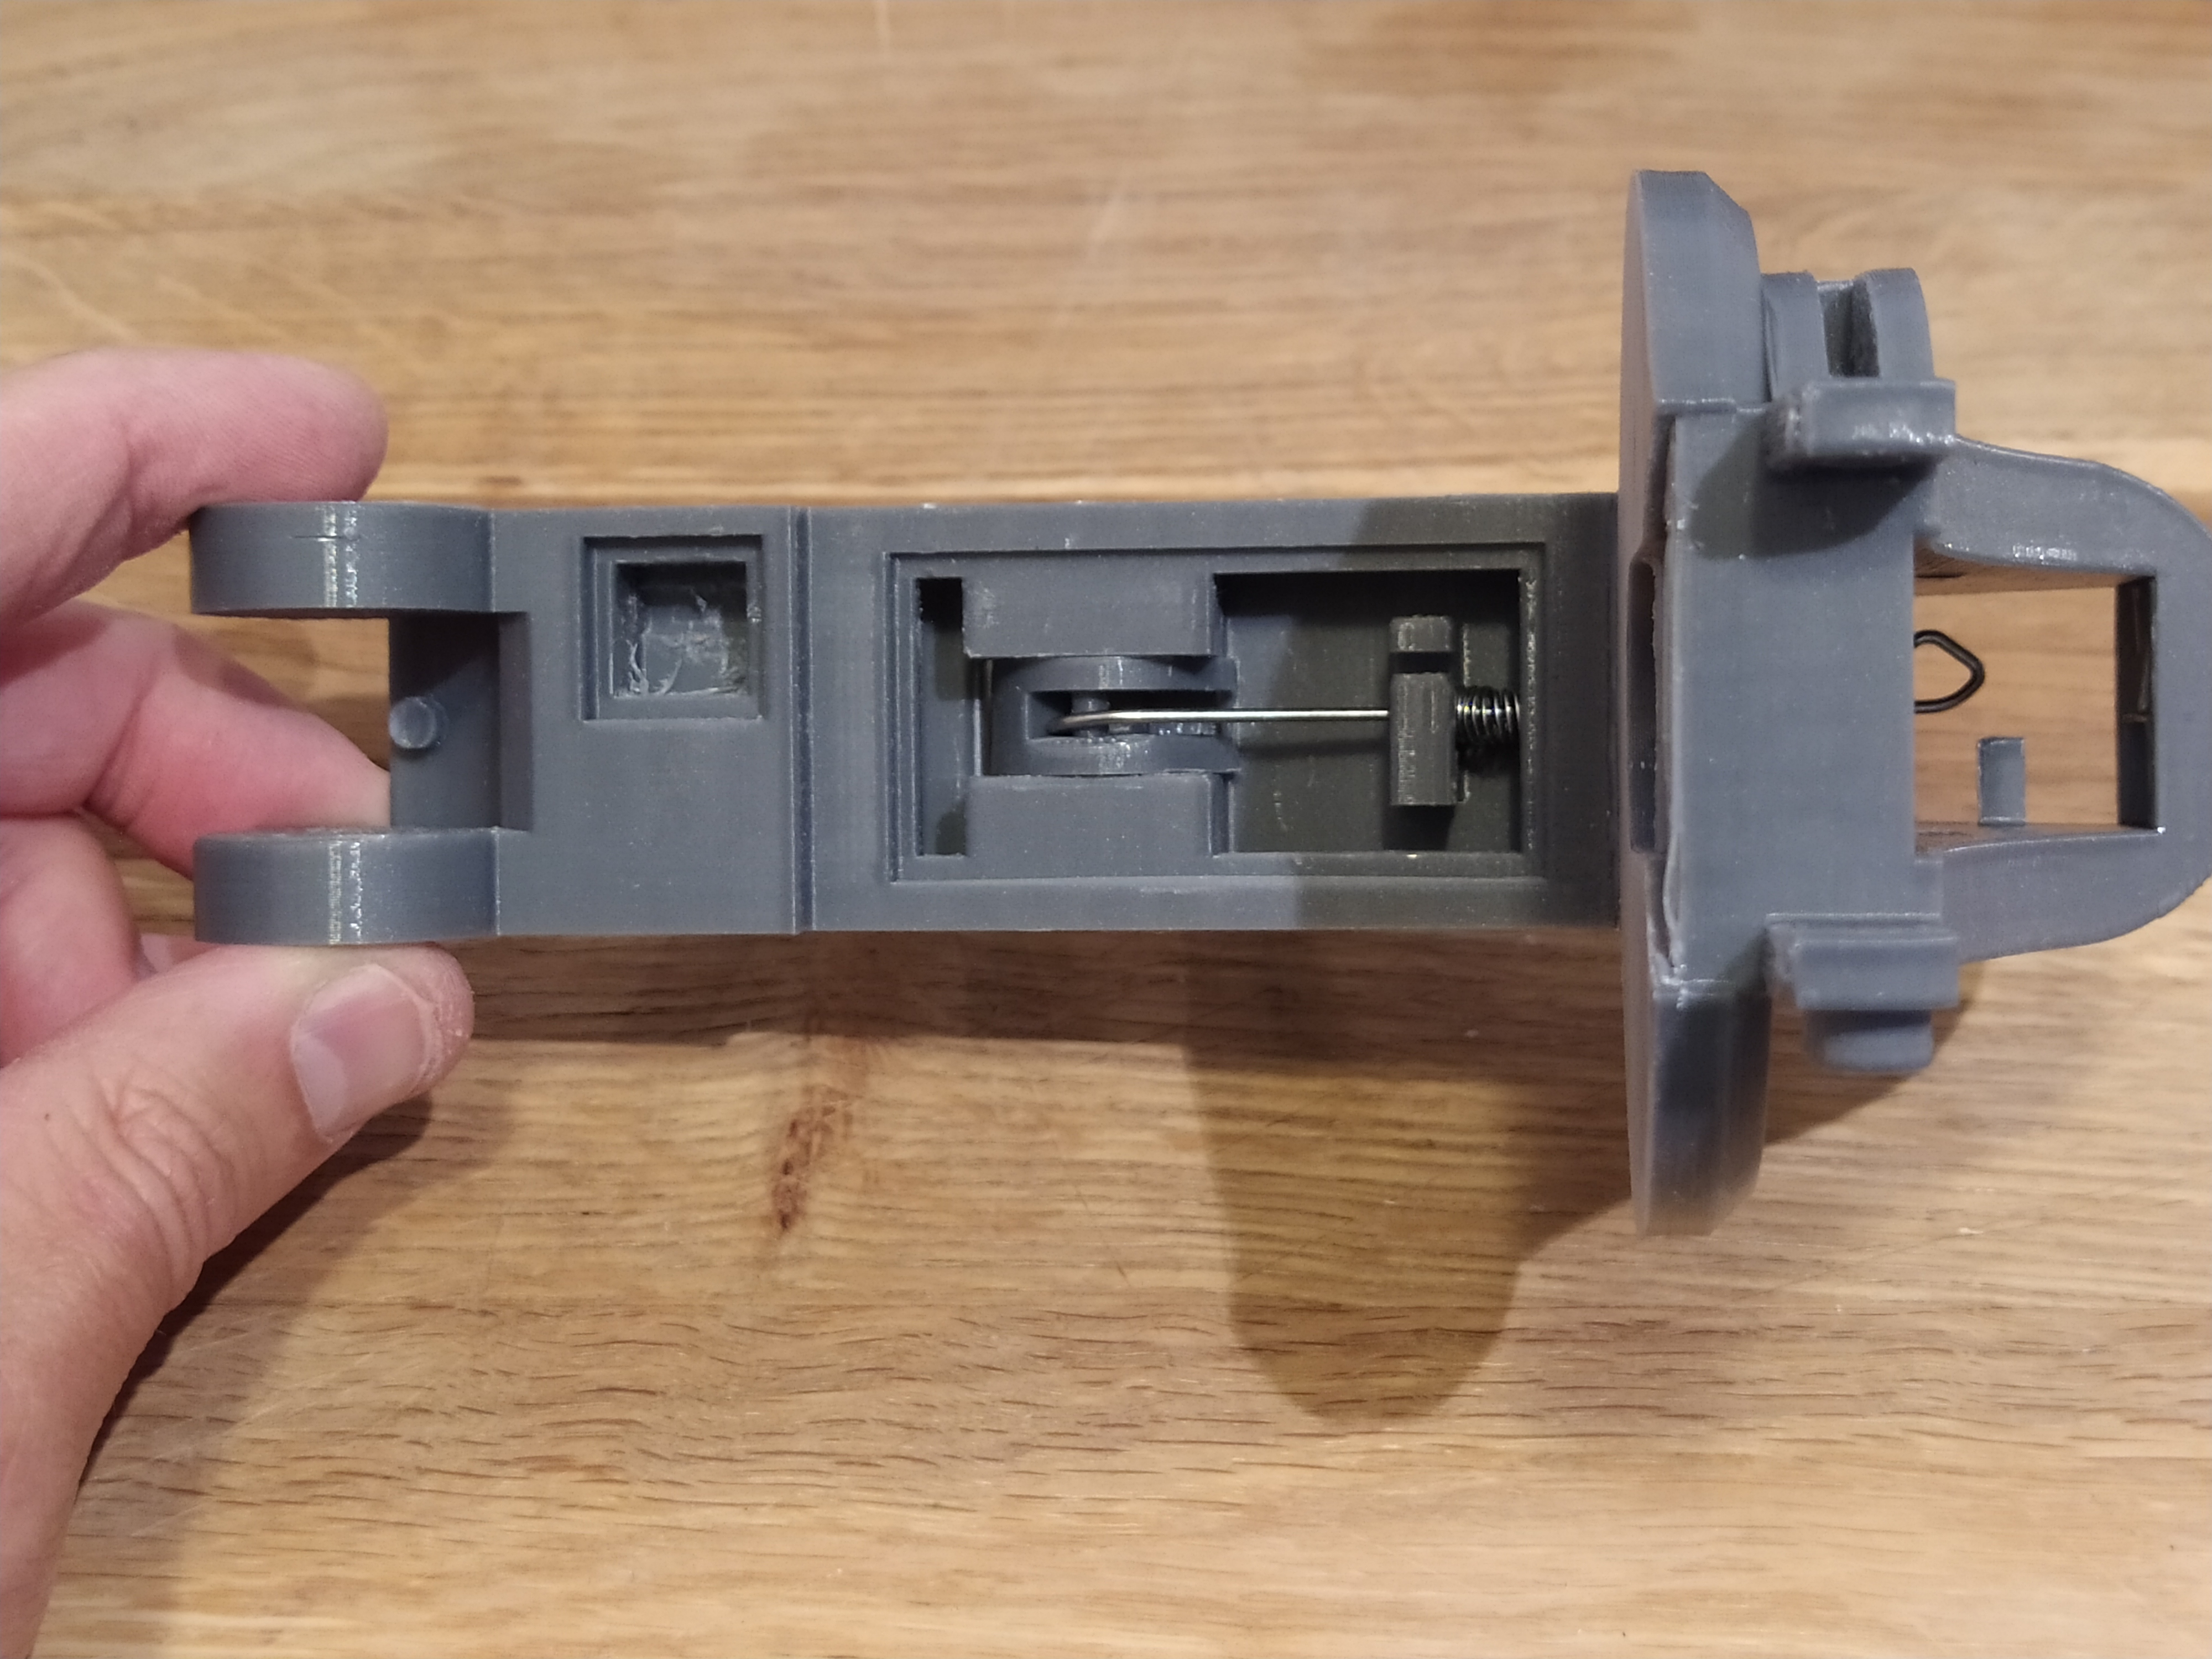

Put a larger spring on the hammer pin and mount the hammer with two screws. If you have some piano wire leftovers. Make a little hook at the end of it and try to grab the end of the hammer spring and pull it to mount it on the backframe.

Step 5
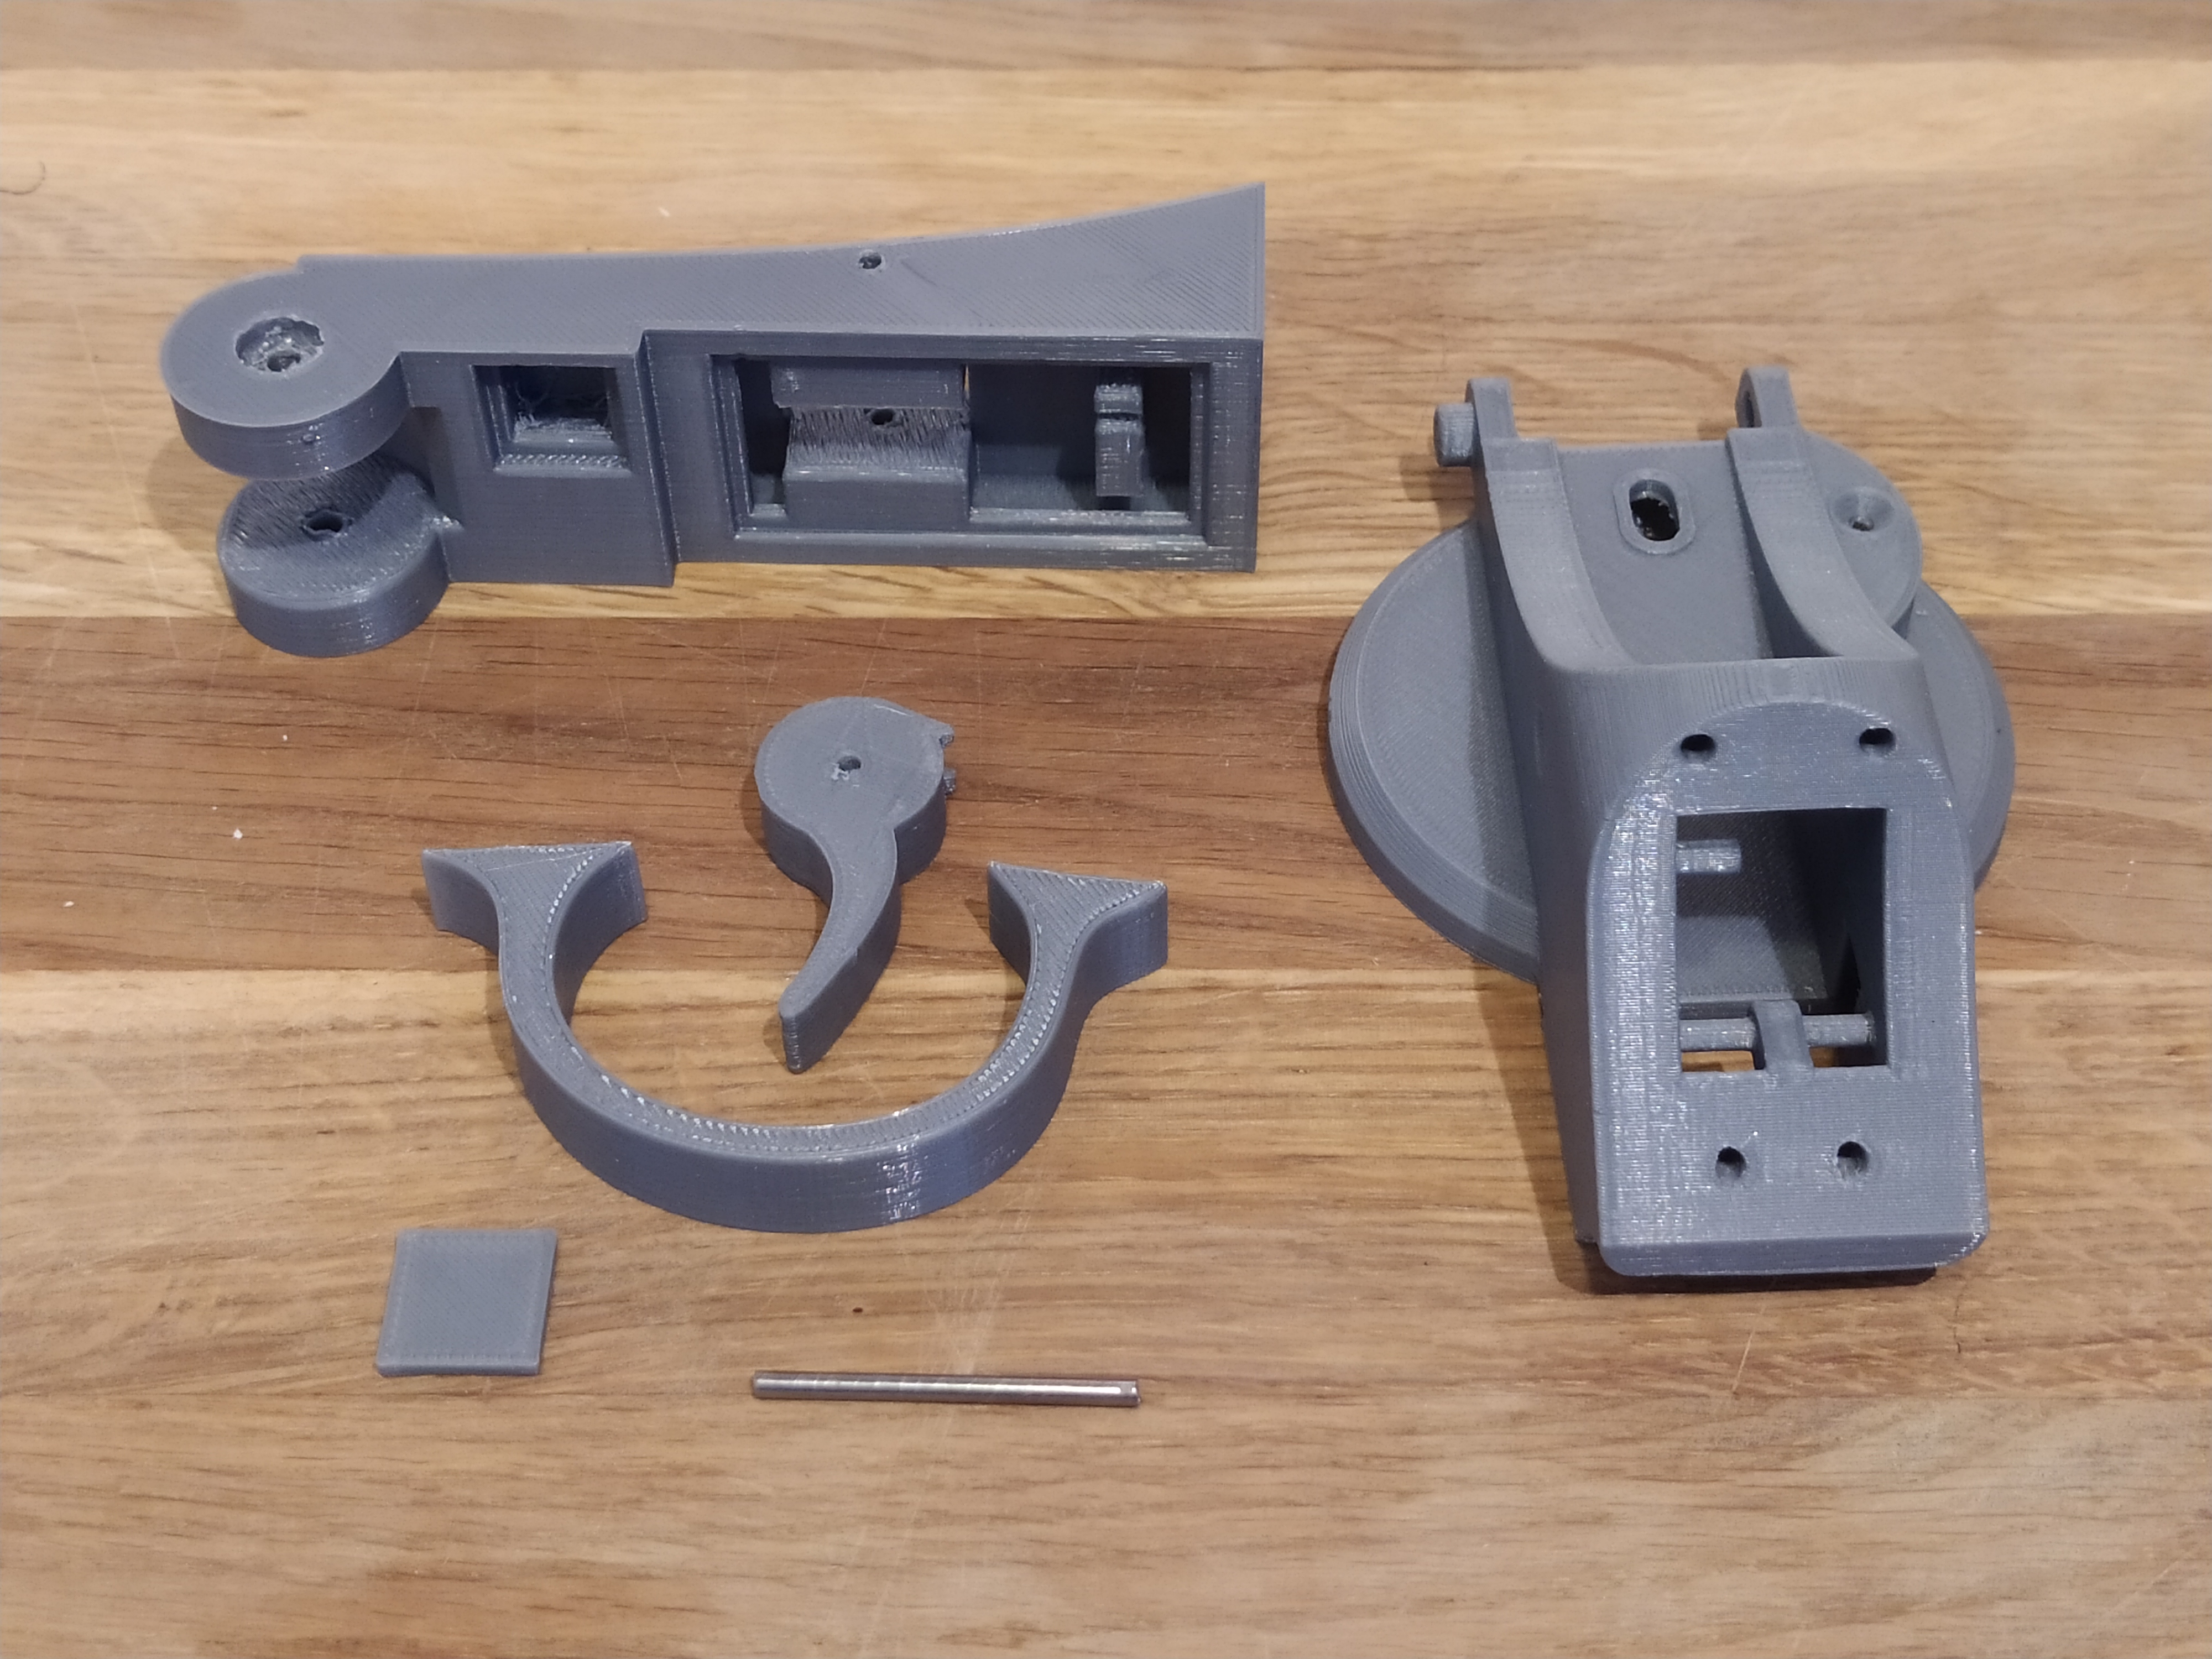
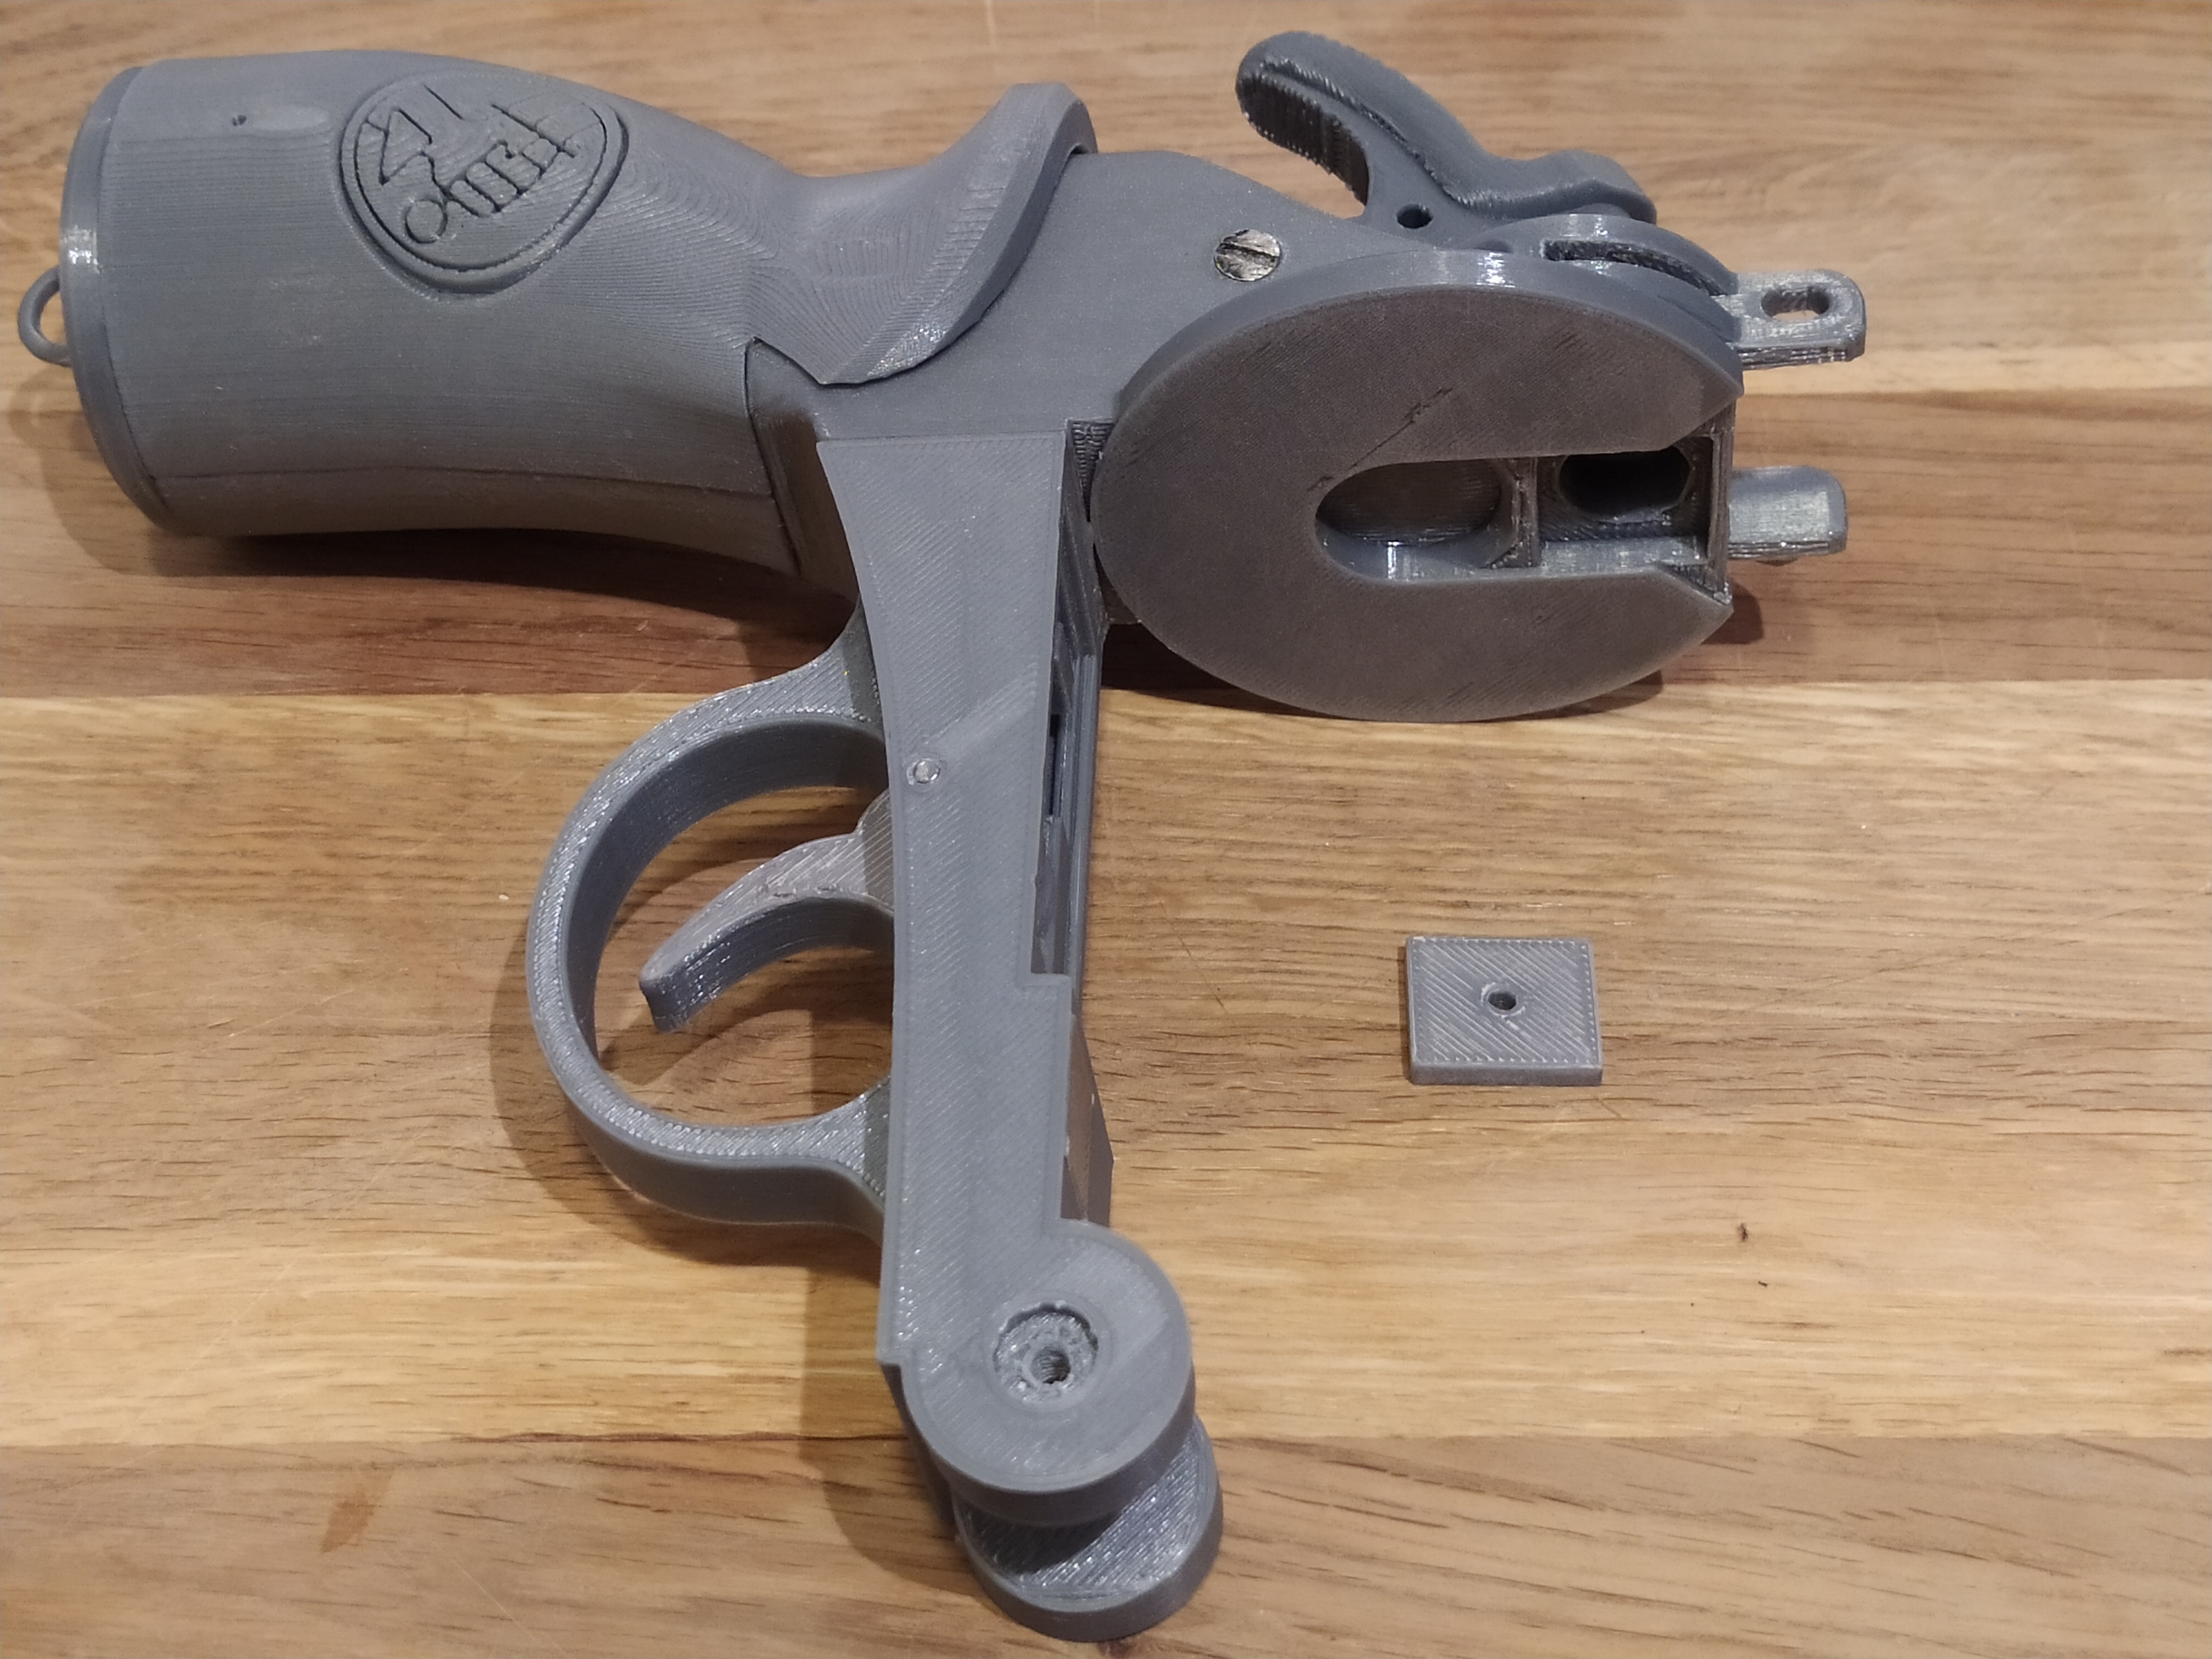
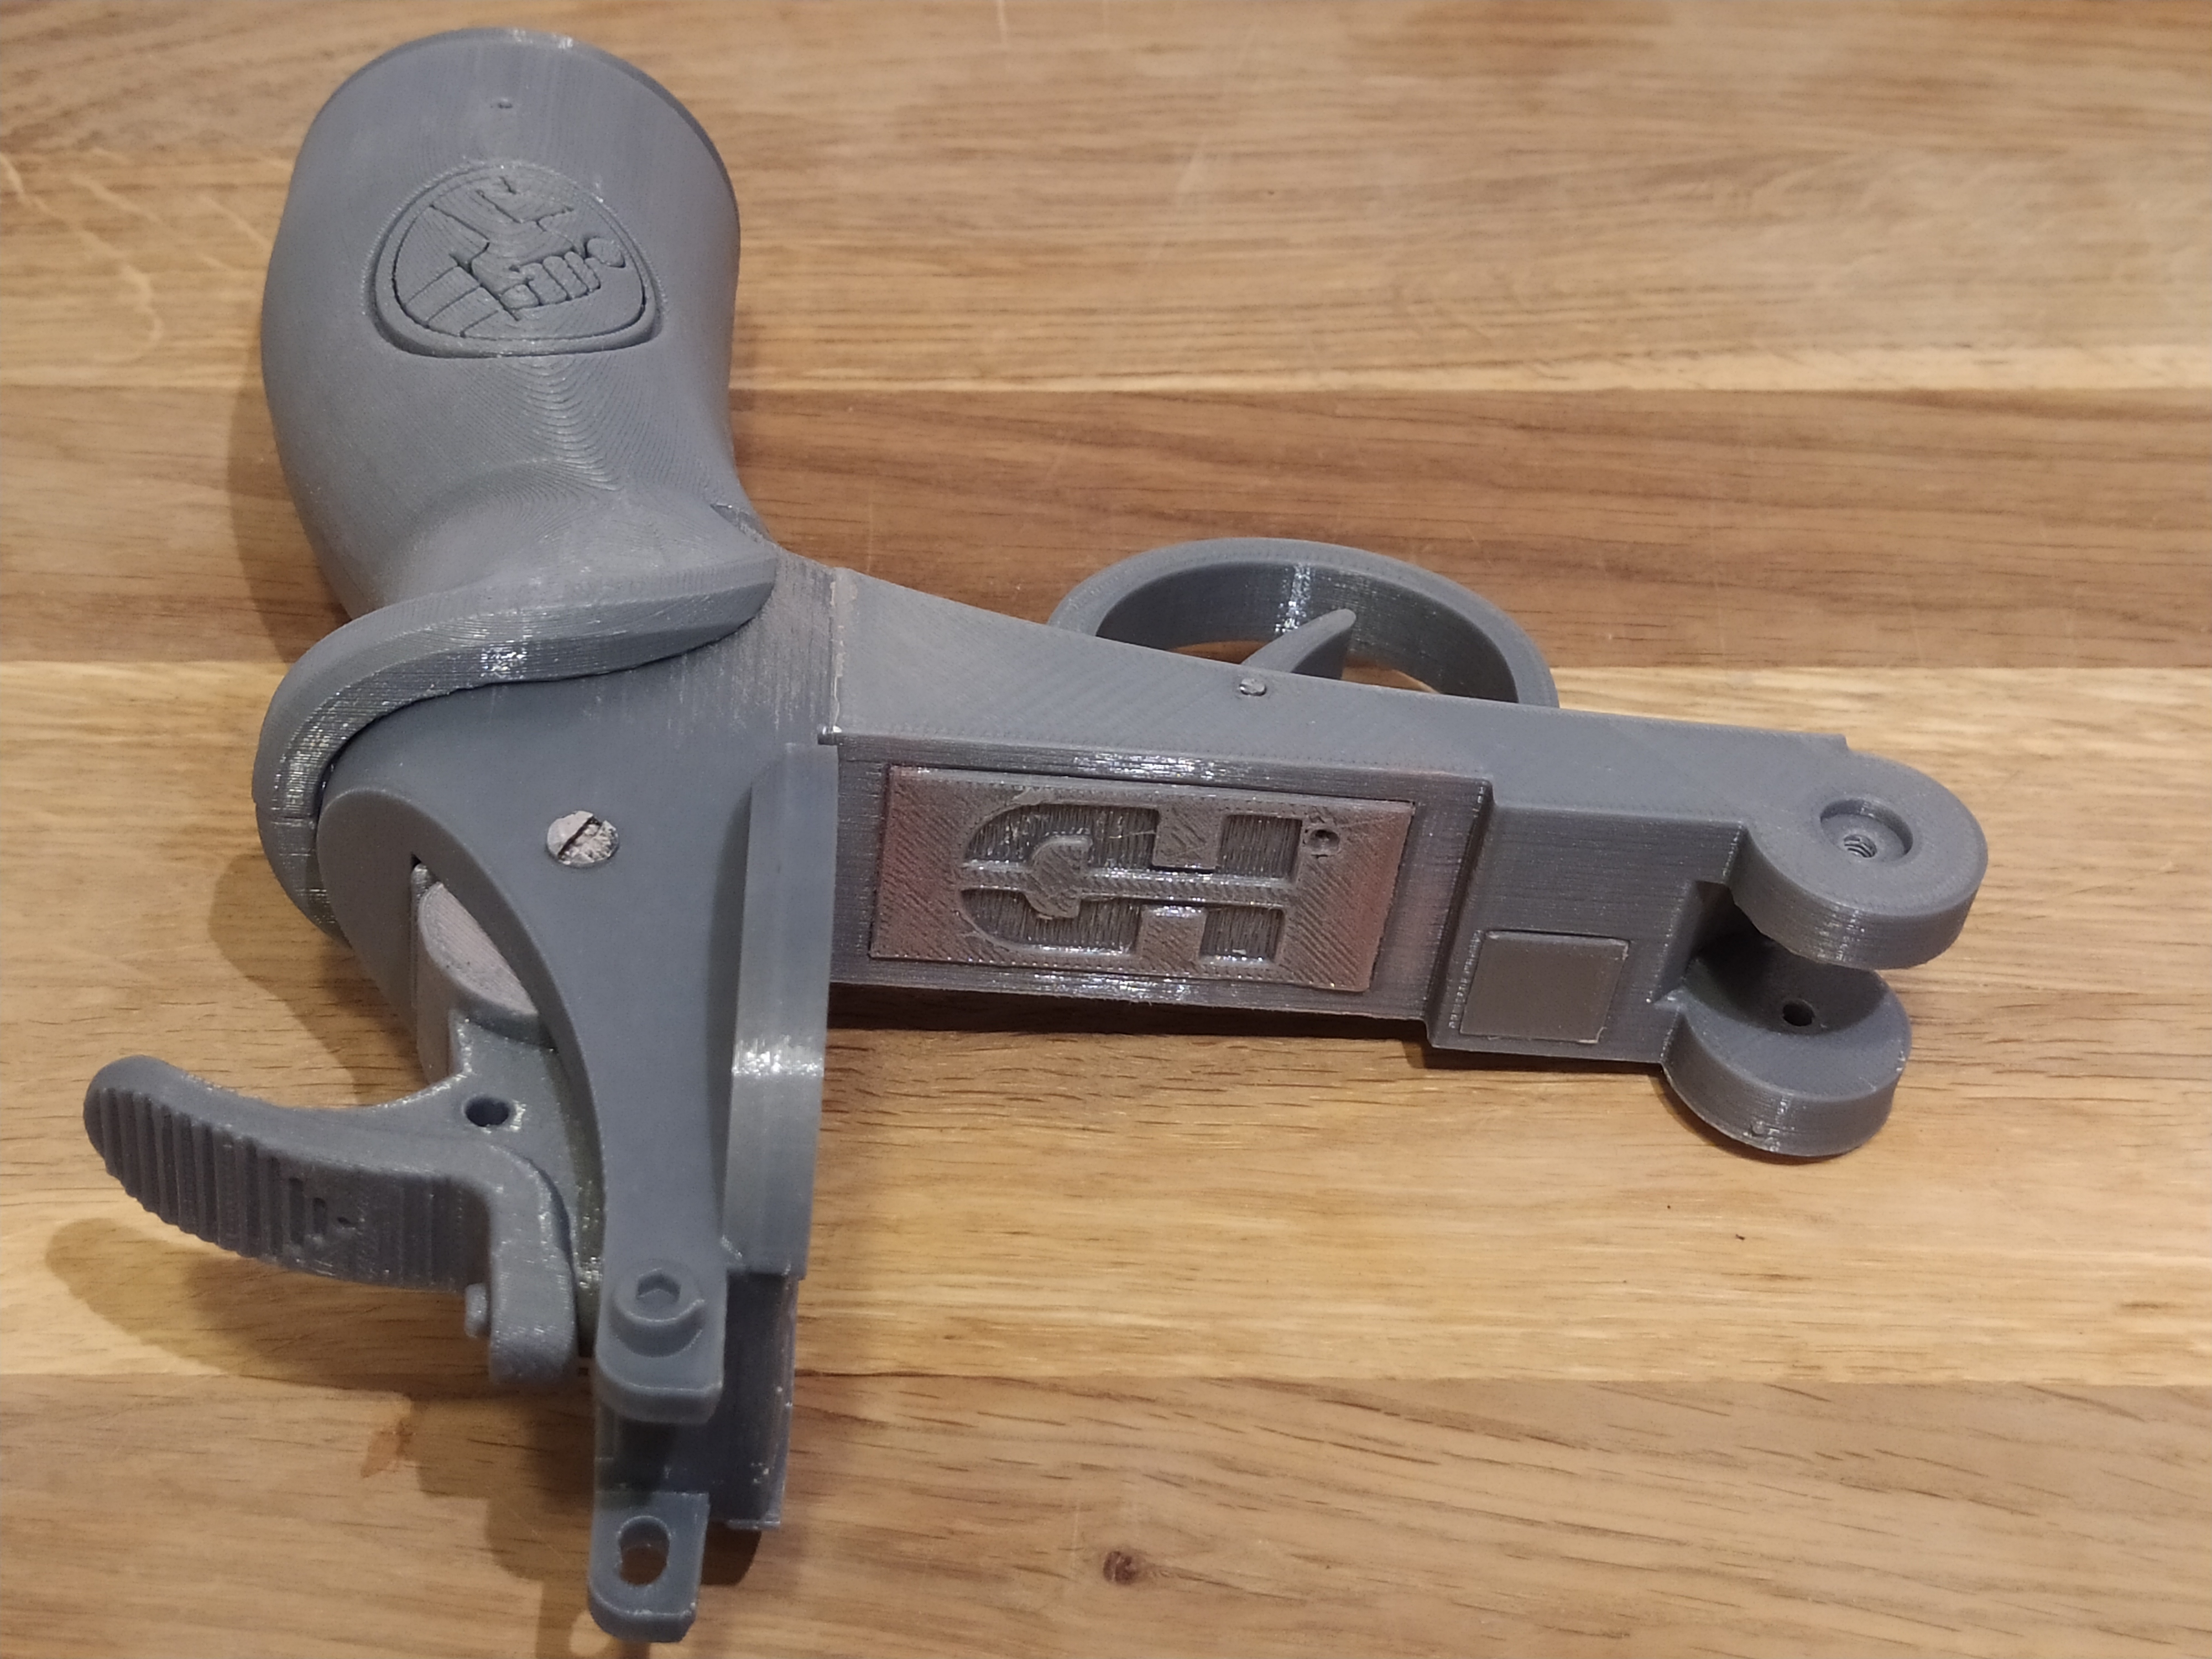
Now it's time to mount the Handle-L.stl, Handle-R.stl, BackFramePlate.stl, TriggerPlate.stl and PinPlate.stl Begin with gluing Handle-L.stl and Handle-R.stl together. And mount the handle with four screws. To cover the hole on the back frame for future electonics this part(BackFramePlate.stl) is needed. BackFramePlate.stl, TriggerPlate.stl and PinPlate.stl: Printed with 0.2 mm and 100% infill Handle-L.stl and Handle-R.stl: Printed with 0.2 mm and 20% infill
Step 6
Now you can add the cylinder to the gun barrel. Here you can choose between cylinder with bearings or without. Parts you need if you choose cylinder with bearings: 2 bearings(11 x 5 mm), 5 small magnets(5 x 2 mm), small spring, screw(80 x 4 mm) and two printed parts (Cylinder_with_Bearrings.stl, washer.stl and cylinder_tube.stl). If you choose the cylinder without bearing you only need: cylinder.stl, washer.stl, screw(80 x 4 mm), 5 small magnets(5 x 2 mm) and a small spring. Cylinder.stl and Cylinder_with_Bearrings.stl are printed at 0.2 mm and with 20% infill Washer.stl and cylinder_tube.stl are printed at 0.2 mm and with 100% infill


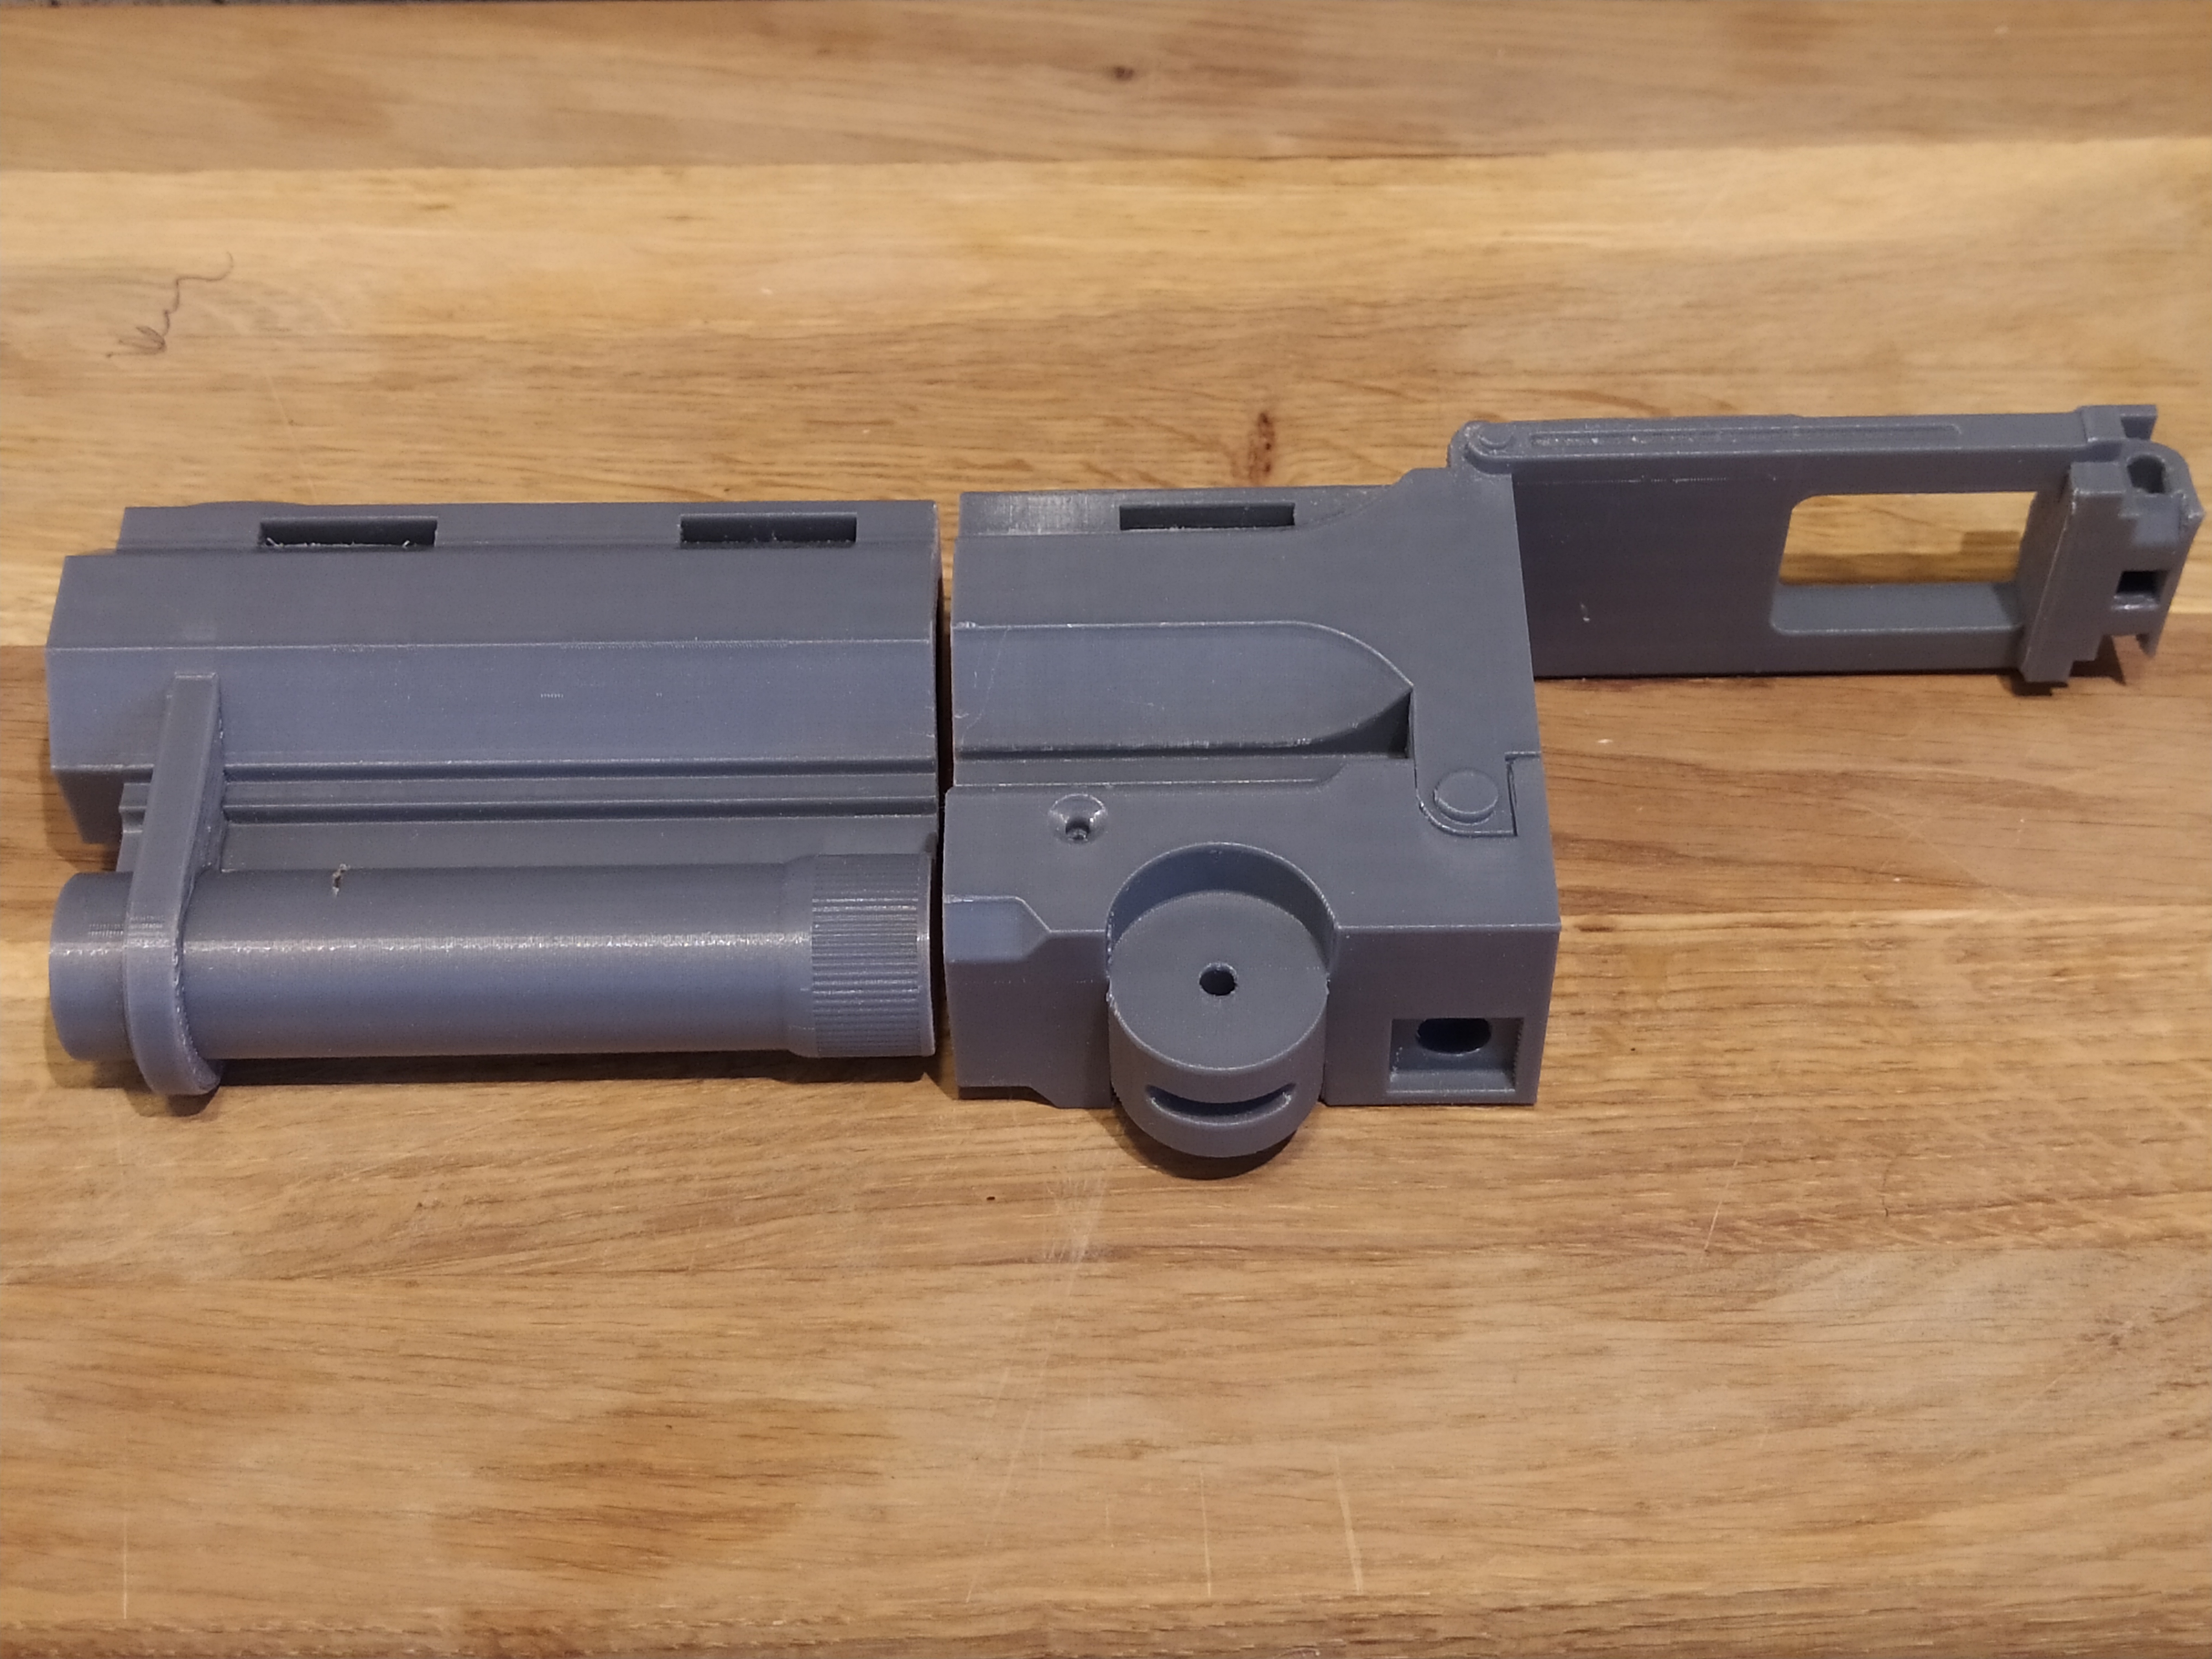
Step 7
Time to mount the gun barrel and the back frame together using two screws and two screws, one on each side just for display.
Step 8
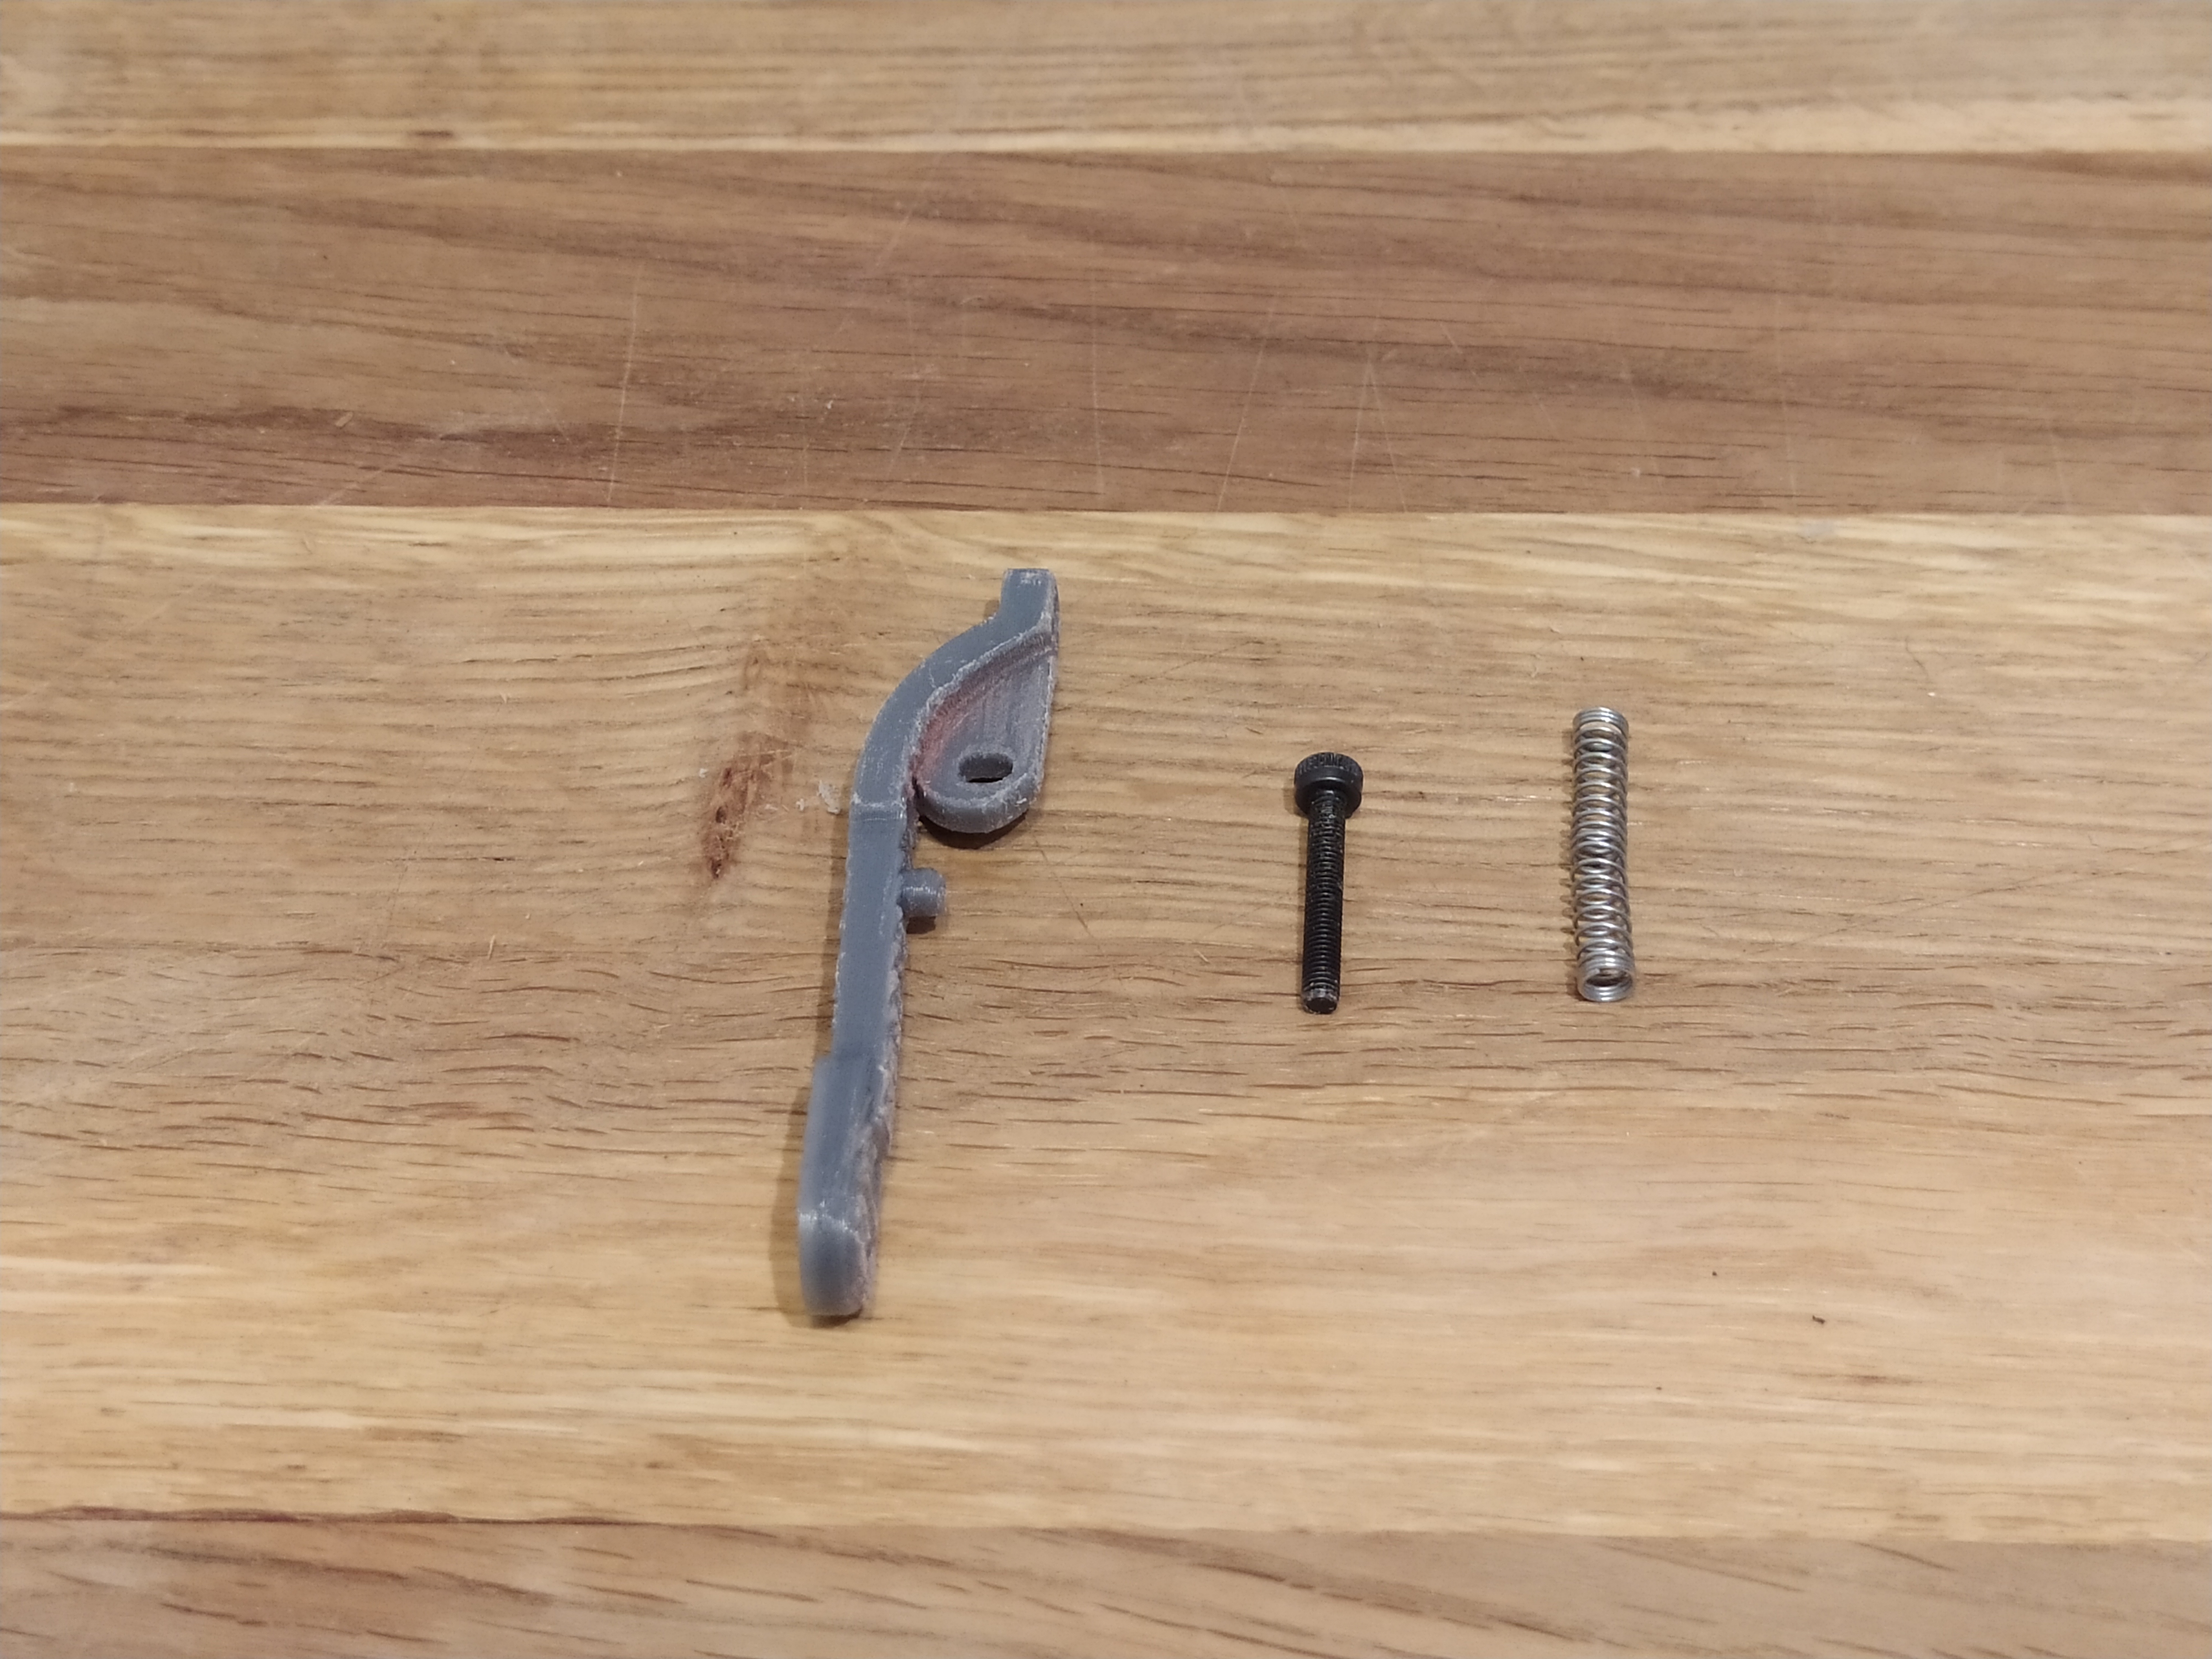
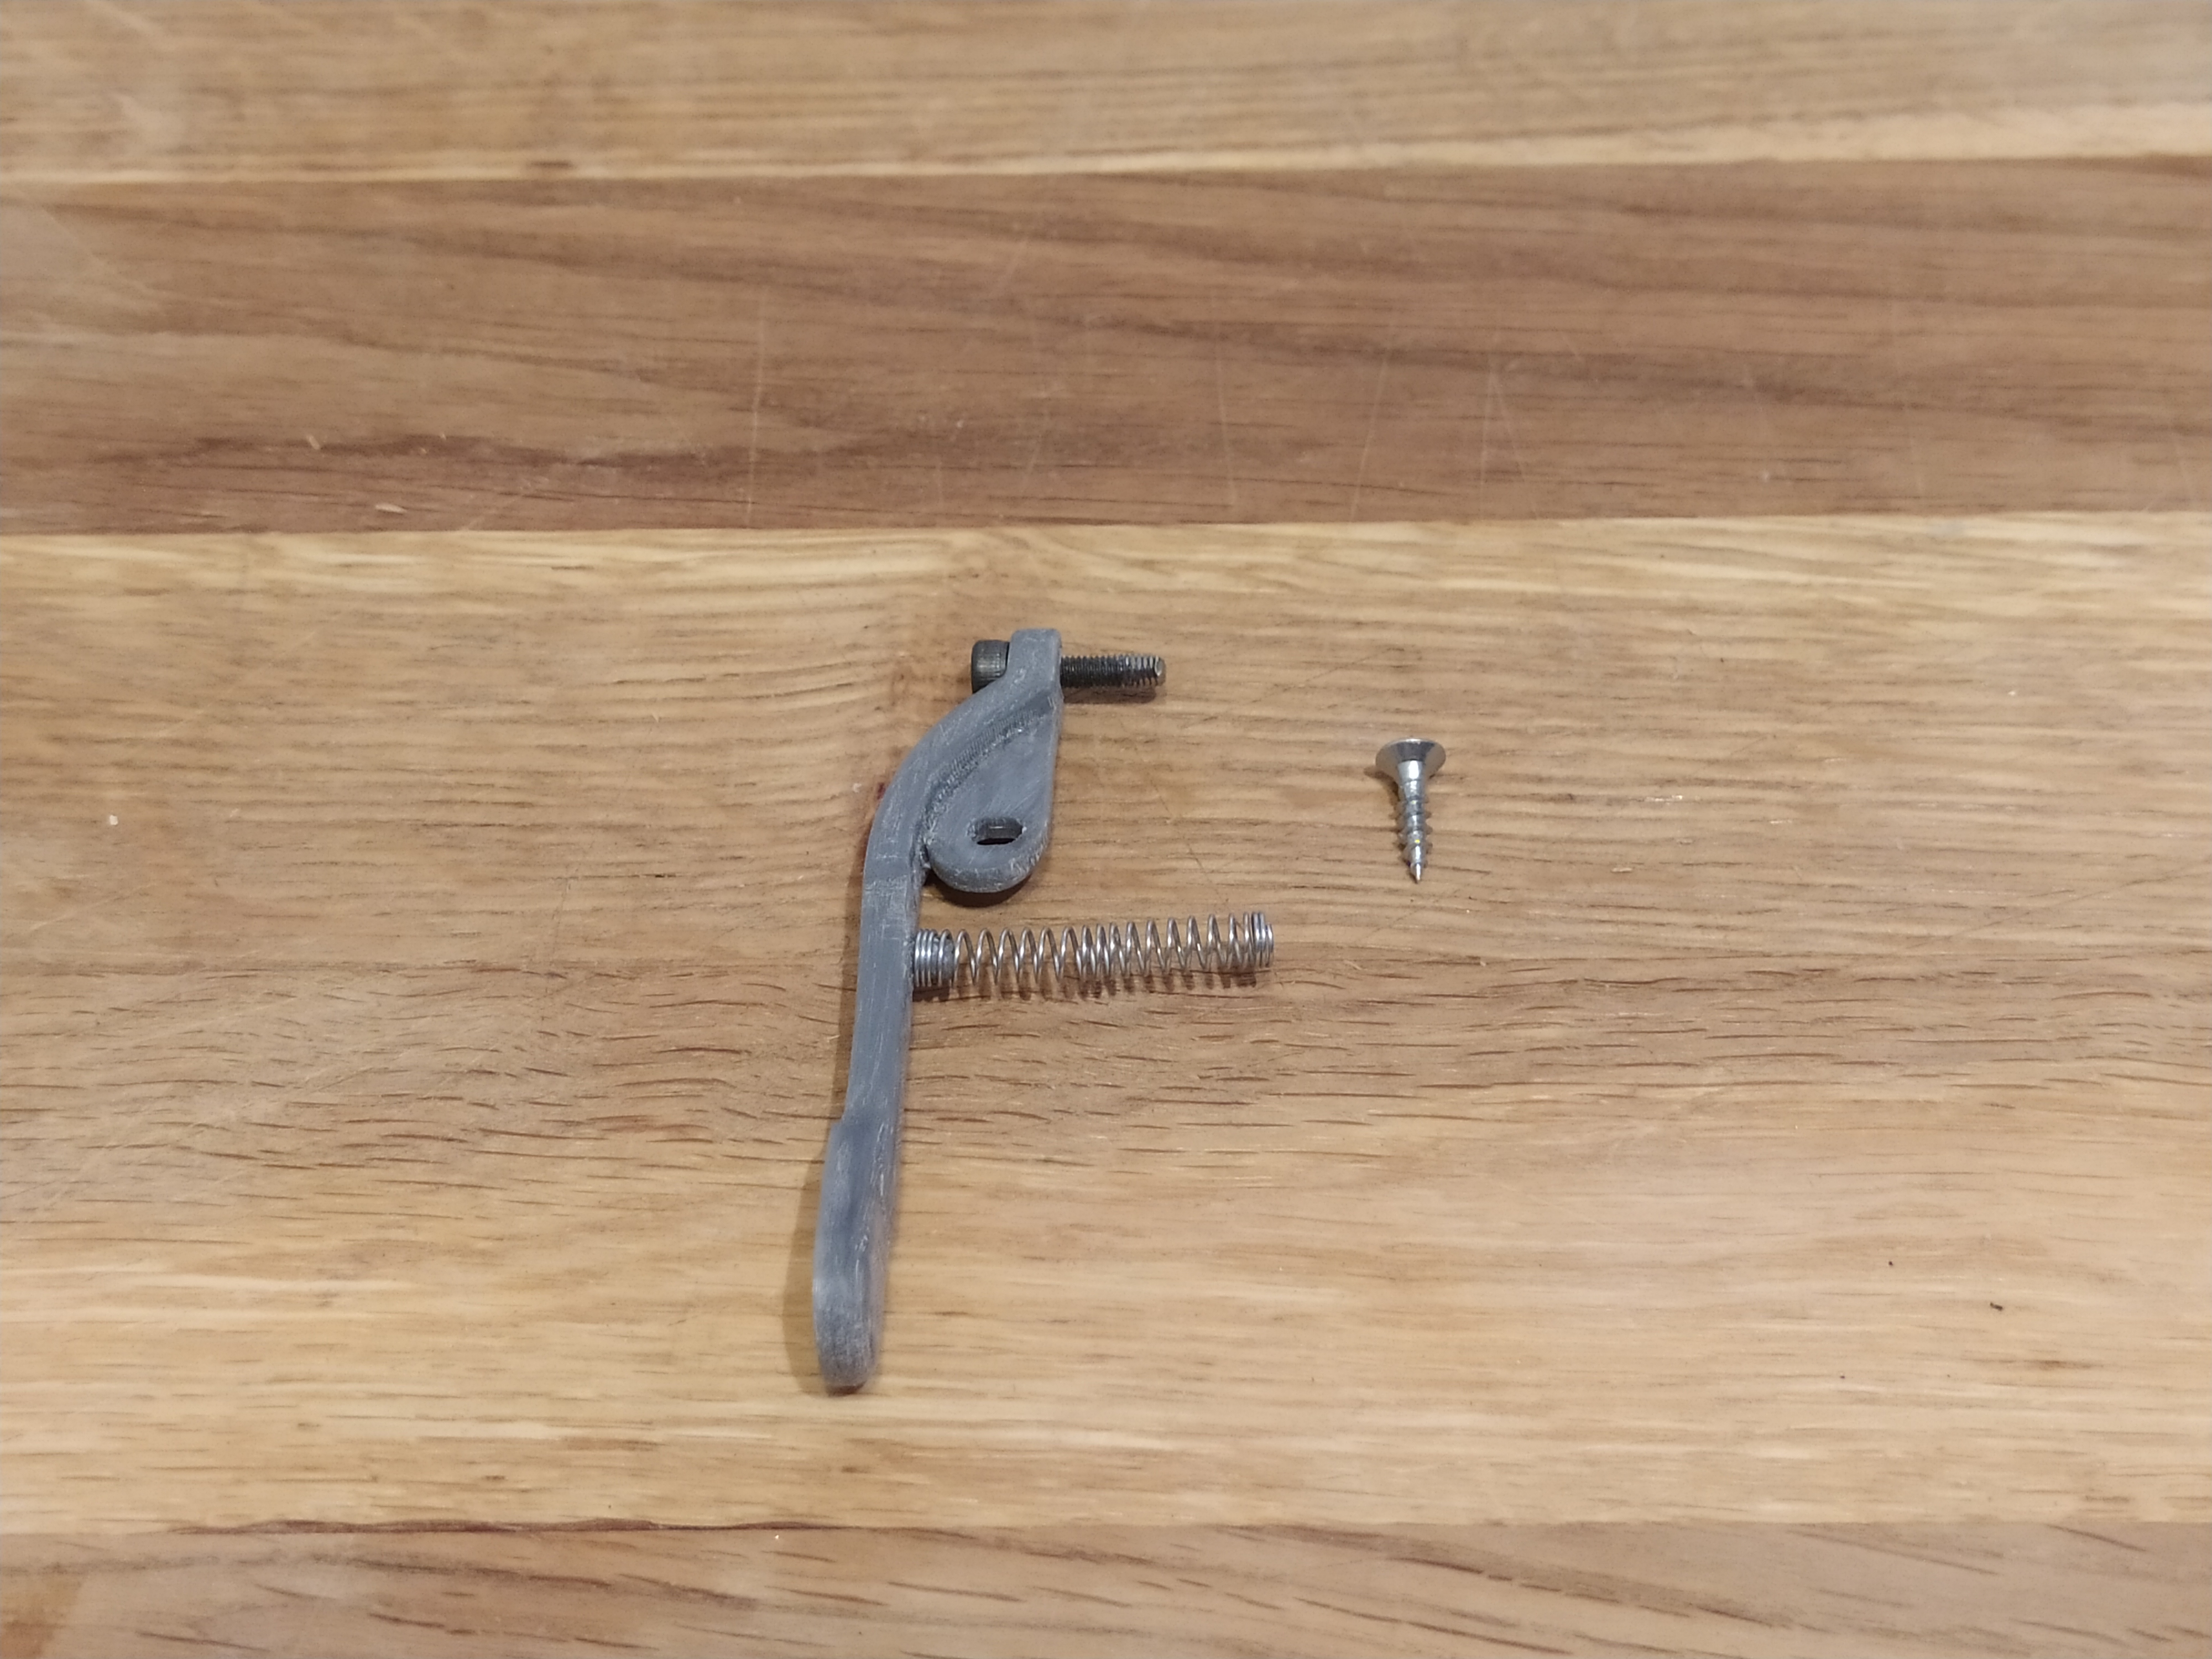
Mount the Lockarm.stl to the back fram using lockarm.stl, spring(from a ballpoint pen) and two screws. The screw on the lockarm should be about 12 mm long. If the lockarm doesn't move far enough it can be that the spring is to long. Lockarm.stl are printed at 0.2 mm with 100% infill
Last step
Mount the HandlePlate.stl with two screws and you are done.