by Winslow
SIZE:
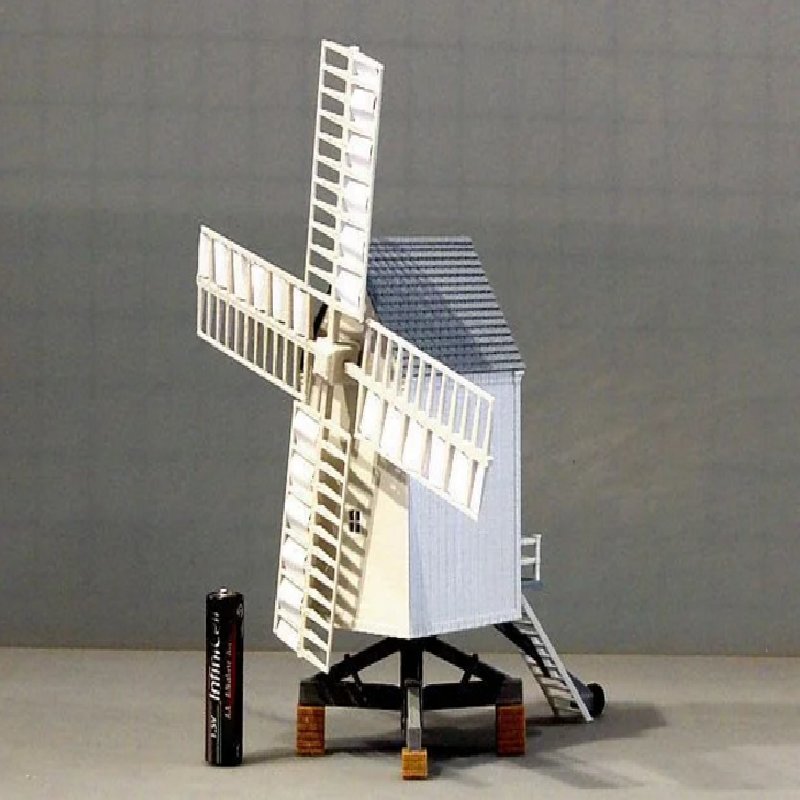
8.5cm. x 15.5cm. x 15cm.(to top of roof)
Assembled sails 18cm. dia.
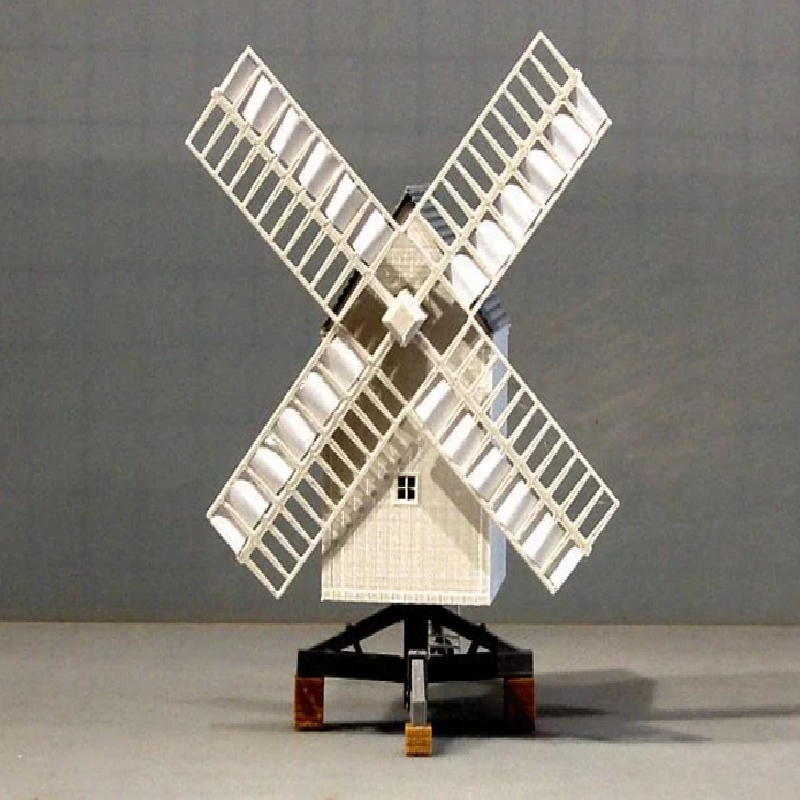
The model in the pictures was printed on my MakerBot Replicator+ at the default settings of 10% infill and a layer height of 0.2mm. No supports are required if the parts are printed in the orientation shown.
You will need to print
2 x Base A
2 x Base B
2 x Bricks A
2 x Bricks B
2 x Caps
4 x Sails
.
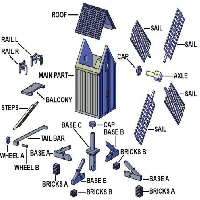
Most parts have slots and pegs for correct positioning. They can be held together permanently with a little superglue. The exploded diagram above shows how the parts fit together.
Begin by assembling the Base parts and Bricks. (Note that Bricks A fits beneath Base A and Bricks B fits beneath Base A.) Insert Base C into the hole in the base of the Main Part and glue a Cap into the top of Base C to prevent it dropping out.
Assemble the Balcony and Rails, and glue into position at the back of the Main Part.
Insert Wheel B through the hole at the bottom of the Tail Bar and glue Wheel A to the end of Wheel B. Push the Tail Bar through the centre of the Steps, gluing the centre peg into the slot in the Tail Bar. Glue the assembled Steps and Tail Bar into their slots in the Balcony and the Main Part.
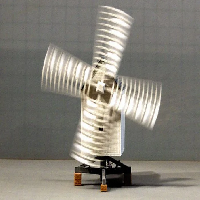
Glue the sails into the slots in the Axle with the flat sides facing front. Cut 1cm. wide strips of paper for sail-cloths and weave them through the sails as in the photo above. Push the axle through its hole in the Main Part and glue a Cap to the end of the Axle to hold it in place.
Finally, glue the Roof into place on top of the Main Part.
The model is loosely based upon “Build Your Own Windmill” by Edmund V. Gillon published by Perigee Books.