by blackcaos
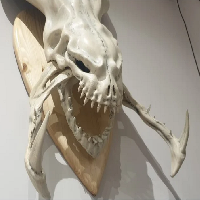
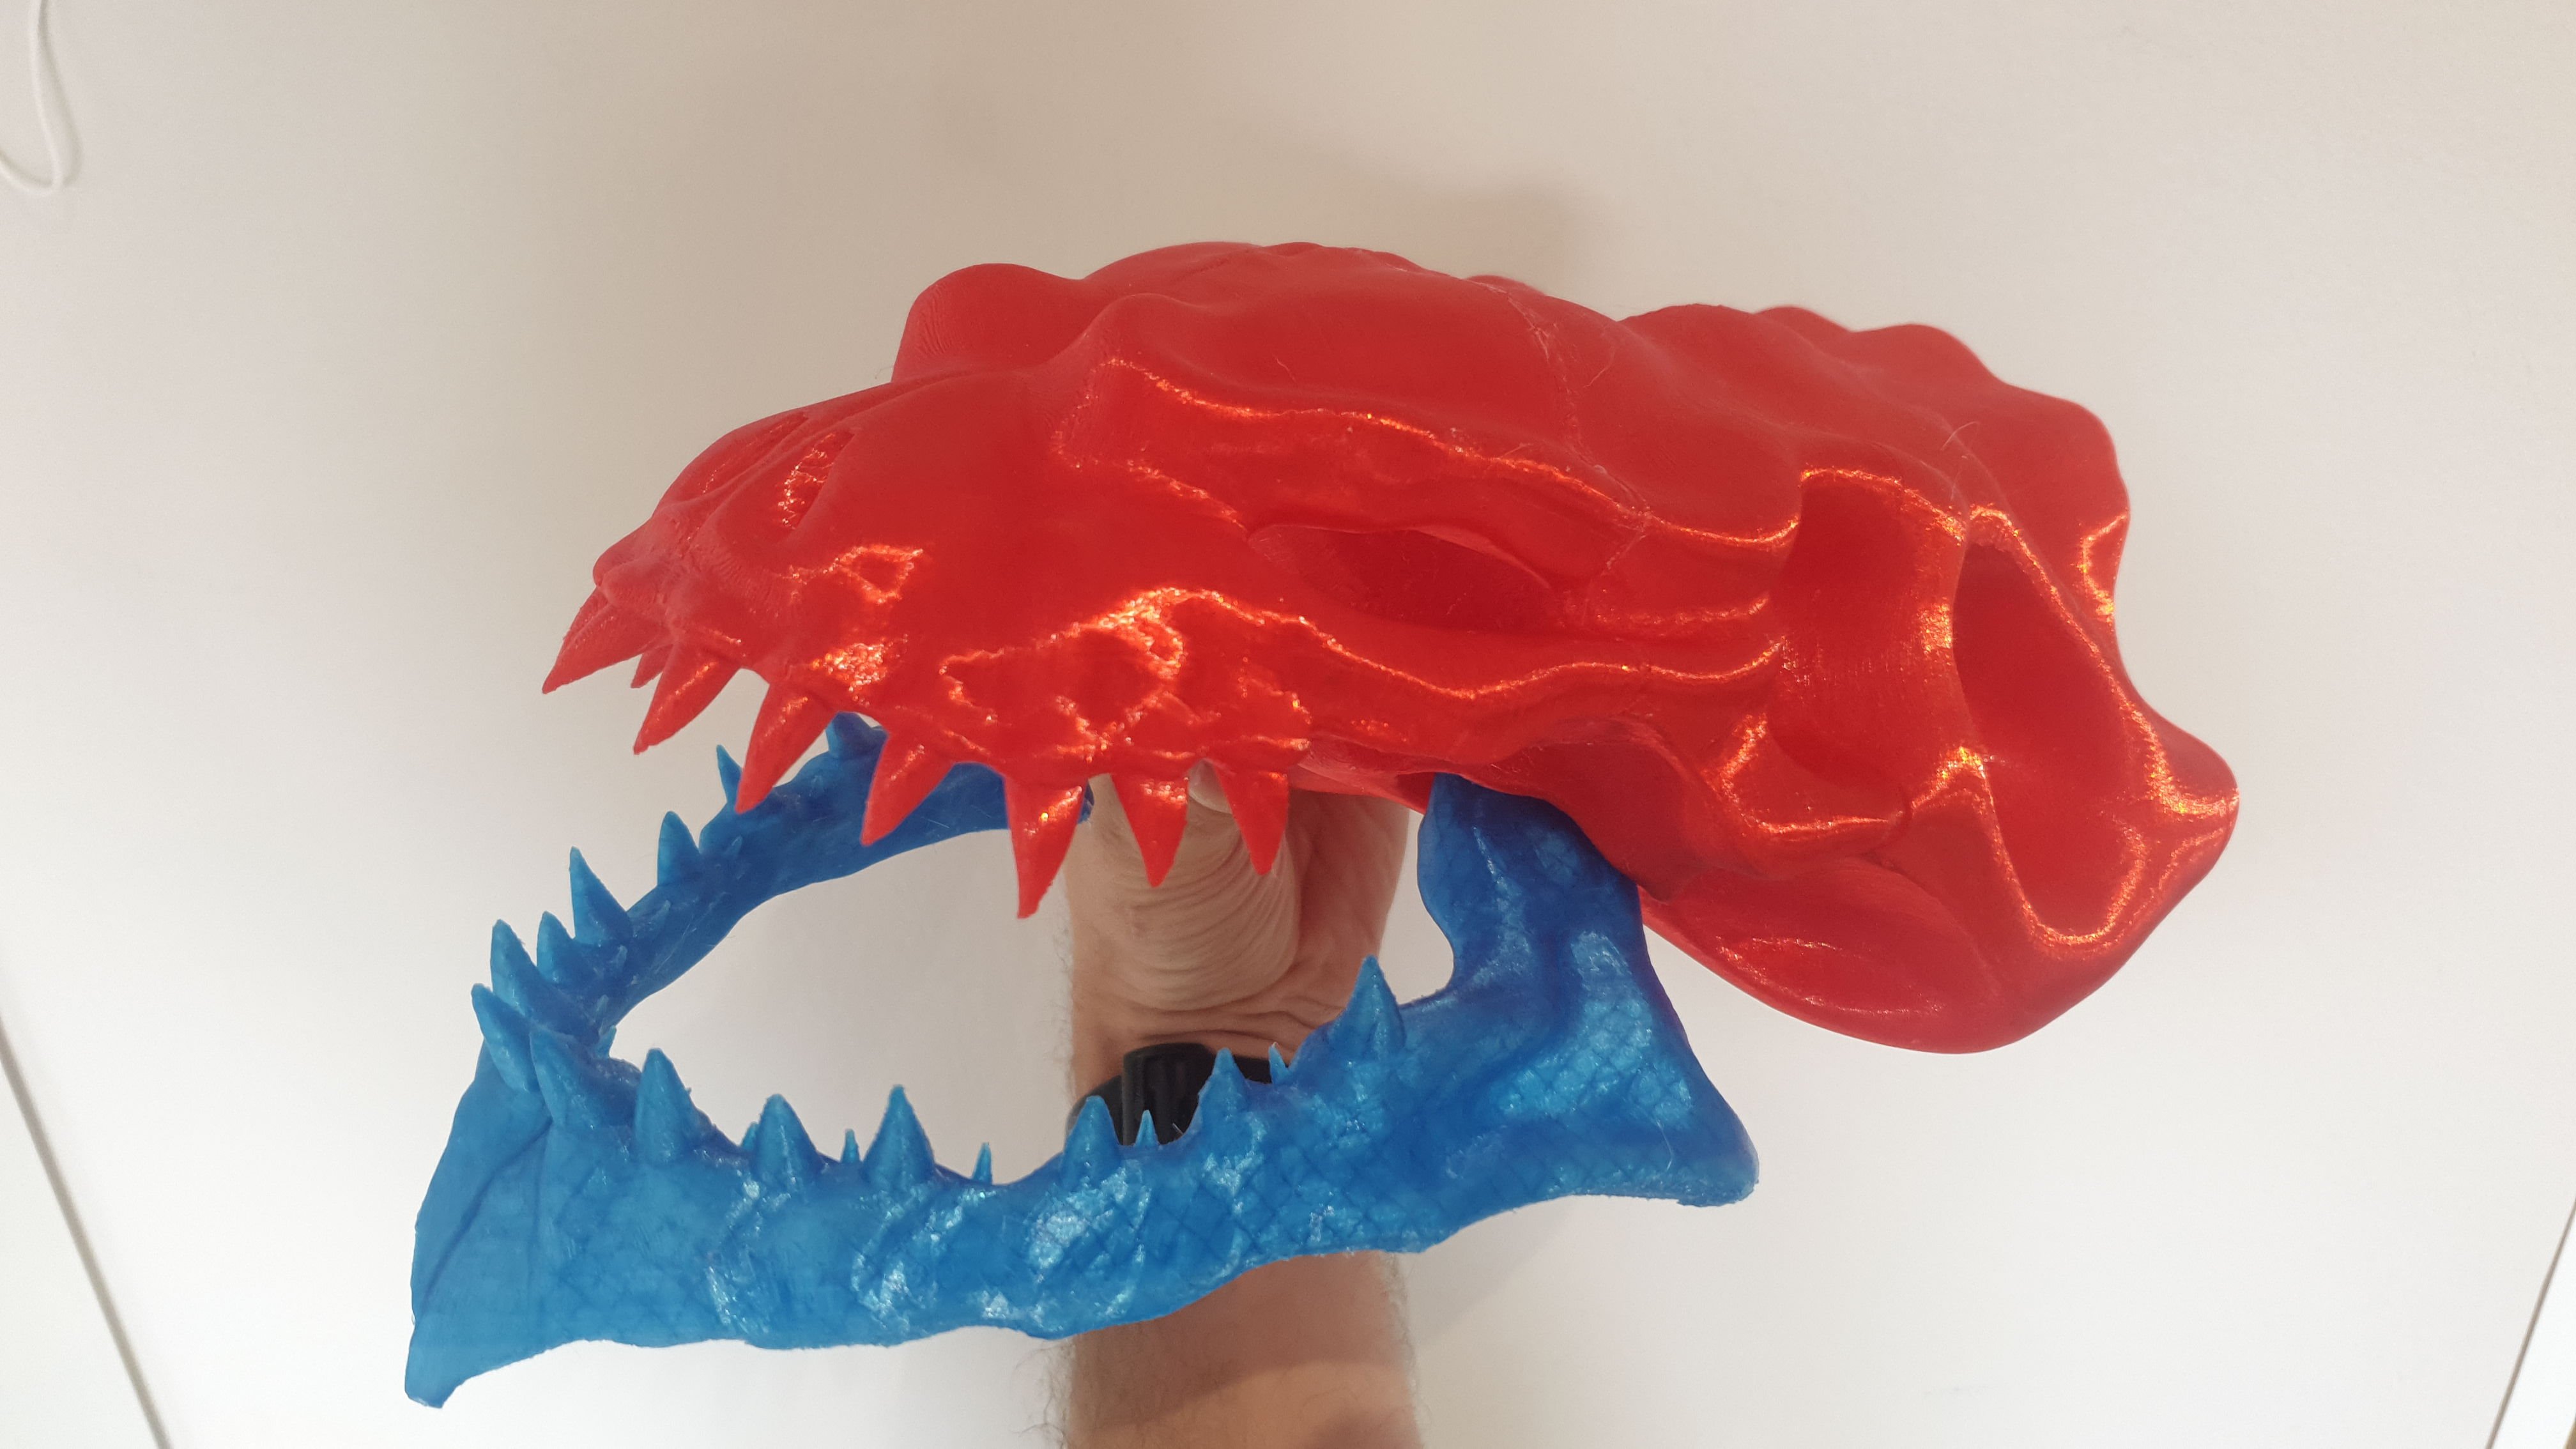
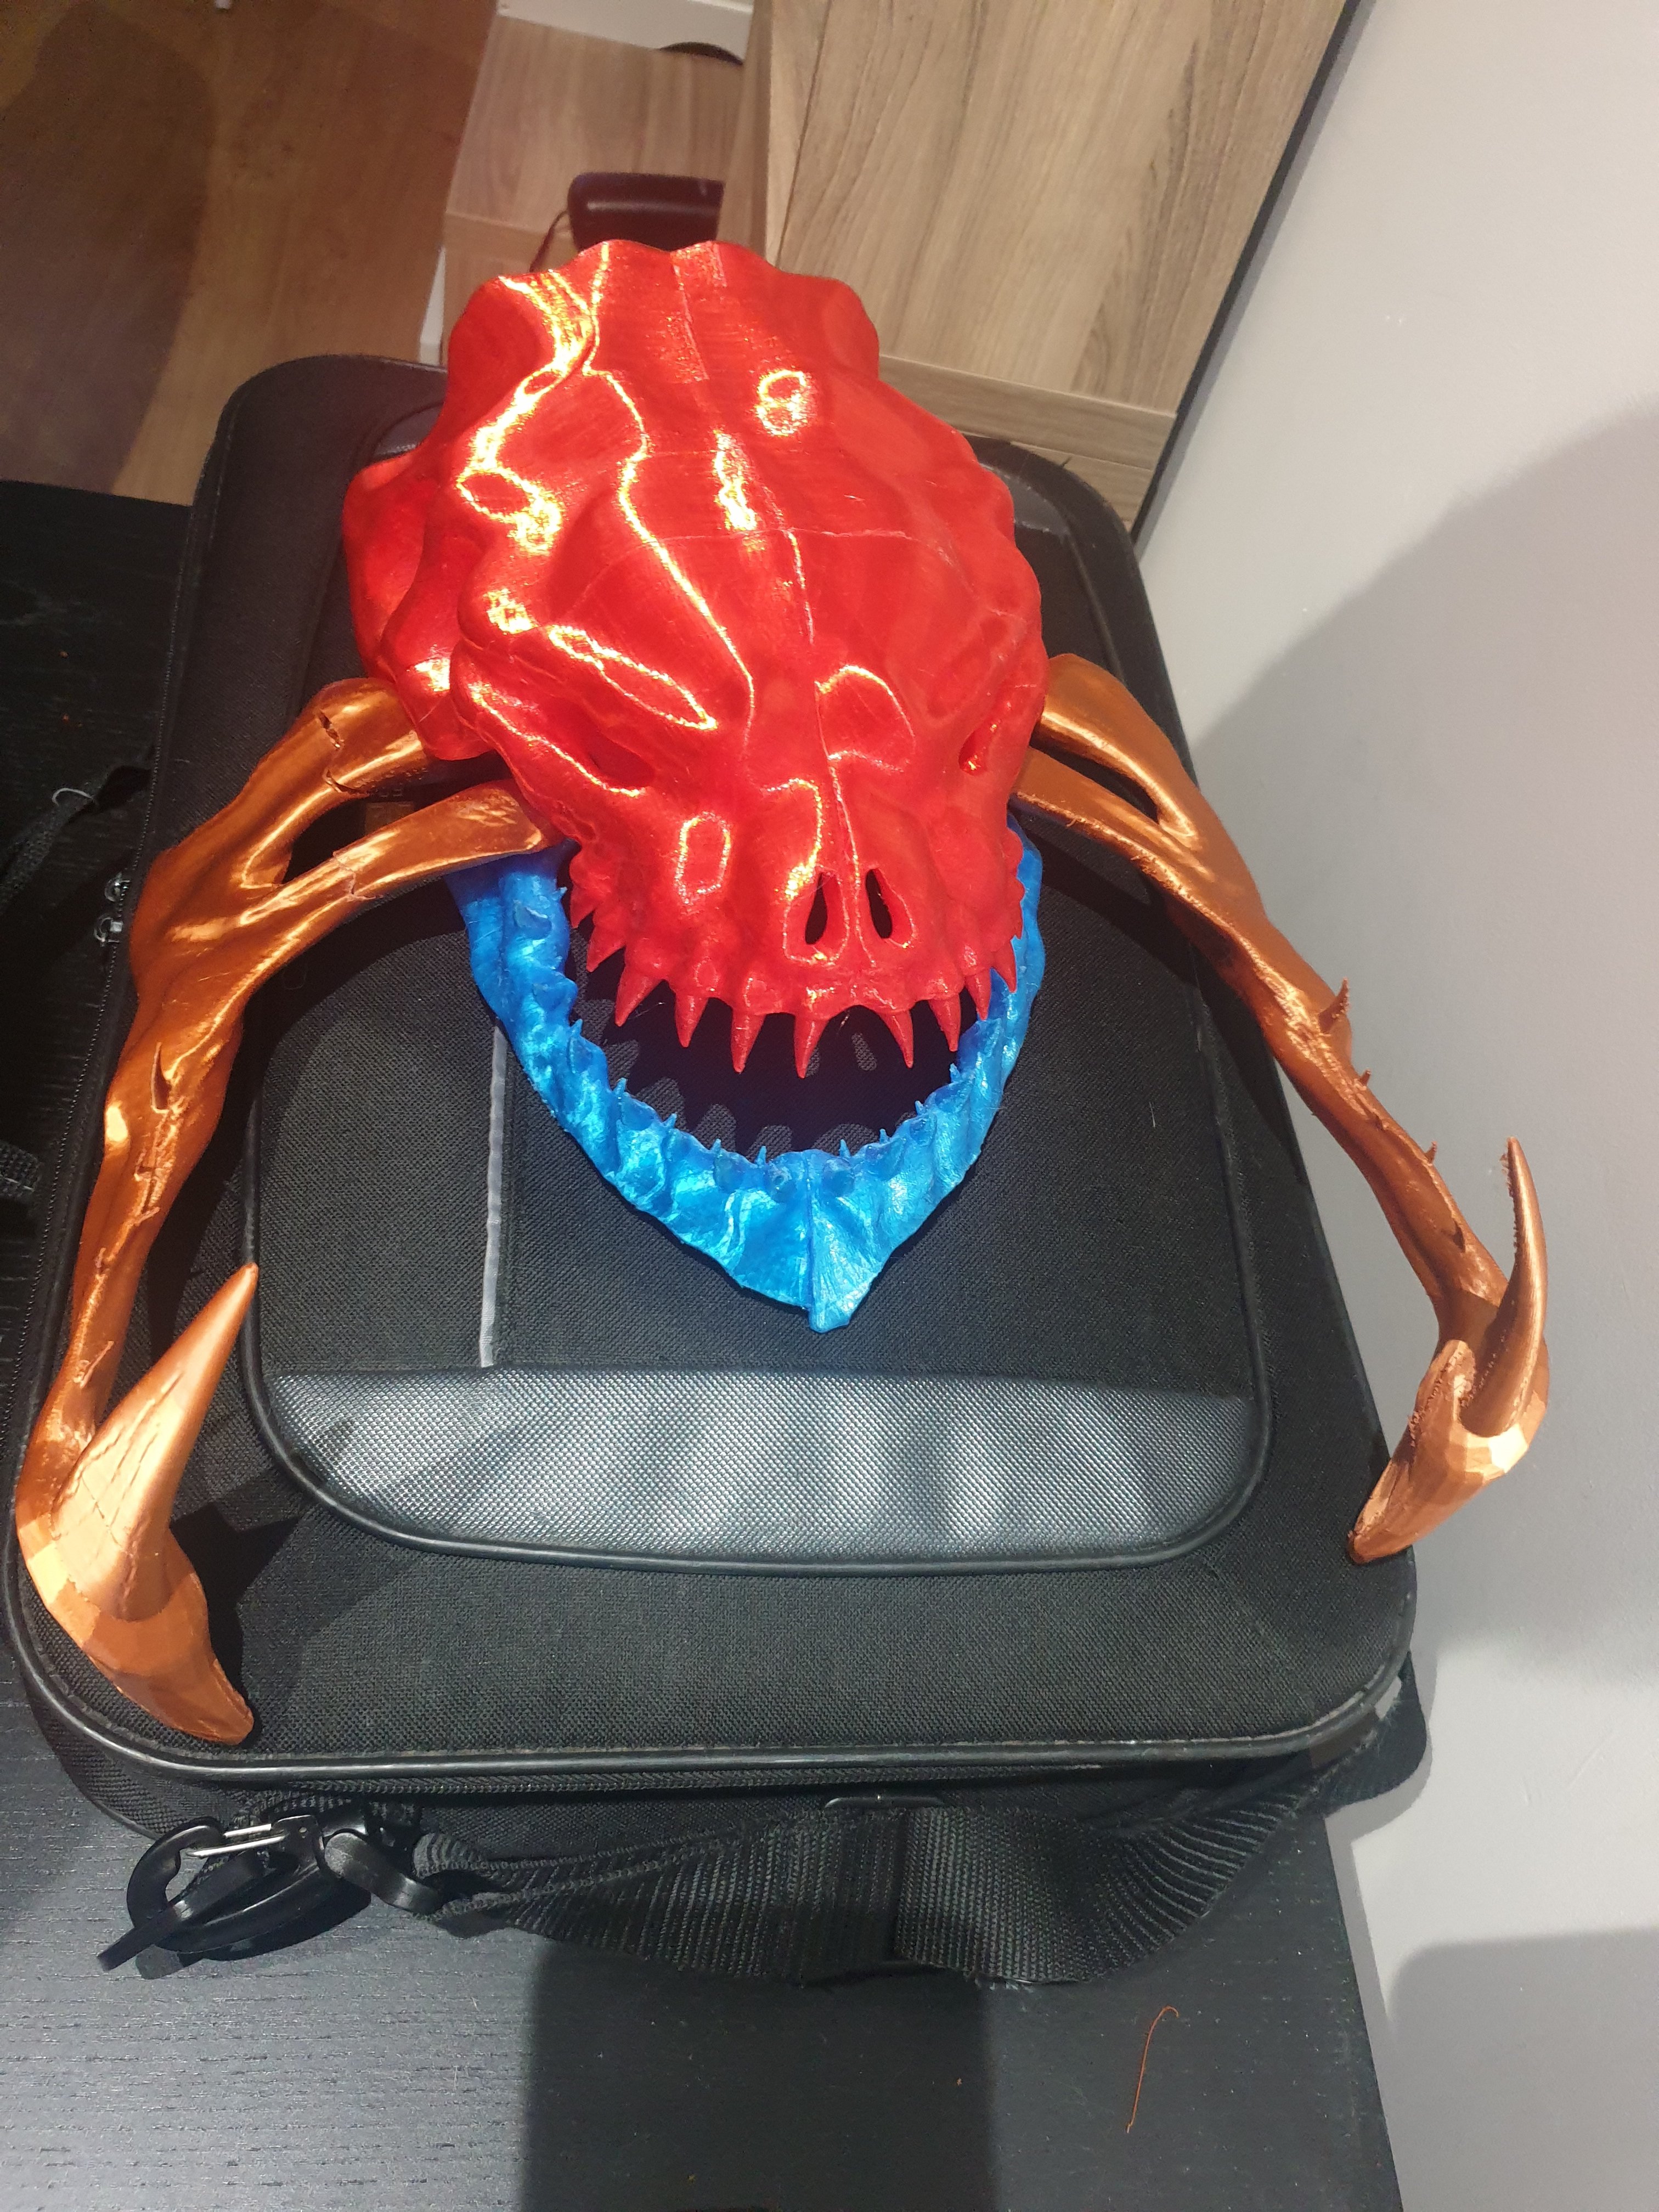
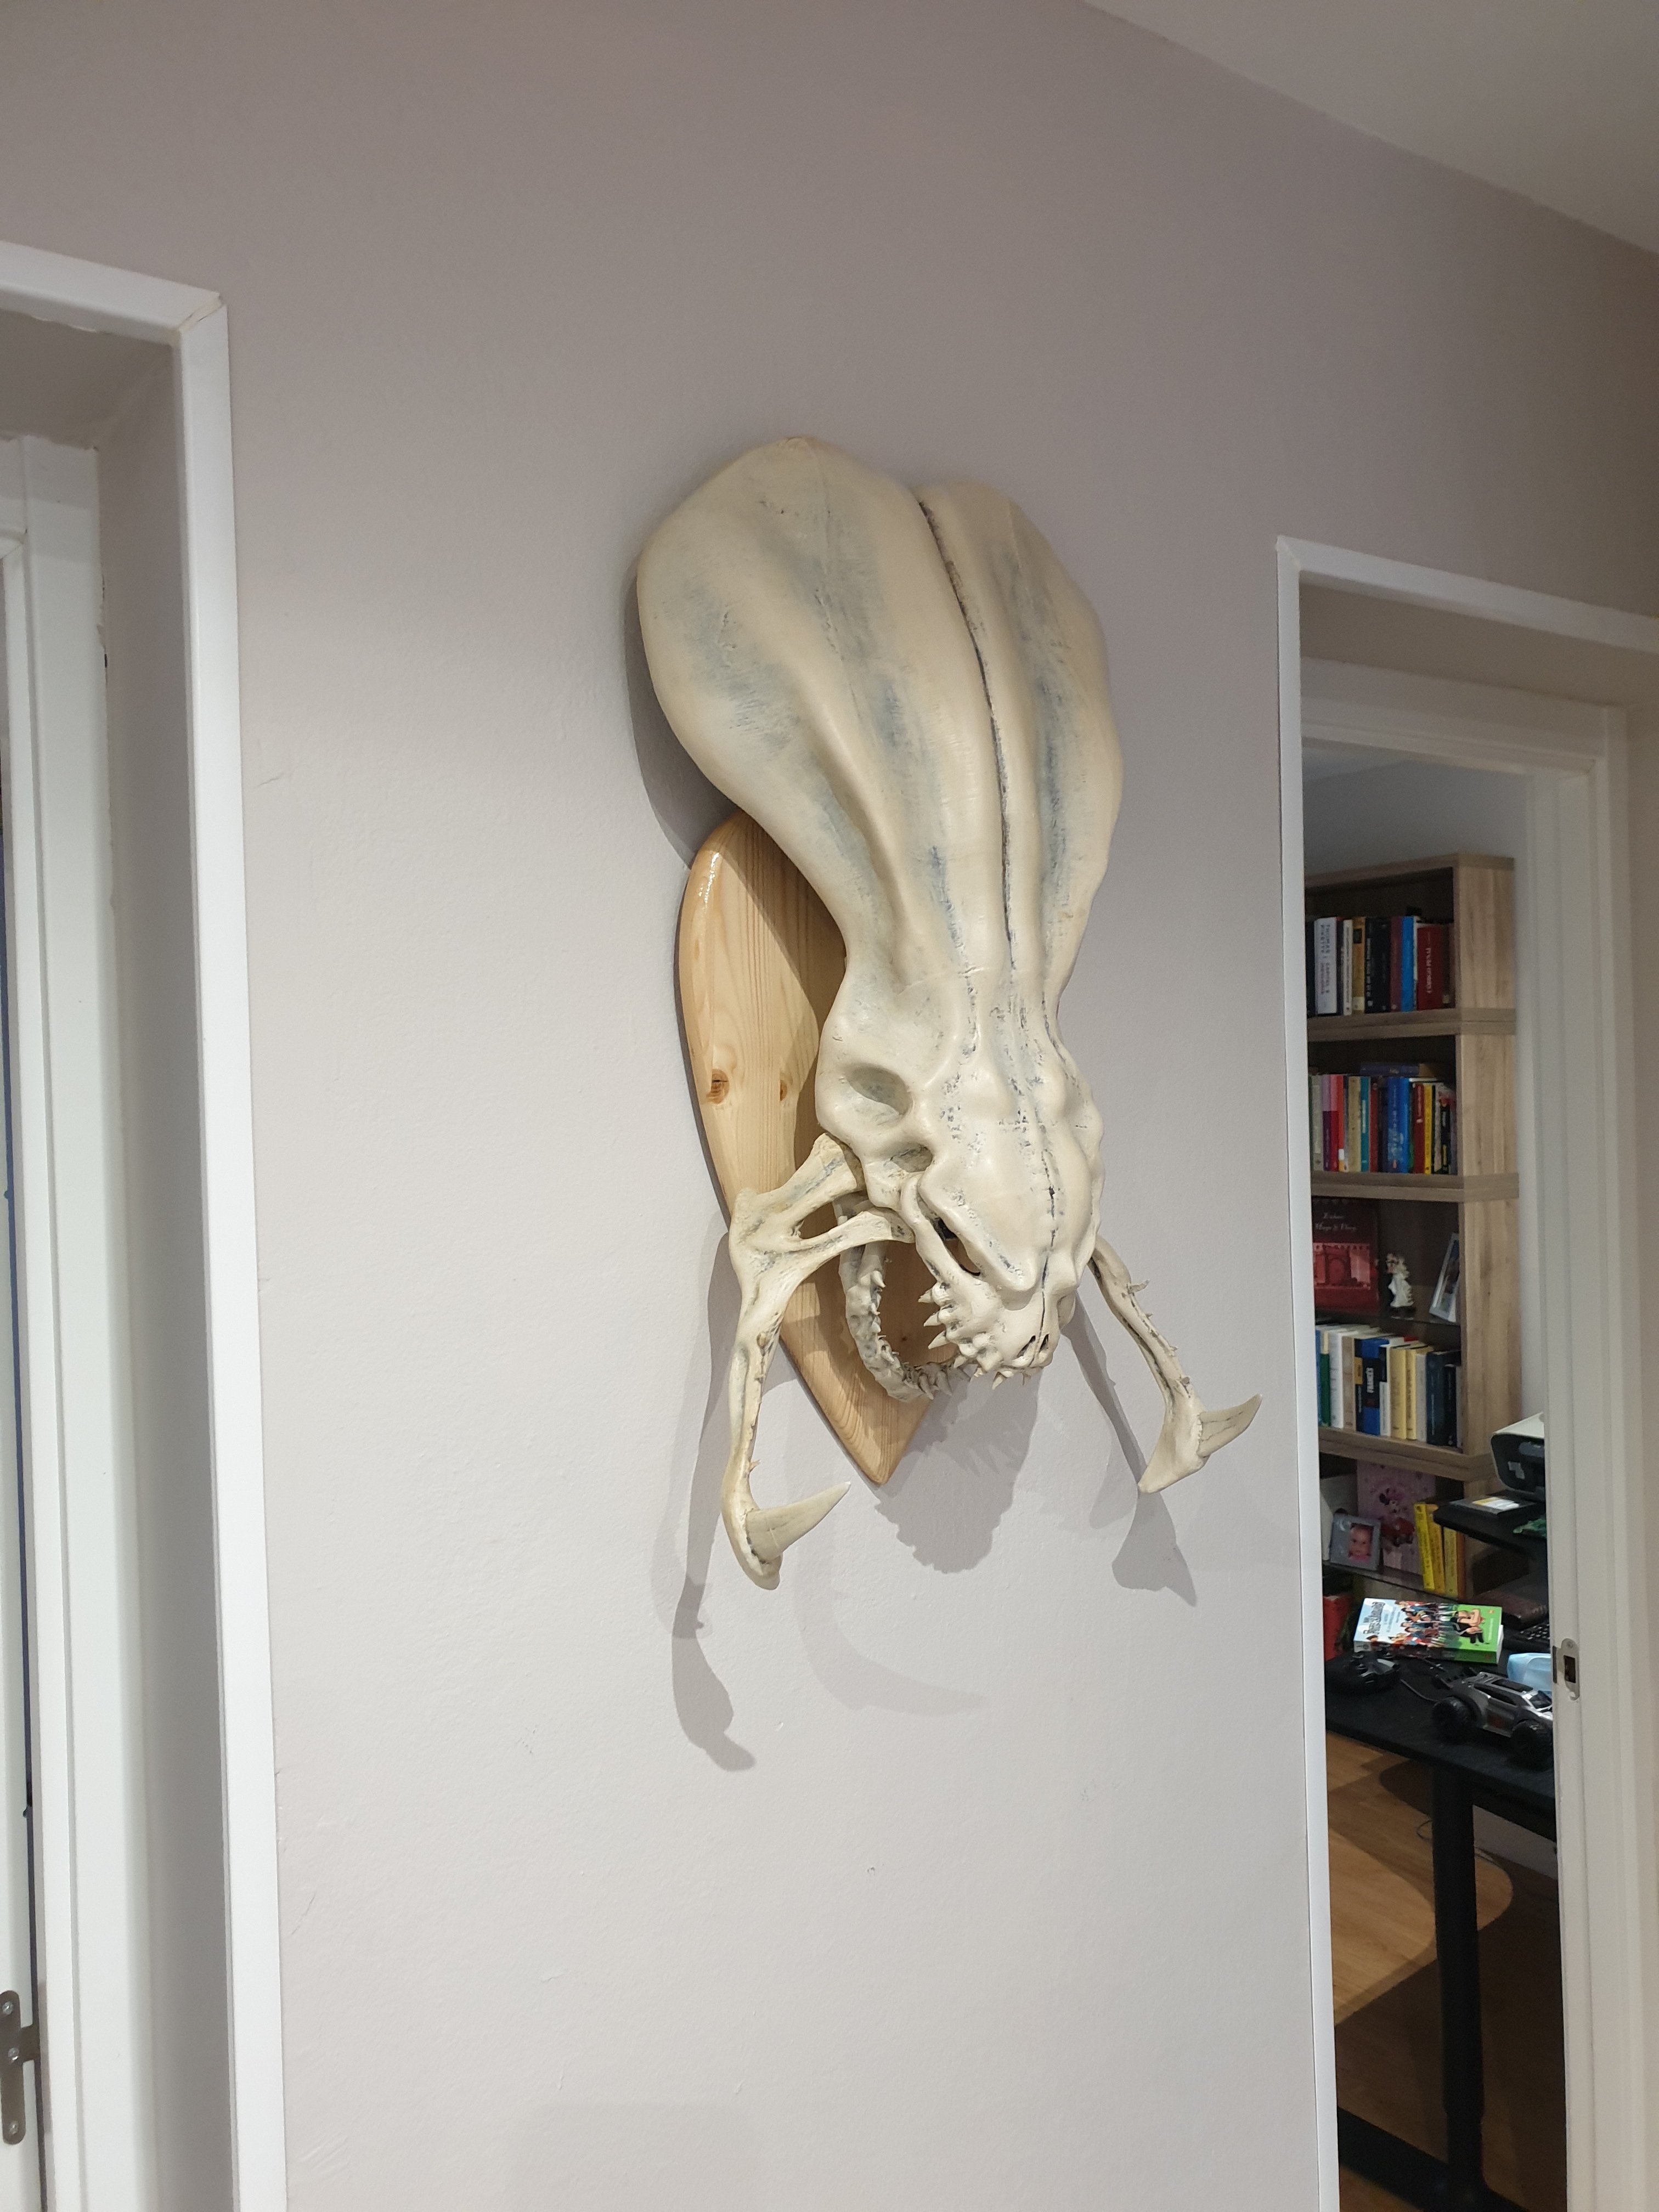
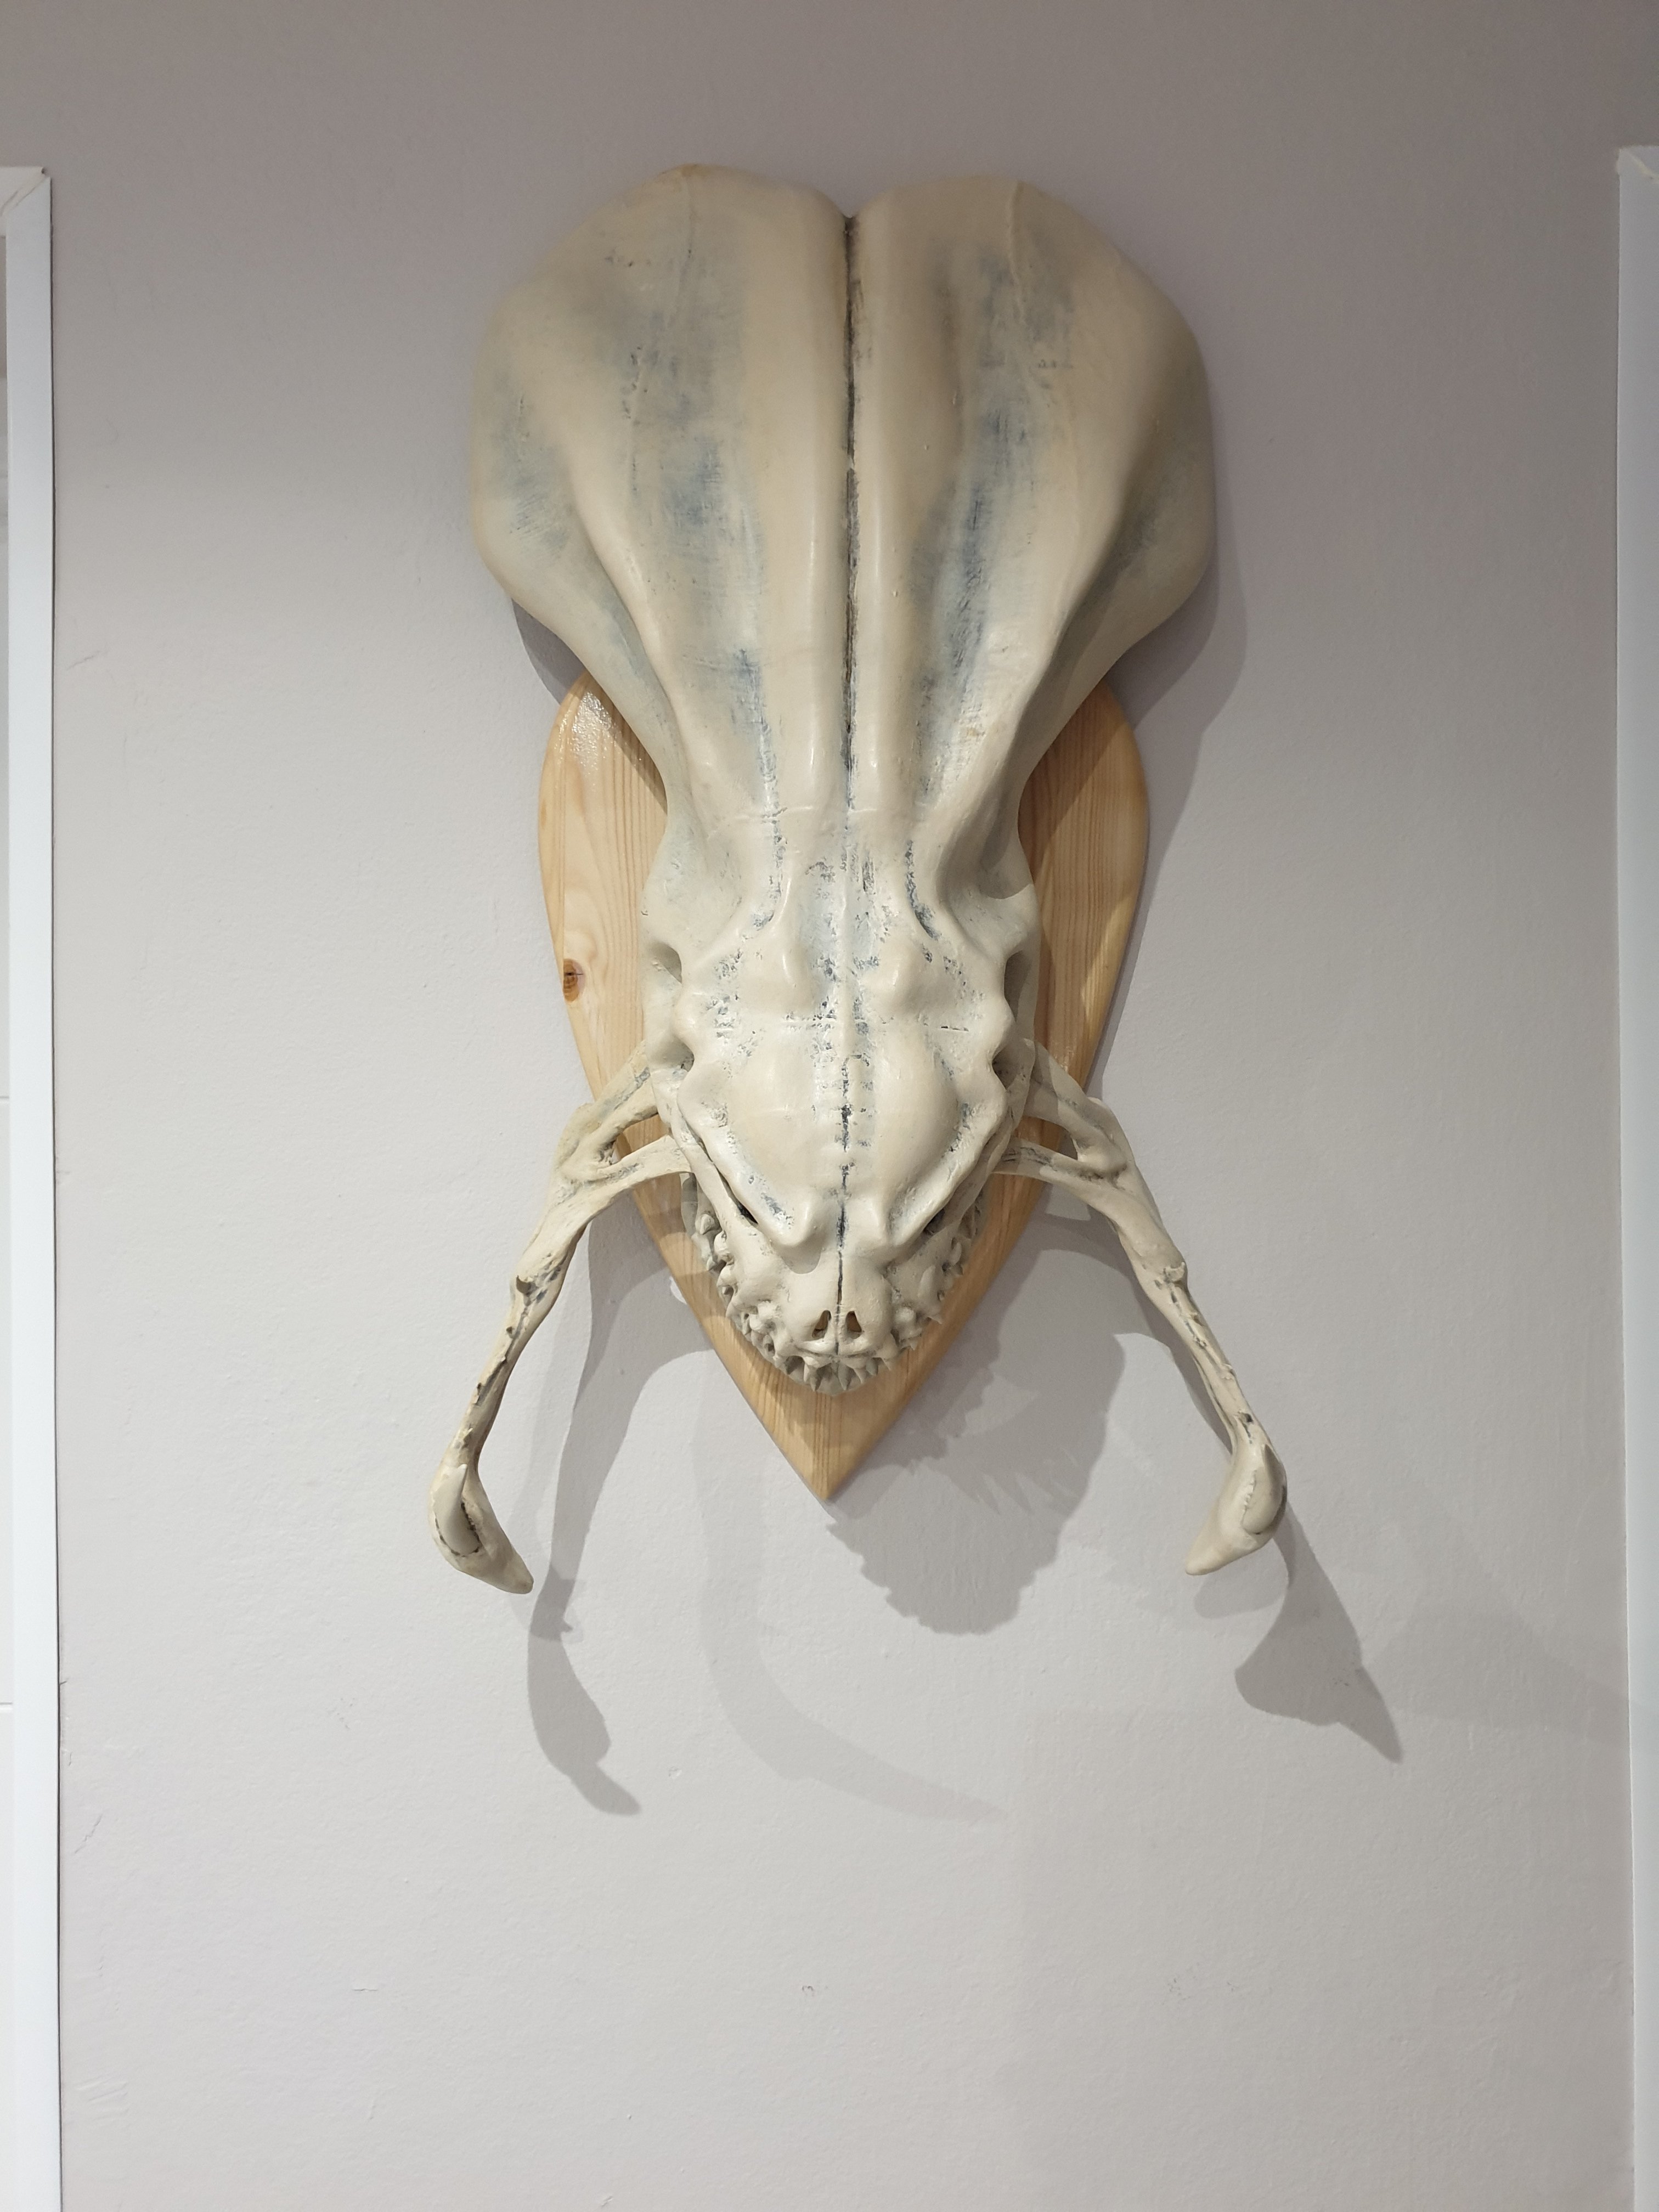
This is a recreation of an hidralisk skull trophy. Has seens in sc2.
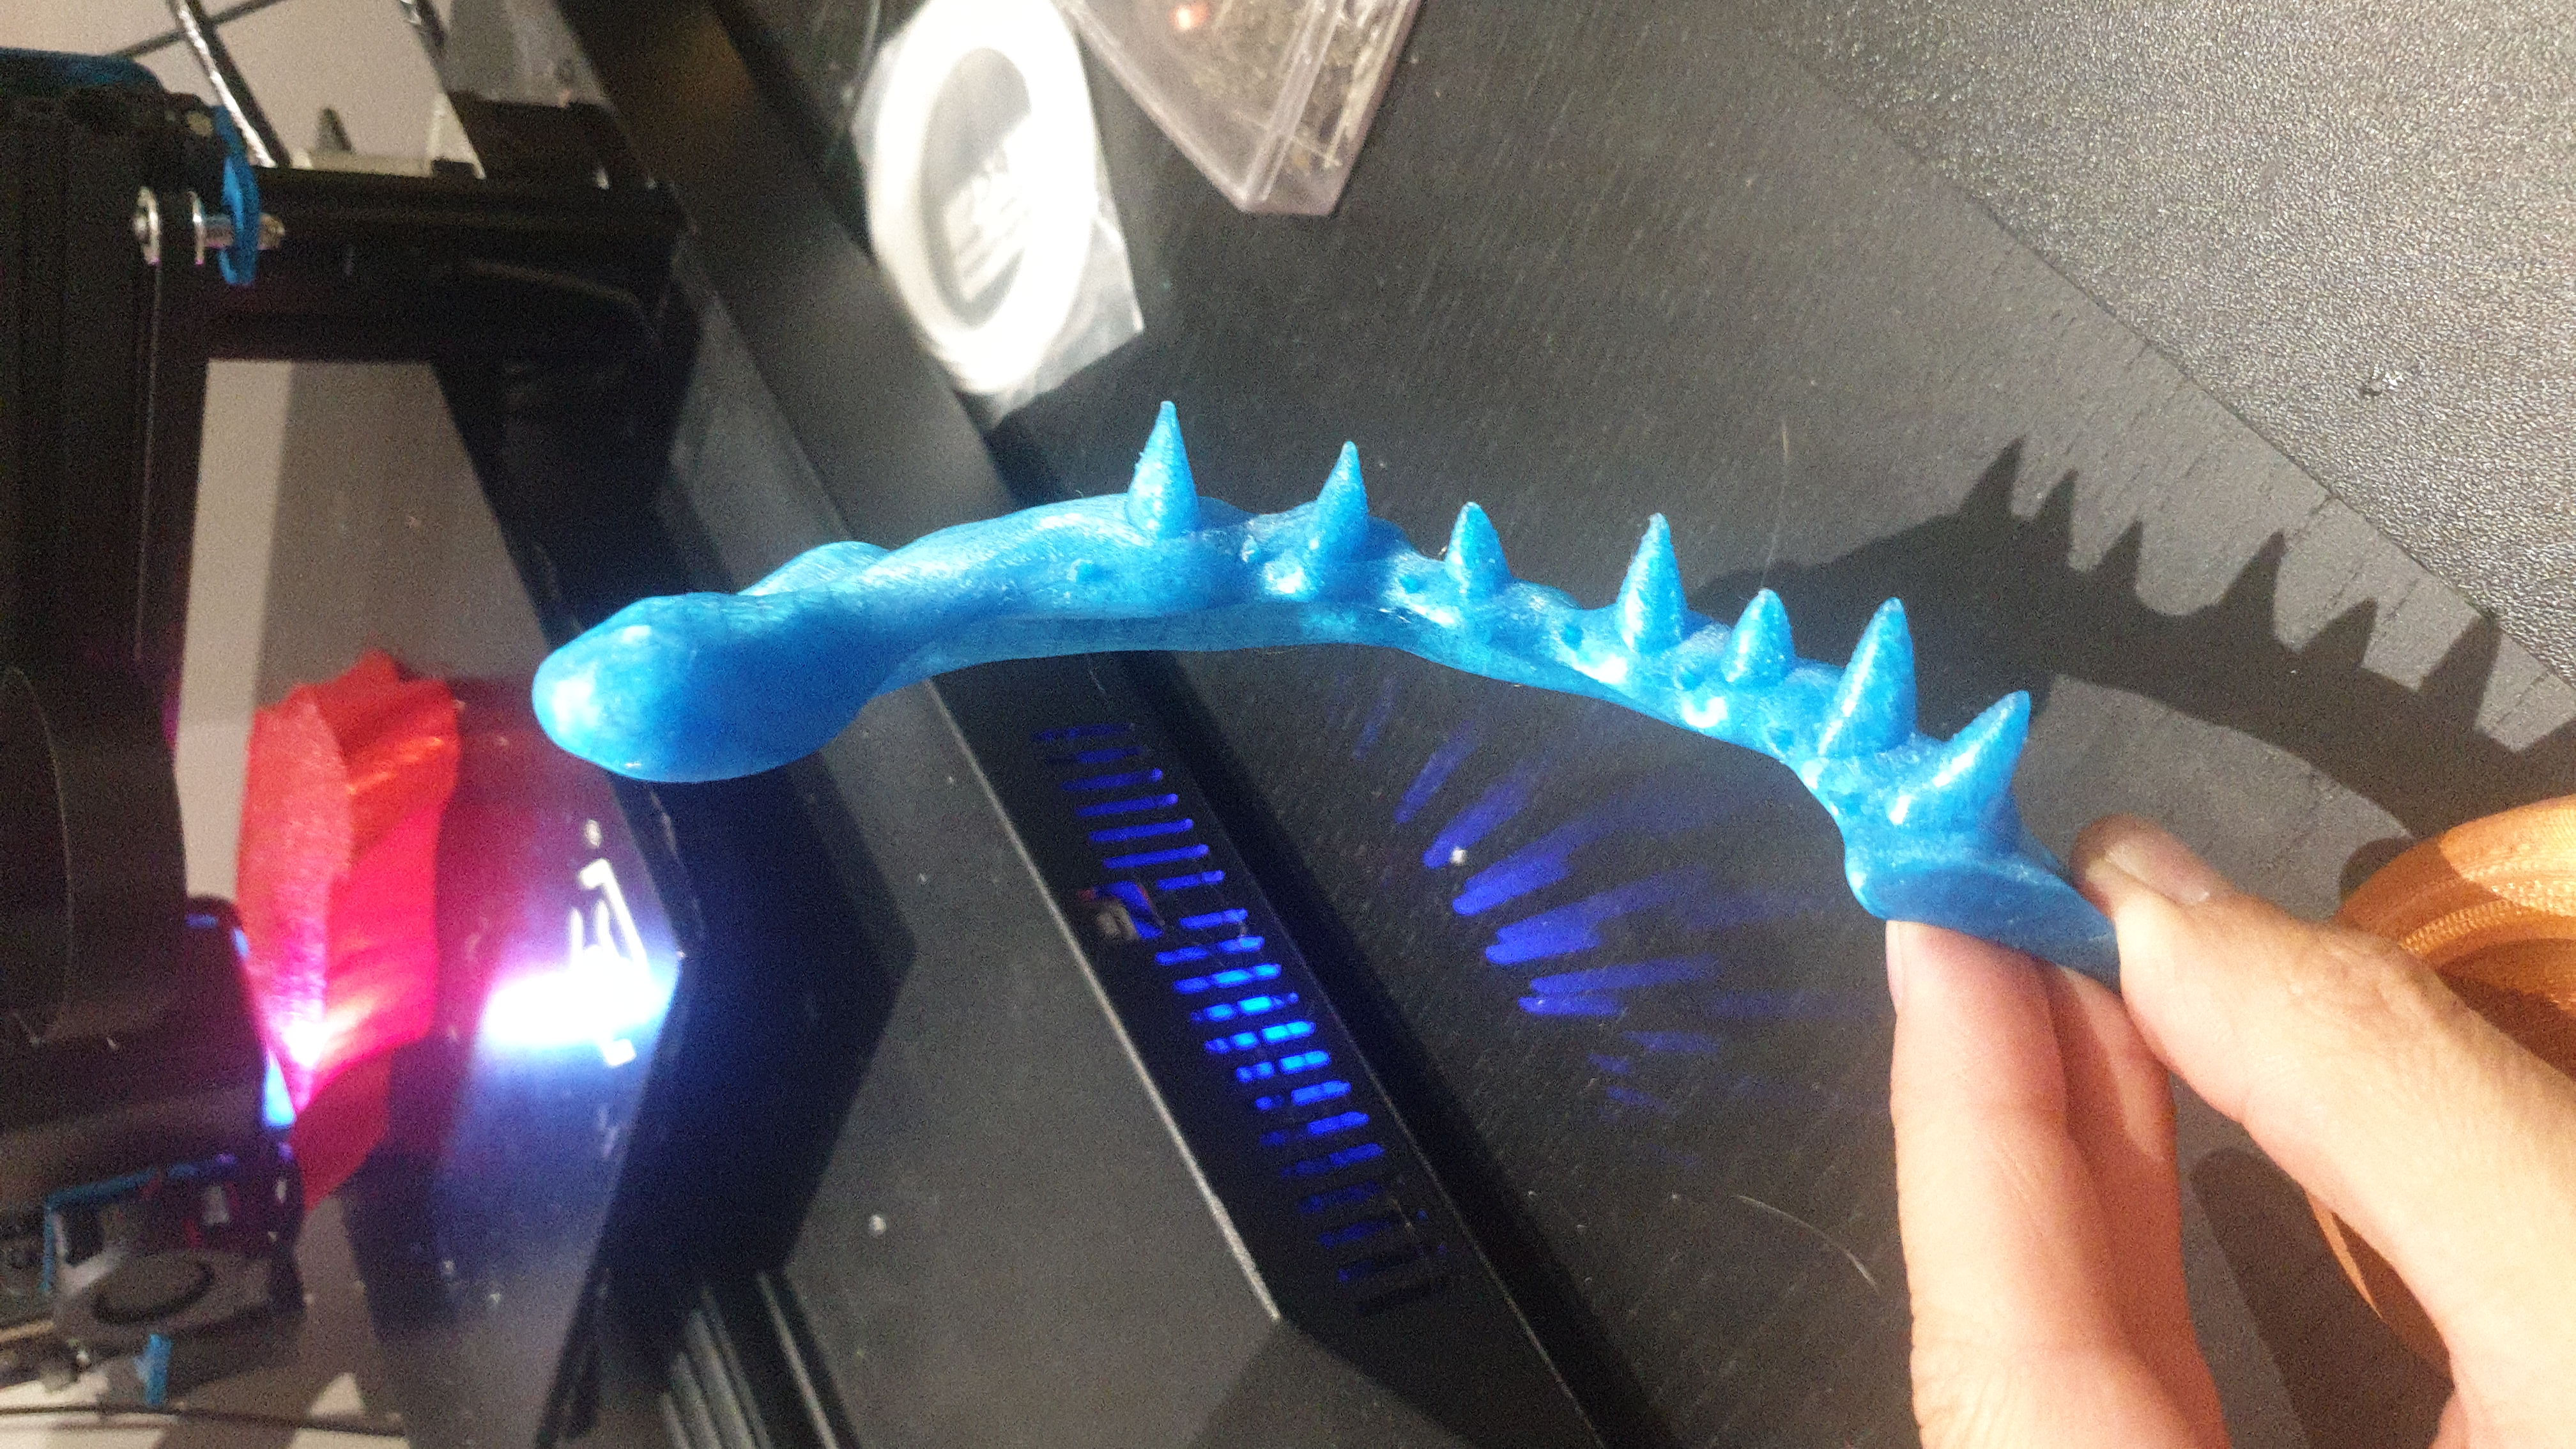
It has seven .stl files. you can print everything except the jaws without support.
Enjoy it.
Print Settings
Printer:
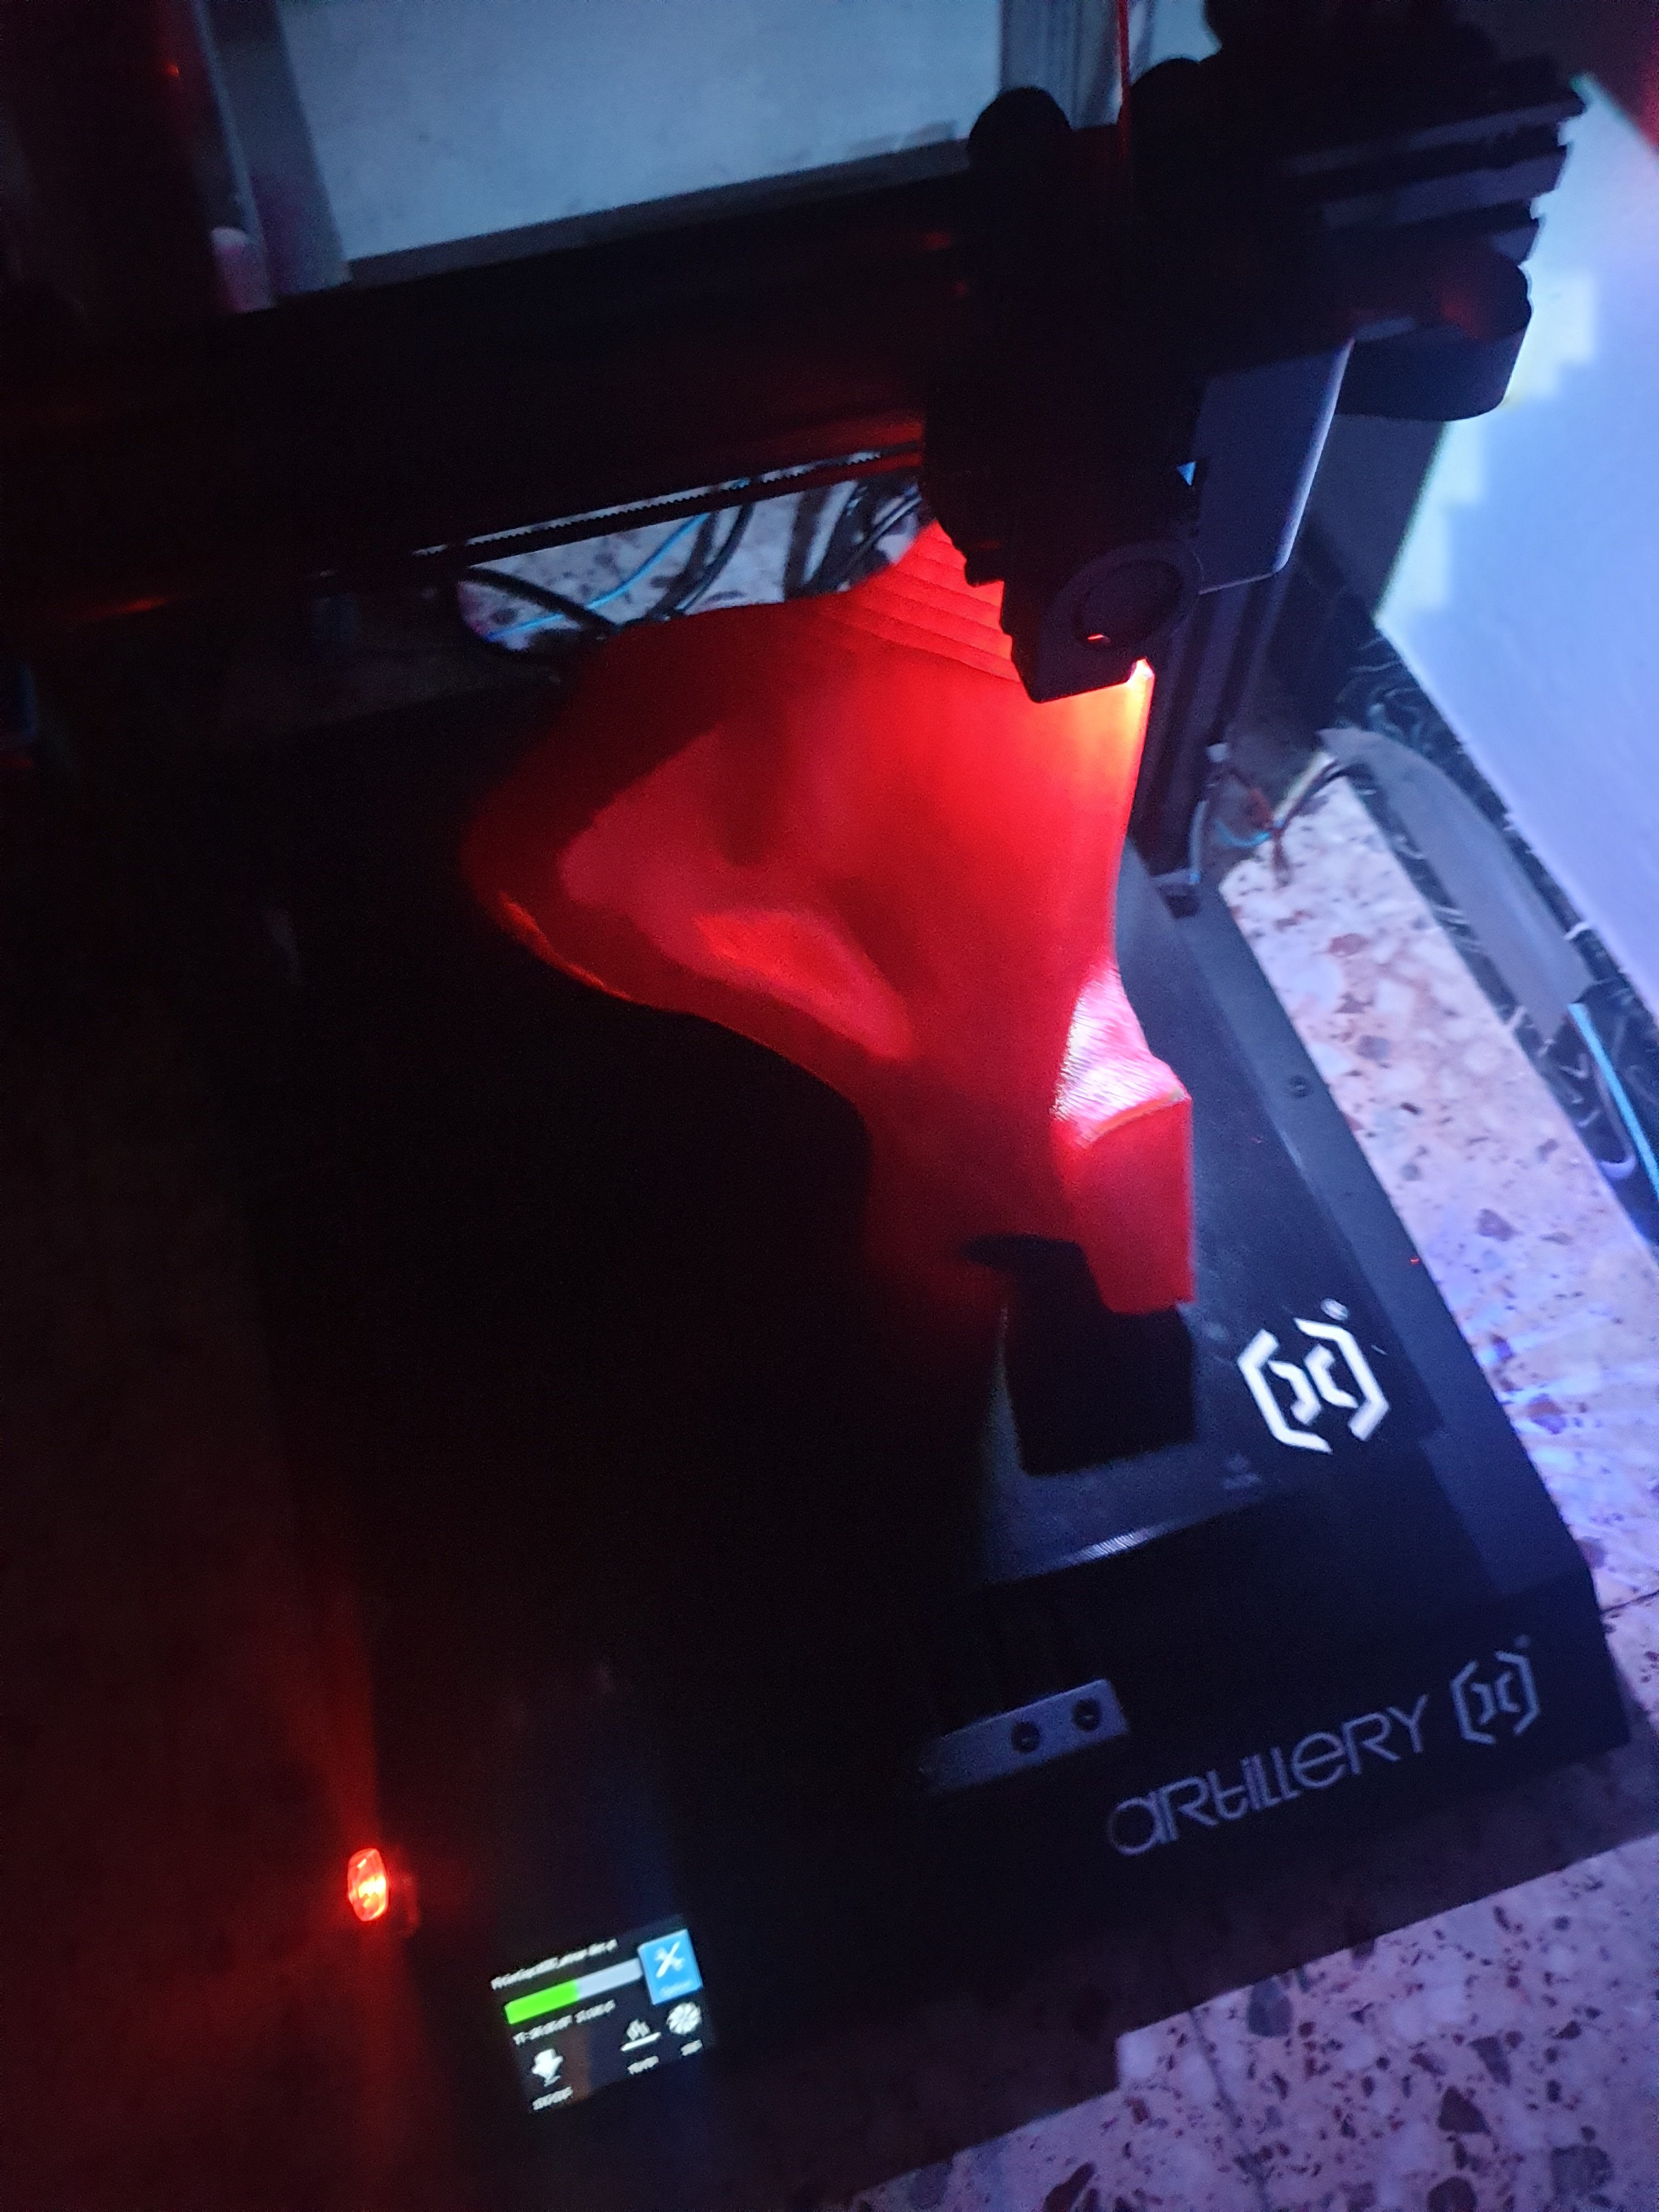
artillery x1
Rafts:
No
Supports:
No
Resolution:
0.2
Infill:
10%
Filament_brand:
generic
Filament_color:
RED
Filament_material:
PETG
Notes:
I loved the sc2 cantina hidralisk skull trophy, and I wanted my own. Since I couldn`t find the original .stl, I modelled it. Here is the result.
Post-Printing
Introduction
I love the Starcraft universe, Had a lot of fun playing all the games since it came out at 1998. When I played sc2, I loved the looks of the hidralisk skull at Joeyray's Bar. And I thought it`ll be great to have one at home. Years later, I started 3d printing with an ender 3, and I found out this recreation of the skull by "Hollywood 3D printing" https://hollywood3dprinting.com/our-work/starcraft-hydralisk-skull-tradeshow-model. And I knew I want mine....
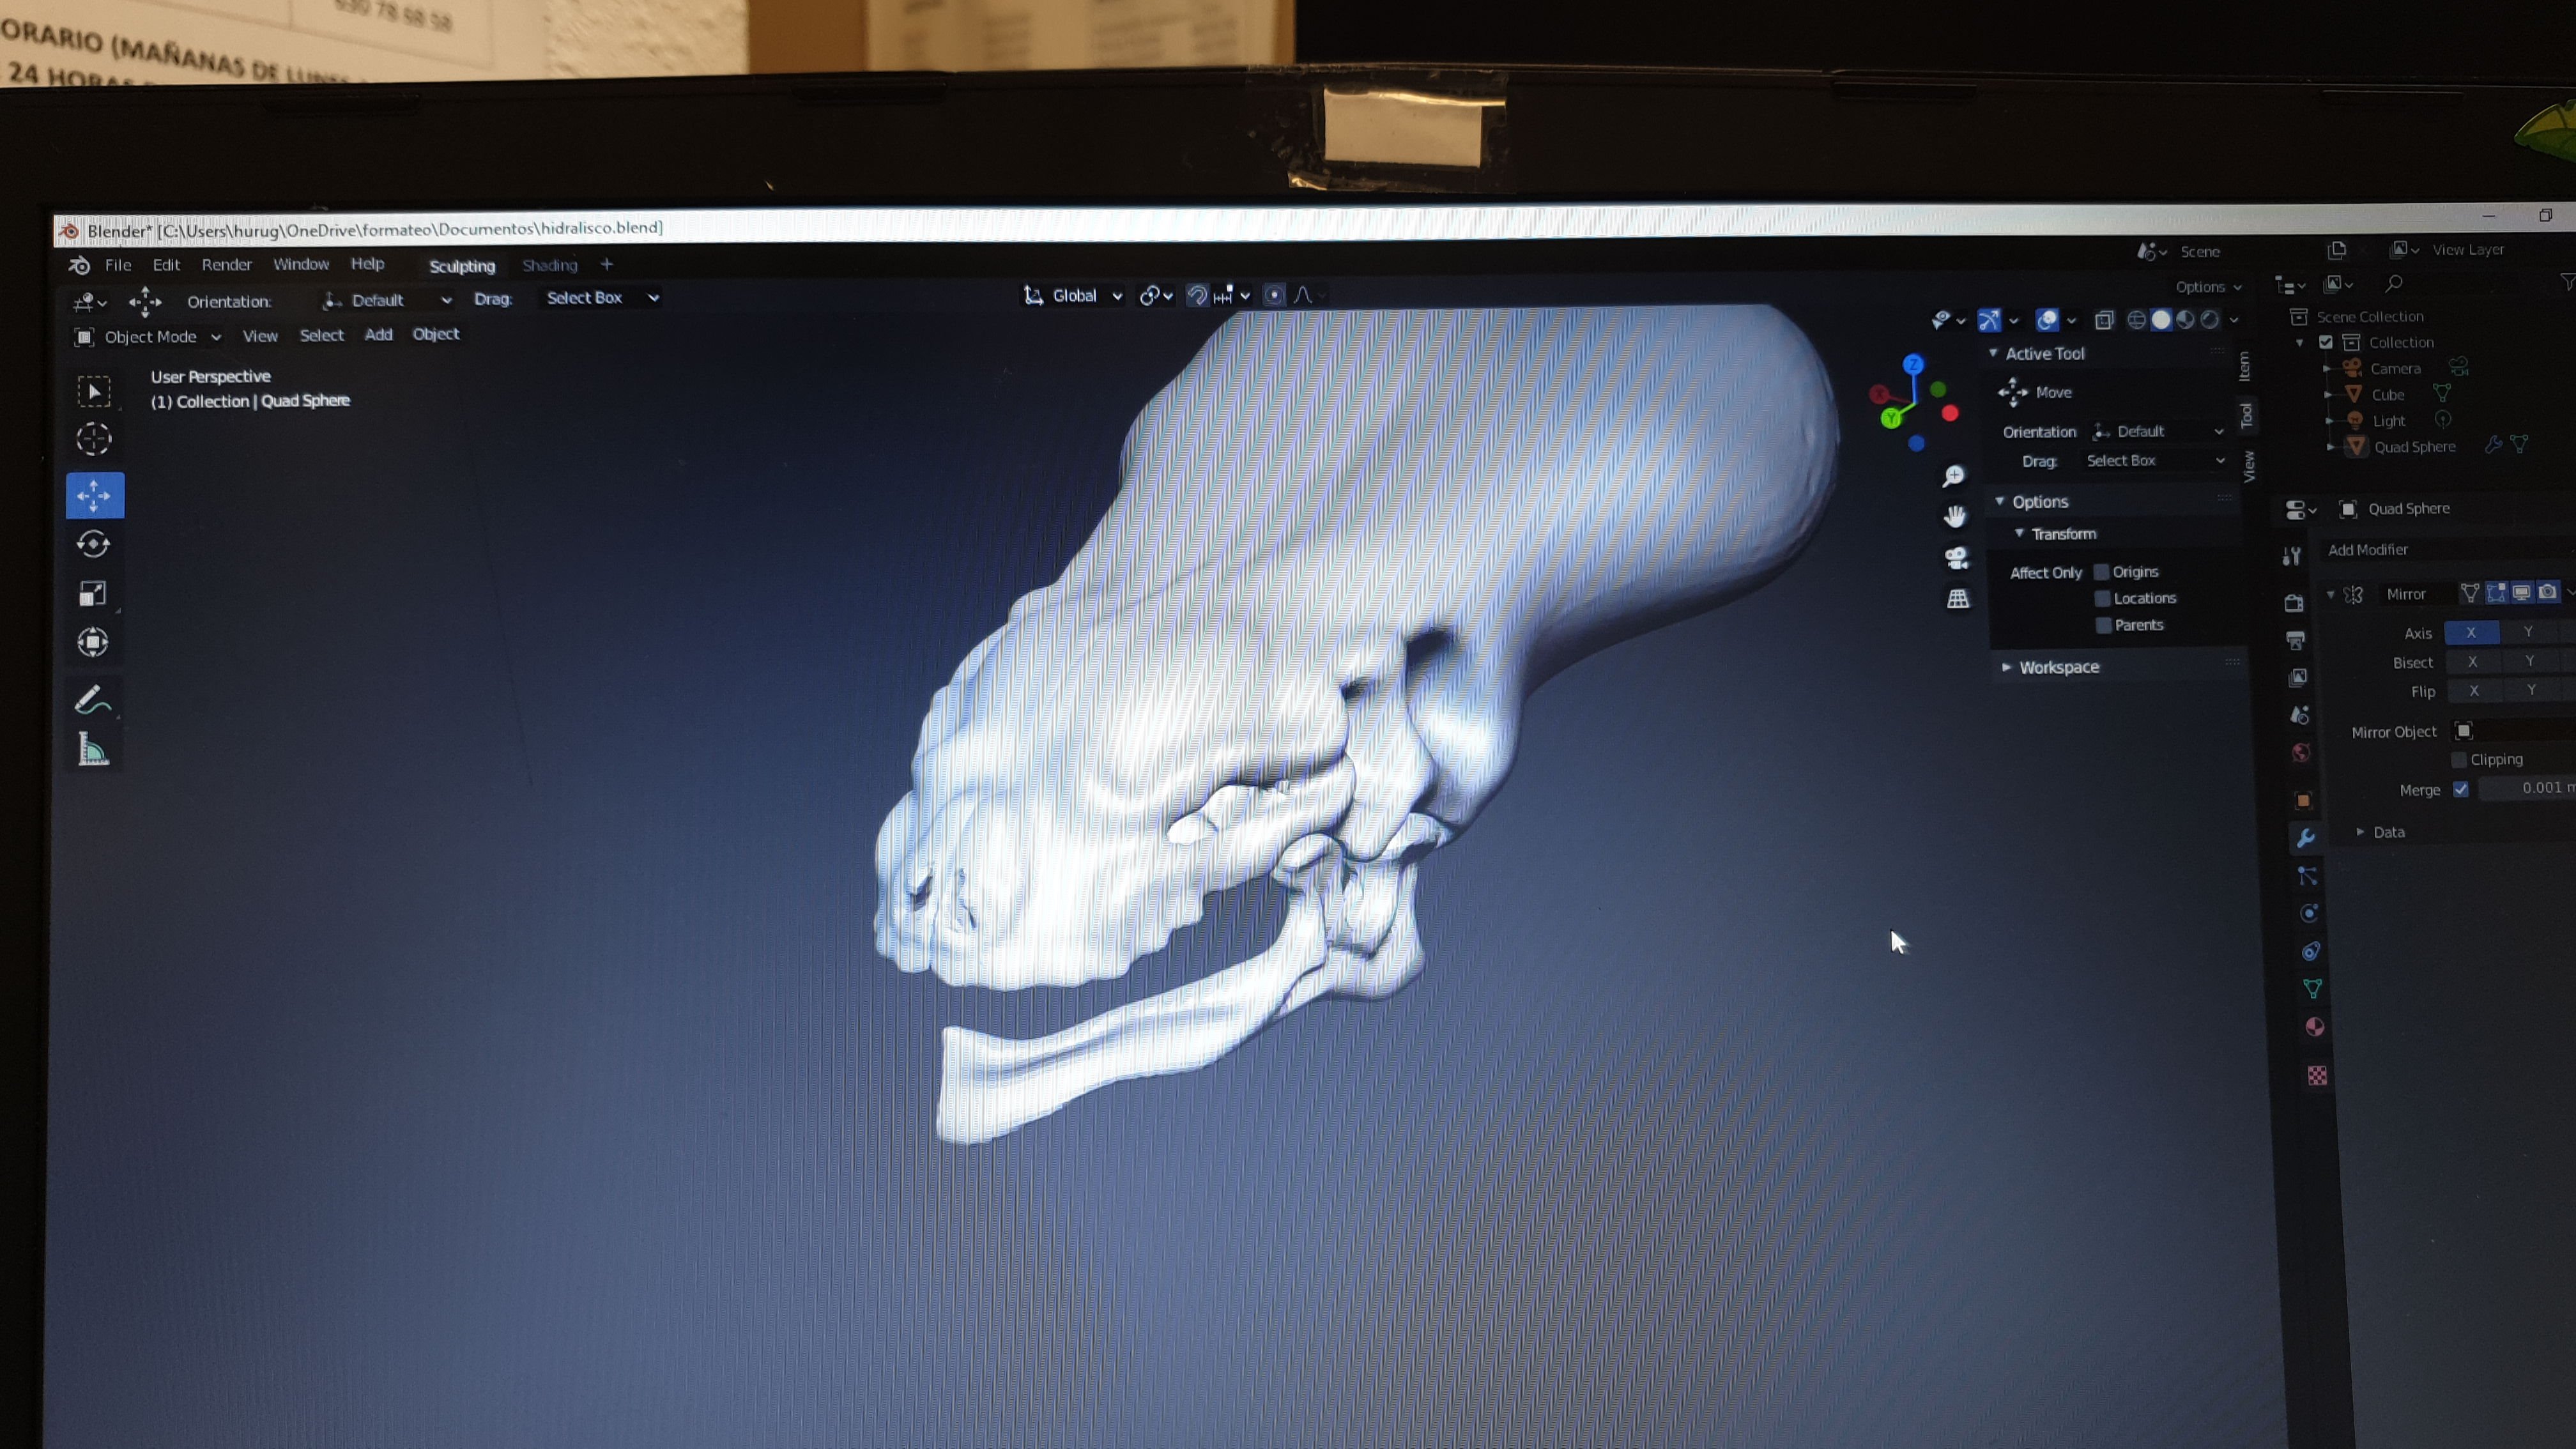
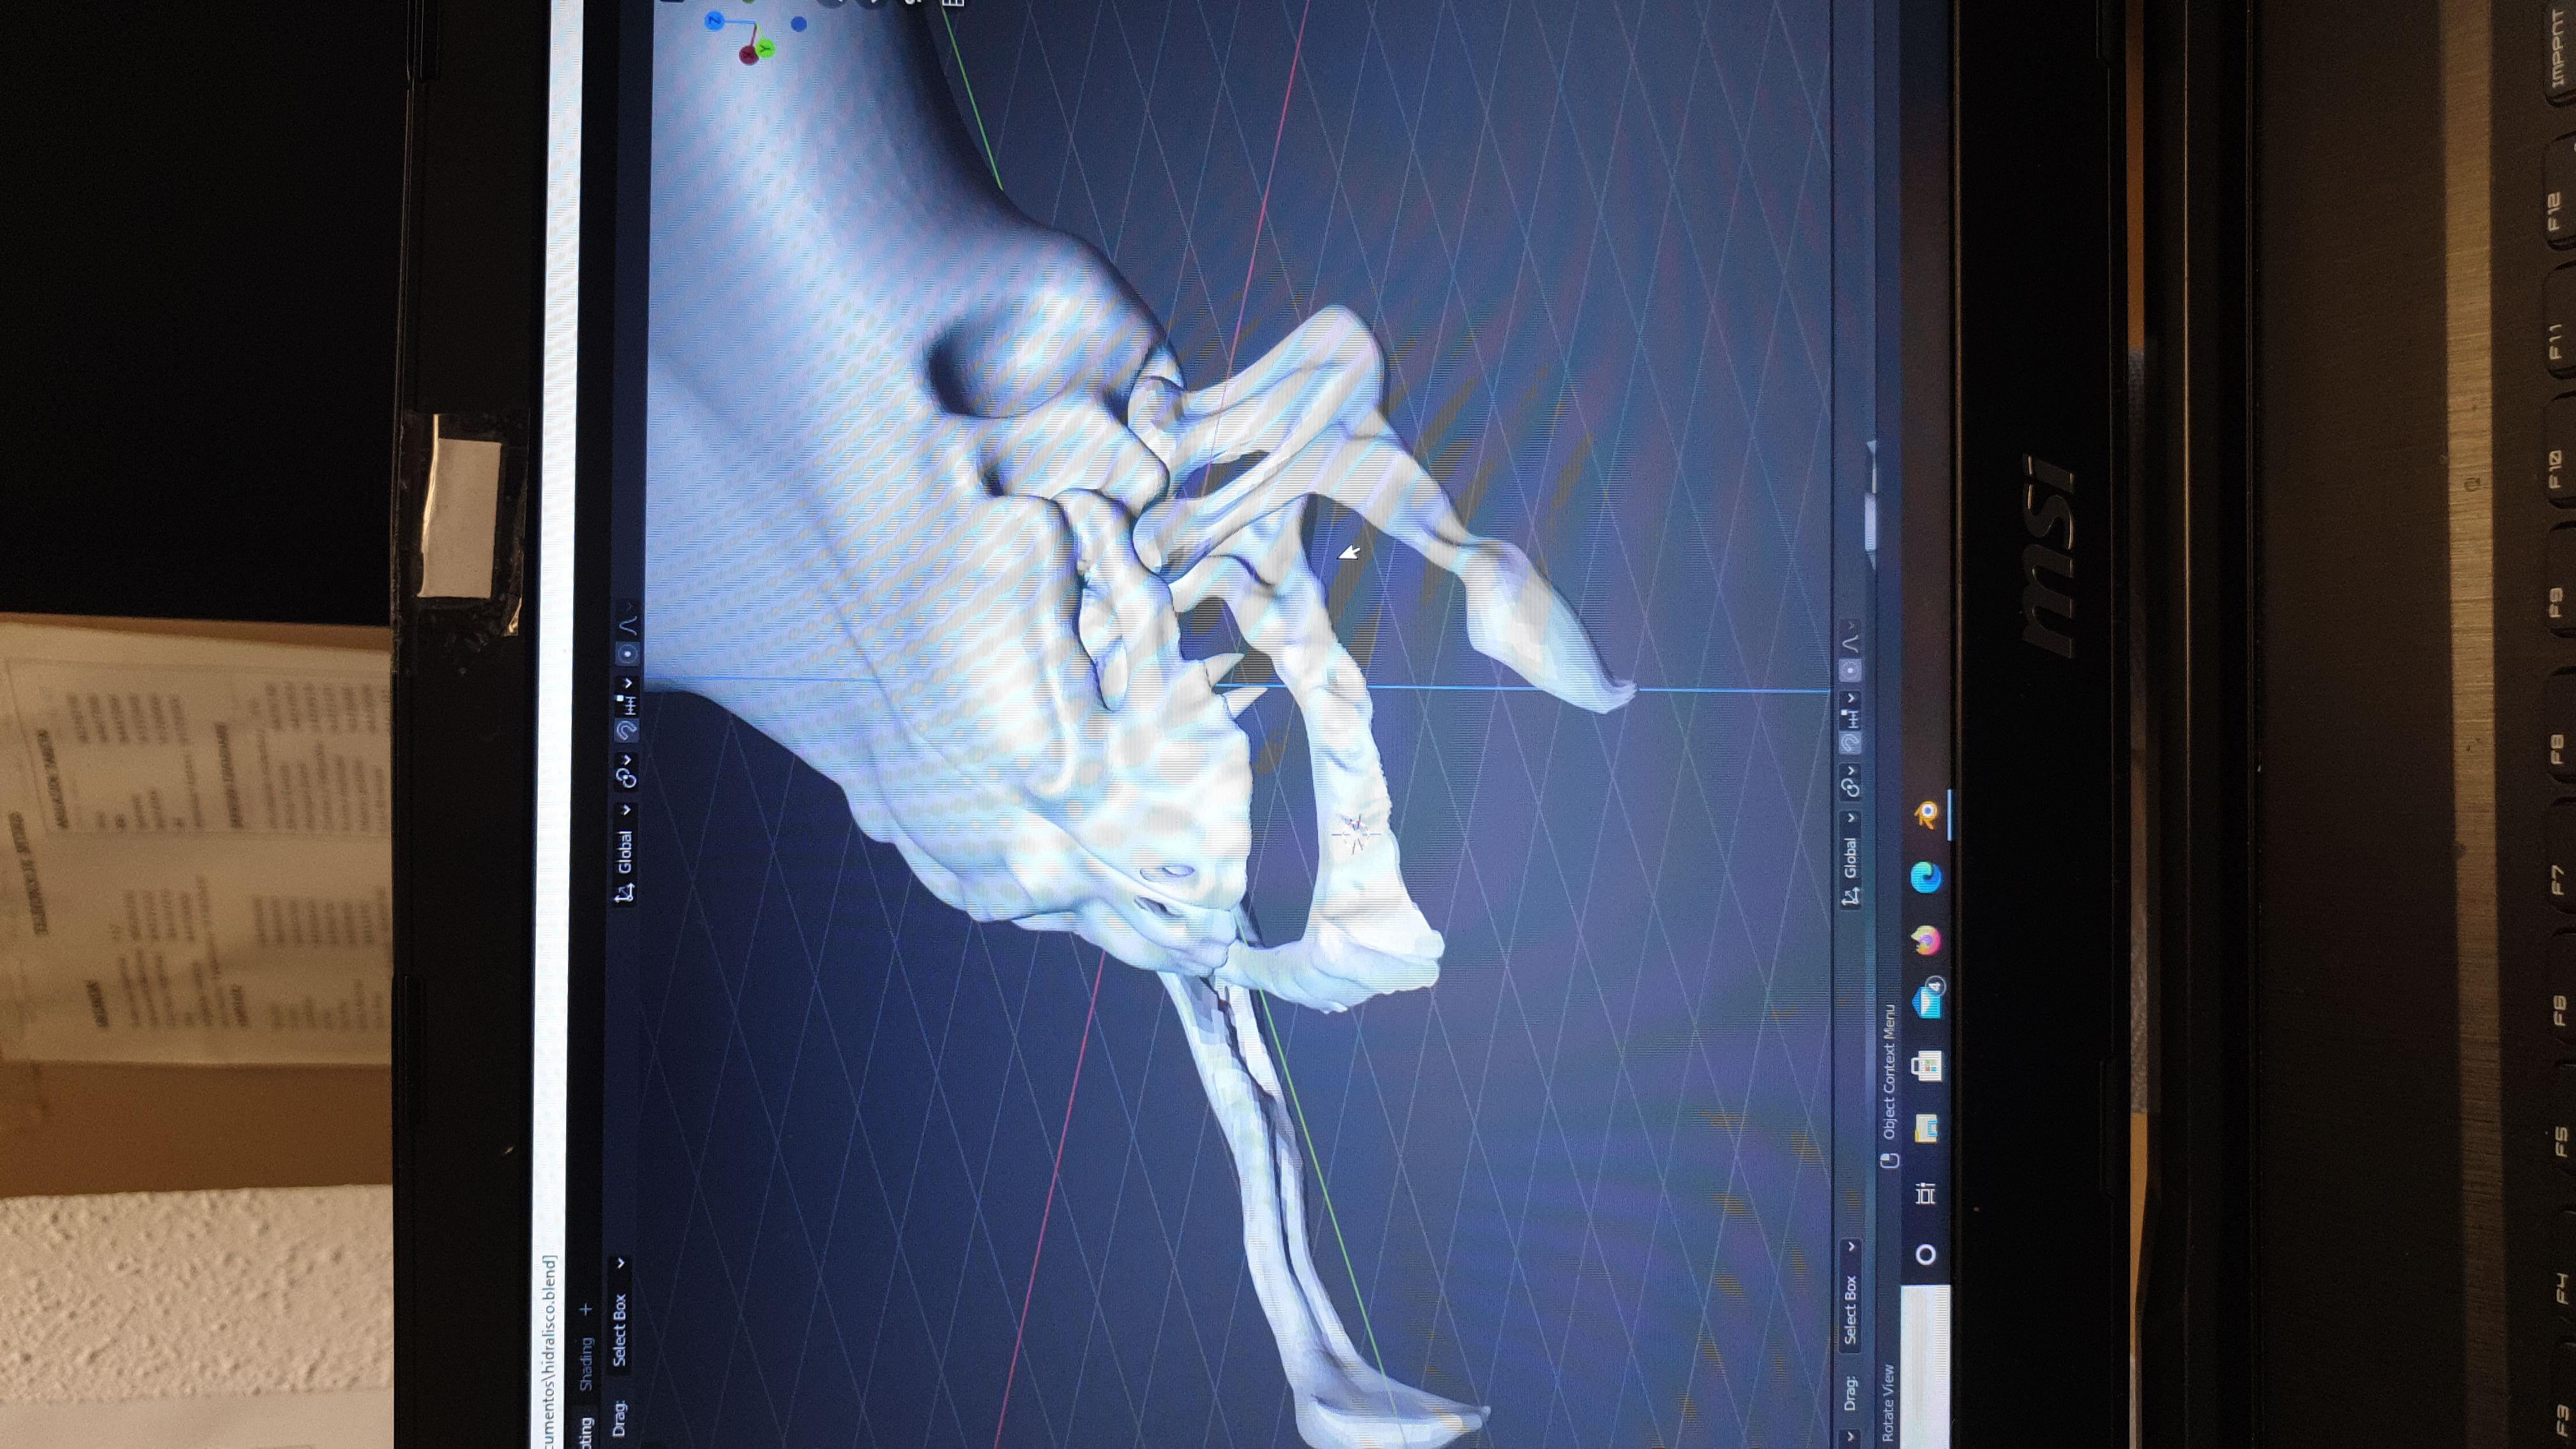
Step 1: Learn to model!
I didn't know how to model, so I watched several modelling tutorials at youtube, and started modelling the skull in my free time using Blender. First I started copying the original, but ended making my own version. When I was happy with the result, was time for printing. I wanted it to be very big. Maybe not as big as the real thing should be, but at least impressive when you saw it hanging on the wall. Also I knew my wife was going to get mad, so I decided to give her reasons....
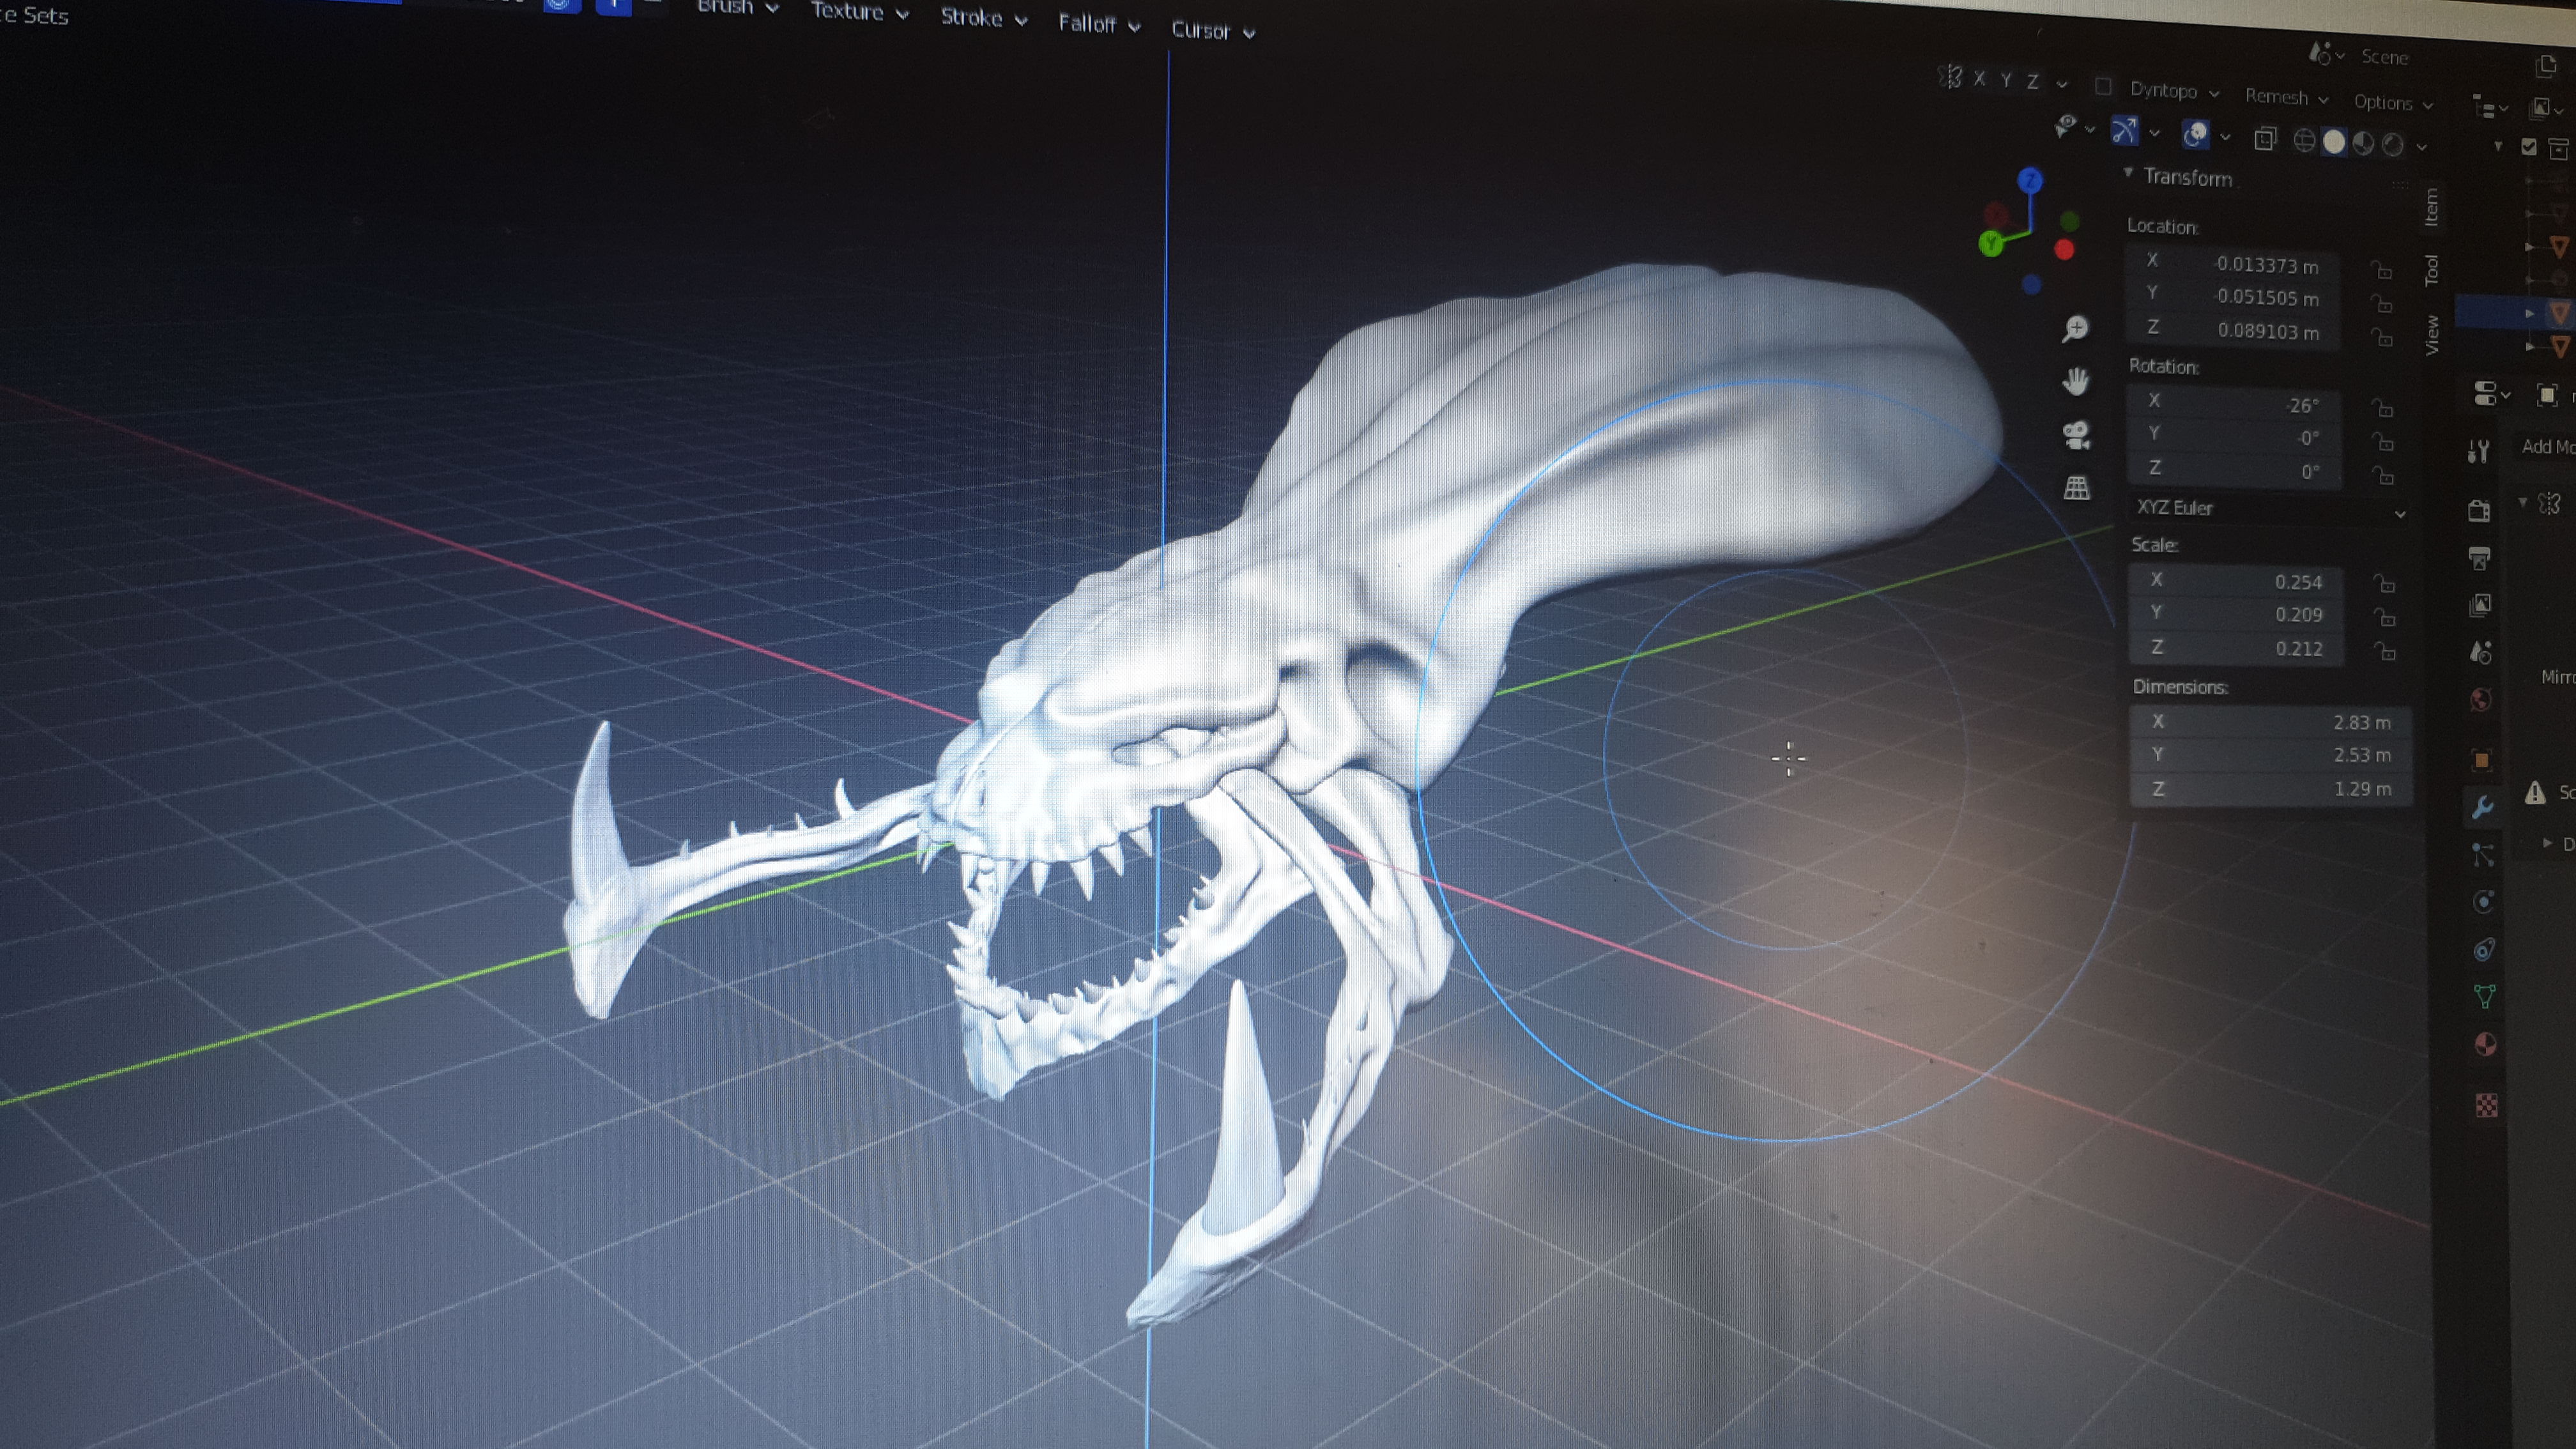
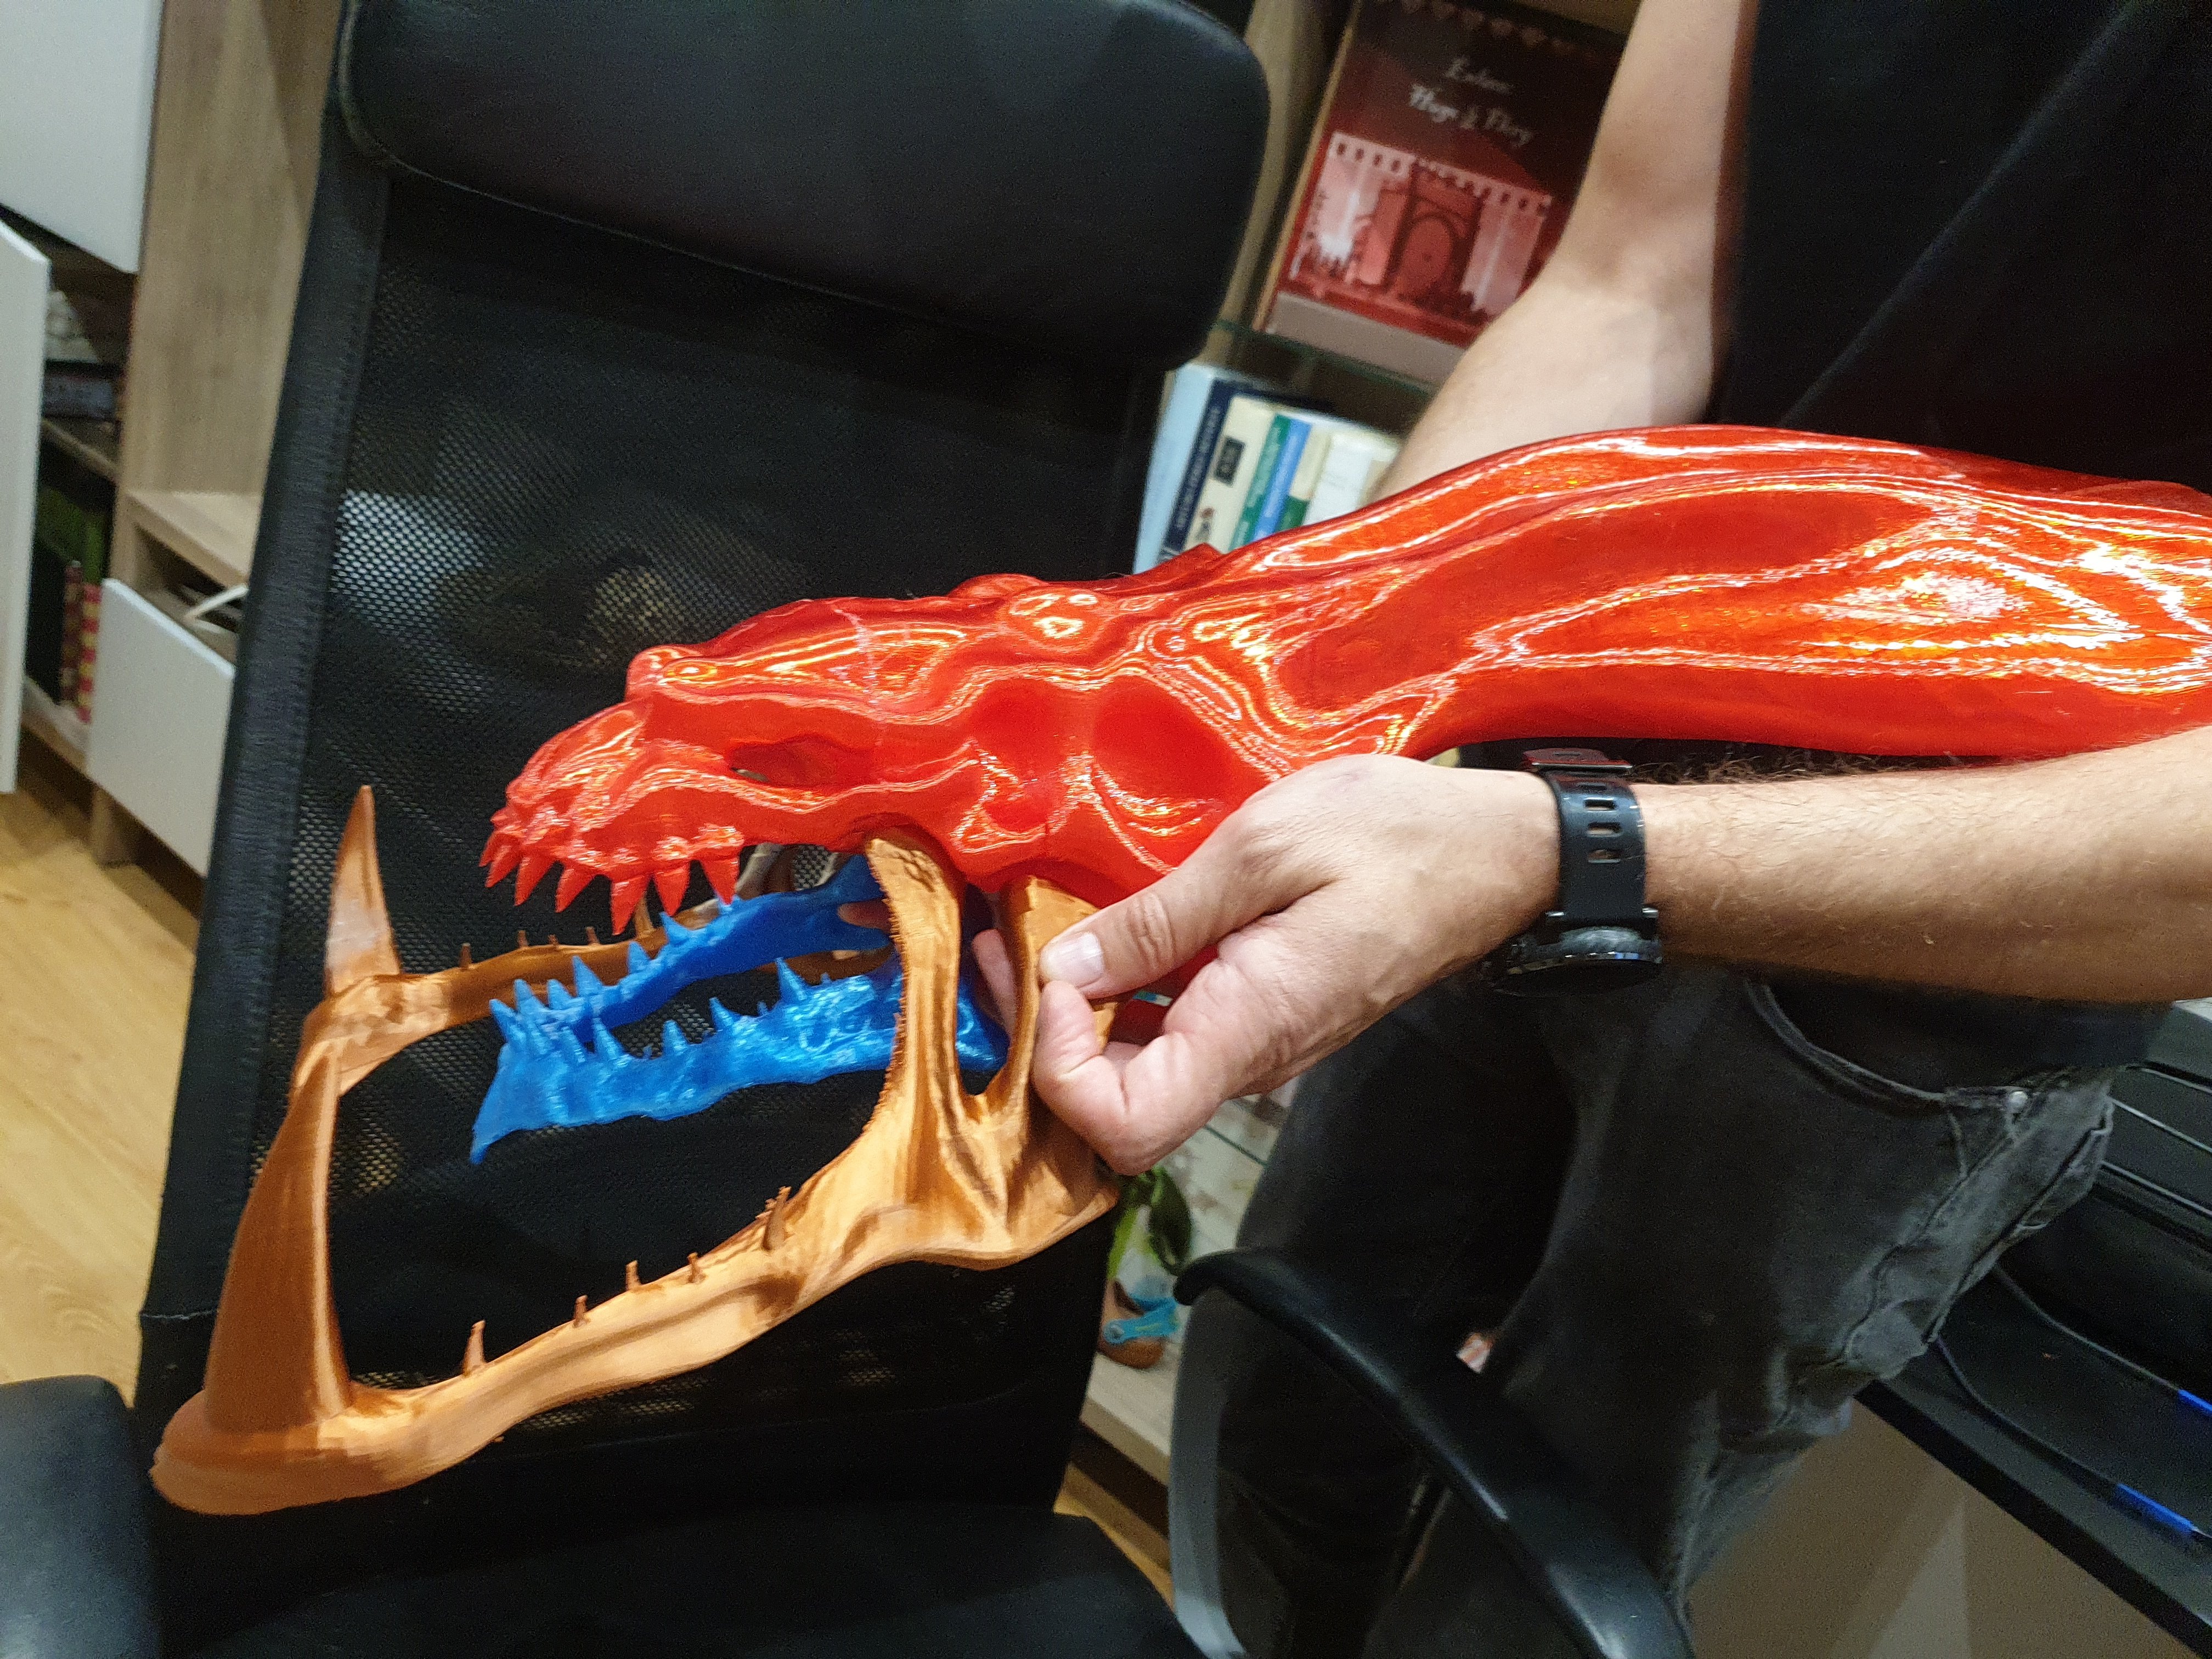
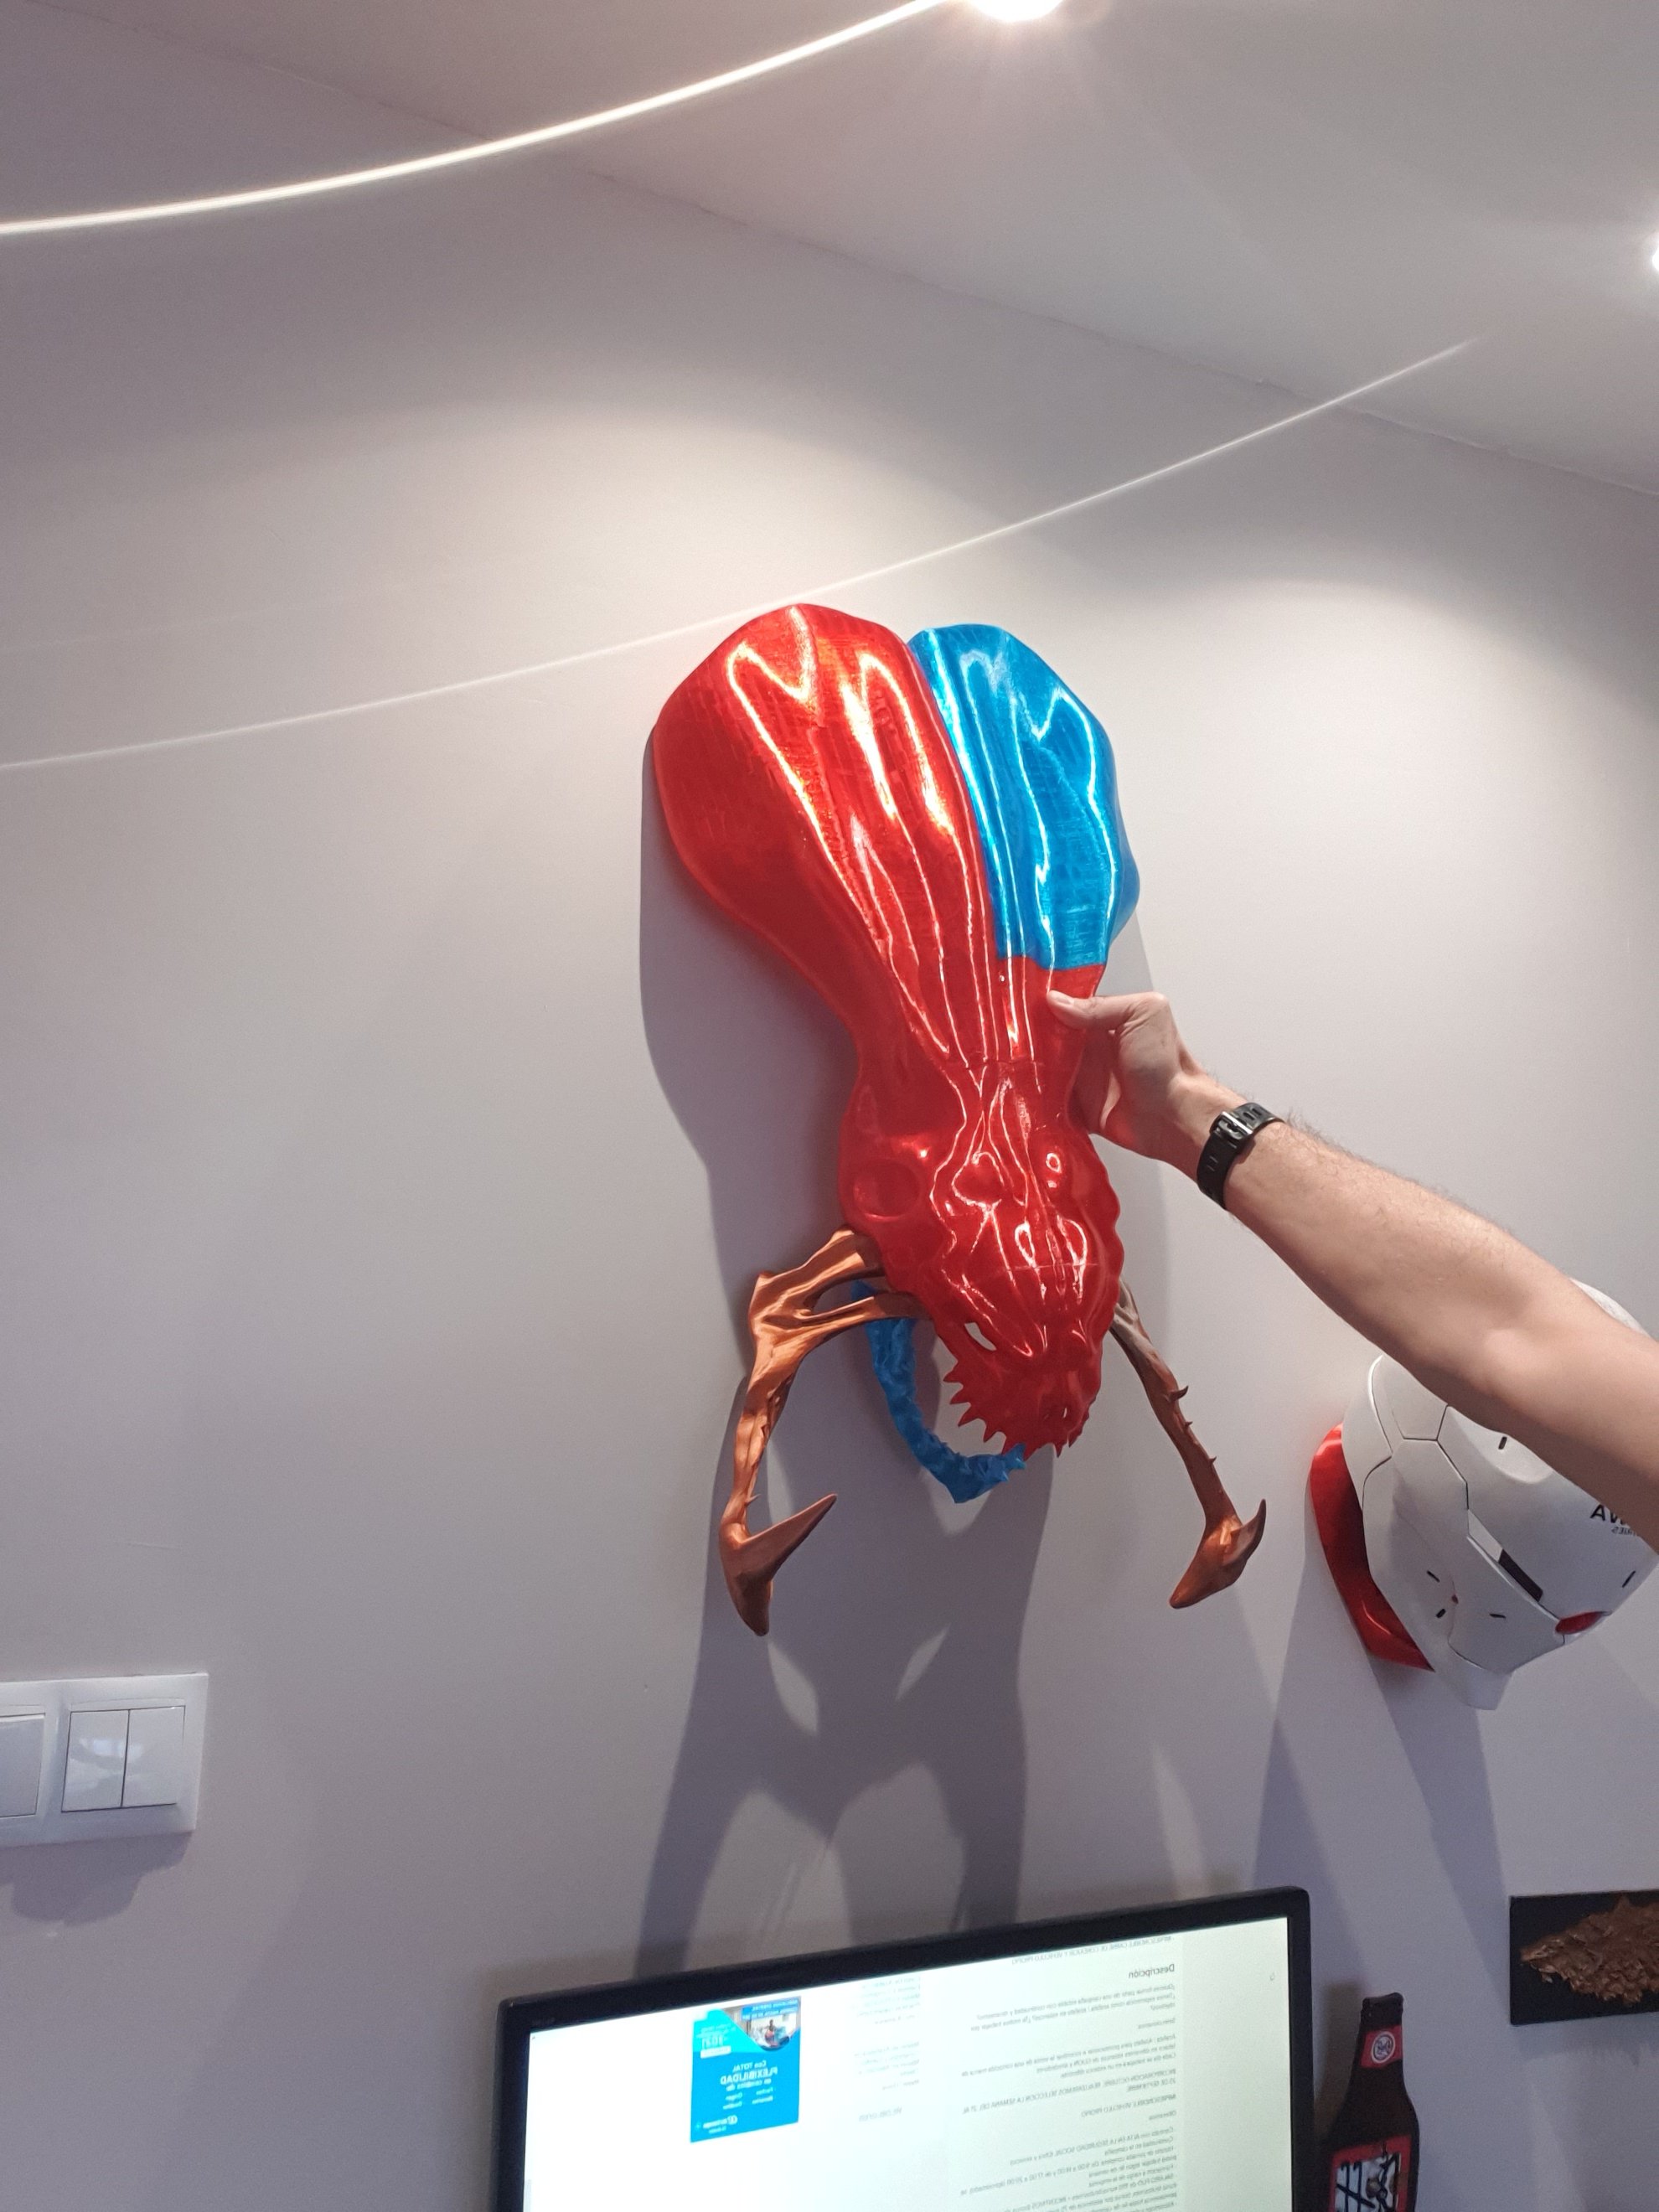
Step 2: Printing it
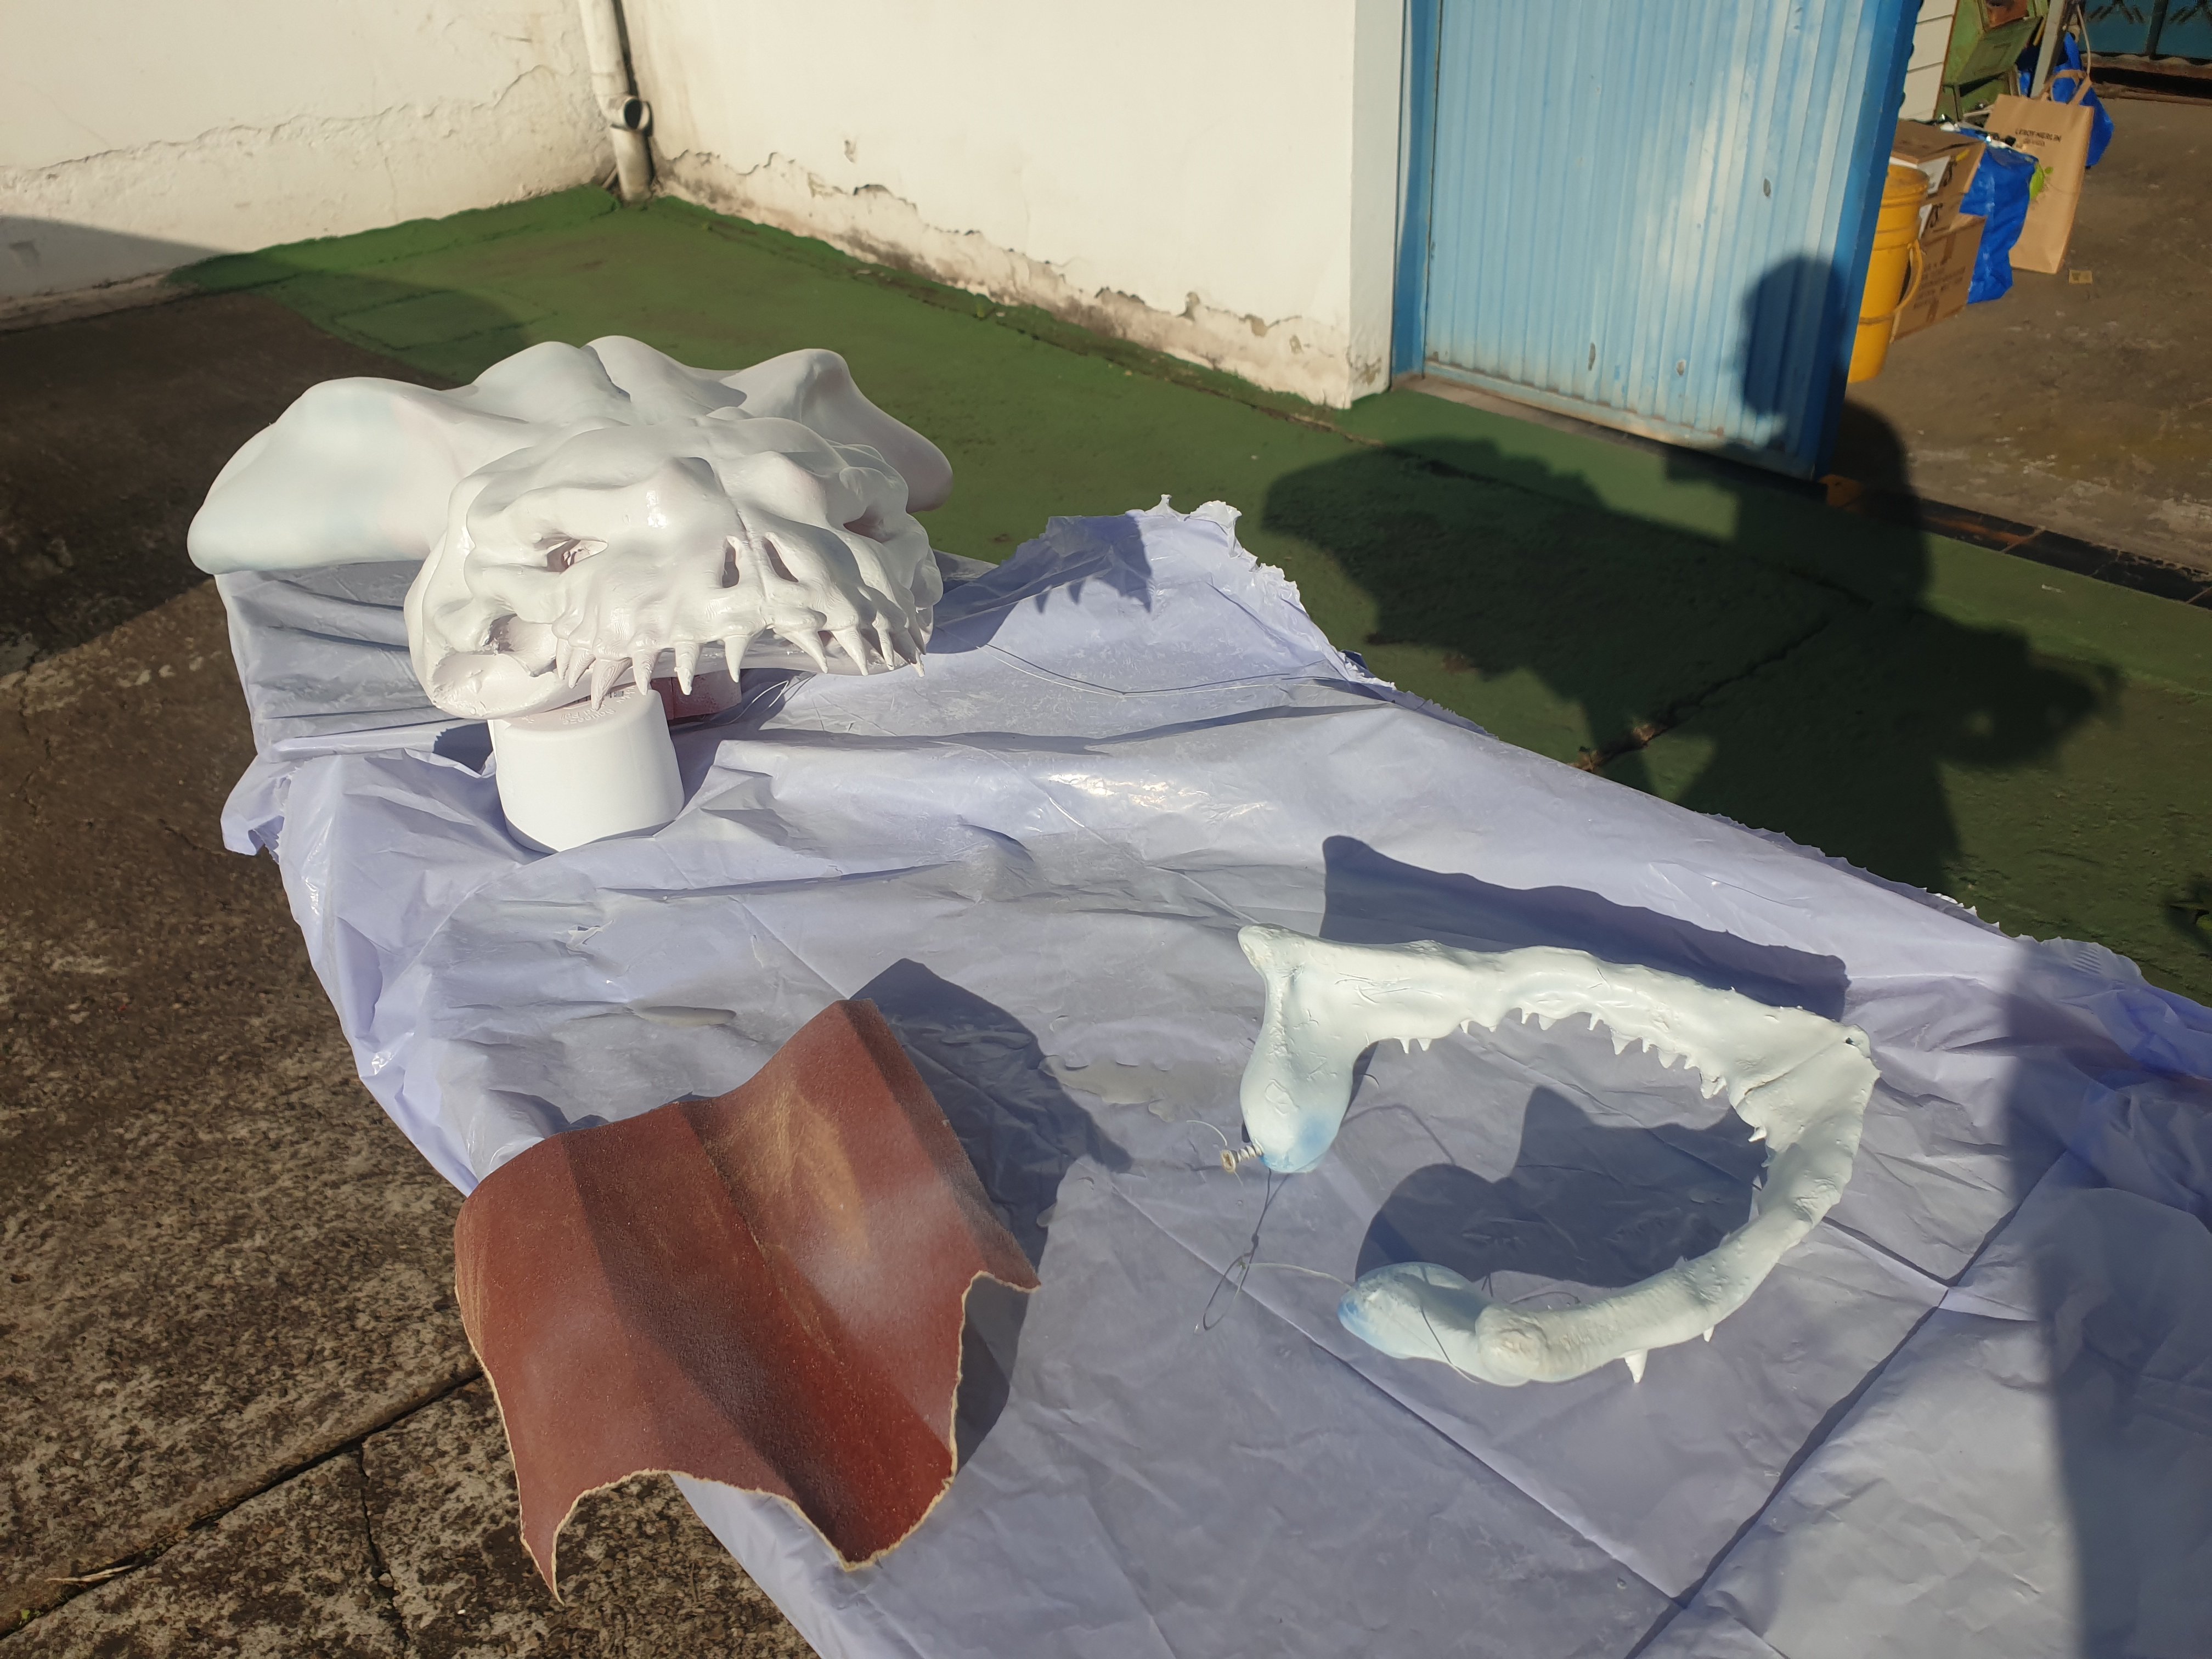
Since the model was really big, I had to split it in seven diferent parts. Printed it with my ender 3 and artillery x1, using PETG and PLA, with the reels I had at home...
Step 3: post printing...
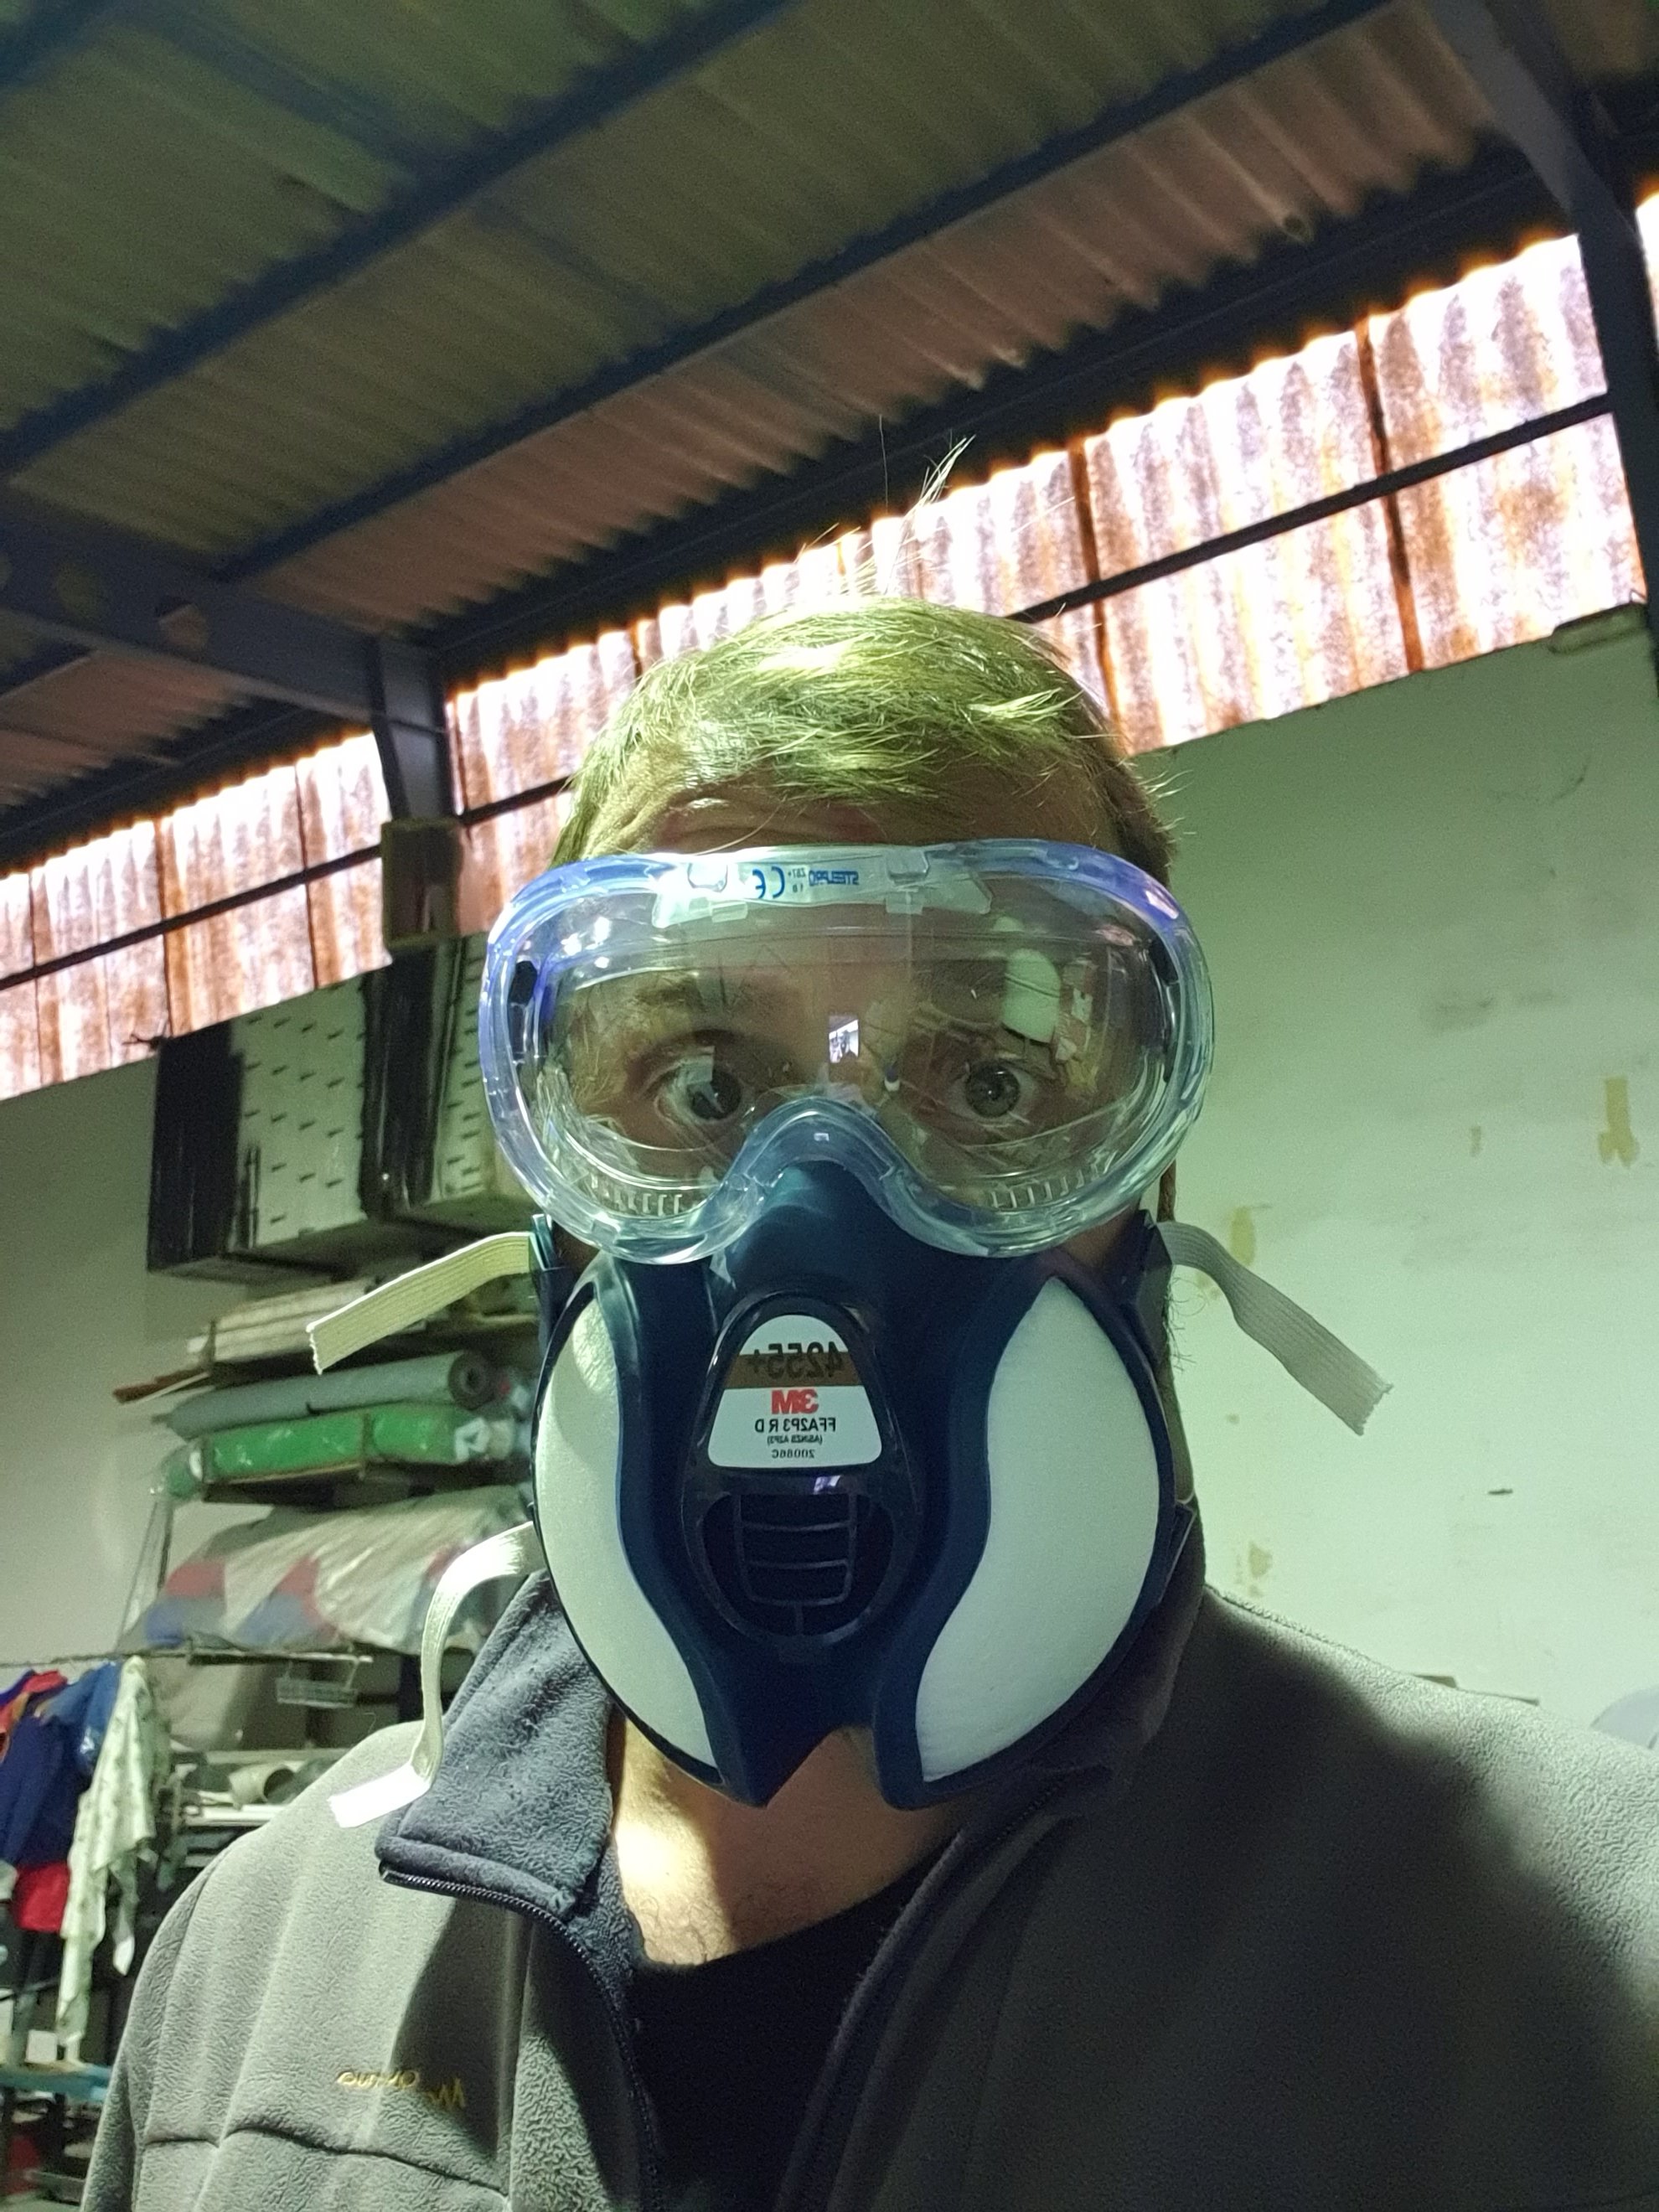
When I finished with the printing, I applied car putty by hand ( using gloves ), To fill the gaps, and disimulate the stings. I liked how it looked because it resembled bone, which was the objective.... Later I gave it a layer of epoxy resin for strength and to disimulate the imperfections..

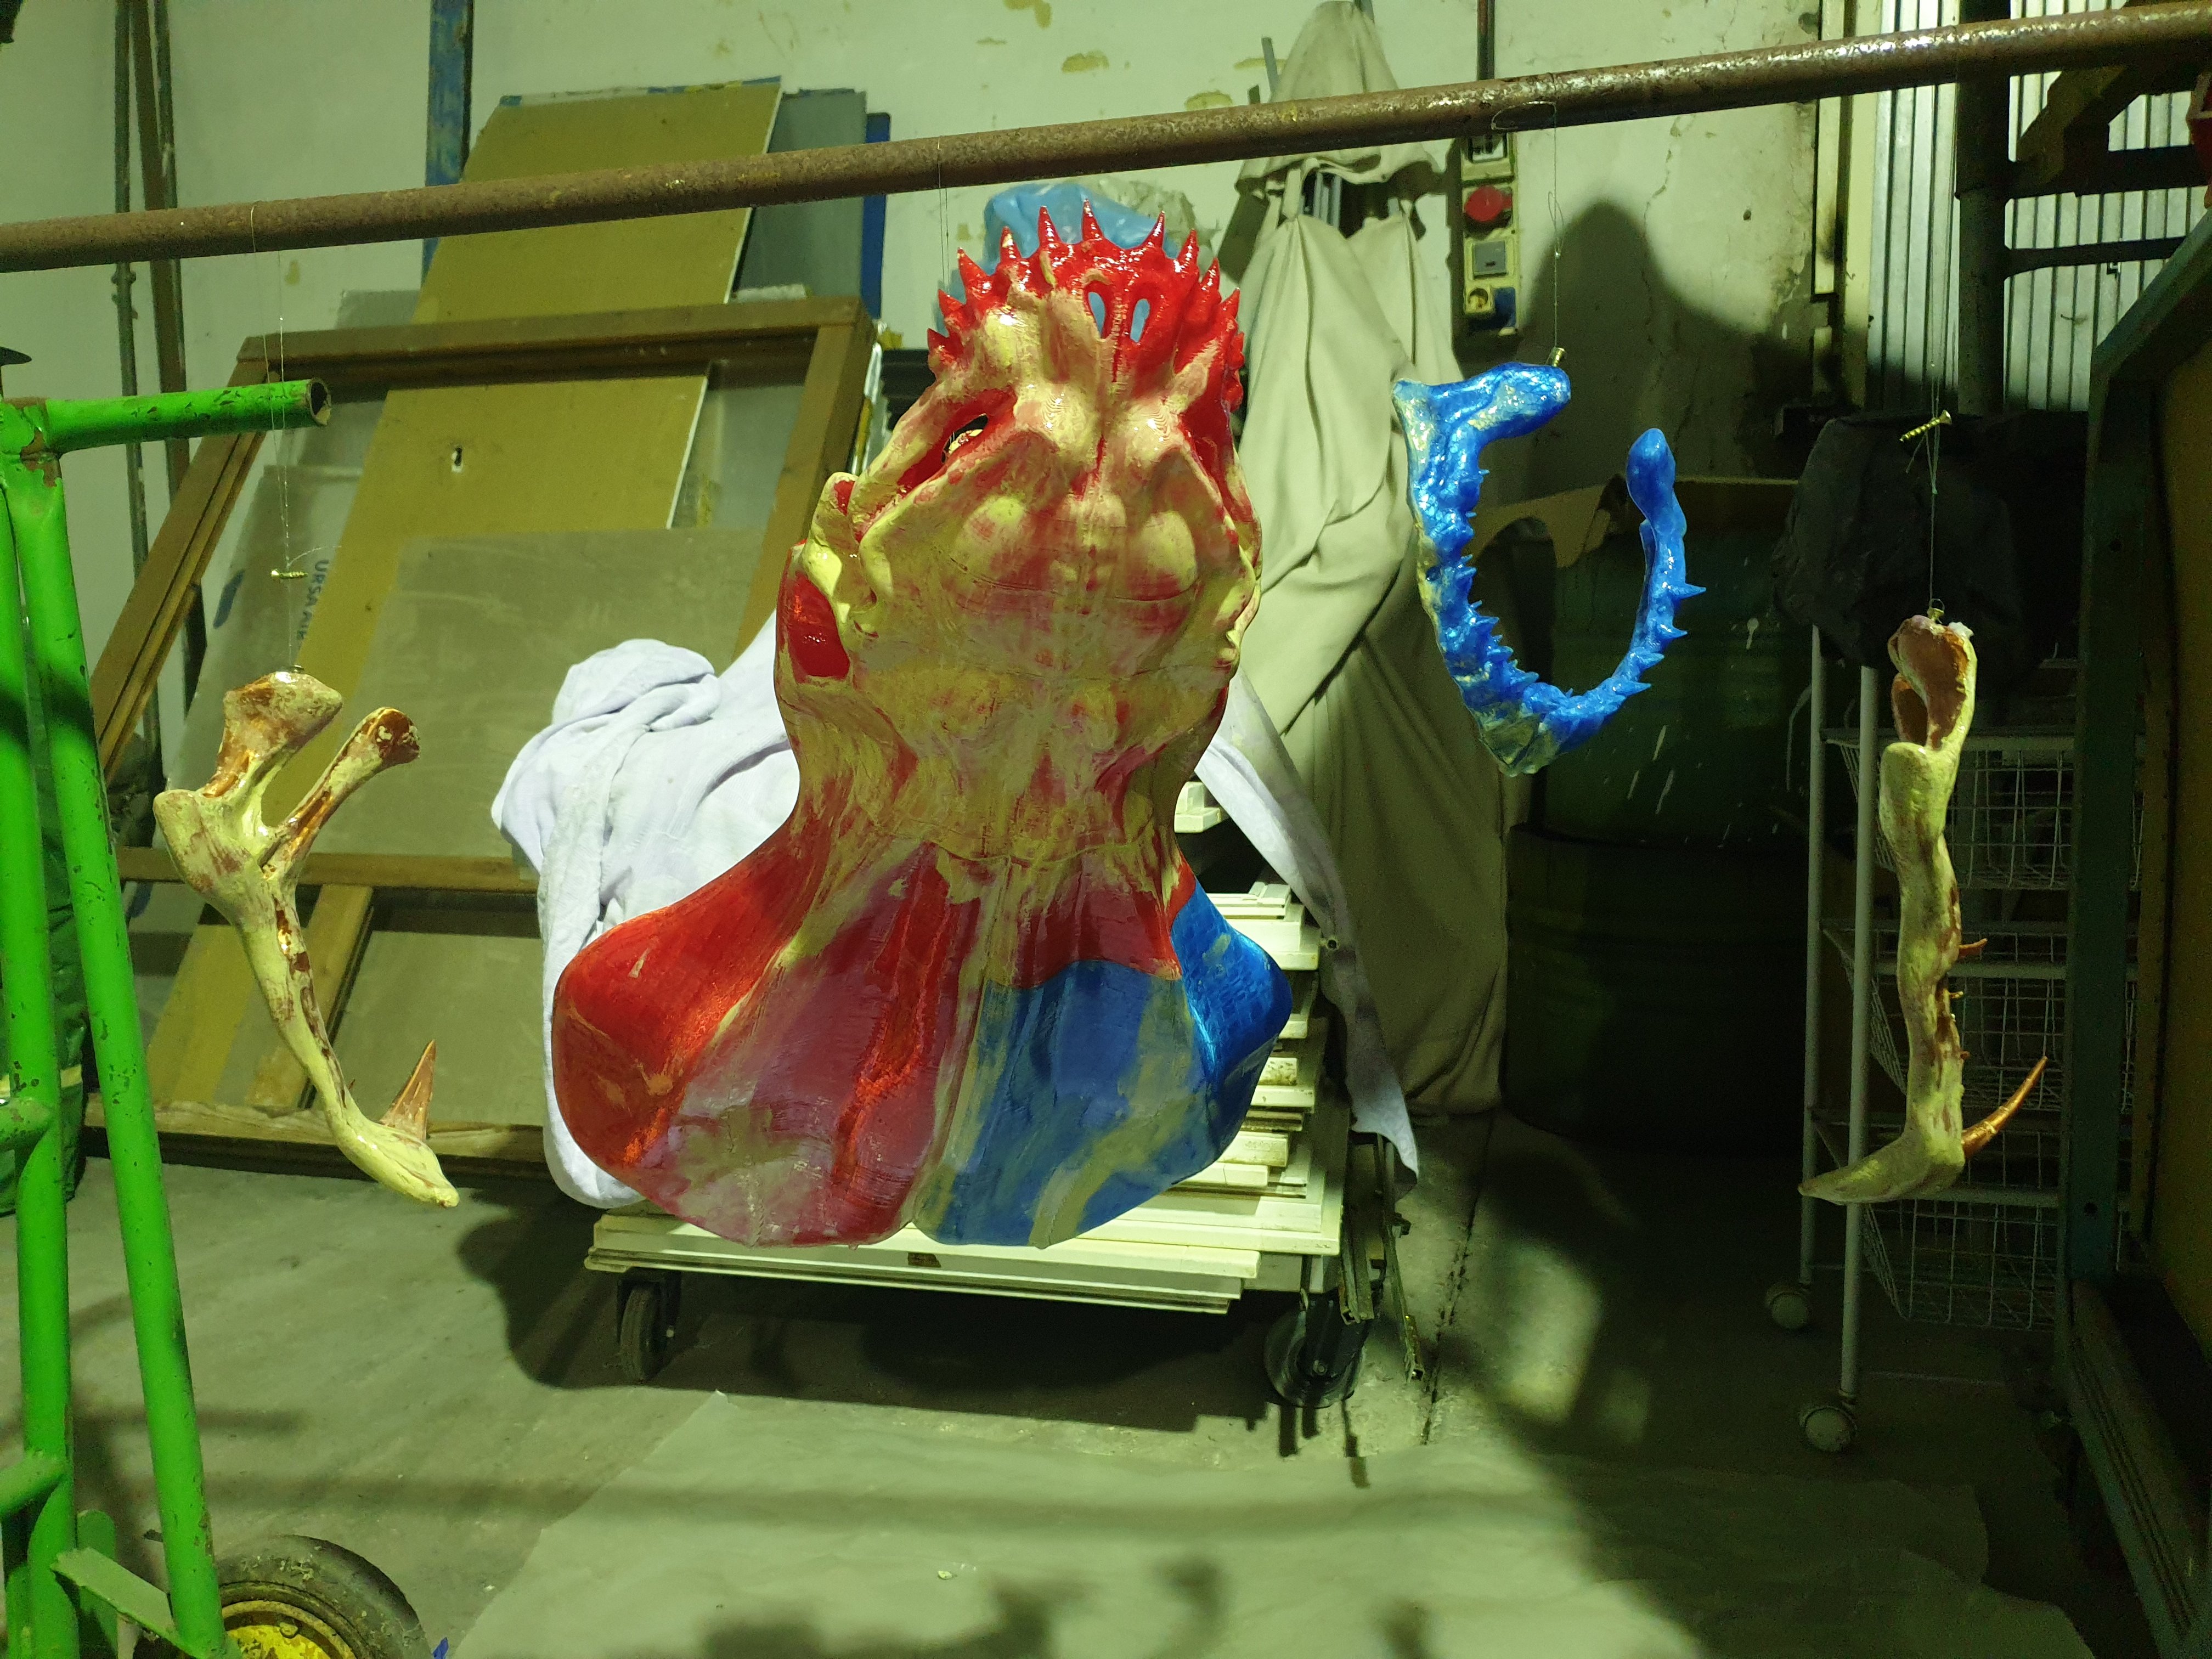
Step 4: Painting
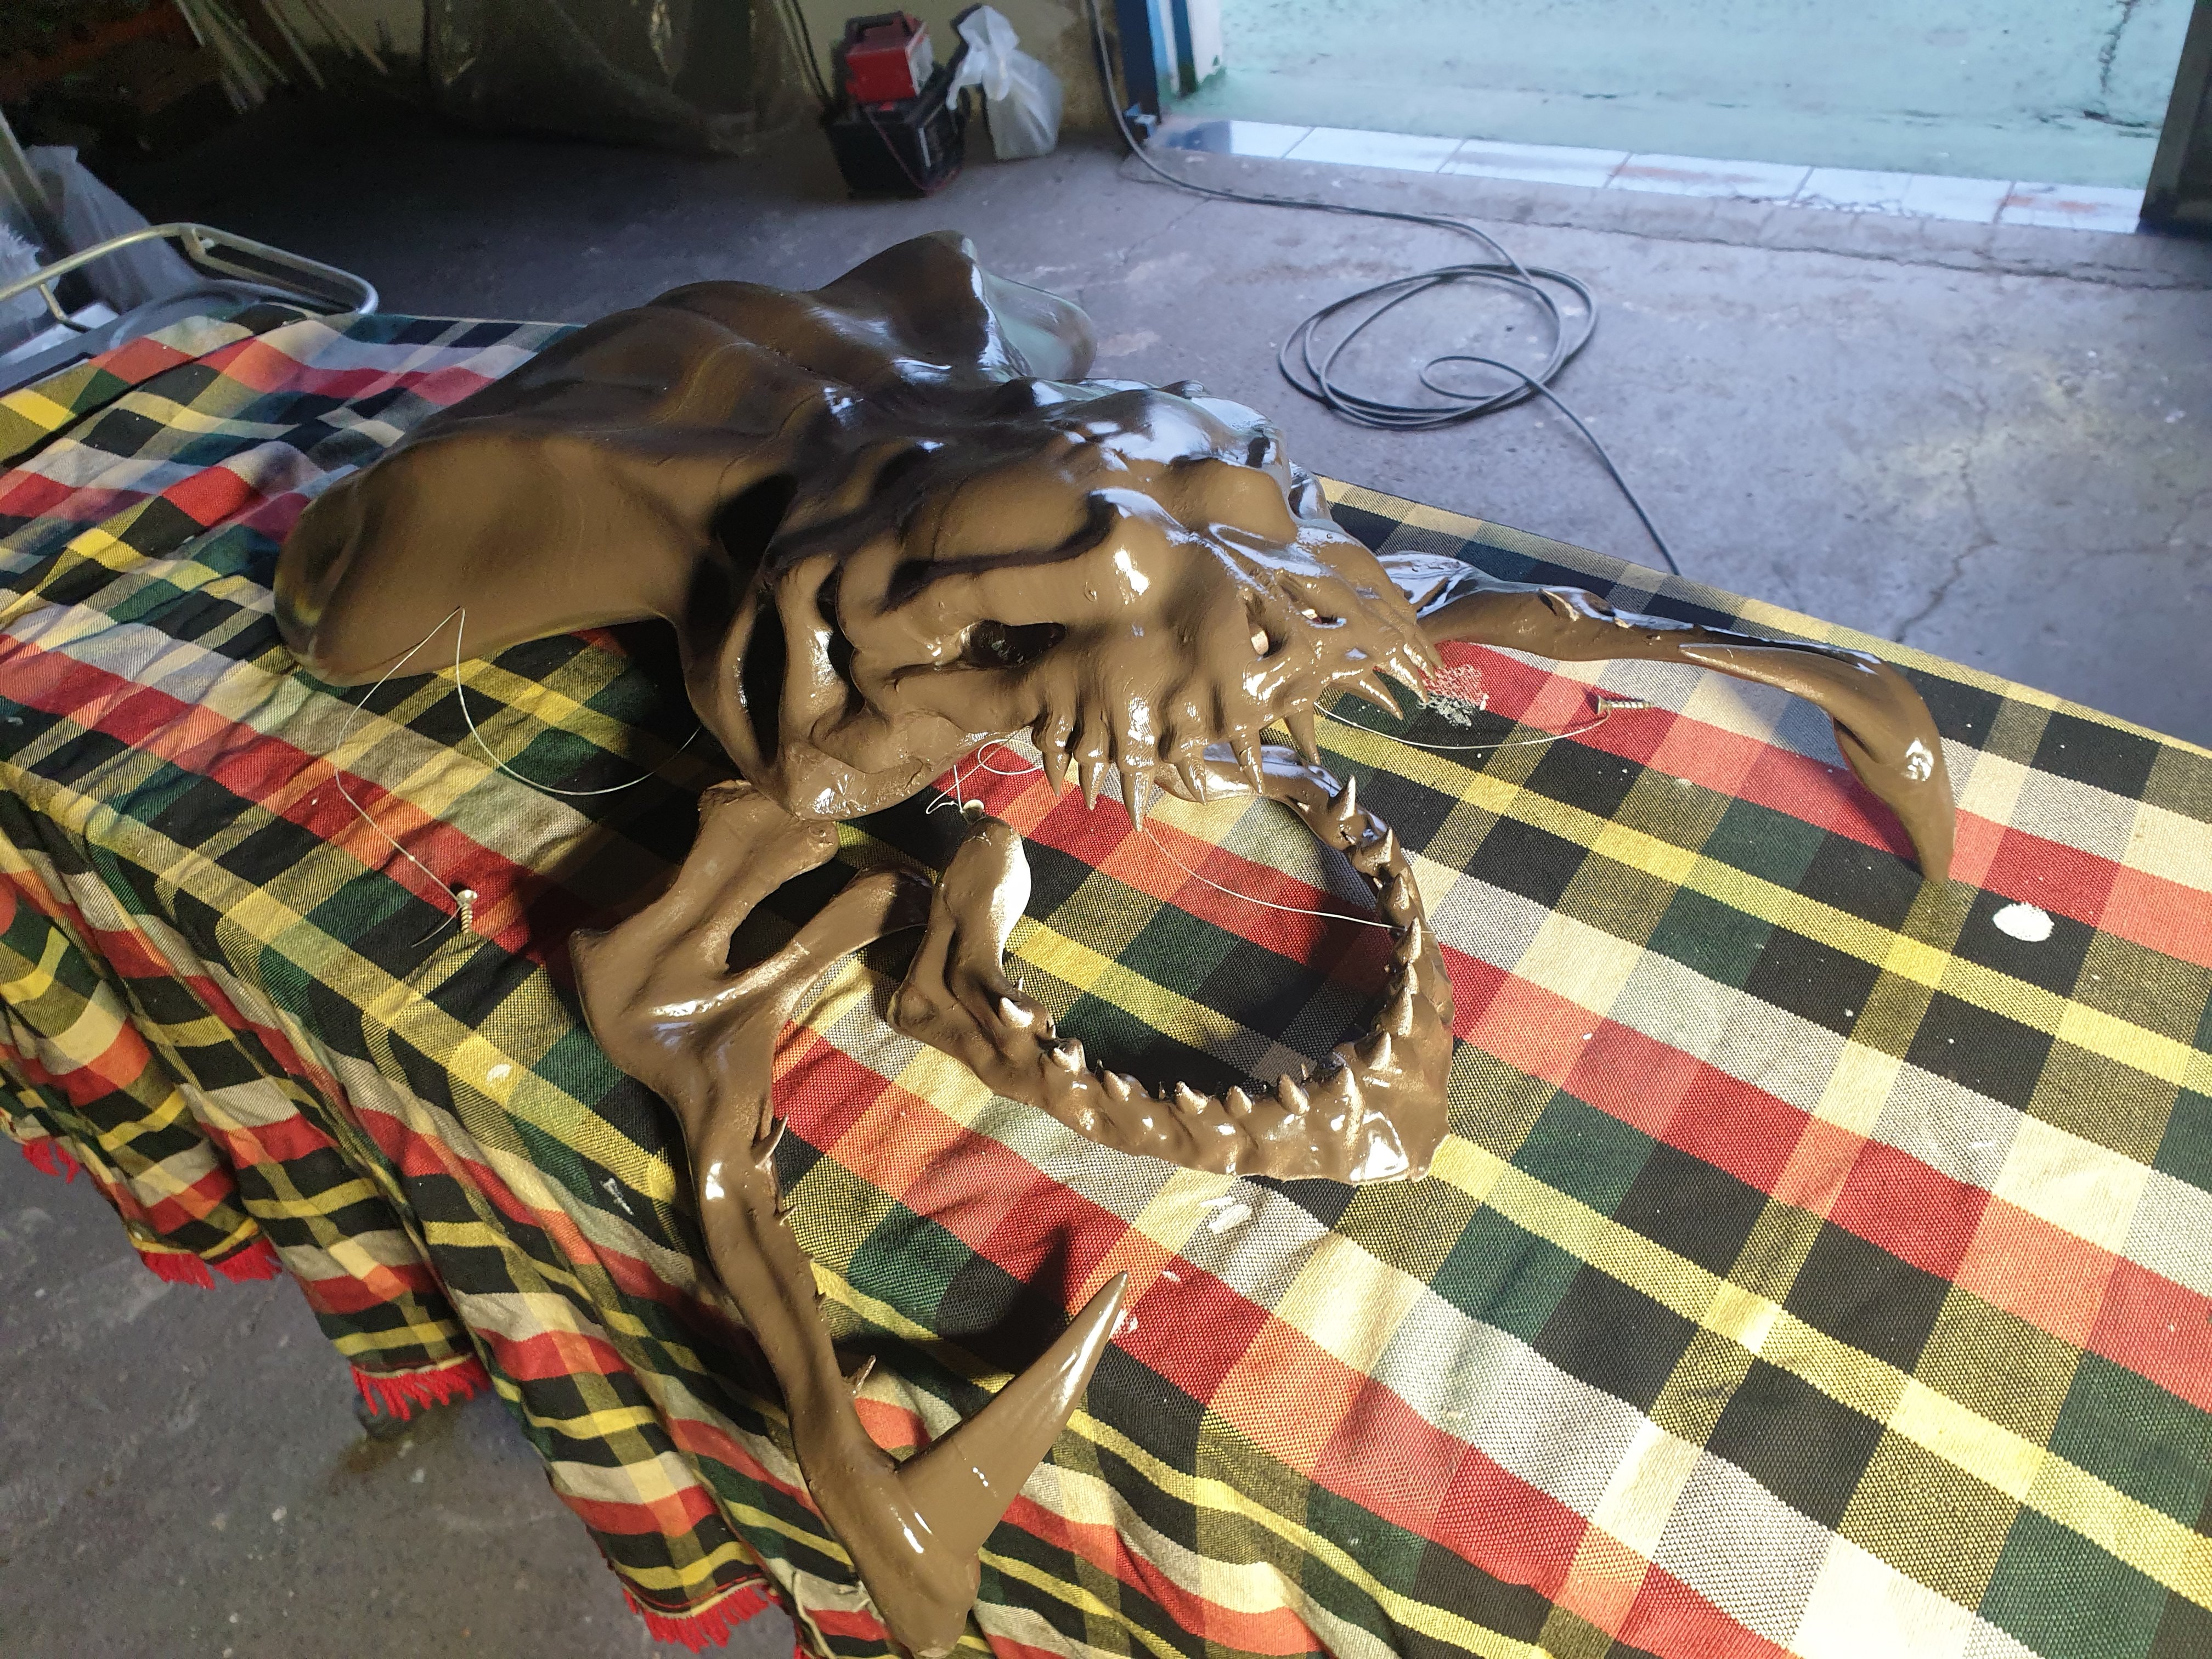
When the epoxy dryed, I applied a primer, and a layer of dark brown, using sprays..
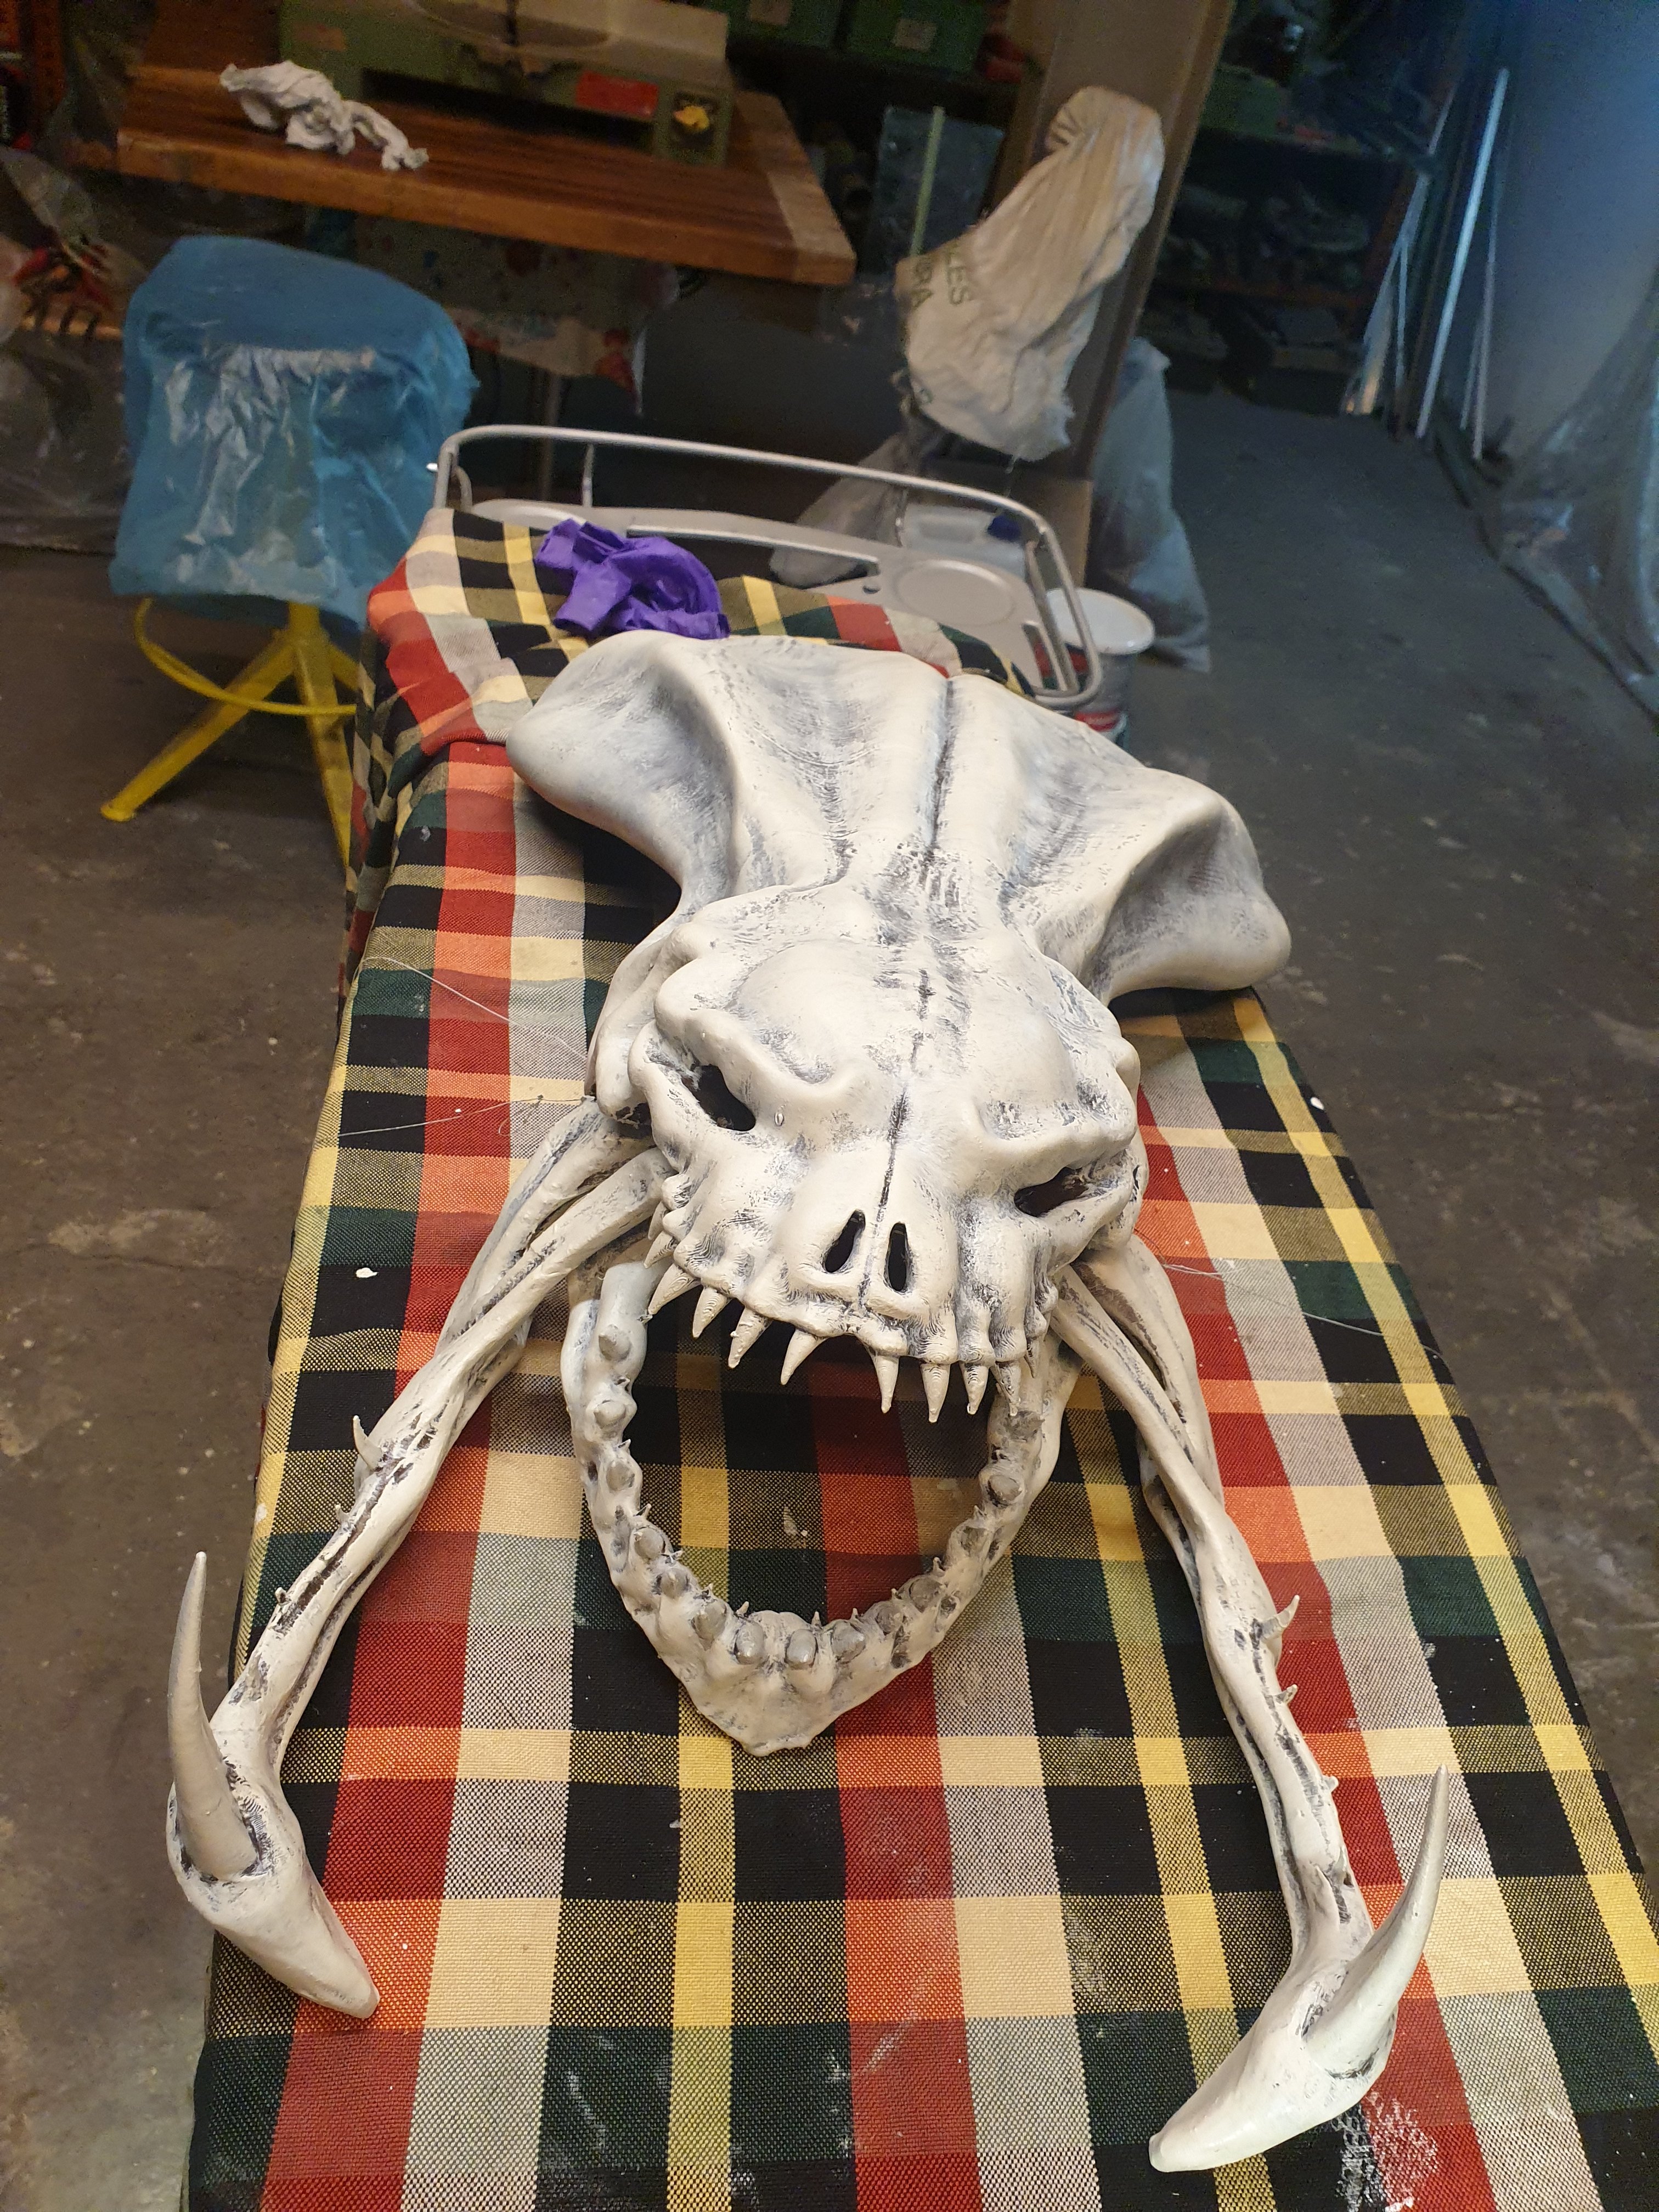
Then was the time for dry brush painting with beige emanel. One used for painting radiators.... After four layers, it looked the way I wanted, but maybe too white and new, I wanted it to be darker, so finally I washed it with a light brown dye...
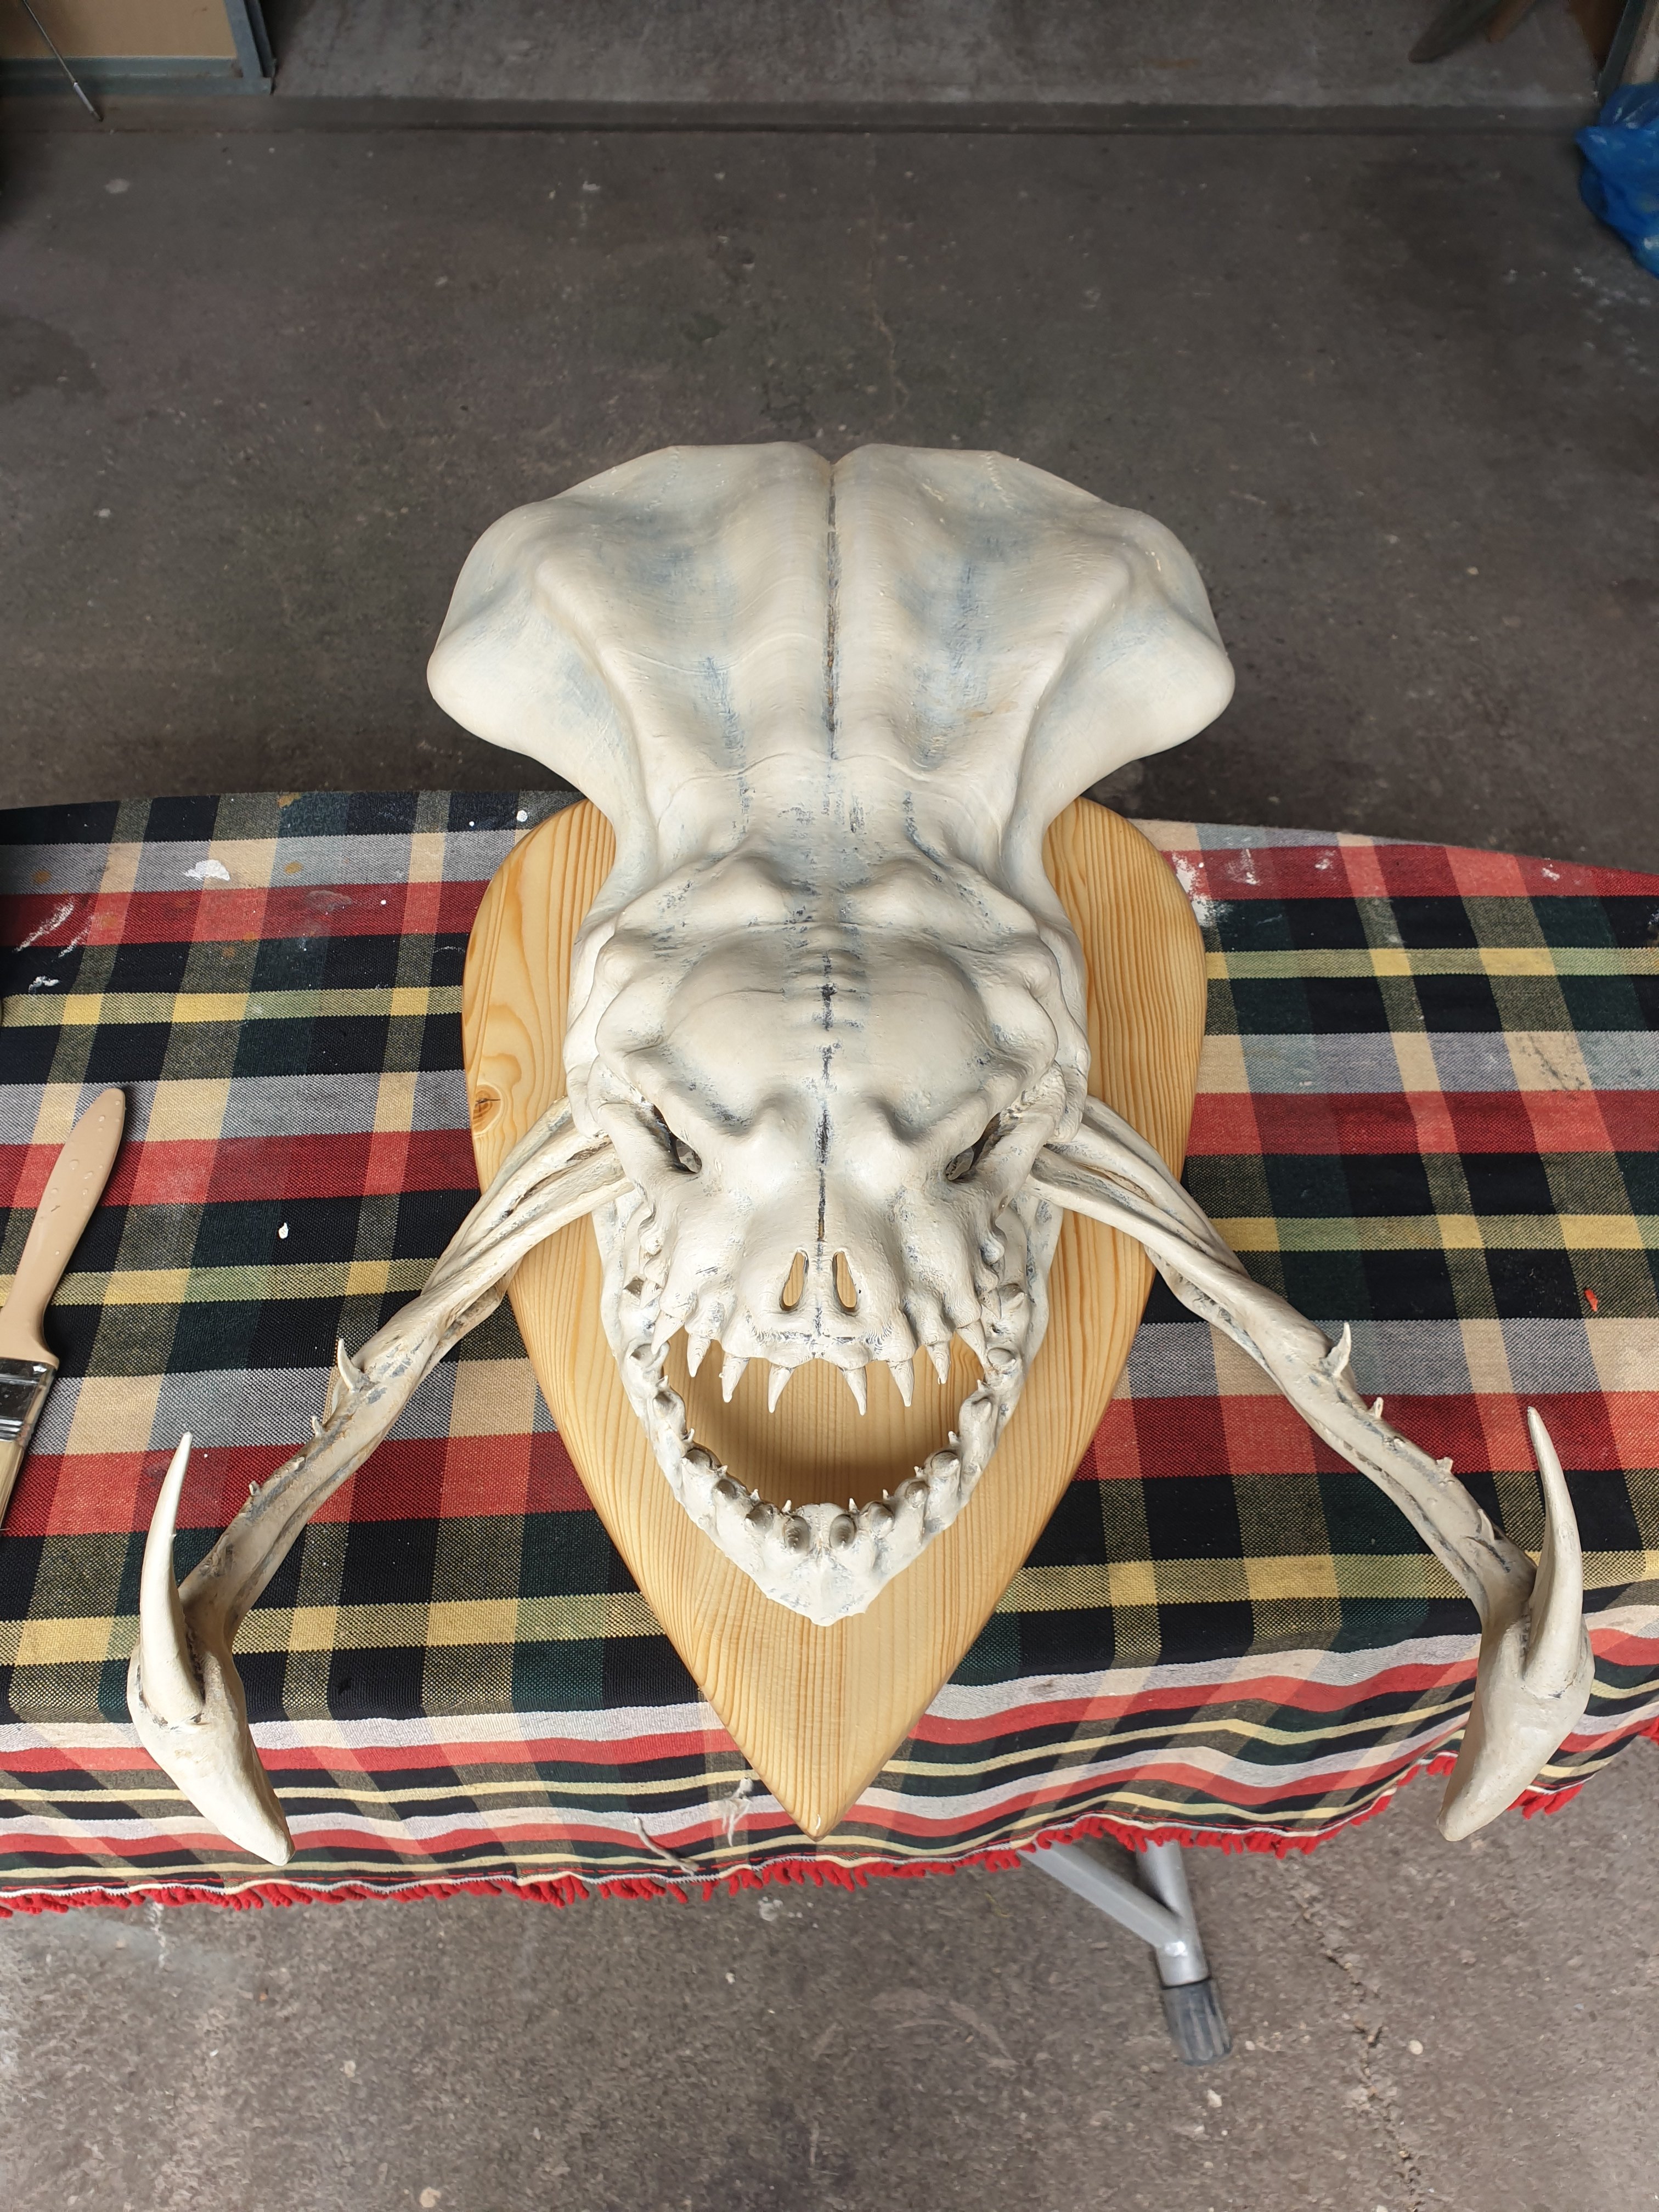
Final step: Adding a base...
I need the base to be more discreet than the original, so I cut a smaller one from a fir tree board, sanded it and applied varnish....
Epilogue....
When I came home with it, I thought my wife would be as delighted as I was and help me to put it on the wall. Maybe unscork a bottle of wine, and had a great time speaking about video games and 3d printing possibilities.... It turn out she hated it hand threaten to quit home if I hung it on the wall..... Negotiation is still in process... Anyway the kids love it! My wife and I also love each other, so this is not really important, I could find another place to hang it ;)
So this is it! I had a lot of fun doing this, and I like to share with this incredible community. If you do it make me know! Best regards. Hugo.