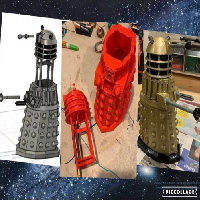
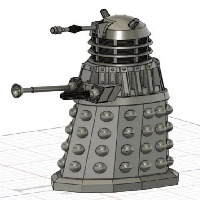
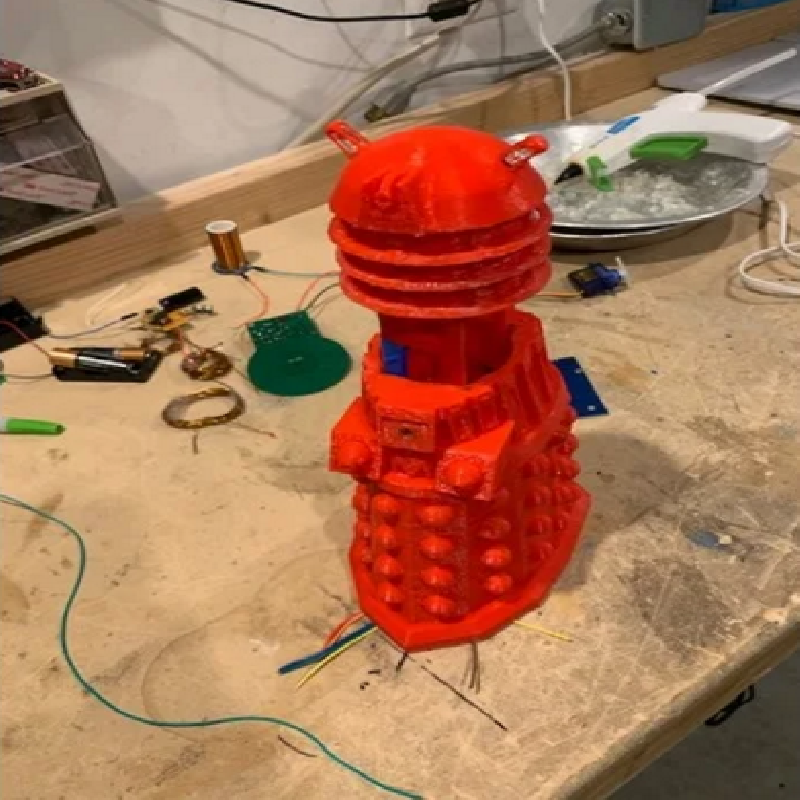
This 3D printable puzzle Dalek has 3 stages to be completed before the head gets unlocked and you can pull it off to find the secret item inside! There are three stages to be completed in any order: A button to be pushed, a knob to be turned, and an RFID tag to be read. One of the LED's on the head of the Dalek will light up after each task is completed. Once all three tasks are completed and therefore all 3 LED's are on, a servo will unlock the head from the body and you can take the head off which is attached to a "cage" that contains the item.
To complete this project you will need one of each of the following parts: An Arduino Nano (or similar), MFRC522 RFID Reader, 100k potentiometer, small push button, servo motor, power switch, and 3 LED's(colors of your choice, I used one blue in the "head weapon" and two white on the sides).
To start make sure everything fits after sanding everything down or even smoothing the print down with a wood burner or soldering iron(caution that this can dirty your tip). After cleaning the print and making sure the tolerances are fine, you can start hot gluing and super gluing in the parts.
-Firstly there is a small hole in the front body for which the push button can fit into. you can hot glue this into the opening on the inside so that you can stick a pen through the hole to push the button. Make sure to solder long enough wires to connect to the Arduino later.
-Secondly you can hot glue the RFID reader onto the flat back part in the inside of the body.
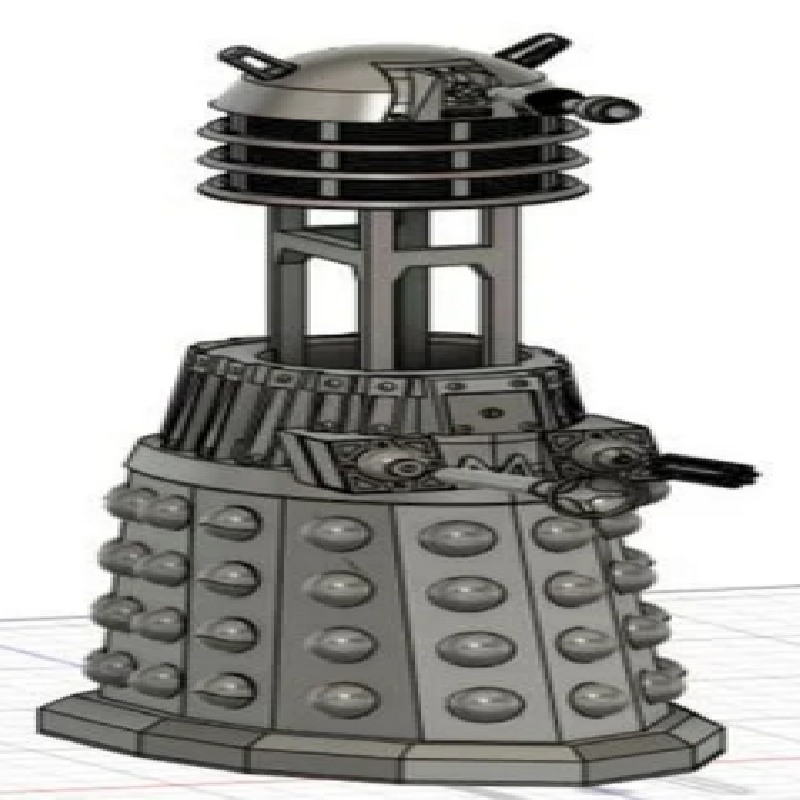
-Thirdly you technically don't have to do this step, but it adds to the coolness of the project I think. There are 8 shallow thin cutouts on the back of the Dalek made for small squares of steel for the back balls to attach to with magnets. You'll want to get some quarter inch by eighth inch cylindrical magnets to fit into the "Dalek Back Ball[s]", this will let the back semi-spheres be taken off to make a flat surface for the RFID to scan off of.
-Next you can hot glue the potentiometer in place through the hole and missing semi-sphere, and you can super glue the "pot ball" onto the other end so when you twist that semi-sphere the pot will turn.
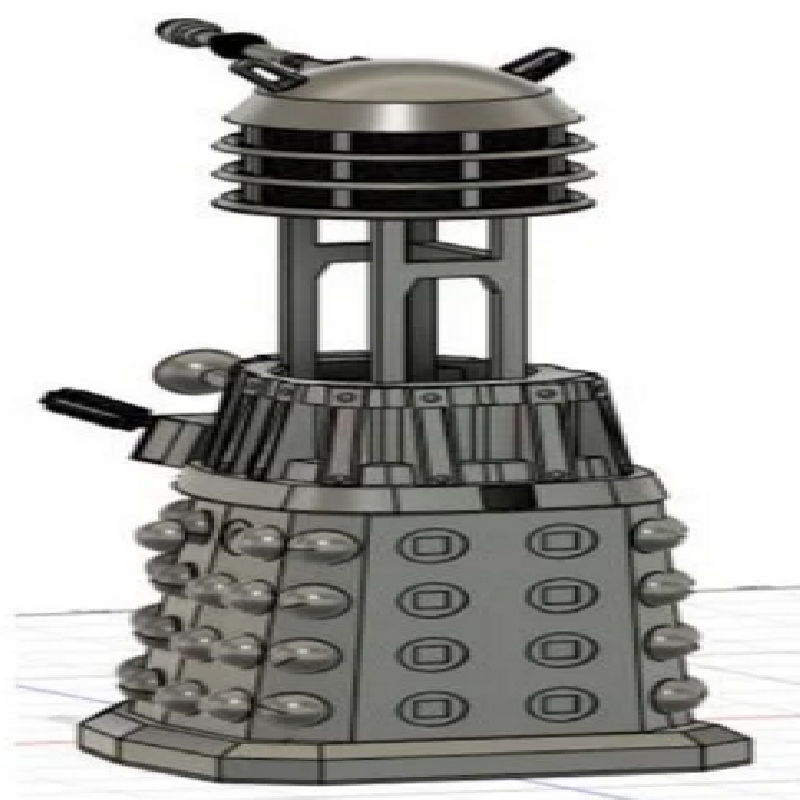
-Next you can mount the LED's in the head, just by hot gluing them in place and running the wires down through the inside of the cage when you put that on later.
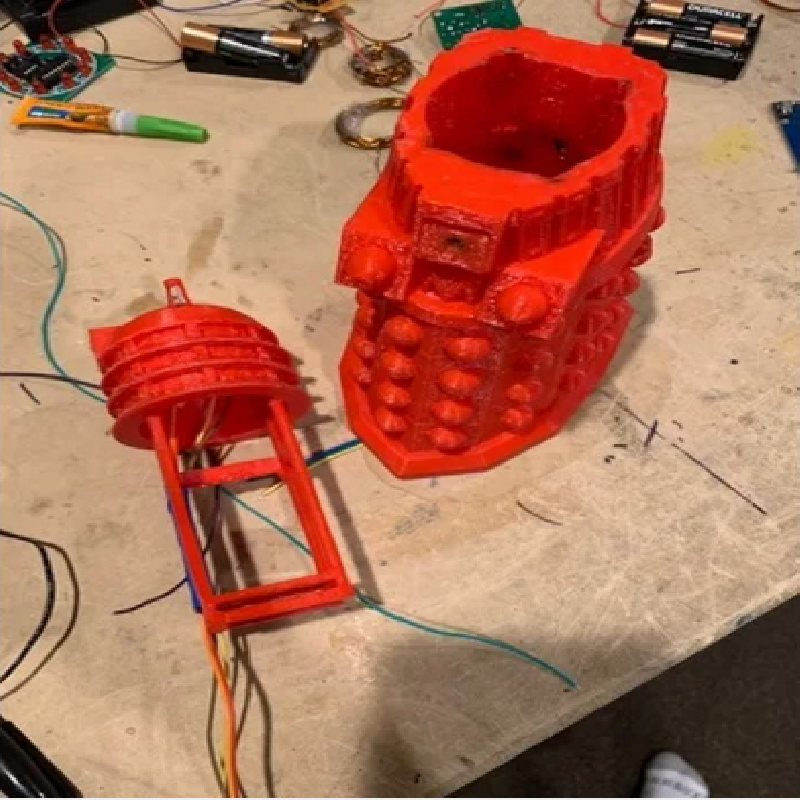
-Now you can attach the cage to the head piece. I super glued 4 toothpicks into the cage and head holes to keep it together, then you can slide the head and cage in. After this you'll need to get a piece of plastic or something you can attach the servo to. You will need to determine the height to mount it inside of the body, make sure it is at a height to hold the cage down, and not too high that the head is sticking off the top.
-Since everything is now done, you can solder everything to the Arduino according to the comments in the code posted with the .stl files. I also ended up using a zip tie to hold my secret item inside, but many other things would work.
Hope this was an easy to follow project!