by Zakufan
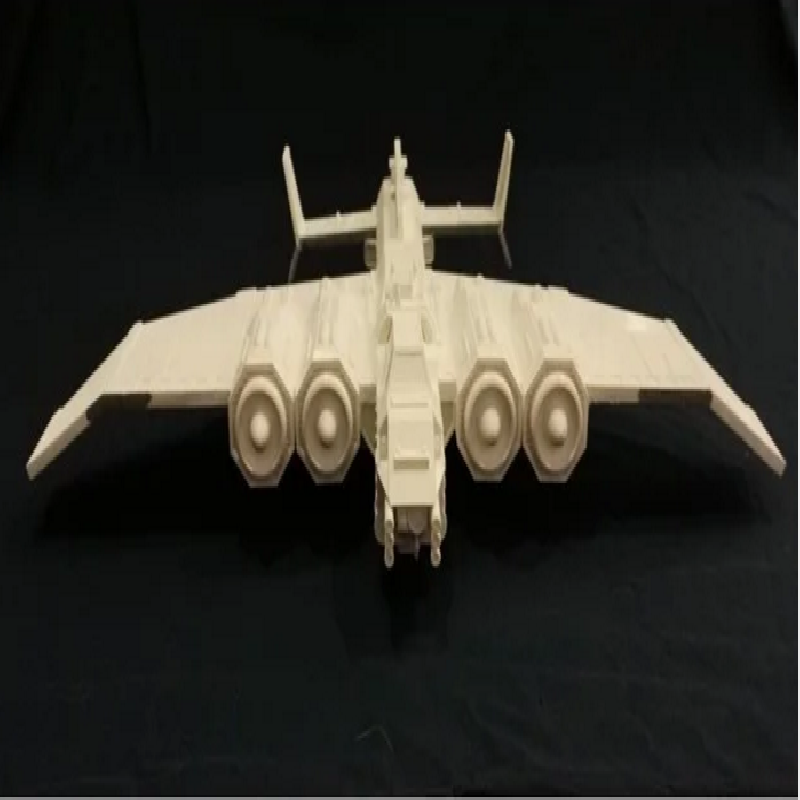
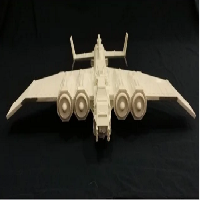
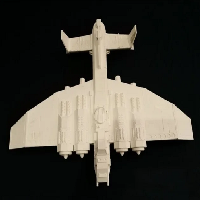
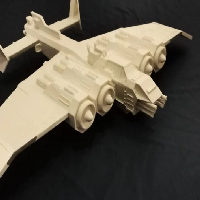
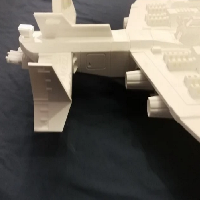
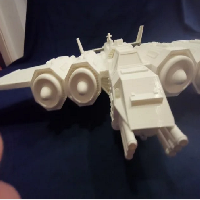
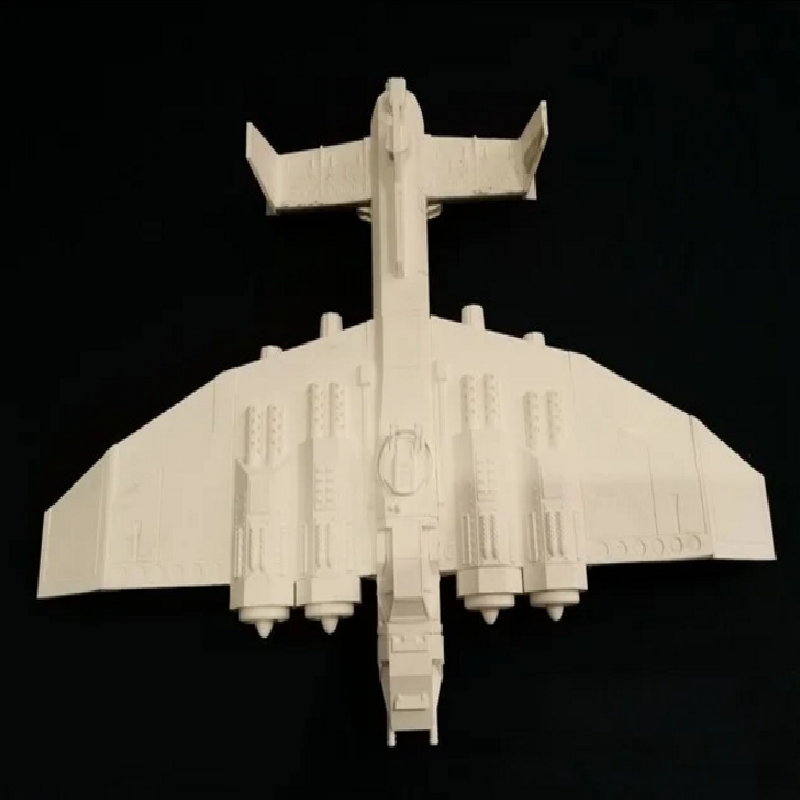
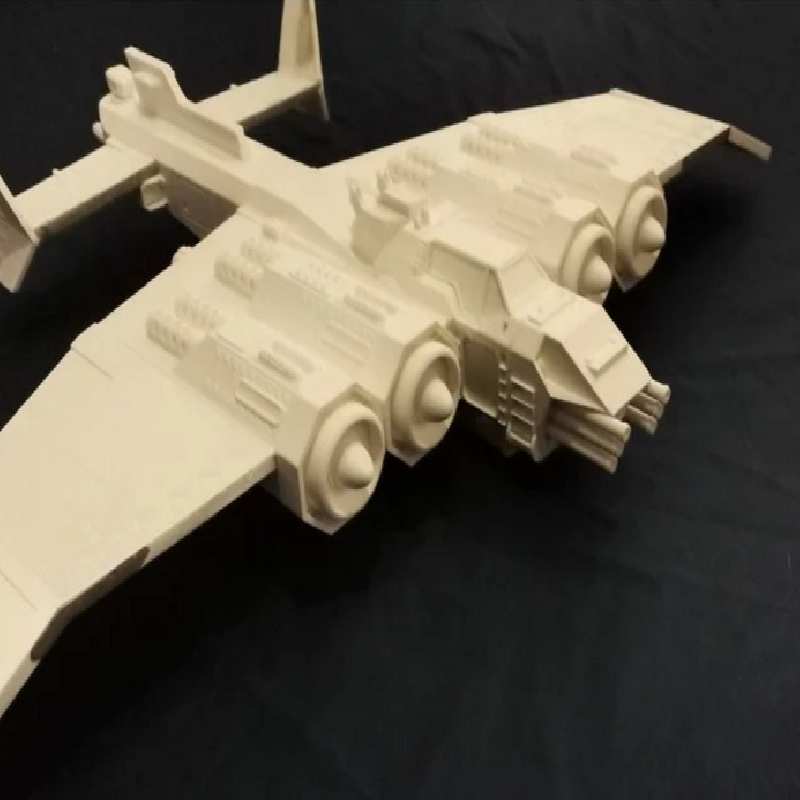
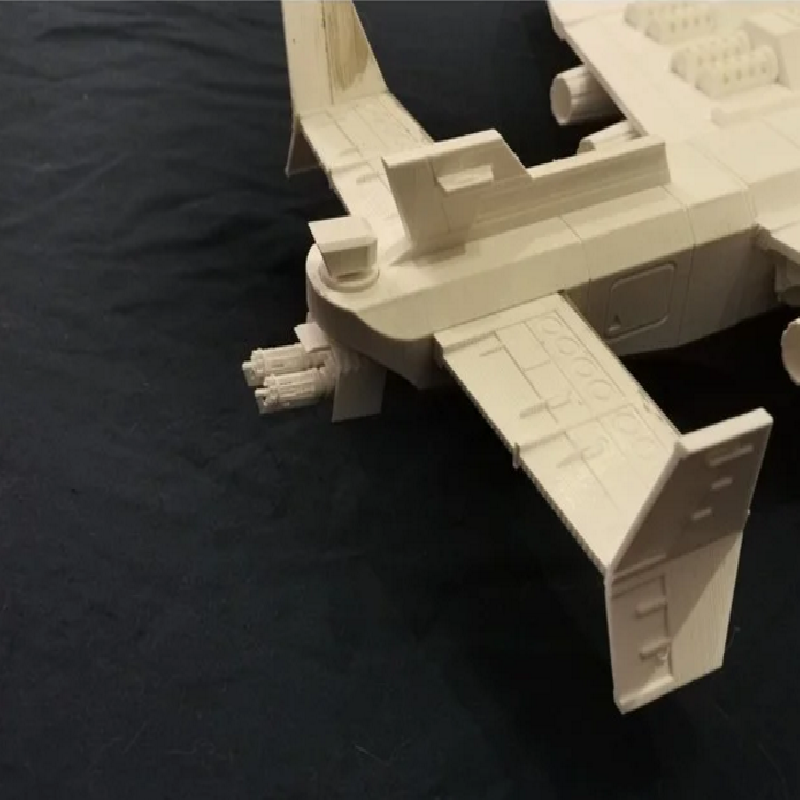
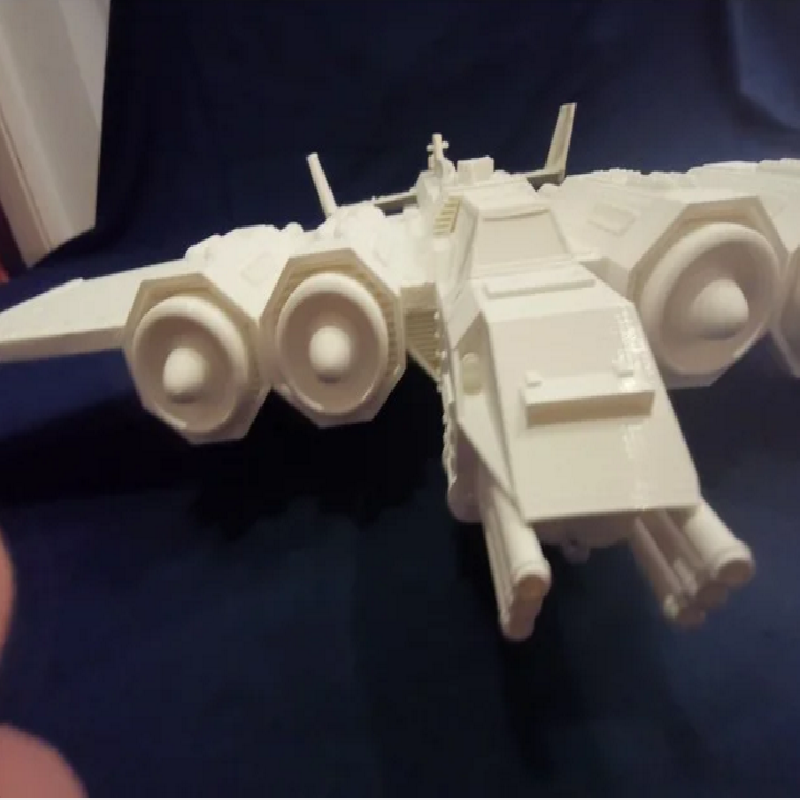
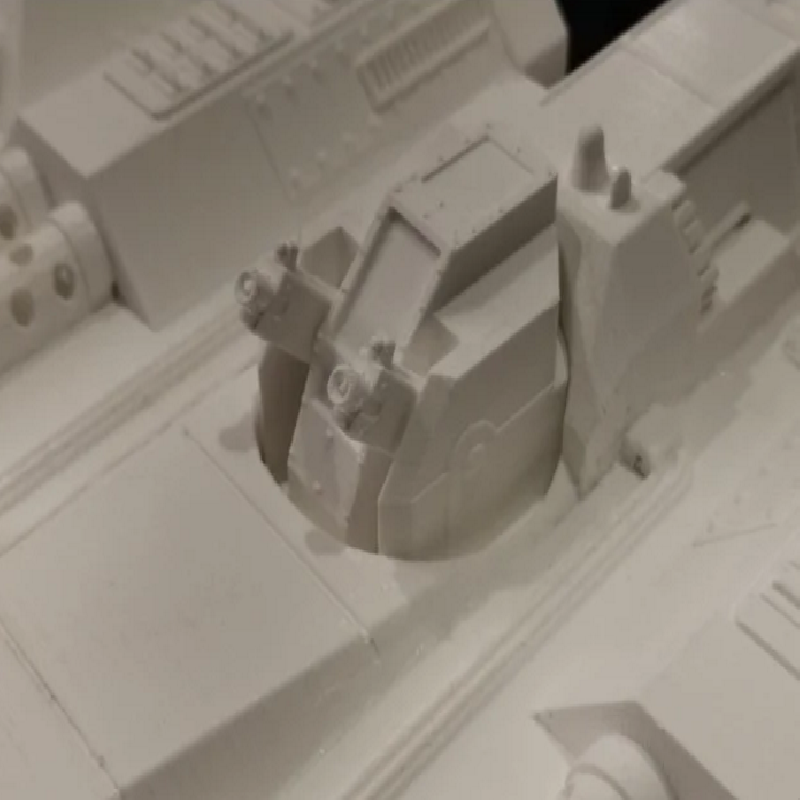
The Outlaw Night Fighter / Fighter Bomber is the mainstay of the Solar Hegemony's Air Force. It can be assigned both missions in space and within the bounds of an atmosphere. The Night Fighter / Fighter Bomber variant is derived from the standard Outlaw Heavy Bomber and sacrifices bomb payload for an sophisticated sensor array mounted at its nose and a formidable ground attack / dogfighting armament, consisting of 6 nose-mounted large calibre machine cannons with 150 rounds each and up to ten wing-mounted air-air- or air-ground missiles. It's four turbojet / thruster engines allow it to reach speeds up to 1200 mph in an atmosphere and about mach 7 in space.
This is my own interpretation of a famous wargaming aircraft. It's no exact copy of the original model, it's more of a different pattern, manucatured by a different factory. I hope to see some of your awesome prints of this beast real soon!
P.S.: The model is designed in 28mm scale. You might want to re-scale it to a different size for use with miniature wargames that use a different scale, although I can't guarantee that all the details will come out sharp if you do so on a FDM printer. Resin / SLA should be no problem.
Print Settings
Printer:
Artillery Genius
Rafts:
No
Supports:
Yes
Resolution:
0.2
Infill:
10%
Filament_brand:
PrimaValue
Filament_color:
White
Filament_material:
PLA
Notes:
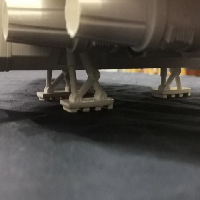
I used PrimaValue PLA 1,75mm filament with a 0,4mm nozzle set at 200°C for the first layer, then 180°C for the remaining layers. The heatbed was set to 50°, covered with blue tape for better adhesion. There was some slight warping on the main wings, however, but nothing that couldn't be corrected using 2-part epoxy putty, again the fast-curing stuff.
Post-Printing
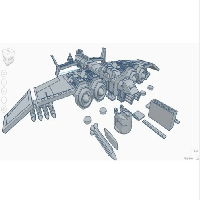
Printing and Assembly
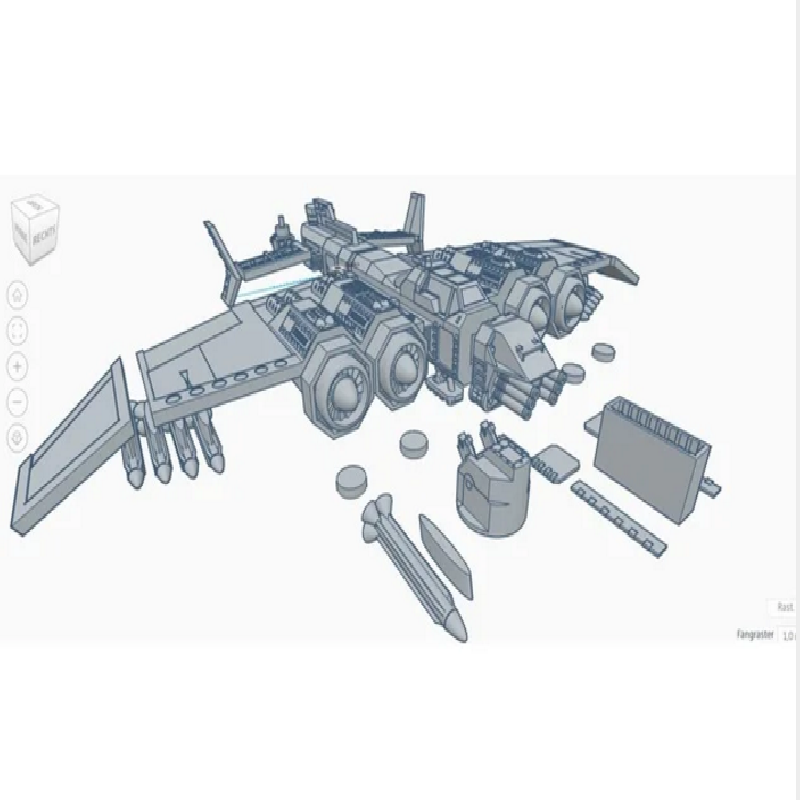
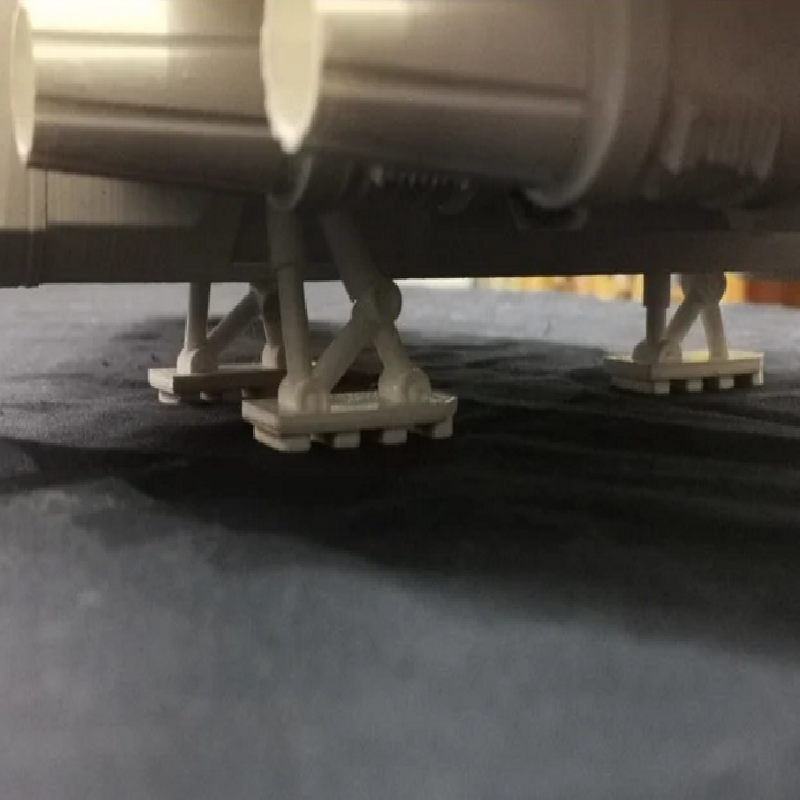
Printing is dead easy, just align everything so that it sits with a flat surface on your build plate. I recommend using supports. You'll have to print some parts twice - don't forget to mirror them before printing! These parts are: - main wings - elevators - stabilizers - wing tips - main landing skid. If you want to add the missiles, you'll have to print 10 pieces of them plus their pylons. Assembly Assembly is straight forward - just glue the parts together. Depending whether you're using ABS or PLA, use the appropriate glue. I used superglue which worked well, the surfaces are big enough to create a good, solid bond. Using super-glue accelerator is highly recommended. You can also use 2-part epoxy glue, the quick-curing stuff, of course. You will need to fill some gaps with model putty, however, which is no big deal. This beast is HUGE - it's roughly 45 cm long, with a wingspan of about 63 cm and clocks about 1kg of filament, depending on your printer settings. Add a few grams for supports and there you go. It took me about 180 hours to print this aircraft, but it turned out really well.
How I Designed This
The basic idea
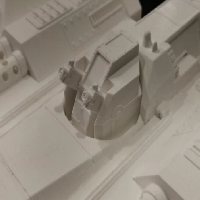
With the original model bearing a hefty price tag and being somewhat difficult to acquire, I decided to design my own version of this aircraft. I followed the original design philosophy to a certain extend, but took several liberties concerning the details. I designed all the parts on my own, although I re-cycled some of my older designs (i.e. the weapons). The model itself prints pretty well, although you might want to add some additional greeblies to your model once it's printed, which is actually fine. I have refined the landing gear and the wing surfaces myself on my print by adding lead thread and other bits and bobs.