by BFree
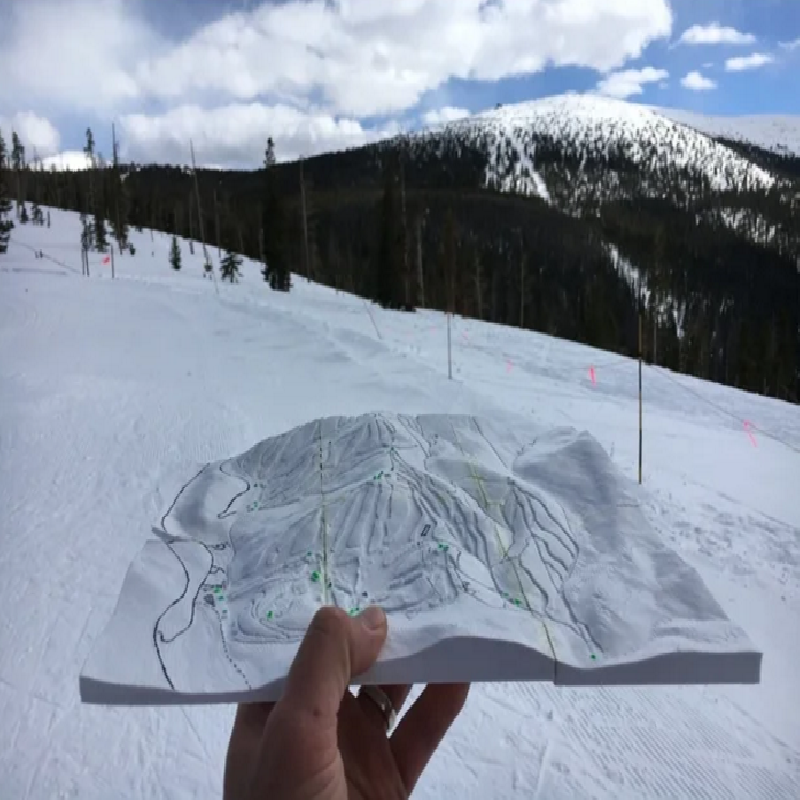
A 3d map of the ski runs at Winter Park Resort in Colorado.
I created this model to take with me on the slopes. In years past I had difficulty navigating Winter Park ski runs using their official map. There are some runs that look like they slope one way on the map, when in fact they slope the other.
Taking it with me worked! I found my way onto several runs I hadn't been able to find before!
I printed the model small enough that it didn't make sense to label ski runs so I'm afraid you'll have to use it in conjunction with the 2D park map.
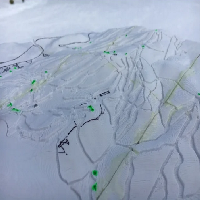
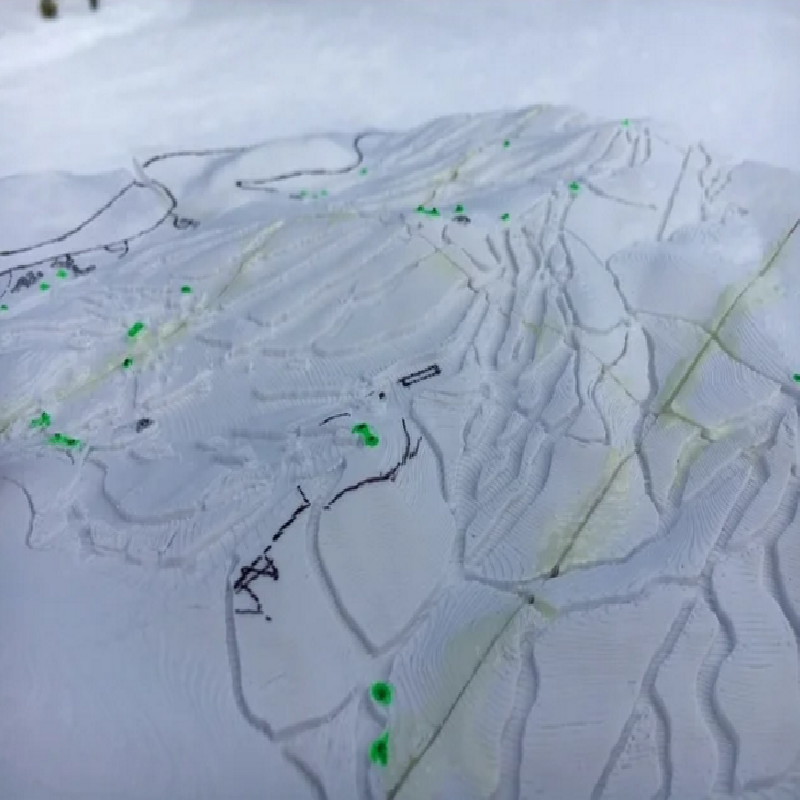
Ski runs are cut into the terrain model.
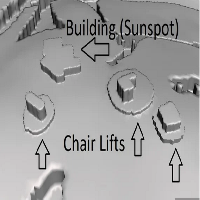
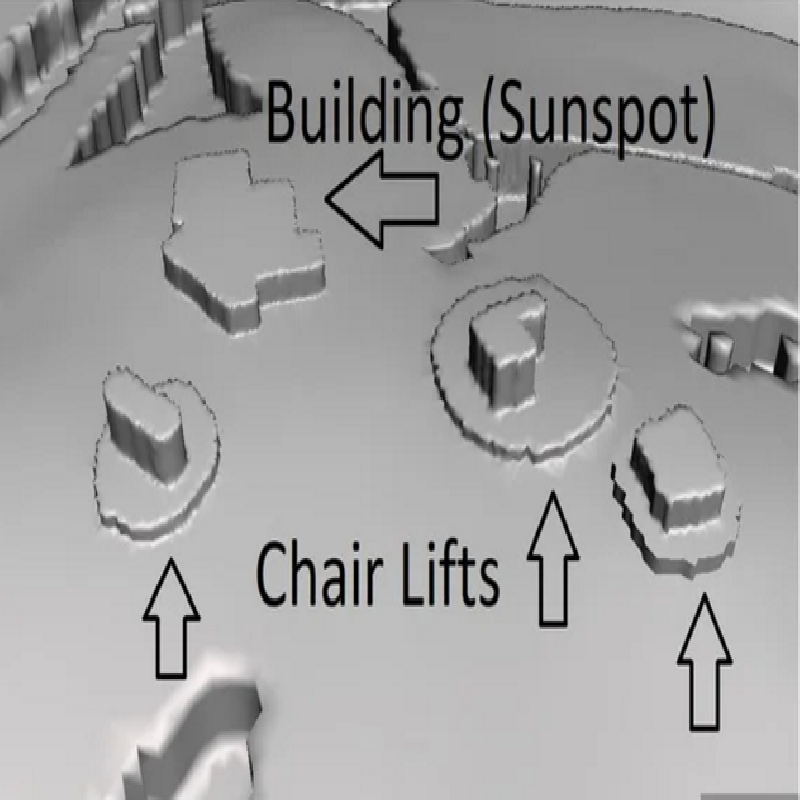
Chair lifts are extruded upwards with a raised ring around them (please see image), buildings have no ring.
Advanced Intermediate (and up) runs go through wooded areas all the time and I couldn't find a simply way to denote that on this model. Consequently, "dotted" areas of the model represent areas with trees that I think are traversable.
Huh, that's weird! Somehow the last entry in each list is getting bolded.
Model Shortcomings:
I did my best to accurately indicate where trails are, but I'm afraid the satellite images I used were taken during the summer so I had to do some guess work based on tree locations. There are probably some runs that I missed.
I should have extruded chair lifts and buildings higher to make them easier to locate. In real life I painted lifts green and buildings silver.
I should have denoted which chair lifts connect to which other chair lifts. I thought I wouldn't need to. As it is you kind of have to compare the model to the map.
Areas above the tree line are denoted with a kind of raised line. (Meshmixer got too slow when I tried to raise or lower large areas so this was my solution.)
Roads are also denoted with a raised line.
Glue the tiles together using a plastic epoxy. (Unless you print in ABS, in which case use an ABS slurry.)
CMA WARNING:
I made this to help people out, and I tried really hard to get it right. That said, I'm sure I got plenty of details wrong. Please don't blame or sue me if you get lost/ fall down/ ski beyond your ability/ get frostbite/ resort to cannibalism/ get eaten by a yeti/ get a runny nose, etc.
For anyone still reading who wants to know the names of the ski runs:
I kept going down White Rabbit, thinking I could take Mock Turtle over to Jack Kendrick and get to the base of the mountain. While I was making this model I realized that White Rabbit and Mock Turtle meet at the bottom of both runs.
The new run I found was Trestle, in the Mary Jane ski area. I wasn't upright the whole time, but that's another story.
Kudos to you for reading this far! You're obviously a very intelligent, methodical and attractive person.
Why is this bolded?
Print Settings
Printer brand:
Wanhao
Printer:
Duplicator 4X
Rafts:
No
Supports:
Doesn't Matter
Resolution:
0.1
Infill:
25%
Filament_brand:
Hatchbox
Filament_color:
White
Filament_material:
PLA
Notes:
If you want maximum detail and maximum printing time, try printing each tile on an edge!
I was having a lot of trouble with my printer at the time and my tiles had a major warping problem. I have since upgraded to a Prusa i3 MK3S. This isn't really relevant, I'm just bragging.
How I Designed This
How it was made
In Google Earth, I centered the screen on Winter Park looking down at it from an angle, and then rotated around it and took screenshots roughly every 5 degrees.
In Agisoft Metashape I used the screenshots to create a mesh with UV texture of the park.
In Meshmixer I would select ski runs and then extrude them in a negative direction to create paths. For lift chairs and buildings I extruded upwards to try and distinguish them from surroundings. Finally I exported the whole model as an obj.
In Lightwave 3D Modeler I imported the file, squared it off, added a bottom to make it water tight, and sliced it into the 9 sections provided here.