by MoffKalast
Sorry guys, had to reupload. Thingiverse was being buggy and wasn't displaying the thing anywhere. The previously uploaded one is here, I'll leave it up since it has a make and some comments.
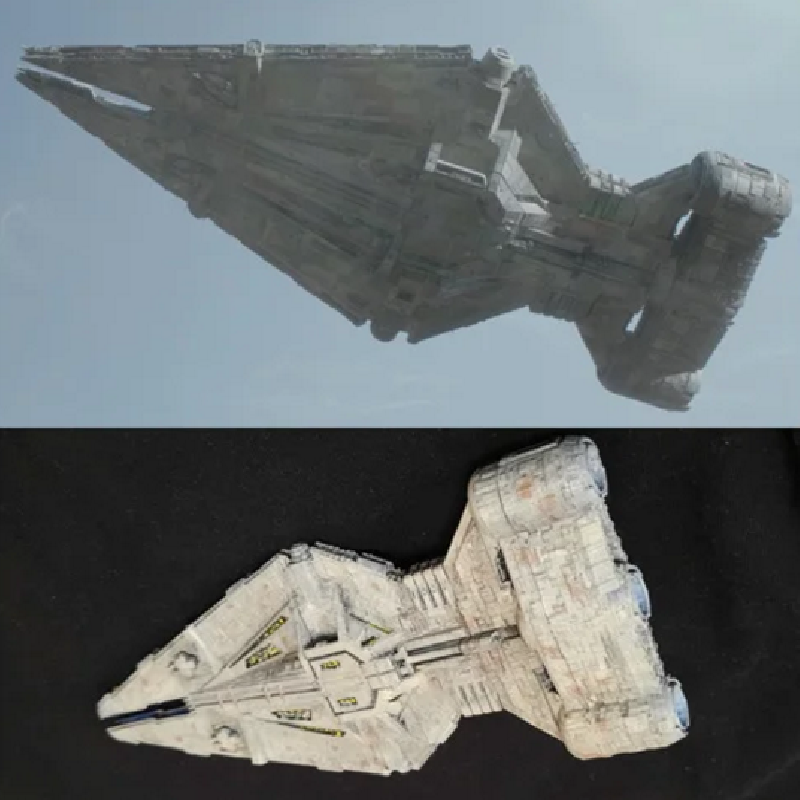
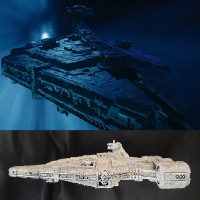
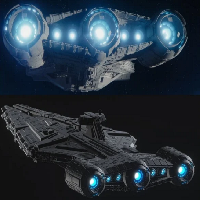
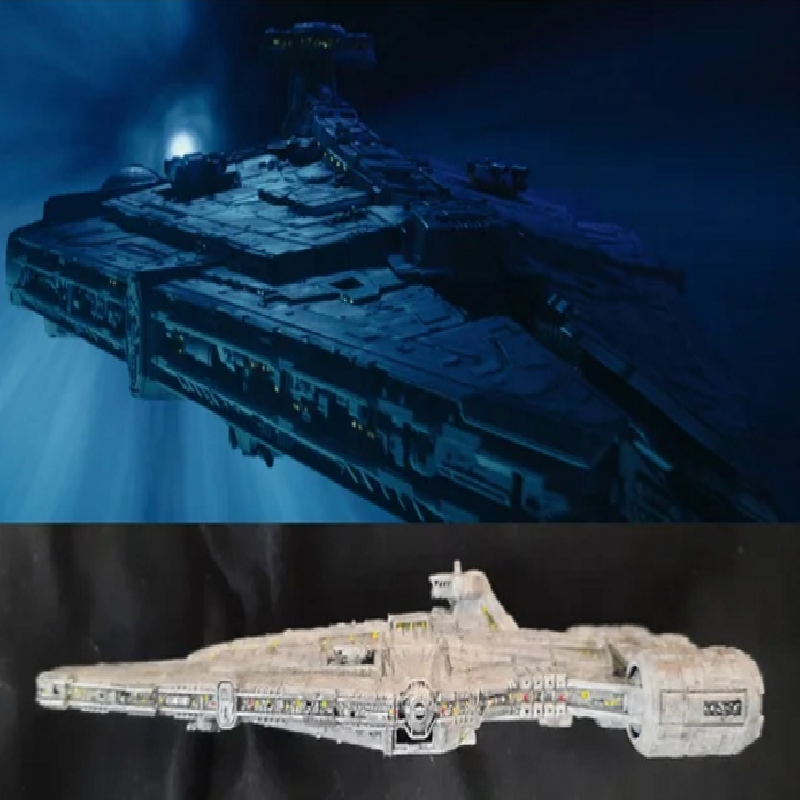
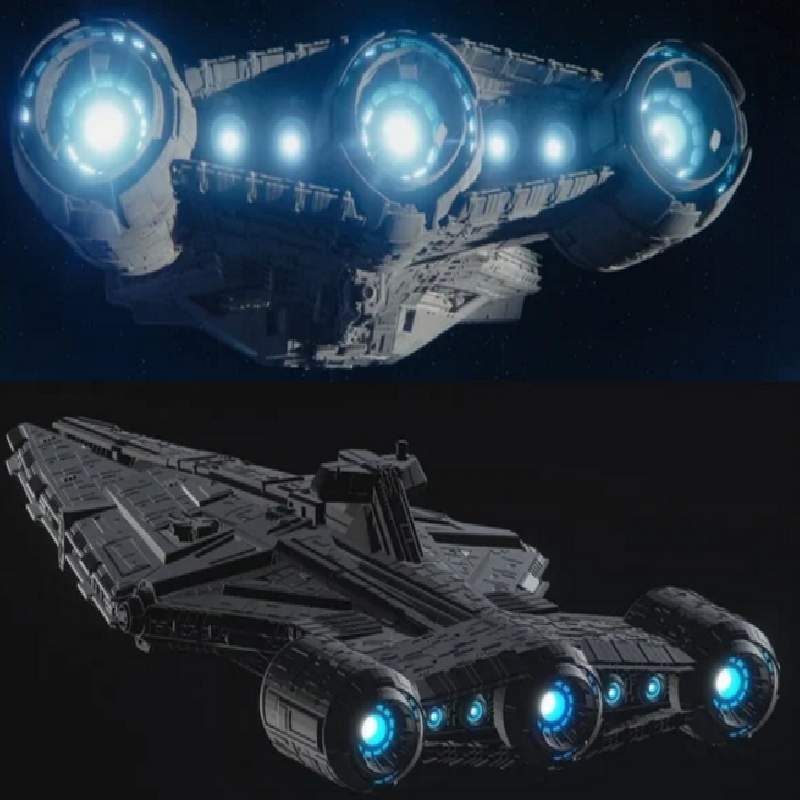
Now that the Arquitens class made a central role appearance as Moff Gideon's flagship in the latest season of The Mandalorian I've been able to completely rework my old model from new reference photos, adding new design changes and lots of extra detail, while optimizing and slicing it for a larger print size.
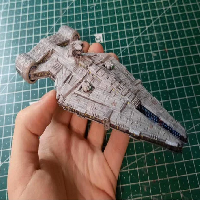
The provided 1:2000 scale puts it at about 16cm long, which is probably the smallest size at which you'd want to print this model. I'd go larger but then it wouldn't fit with the rest of my 1:2000 ships.
It also features an open hangar bay with a tiny TIE fighter inside. If you want to print in a really large scale I suggest removing it and replacing it with a more high def TIE model or the lambda shuttle.
I'm really looking forward to seeing what you guys make of it. I've seen to it personally that all normals are facing the right way, Commander. There will be nothing to stop you this time! :)
Print Settings
Printer brand:
Creality
Printer:
Ender 3 Pro
Rafts:
No
Supports:
No
Resolution:
0.12, 0.08 for turrets
Infill:
10%
Filament_brand:
Sainsmart
Filament_color:
Black
Filament_material:
PLA
Notes:
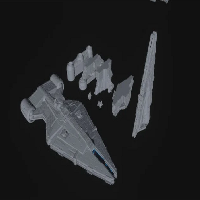
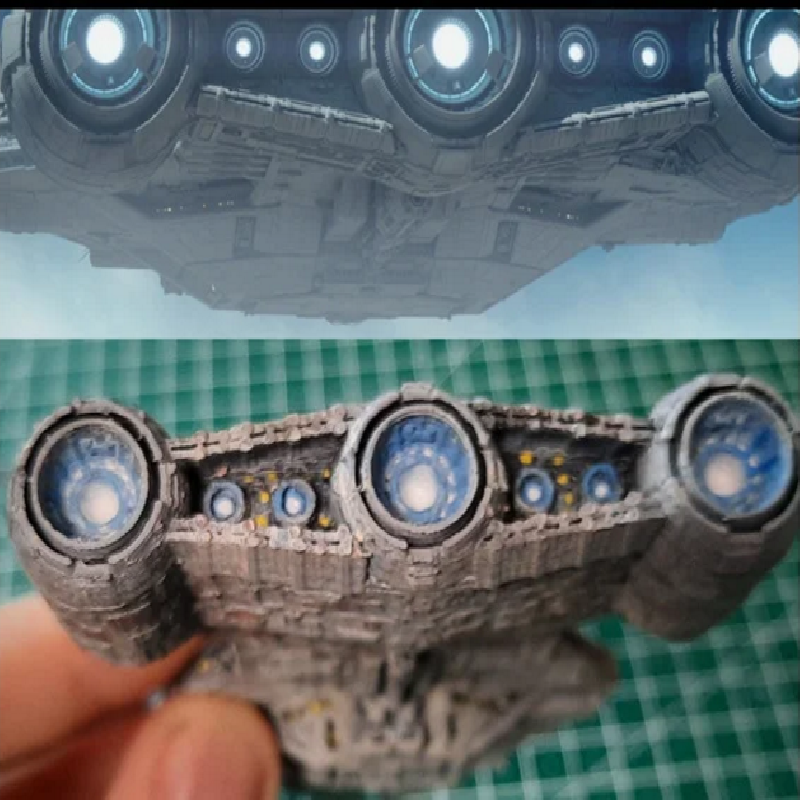
Most parts should print with little to no overhangs, except engines_1 which requires a little bridging but it should be fine as long as your printer is tuned well enough.
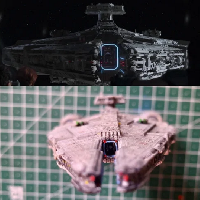
The turrets are available in 2 ways: sliced and unsliced. The unsliced ones print well enough (I use a brim to get them to stick better) in the provided orientation and they're pretty tiny anyhow so the sliced version is just intended for larger scales. Print the turret 4 times and glue as shown in photos, two on top two on bottom.
Post-Printing
Painting tips (for beginners)
My painting process was something along the lines of this, if it happens to help anyone:
dry brushed the black plastic with white until it turned light gray
covered with a thin layer of silver to get a metallic look
dry brushed with a sort of deserty sand skin tone to get the more tan colour
dry brushed some of the tiny panels with a slightly more red tone and some with a whiter one to highlight them and break up the monotone hull
painted some of the larger recessed areas black and the engines white/blue
mixed black dye with water (or ideally floor cleaner to not get pooling, but I don't have any on hand) and add it to the model in large amounts as a wash, then immediately wiped away most of it with a cloth so it mostly settles in the recesses
add the tiny details, i.e. lights, windows, etc. with a toothpick
I use acrylic dye to paint, some extracted from acrylic markers since they have the most pigment dense dye and some from Liquitex. I don't really have any idea on how to do it properly, just sort of making it up as I go along.