by olliejimm
TSI V3
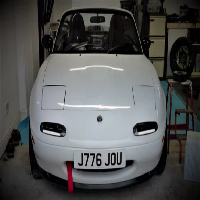
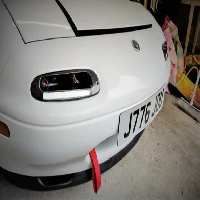
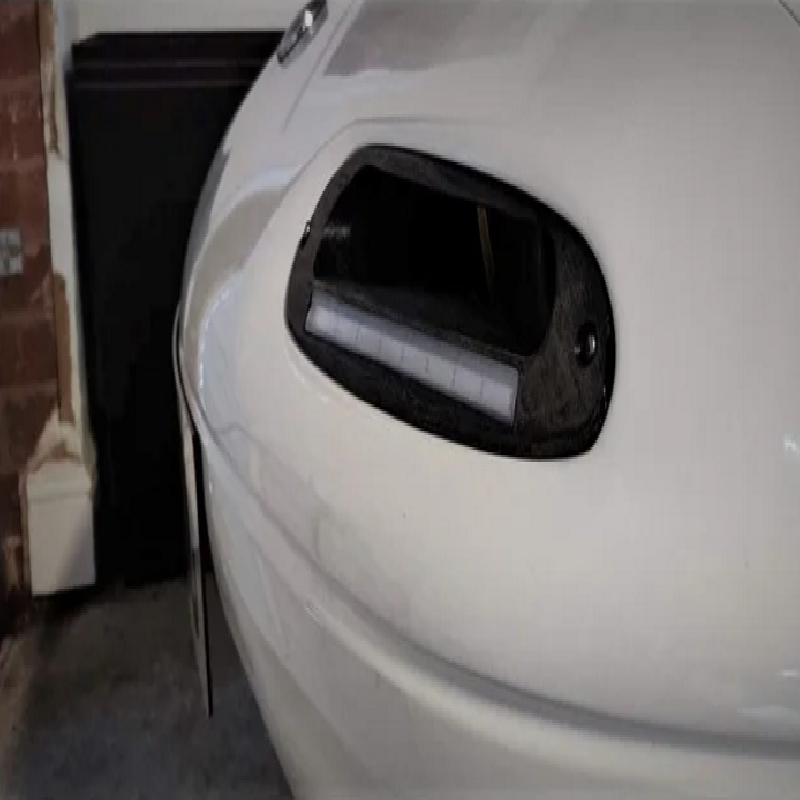
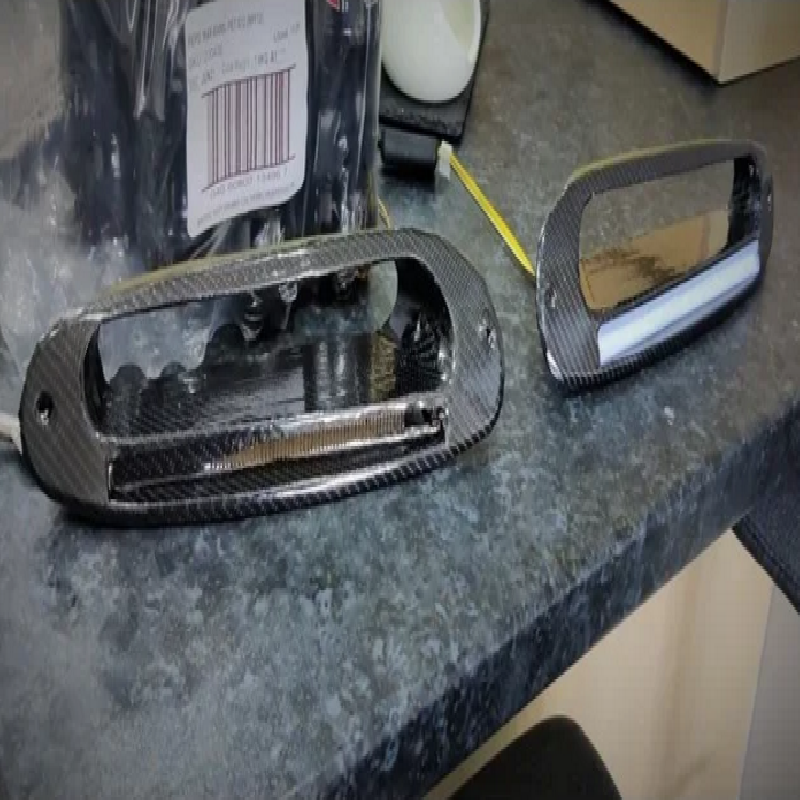
They are wrapped in Carbon Wrap and yes I know I'm not the greatest at wrapping... haha :)
Changes:
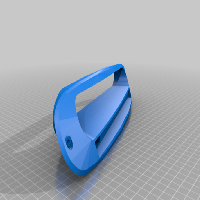
Generally Smoothed the texture a little (best I can in sketchup and I'm still a noob at this!)
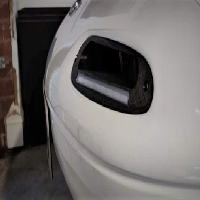
Reduced the size on the X Axis so that it fits inside the Indicator hole rather than sitting on top of it.
Finally got round to the holes for the screw mounts - they line up pretty well and don't look too bad.
Created a spacer for the outer hole - this goes between the TSI and the existing indicator mount.
What you will need:
Print:
2x Spacers
1x SweepTSI
1x SweepTSI (mirror it for the other side)
Print Recommendations:
Print it with the rear of the indicator flat to the bed
Print with Regular supports (tree supports don't save any time printing this way unfortunately)
Make the walls at least 1.2mm thick.
Use infill at least 20%
I printed with 0.25mm layer height and the detail is Reasonable - however I sanded and wrapped my indicator. If you don't plan on doing this, you will need to be < 0.2 layer height - the lower the better.
Use PETG or ABS - I used SPLA - which is PLA with PETG properties. There's not a lot online about how this will react to warping under sunlight, but I'm aware of the risks and will reprint if I have issues with warping.
Buy:
Pair of Universal LED Switchback Strips - when searching amazon, keyword is switchback. The common sizes look to be 45cm and 60cm in length and they need to be the flexible cut to length ones. I've bought cheapy unbranded ones and the sweep on the indicator is stuttery and rubbish! The original ones i bought were by a company called LeadTops and this was far better. Here's the link to them:https://www.amazon.co.uk/dp/B07M7JFNMQ?psc=1&ref=ppx_pop_dt_b_asin_title
2x Resister - your going to need a resister for the indicator to not flick on and flick off fast - this is due to the low resistance on the LED strips.
2x Screw - No.8 (4.2mm dia) 70mm long screws with a pan head - This is because the inner holes are not recessed like the original indicator - so a longer screw is needed.
DO:
Once everything is printed, its pretty straightforward. The LED Strip pulls through the hole from the back and then fits tightly into the slot. You will have to cut down the light to the correct dimensions. Two ways of doing this, either separate the light strip from the outer rubber casing and fit the rubber casing to the model separately. Or just cut it to the size of the hole and ignore the cut suggested cut lines on the LED Strip. Seal the light in place with some clear silicone so its watertight.
Then all your left with is the wiring - There should be 3 wires (Red, Black and Yellow). Pretty straight forward - Red to the positive of the sidelight, black to ground and yellow to positive of the indicator bulb. Scotch Locks would work fine with this.
Screws - The 70mm long screw will go on the inner side and the longer 50mm screw that you already have from the mx5 will be your new short screw on the outer side of the indicator which will need to be installed along with the spacer at the back of the indicator.
Print Settings
Printer:
Tronxy XY2
Rafts:
No
Supports:
Yes
Resolution:
0.25
Infill:
25%
Filament brand:
SUNLU
Filament color:
Black
Filament material:
SPLA