Barnacules printed this PokeBall go check out his video! https://www.youtube.com/watch?v=8SkTL3rZV00
WARNING!
This is work in progress, I have not yet printed this and it may be difficult but best of luck to those who try!
UPDATE: 27th September 2016
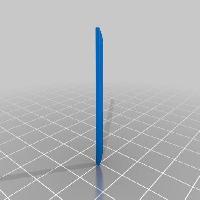
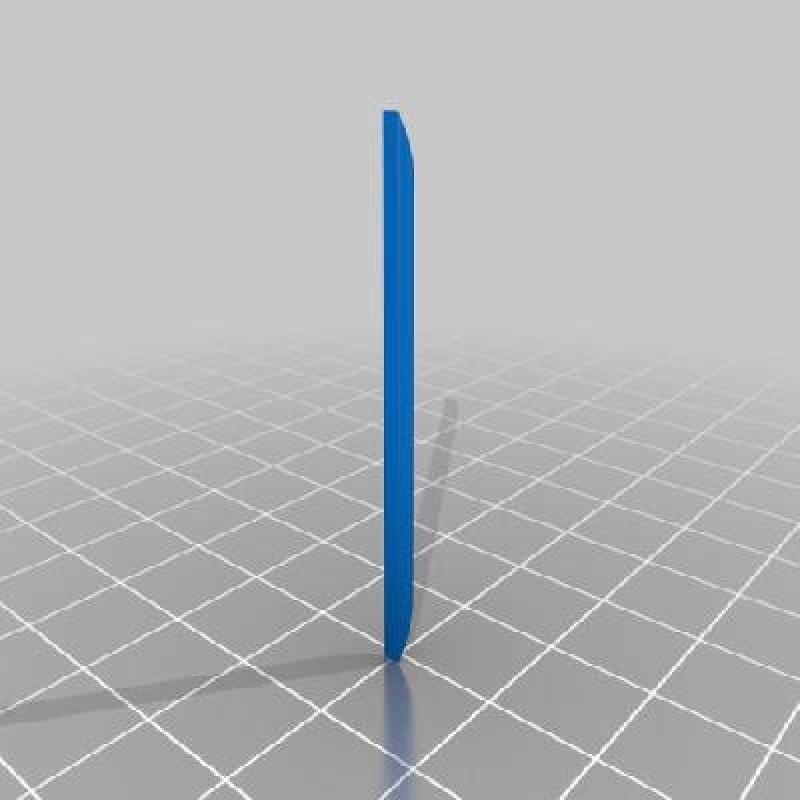
Added a 3mm Hinge Pin file for those who wish to use the 3mm hinge for a stronger hinge but have a 1.75mm filament printer. Can also be used if you would rather print a pin to the right shape rather than use filament.
DESCRIPTION
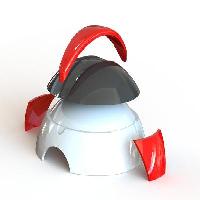
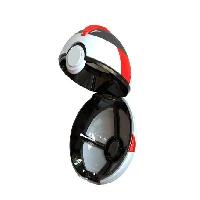
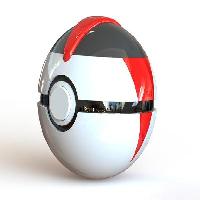
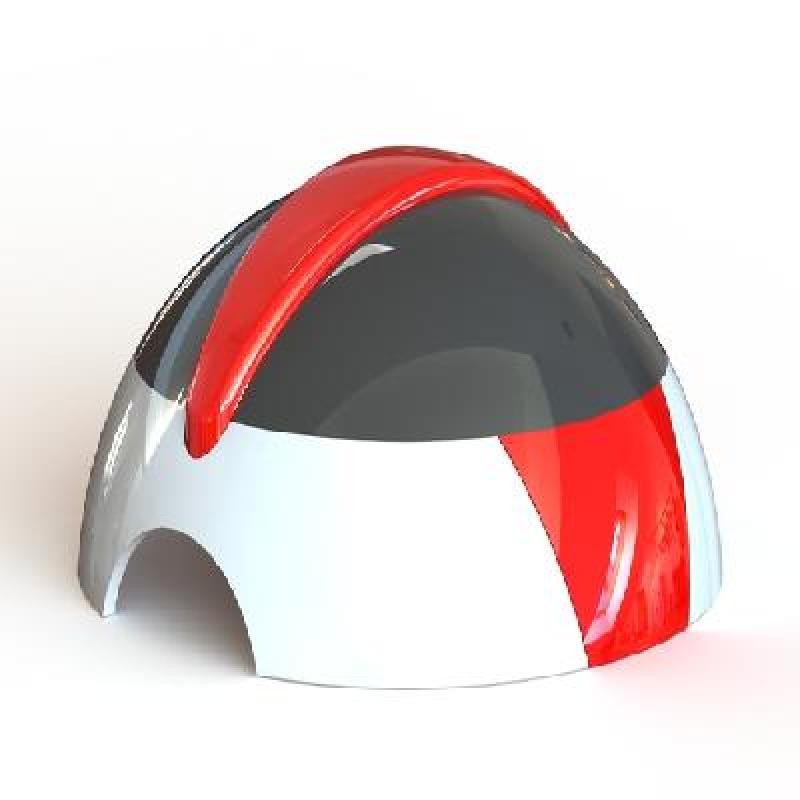
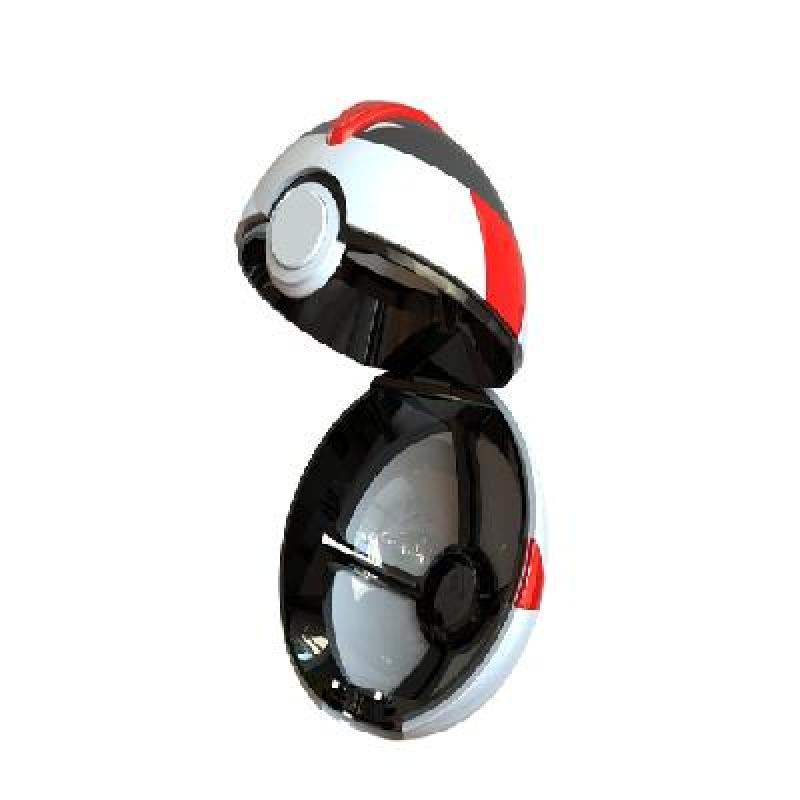
Fully functional TimerBall made to be an exact replica of the real thing! Uses only 3D printed parts and super glue yet has fully functional hinge and button which presses in and unlocks a catch to allow you to open it, using the flex in the plastic to act as a spring. Hinge opens to 90 degrees and stops like the real thing and does not stick out the back so cannot be seen, also just like the real thing. The button also hides its own mechanism from view adding to the authenticity. Parts have notches and grooves to ensure perfect alignment while glueing allowing you to have a perfect model with ease.
I believe this to be the most accurate and easy to print TimerBall you can make with a 3D printer so print your own and get catching Pokemon! Even the stand looks like a PokeBall from above.
PRINTING INSTRUCTIONS
Do not use a raft as parts are not prone to warping and make clean up harder, I do use a brim however to aid adhesion.
Instructions as follows:
Print all parts with support touching build plate.
Remove support, however the PokeBall has been designed to hide all supported surfaces, so they should be hidden from view so a smooth finish is not vital for it to look good.
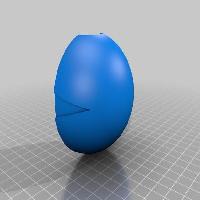
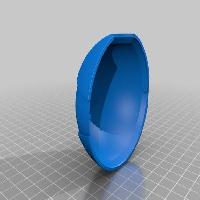
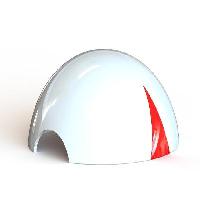
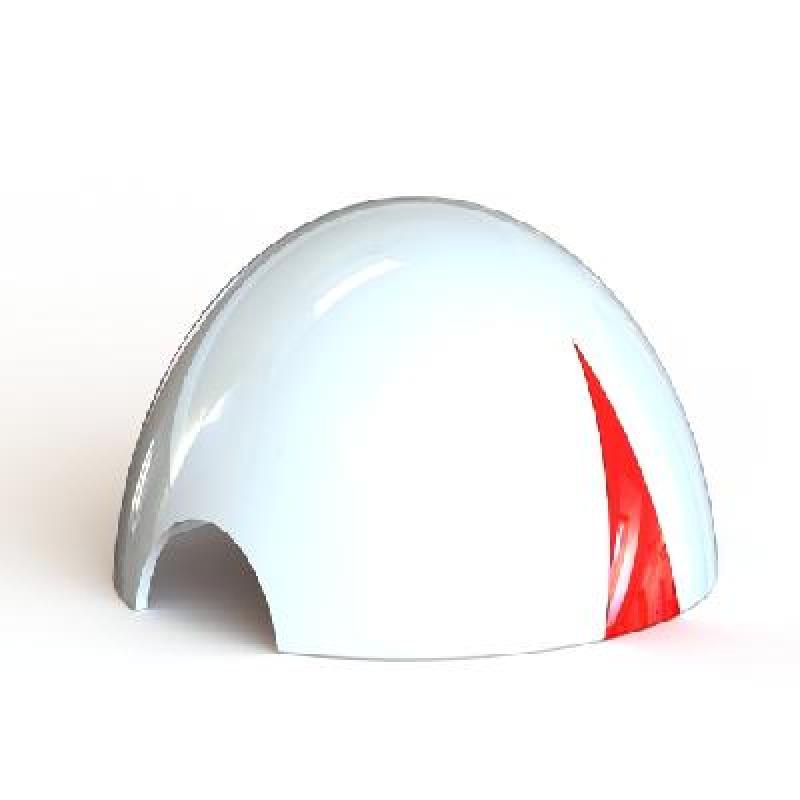
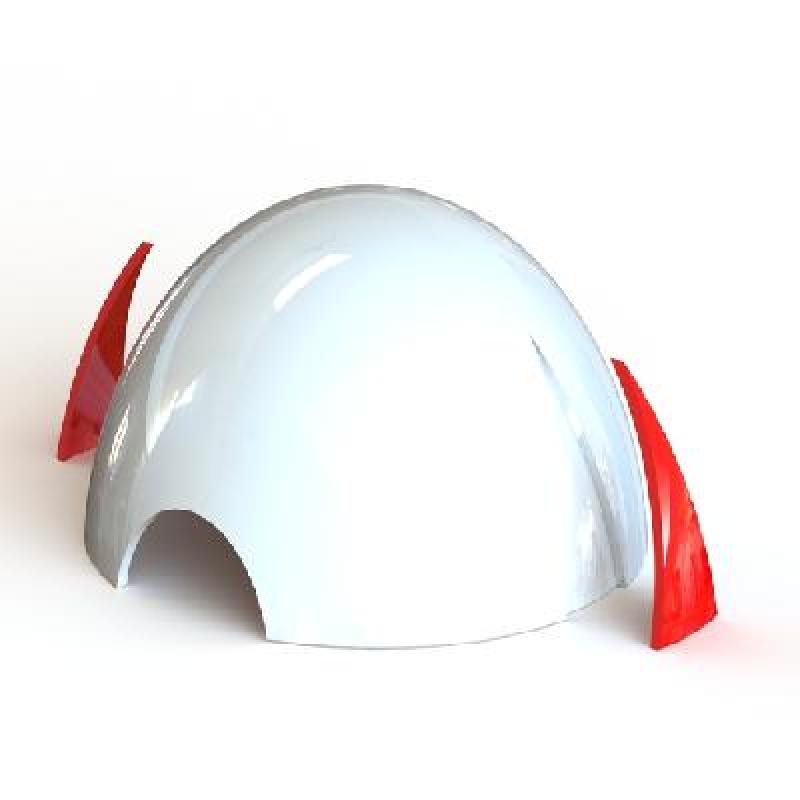
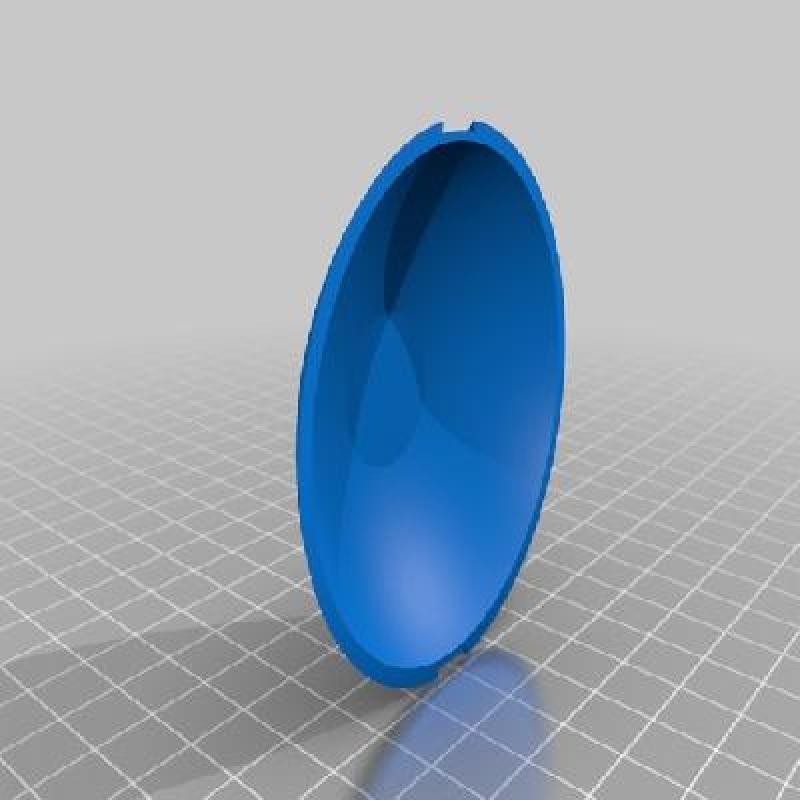
Print the lids with the dome side up like an igloo.
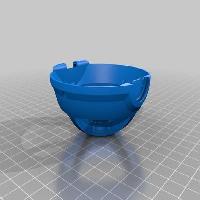
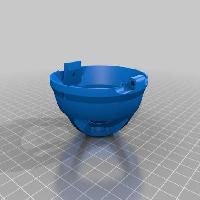
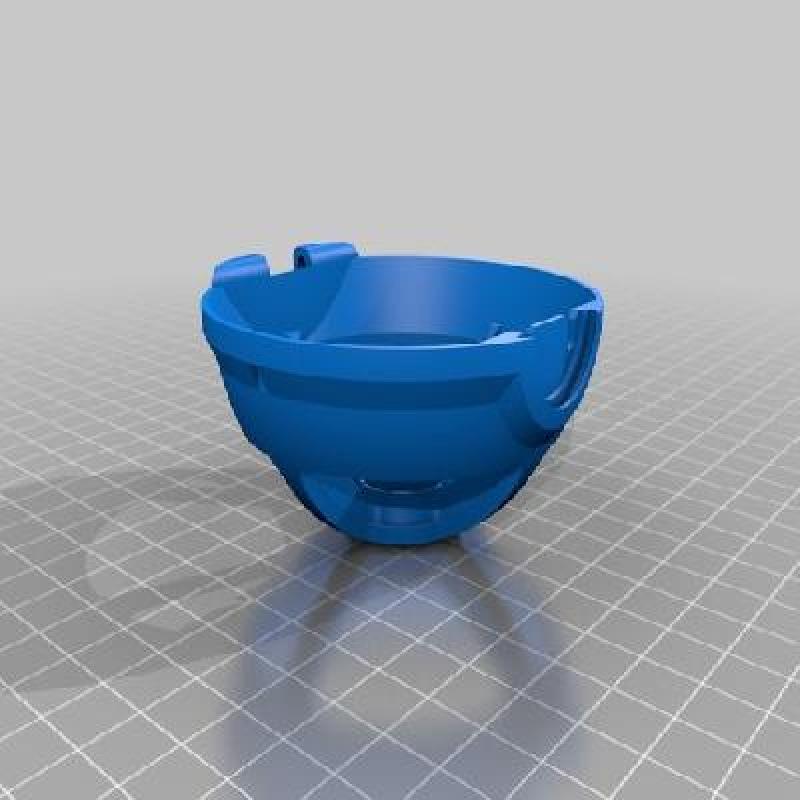
Print the 'Inner Shells' the other way up like a bowl.
Print the 'Button' with the flat surface on the build plate.
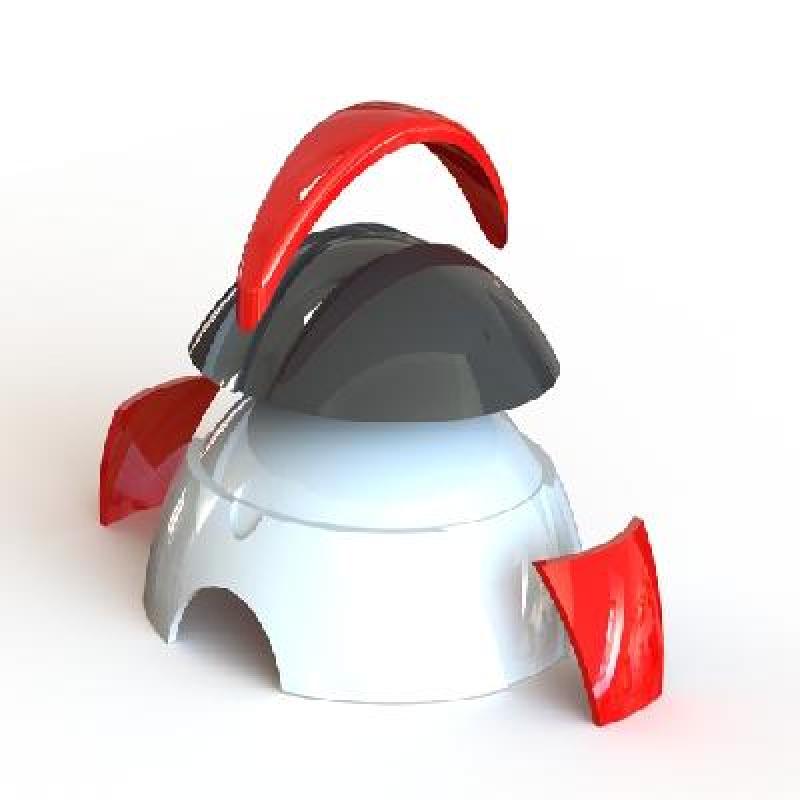
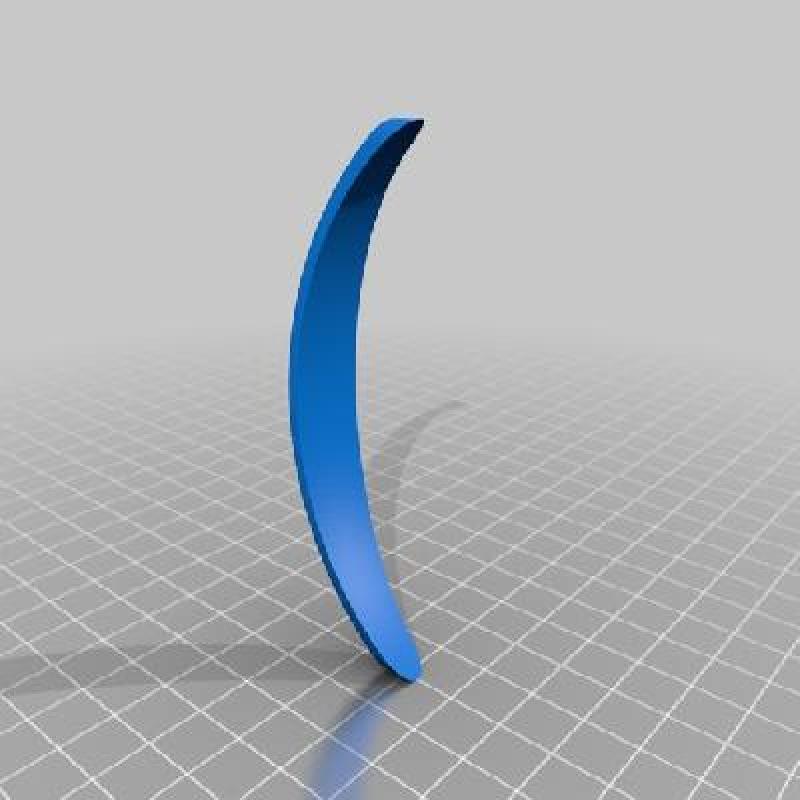
Use 3mm or 1.75mm filament as a hinge pin and shape to fit smoothly as in the pictures so it follows the same curve as the back of the ball.
Do a dry fit of all the parts.
Super glue the lids to their respective 'Inner Shells'.
Place the 'Button' inside the 'Outer Button Smaller' with the two bumps positioned downwards to fit into the 'Inner Shell Bottom' and super glue the 'Outer Button Smaller' to the 'Inner Shell Top' being careful not to glue the 'Inner Button' in place as it must be able to be pressed.
Insert the hinge pin attaching the two halves together and glue in place also taking care not to glue the hinge in a fixed position.
You will need:
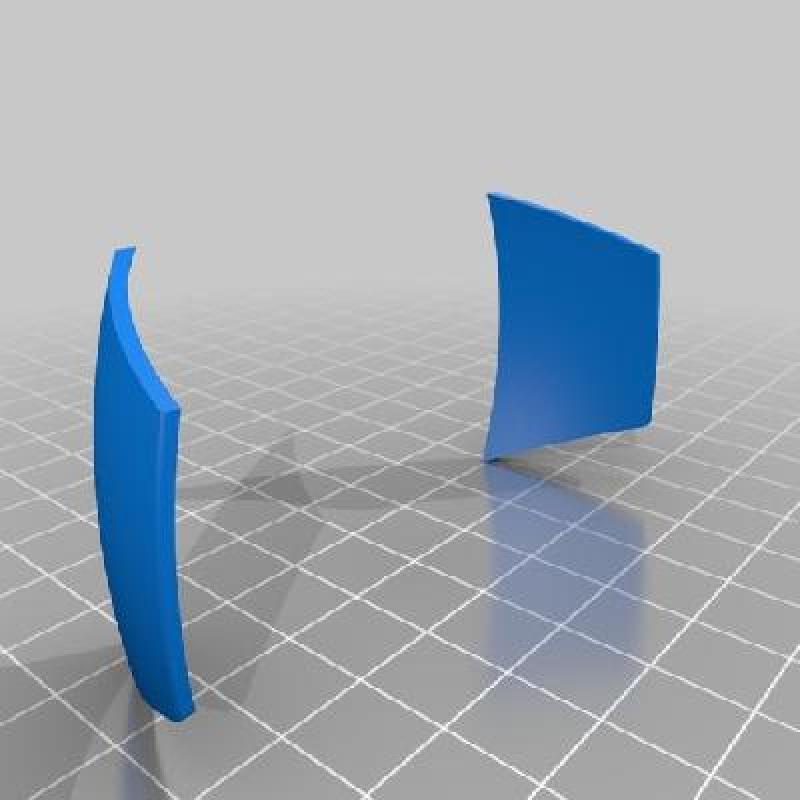
1x Lid Bottom Base
1x Lid Top Base
1x Lid Black Top
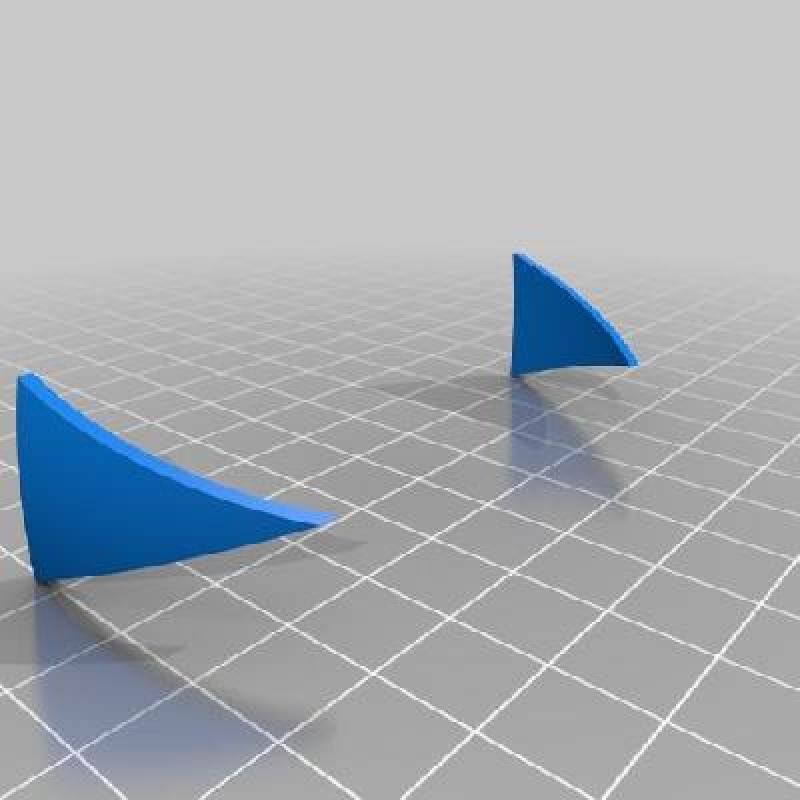
1x Red Stripes Lower
1x Red Stripes Upper
1x Top Red Stripe
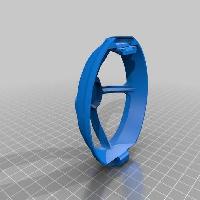
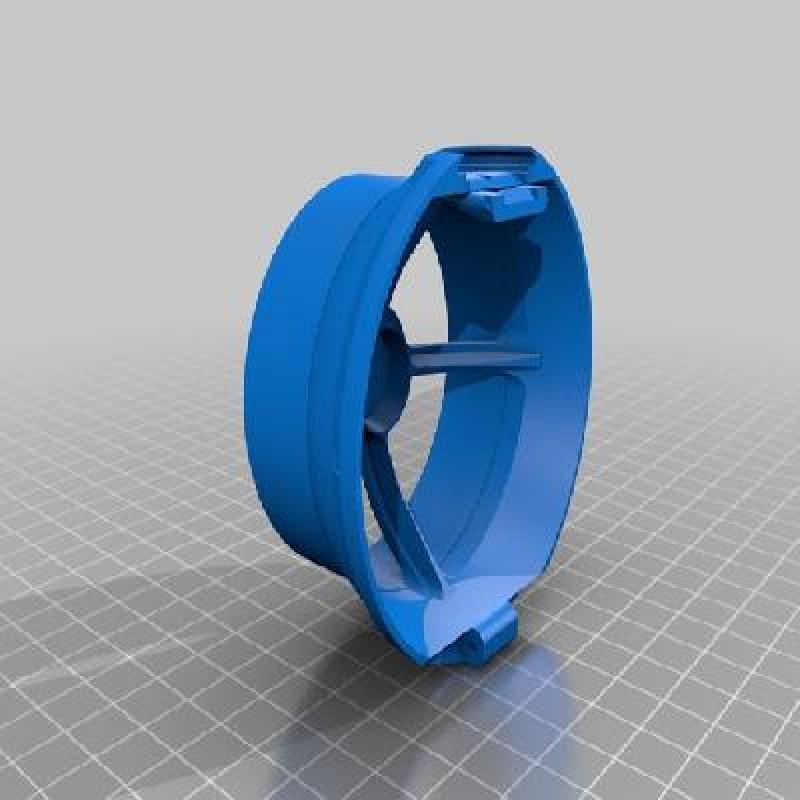
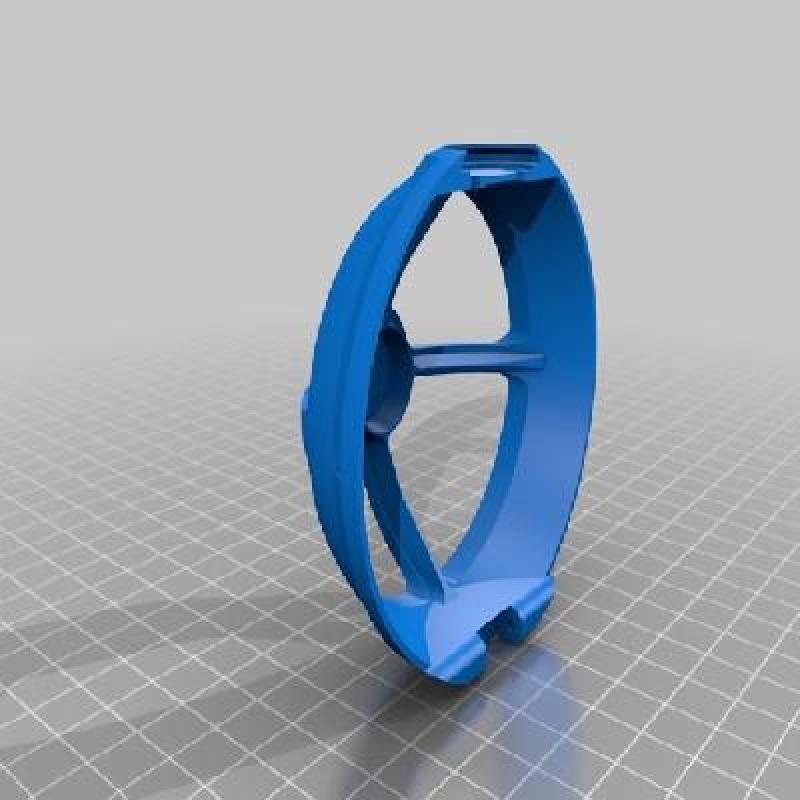
1x Inner Shell Top (choose filament size and with or without support)
1x Inner Shell Bottom (choose filament size and with or without support)
1x Button
1x Outer Button Smaller
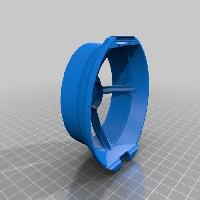
1x Stand (optional)
Super Glue
If you have problems with supports or printing let me know and I will do what I can to help. The tolerances are also quite tight as this works on my printer, let me know if you have problems with this.
Happy Printing and Go Catch Them All!