by MajorOCD
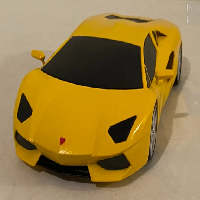
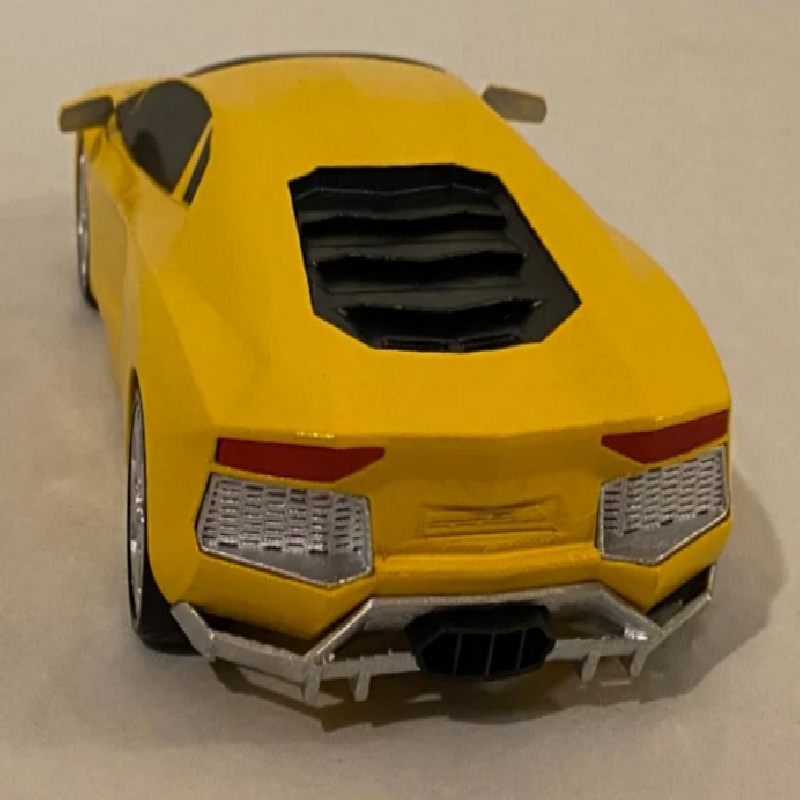
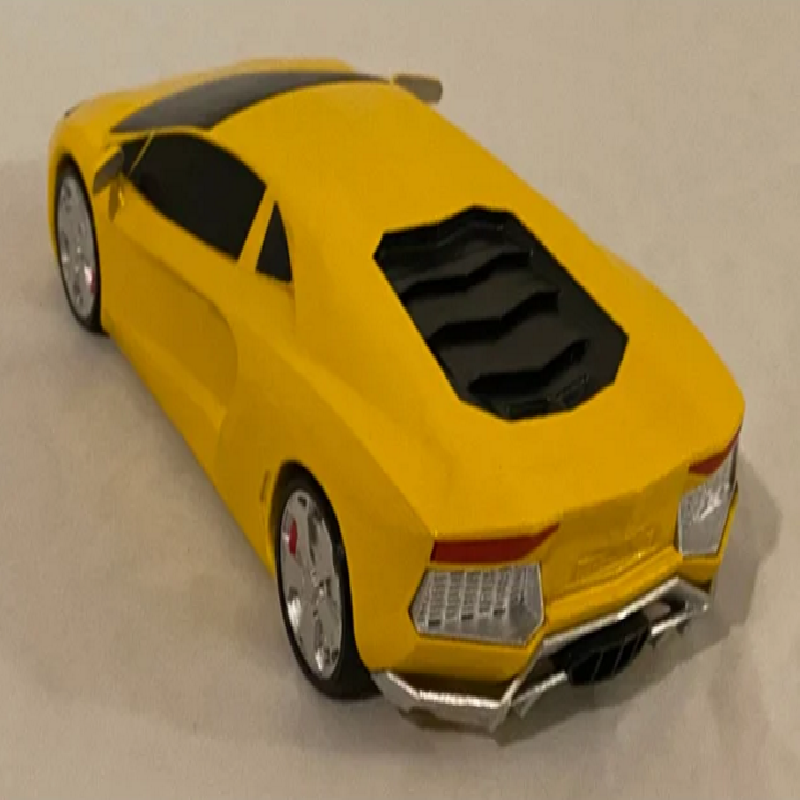
I found this model on GrabCAD by "Yash Wani".
It's an awesome model but not at all 3D printable.
I thought I could make it 3D printable with a little effort.
I was wrong. It turned out to be a monumental effort!
Making parts thick enough to print, filling holes, etc. is not an easy task.
Plus separating parts for easier 3D printing, etc. proved to be a bit of a time suck.
I am a novice at 3D rendering, so it took me a long time to figure this stuff out.
All in all, it was a good learning experience, so it was worth it in the end.
The hardest part to print and remove the supports was the rear bumper.
My first attempt didn't work very well, so I added a 'raft' of sorts.
It still needs supports everywhere, but at least the lower parts don't get messed up.
I designed this with FDM printers in mind, but I realize that some people might have an SLA printer.
There is "Bumper_Rear_FDM.stl" for FDM printers, and "Bumper_Rear_SLA.stl" for SLA printers.
I don't know what the requirements would be for an SLA printer since I don't have one.
I also made parts for paint masking.
You don't have to use them if you are good at painting, but they came in handy for me.
They all start with the name "PaintMask".
You just use some double-sided scotch tape and stick them to the part you want to mask.
I even made a "Putty Tool" for filling the cracks if you don't have the right tool for the job (I didn't).
Custom Section
Print & Assembly
As far as assembly instructions, I included the model "Assembled_Do_Not_Print.stl" for reference.
You can open it in Meshmixer and do a "separate shells" to see where the parts go.
I recommend printing this on a smooth sheet (or maybe the new Prusa satin sheet) so that the body halves will fit together better.
I don't have a Prusa satin sheet (yet), but I would be interested to see how that would turn out.
I printed the body and almost all the parts at 0.10 layer height.
The front body took 17.5 hours and the back body took 21.2 hours.
Everything was printed in PLA, except the tires. I printed them in Flexfill 98A (not that I needed to, I just like the idea that they are like rubber).
I did test the tires in PLA and they fit perfectly.
Note that the tires have different orientation for left and right.
It shouldn't matter if you have a smooth sheet, but for the textured sheet, you don't want the texture on the outside.
Even though the wheels are identical, the reason for having 4 different models is for the orientation of the brakes.
If you are going to paint the brakes (like red, for example), it will make a difference.
The following parts need supports everywhere:
Body_Front
Body_Rear
Bumper_Rear
The rest don't need supports.