by jlew715
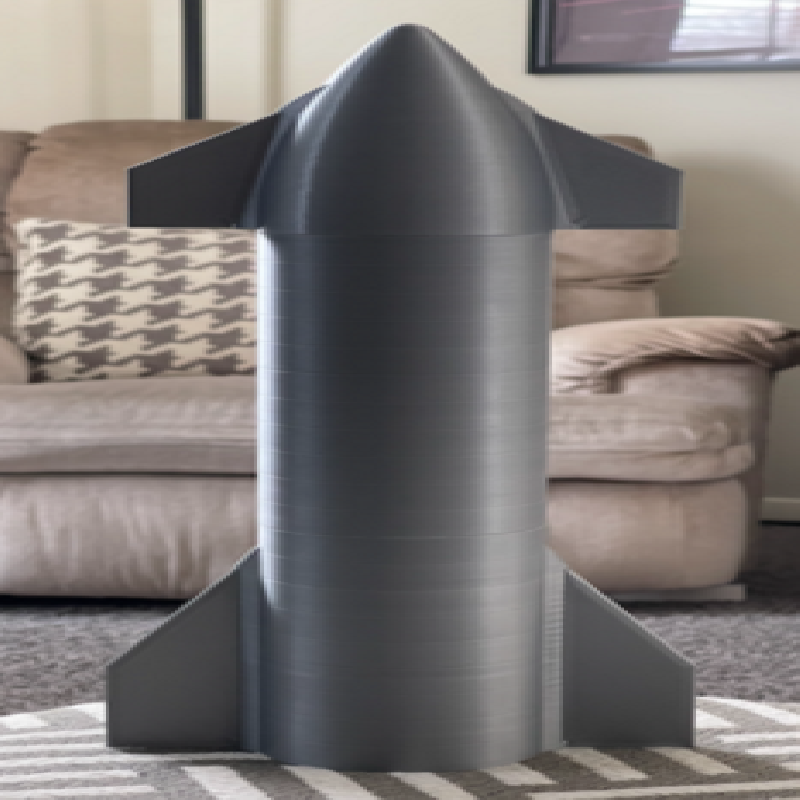
Print your own 1:100 scale Starship prototype! Modeled after the SN8, SN9, SN10, and SN11 series. Modeled in Fusion360 using dimensions from Rafael Adamy (@fael097)'s awesome SN8 blueprint.
Post-Printing
Assembly
Print the following:
1 x aft body (print with engine bay skirt facing upwards)
1 x mid body (print with protruding ring up, cutout ring down with support for cutout ring)
1 x nose
1 x mid body joint ring
2 x aft "eloneron" flap
2 x fore "eloneron" flap
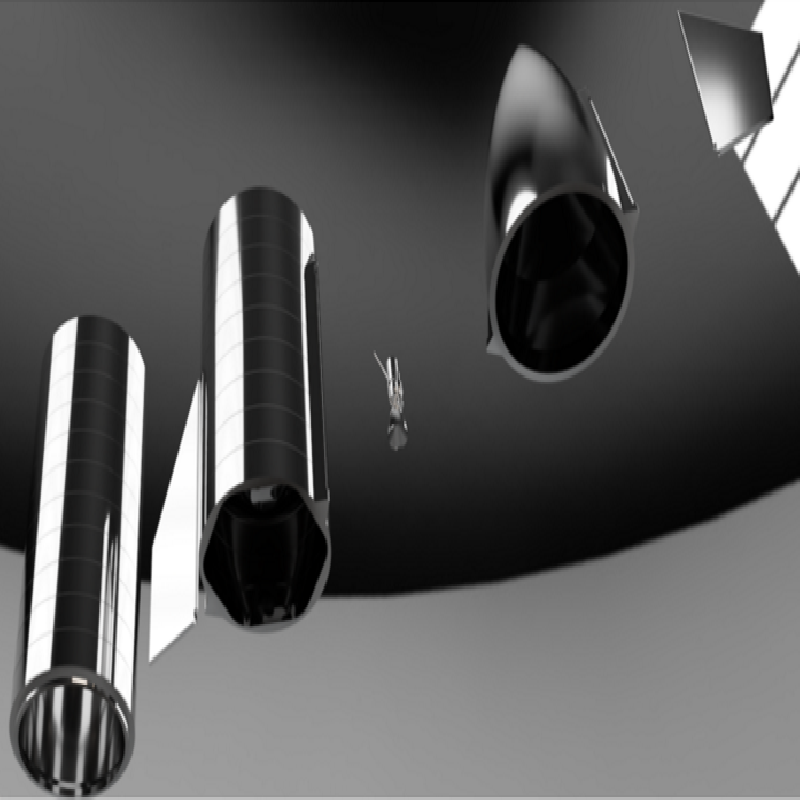
3 x raptor engine
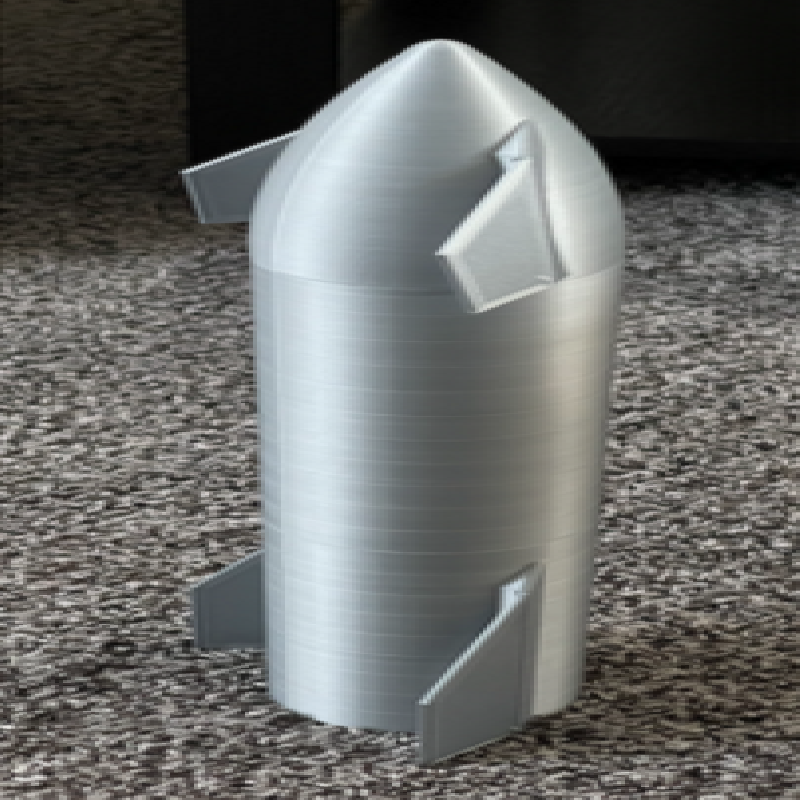
Mate aft body to mid body by inserting protruding ring into top of aft body. Press-fit or a small ring of superglue on the inside of the aft body will work.
Insert mid body joint ring into cutout ring at top of mid body. Press-fit or super-glue.
Mate nose to mid body by inserting exposed portion of joint ring into bottom of nose. Press-fit or super glue. Make sure your flap channels on the nose and aft are lined up before glueing!
Insert 3 x raptor engines into three holes inside engine bay skirt in aft body.
Insert all four flaps into appropriate channels. It can be tricky, so what I recommend is inserting one pin then bending the flap to get the other pin in.
Done.
Tips
To aid in assembly of flaps to model, use a tiny drill bit to clear out the gudgeon holes at the top and bottom of the flap channels.
Depending how precise your printer is, you will probably want to think about trimming the pins at the top and bottom of the flaps so they fit into the gudgeon holes on the nose and aft body.