by yeetkus
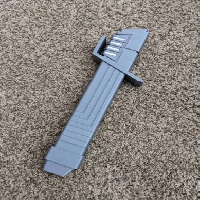
A few months ago the thought popped into my head to try and make one of my own collapsing lightsabers. And after watching season 2 of the Mandalorian I decided that a LIGHTsaber wouldn't cut it. So I got to work. First I printed out 3DPRINTINGWORLD's collapsing Sith Lightsaber so that I could take some measurements and get a feel for settings I would have to use to make a saber of my own. I then reverse engineered my own circular lightsaber, mirrored it, and made Darth Maul's dual bladed lightsaber. Then finally after 5 or so different Fusion 360 files and about 22 different iterations on the final one to get a product I was happy with. I really wanted a saber with sharp faceted edges, a sleek overall feel, and something that was... darker.
Although the idea of a collapsing sword wasn't mine this saber however. was completely made from scratch. However as mentioned I will credit 3DPRINTINGWORLD for the idea and some of the base measurements that I took from his printed file (not the digital one). The specific file I printed was this onehttps://www.thingiverse.com/thing:3668138
Here's my video on my process of making the DARKSABER: https://youtu.be/pN_AKU0KqS4
I go over full printing details in that but here's the basics in the print setting section.
The helmet worn in some of these pictures can be found at https://www.myminifactory.com/object/3d-print-mandalorian-helmet-v2-106137
DISCLAIMER: I do NOT own the rights the Darksaber, Star Wars, or any of their assets. I made this for fun and by my own hands using a reference image I found online. I currently am not selling these files nor prints made from them. Disney please don't sue. Also please do not sell my files or prints made from my file, if you have any inquires please contact me at dyla.hendricks@gmail.com. I will not be including the step file because it's a huge mess however if you do make a remix of some kind please credit me.
I also would not recommend this for kids, the edges a pretty sharp and could poke an eye out so I am considering this a prop not a toy.
Print Settings
Printer brand:
Creality
Printer:
Ender 3 Pro
Rafts:
No
Supports:
Yes
Resolution:
0.2~0.3
Infill:
20%
Filament brand:
Hatchbox
Filament color:
Black, Silver, White
Filament material:
PLA
Notes:
SUPPORTS ARE NEEDED FOR hilt_END.stl
and without rotating are NEEDED for hilt_TOP.stl
Everything, besides detail_rectangle.stl, is in the recommened print orientation.
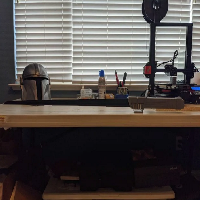
Printer: Ender 3 Pro (light modding: glass bed, Capricorn tube, etc...)
The Blade (blade_DARKSABER.stl):
Hatchbox Black PLA
Hot End 200°C
Bed 65°C
1~2 Walls
0% infill
0.3 Layer Height
NO SUPPORTS
Hide seam at sharpest corner (cura setting)
It would be unnecessary to try and print each one individually so they are all grouped together however if your printer has trouble with the tight tolerances I have included each of the sections by itself (blade1.stl, blade2.slt, etc...)
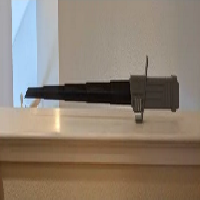
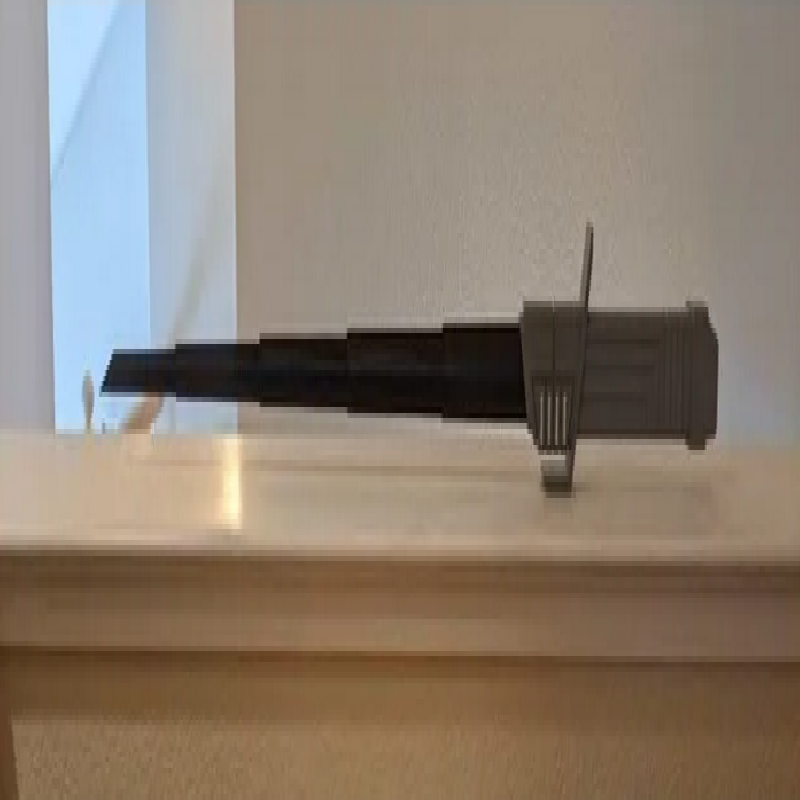
The Hilt (hilt_TOP, hilt_INSET, hilt_OUTSET, hilt_END):
Hatchbox True Silver PLA
Hot End 200°C
Bed 65°C
3~4 Walls
20% infill
0.2 Layer Height
SUPPORTS ARE NECESSARY on hilt_TOP and hilt_END
Hide seam at sharpest corner (cura setting
My original plan was to have the hilt_TOP and the hilt part all be one piece but it was too tall for my printer so I split it into 3 parts. Although I had already cut it into 2 so you could get the blade into the saber
The difference between hilt_OUTSET and hilt_INSET is the detail lines on each one. My reference photo I used to make the saber made it look like the lines were protruding out but then as I look at other pictures of it most of them were carved in so I made that small edit. Both the hilt_TOP and hilt_END should work for either inset or outset.
Detail Piece (detail_rectangle.stl):
Hatchbox White PLA
Hot End 200°C
Bed 65°C
Concentric top/bottom layers
0.2 Layer Height
All the images of the Darksaber show those rectangles at the top of the blade as lit up and white. This print could just be replaced with some paint.
Unfortunately the 3 parts need to be glued together. I couldn't find a good way to do any non gluing options :( I may in the future figure out some way to have it so you don't have to glue all the parts (and if you have any ideas drop a comment and let me know!) but for the time being be very gentle with the blade as you may need to re-print everything if it breaks. Also on the models I've printed the top two sections are quite sticky for some reason so adding some sort of lubricant (dish soap, Vaseline, etc..) may be needed to ensure everything closes alright.