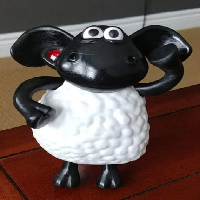
This is a model of Timmy the Sheep from the British BBC children's TV show "Timmy Time" by Aardman (Wallace and Grommit, Chicken Run, etc.). The photo of the real Timmy in front view waving is the one I used to base the model on. I struggled to find a side view of Timmy, so I had to guess.
I'm hoping that someone who is is more experienced than I am in 3D modelling can remix the files to improve them.
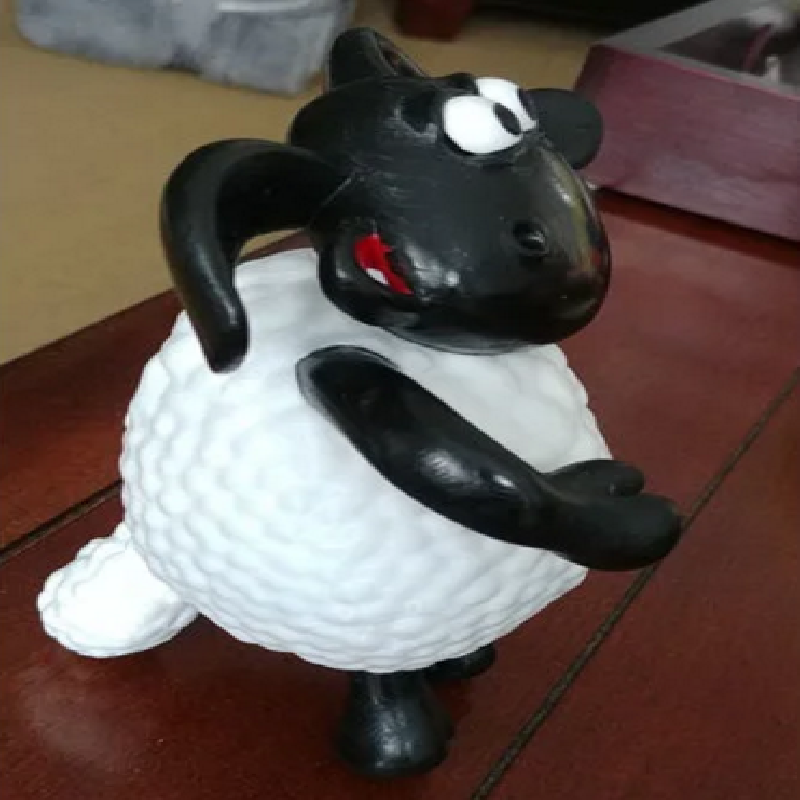
The most problematic part was the whites of the eyes. They would be better if someone could remodel them so that they are a more regular shape and "plug in" to the head. This will need both the eyes and the head amending. The real problem here is the upper and lower eyelids which, in hindsight, I probably should have printed separately and glued on after the eyes had been attached to the rest of the head, rather than try and amend the shape of the eyes to somehow fit round them.
The other parts that could do with improving are the way in which his arms fit to his body.
You'll probably find there's a bit of sanding involved to get everything to fit, but not too much I hope.
Print Settings
Printer brand:
Creality
Printer:
Ender 2
Rafts:
Yes
Supports:
Yes
Resolution:
200
Infill:
20
Filament brand:
Amazon
Filament color:
Black, White
Filament material:
PLA
Notes:
I printed the following with supports: head, body, left arm, right, arm, white eyes.
I printed the following without supports: pupils (x2), legs (x2). I did print a brim round the legs however to stop them wobbling around. They print best upside down.
You will have to orientate the white eyes yourself as I forgot to save the orientated file. I found the best way was to print them so that the holes for the pupils are parallel to the print bed i.e. visible circles as you look down on the print bed.
Infill 20% for body and head, 99% solid for everything else
Post-Printing
I sanded all the parts to try and remove some of the feint lines that my printer had put in them, and where supports had been used. The inside of the ears are still a bit lined as it was hard to get to them with my 60 / 220/ 400/ 1000/ 1500 sandpaper. I was starting to lose patience so I sprayed the black parts to hide some of my imperfections.
I glued the parts together using Gorilla Super Glue. I painted the inside of his mouth with some red auto touch up paint I had. The white part of Timmy's tooth was just a little bit of scrap from a support, cut to fit and glued on like a dental veneer.
How I Designed This
I used the free version of Sculptris, but then imported things into MeshMixer to clean them up, get the meshes uniform, etc. It was the first time I'd used either of these - I usually use Tinkercad.