by Jbcdefg
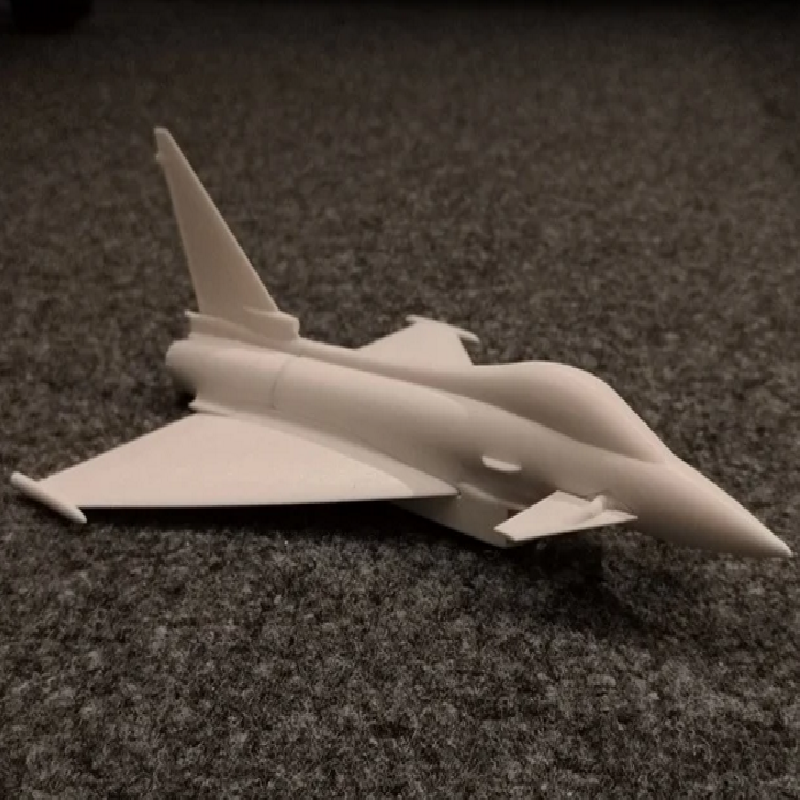
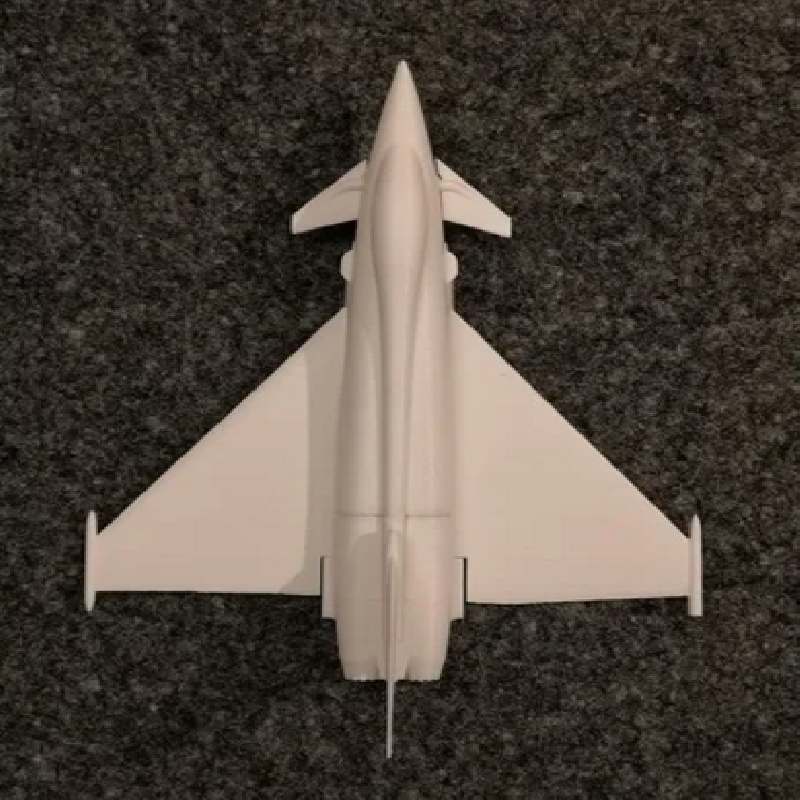
This model took me easily up to 100 hrs of modeling, just because I wanted to get the shape exactly right. That is still not the case, though, even I recreated the fuselage at least 5 times now from scratch.
Further, hopefully better, versions will be coming.
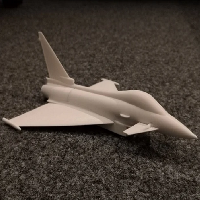
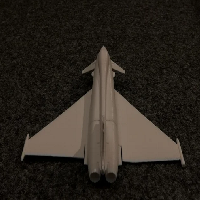
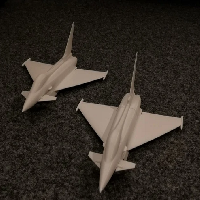
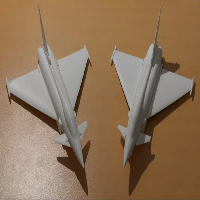
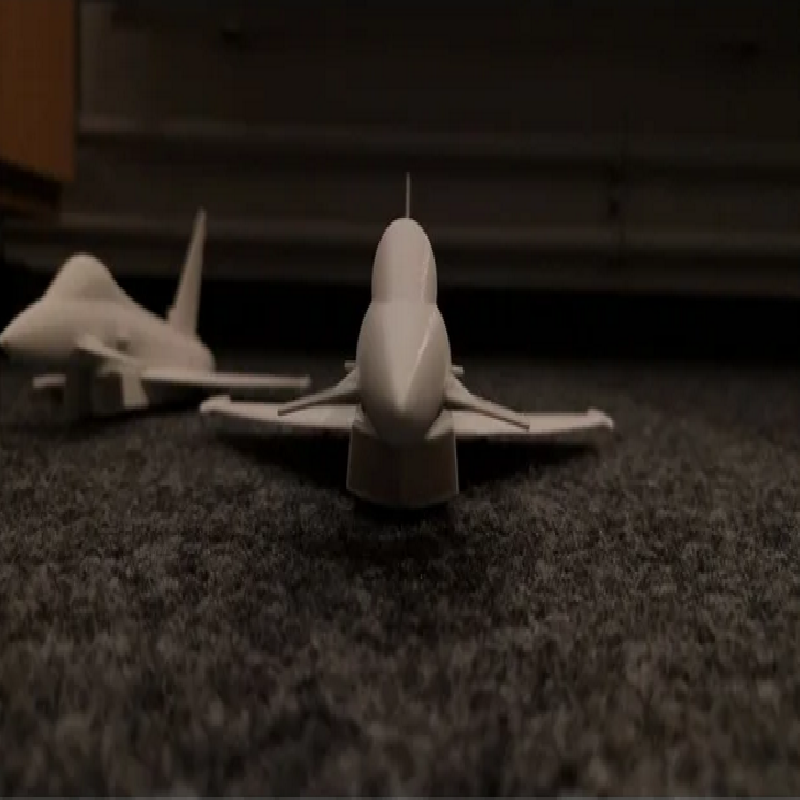
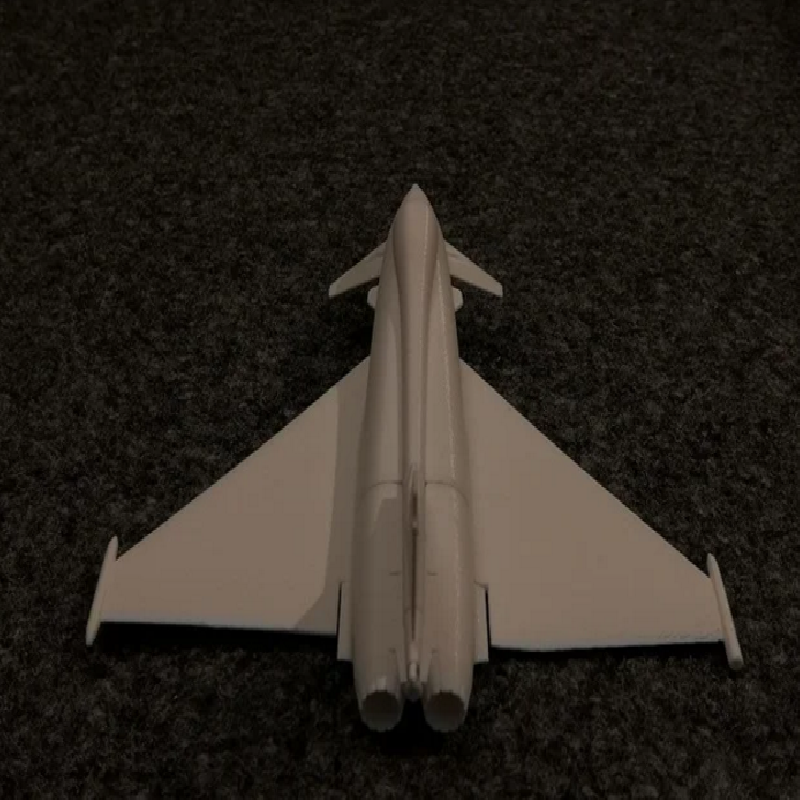
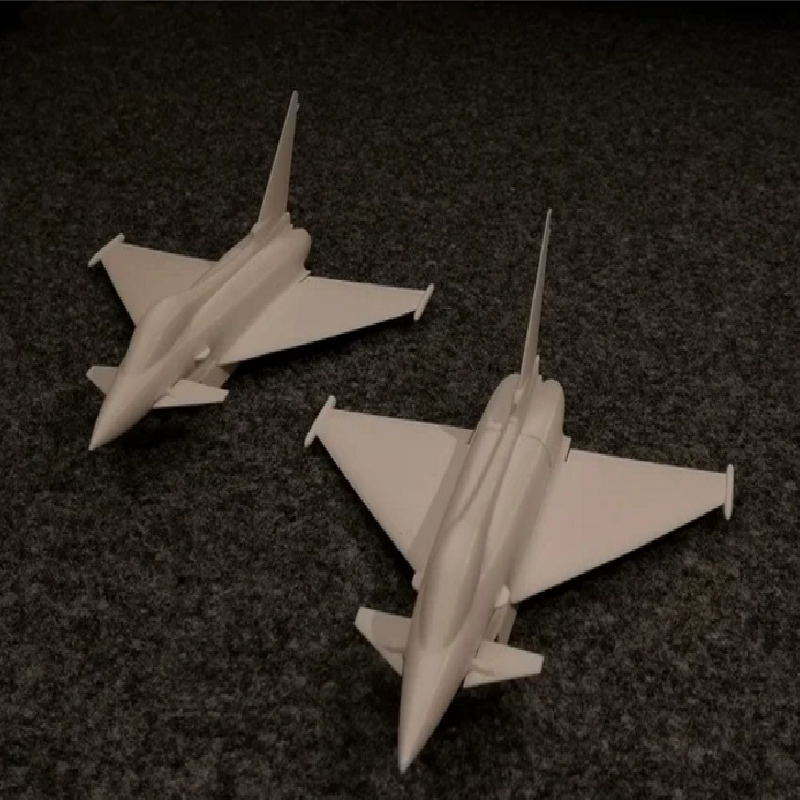
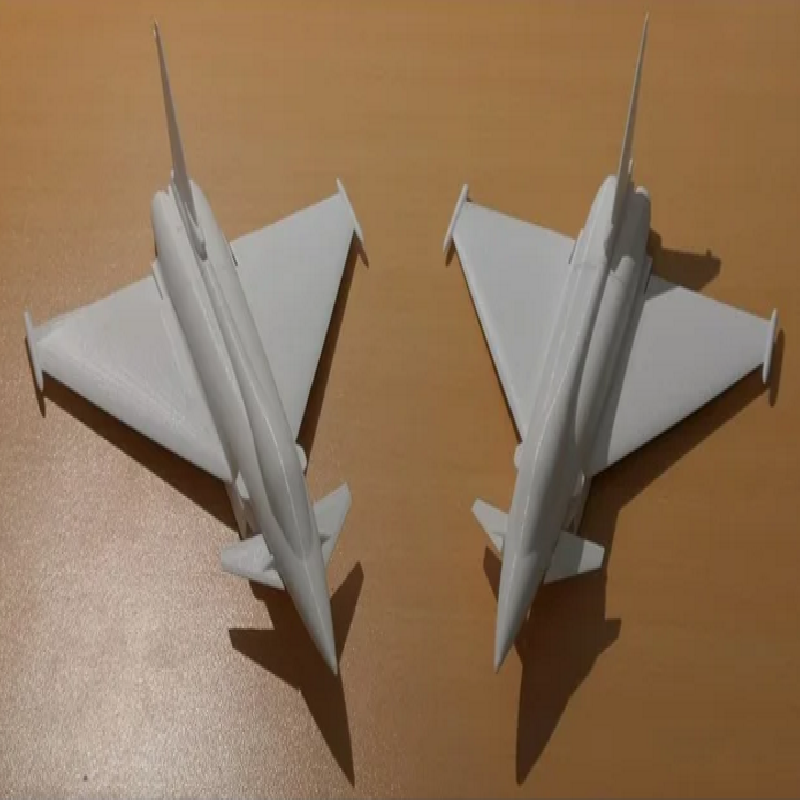
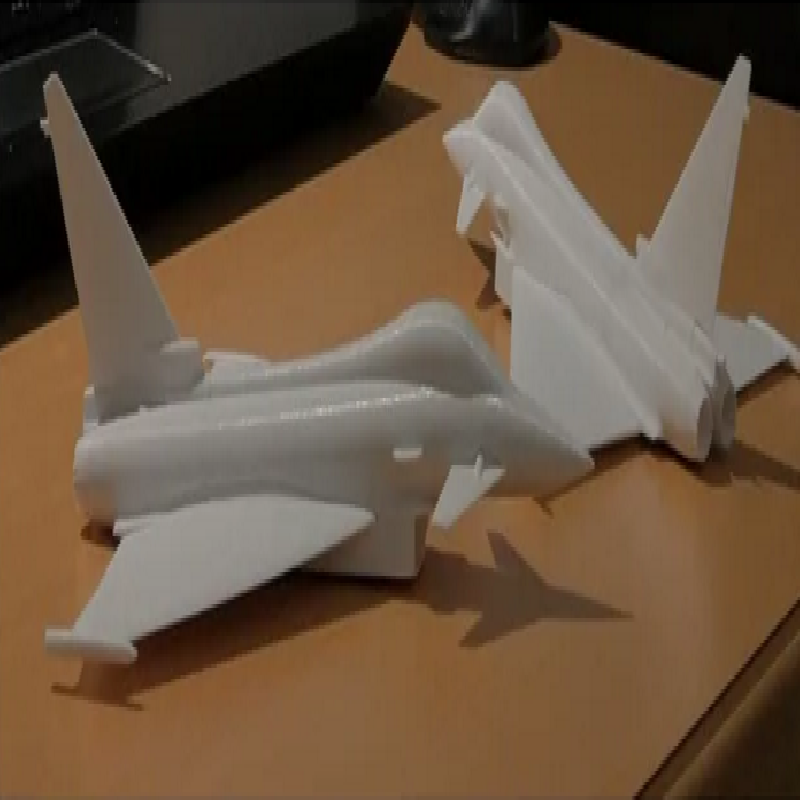
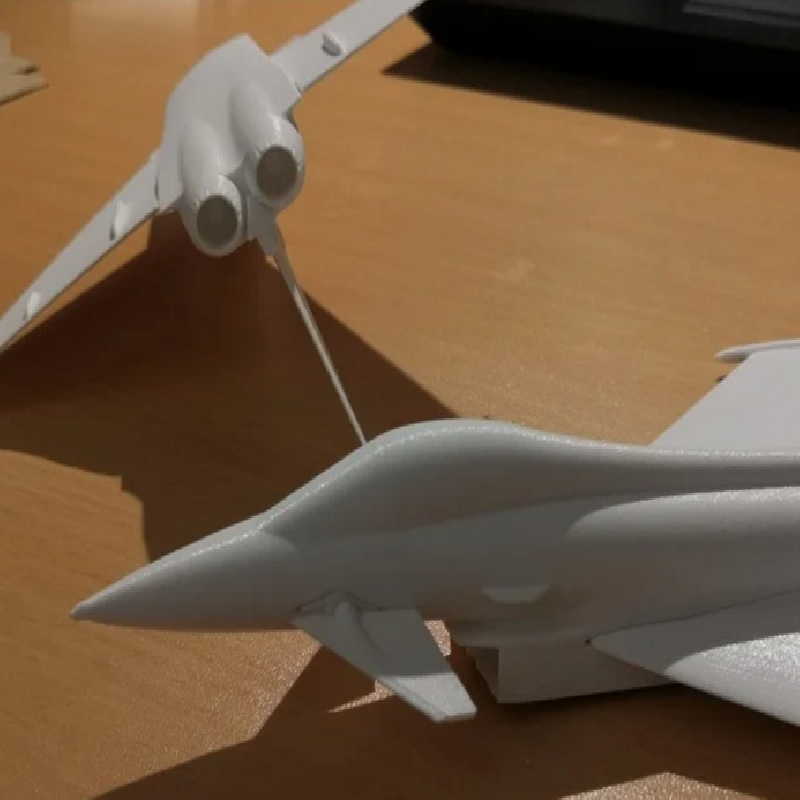
The photos are from an older version which I did not upload, the newest one is better in my opinion.
Print Settings
Printer brand:
Prusa
Printer:
I3 MK3S
Rafts:
Yes
Supports:
Yes
Resolution:
0.05 - 0.10 mm
Infill:
20
Filament brand:
doesn't matter
Filament material:
PLA
Notes:
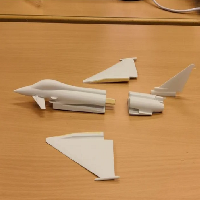
There is a total of 10 parts for the finished aircraft.
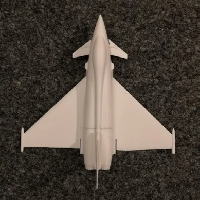
For the canards (small wings in the front) the canard helpers and the vertical stabilizer use the finest possible layer height. The canard must be printed twice.
For the canards and vertical stabilizer, use brim!! Else the parts will fall over during the print.
Support is needed for all parts except for the front part of the fuselage ("EF 3D-FRONT_v2"), the canard helpers and the center beam.
For the canard helpers, keep in mind that, even though they do look very similar, they are mirrored. So don't print one STL twice, but both STLs once.
I also printed versions on Ultimaker 2+ extended.
The Files can easily be scaled up or down, just make sure it fits in the printing space. The current size is printable on a prusa MK3S or MK2S and the plane will be slightly bigger than an A4 paper sheet.
Post-Printing
Post
Make sure to remove process the edges of the bottom faces, i.e. remove surplus material on the bottom layer with a knive or something else. This way, the parts will fit better when assembling.
When assembling, use glue or double sided tape.
When using glue for installing the canard helpers, wait until it is dry before inserting the canards, else they could be glued into place.
If everything goes right, the canards should be rotatable without too much or too little resistance.