by Kuroi_Sabato
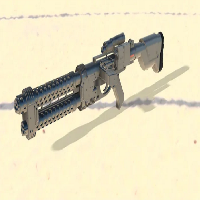
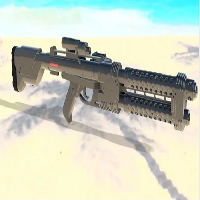
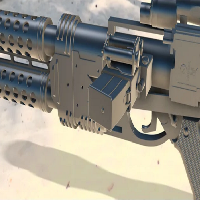
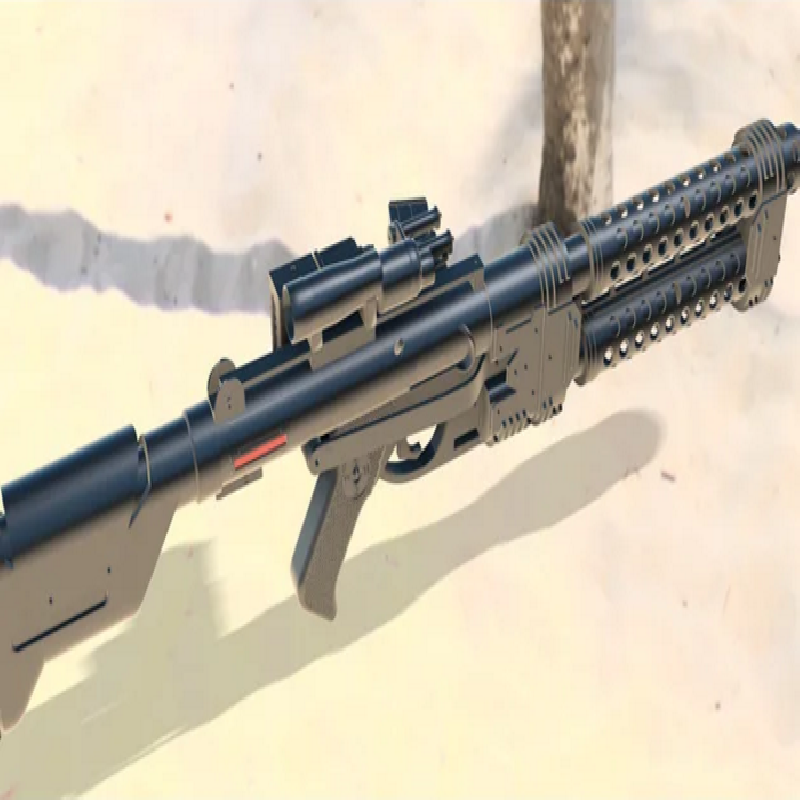
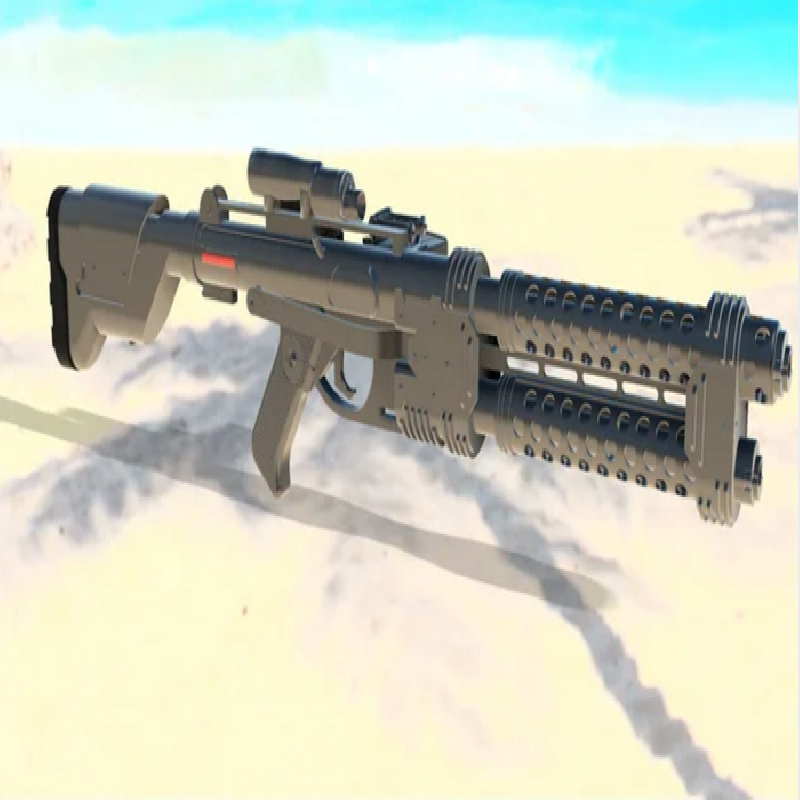
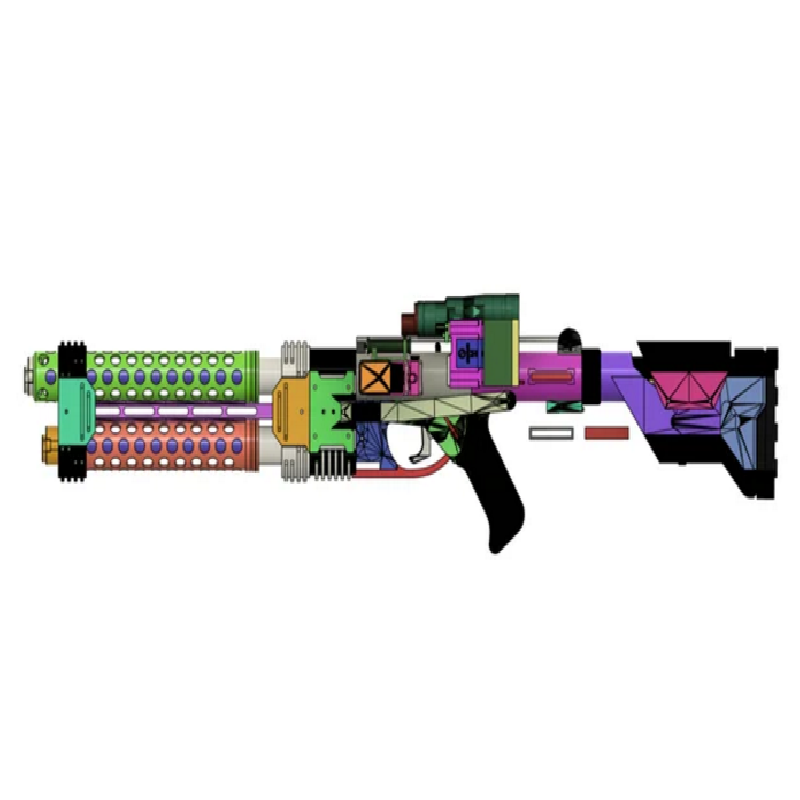
Have started to print the Sean's E-22 Blaster.
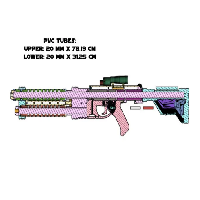
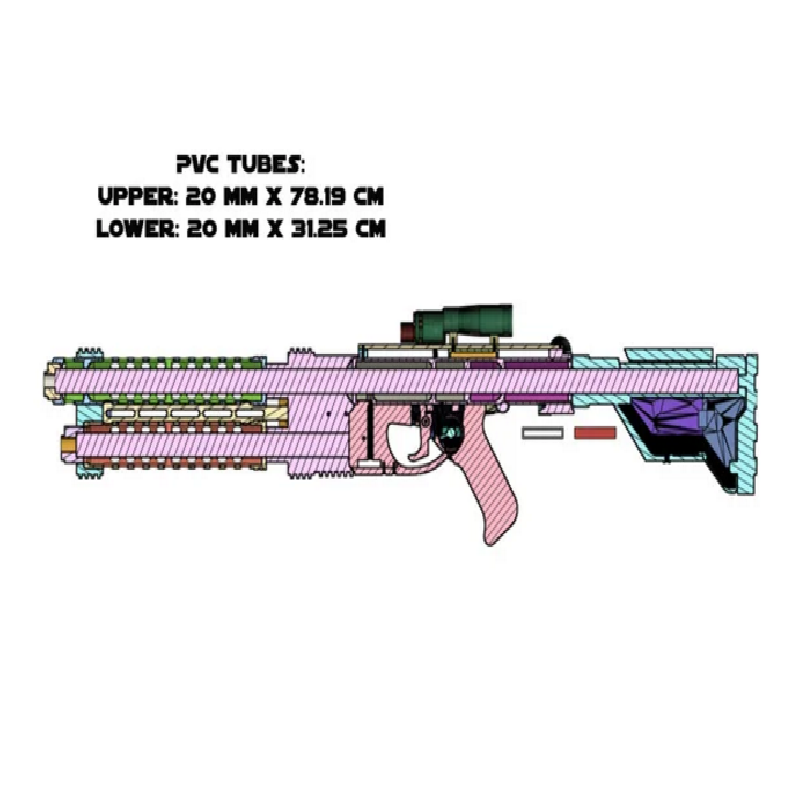
But as I live in Switzerland, got one little problem: pvc tubes.
the sizes are diferent (metrical), and find it here is impossible.
That's why I've decided to redesign it.
New modifications V2:
Previouslly modifications:
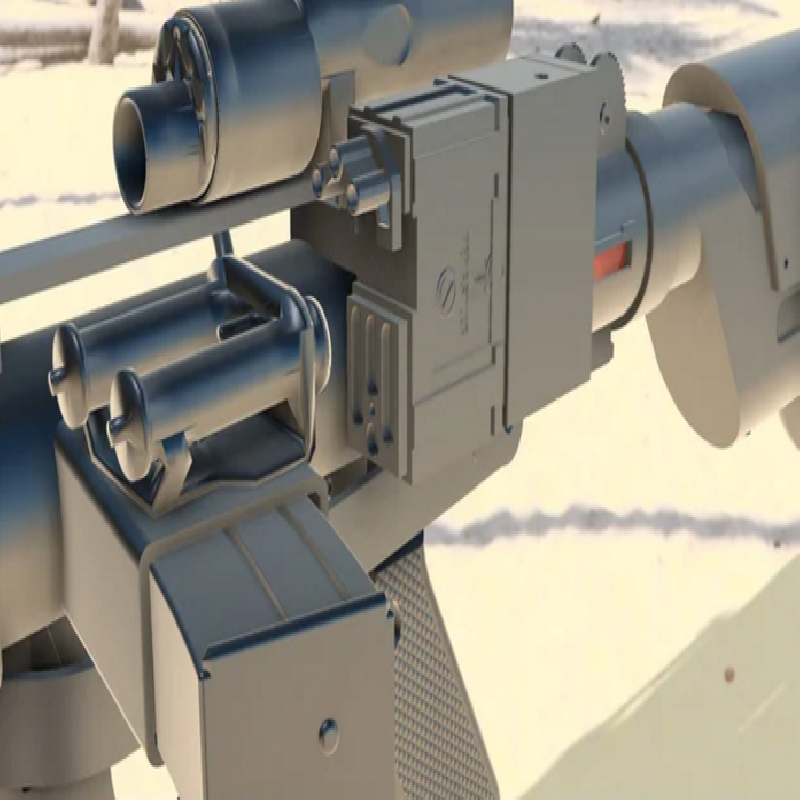
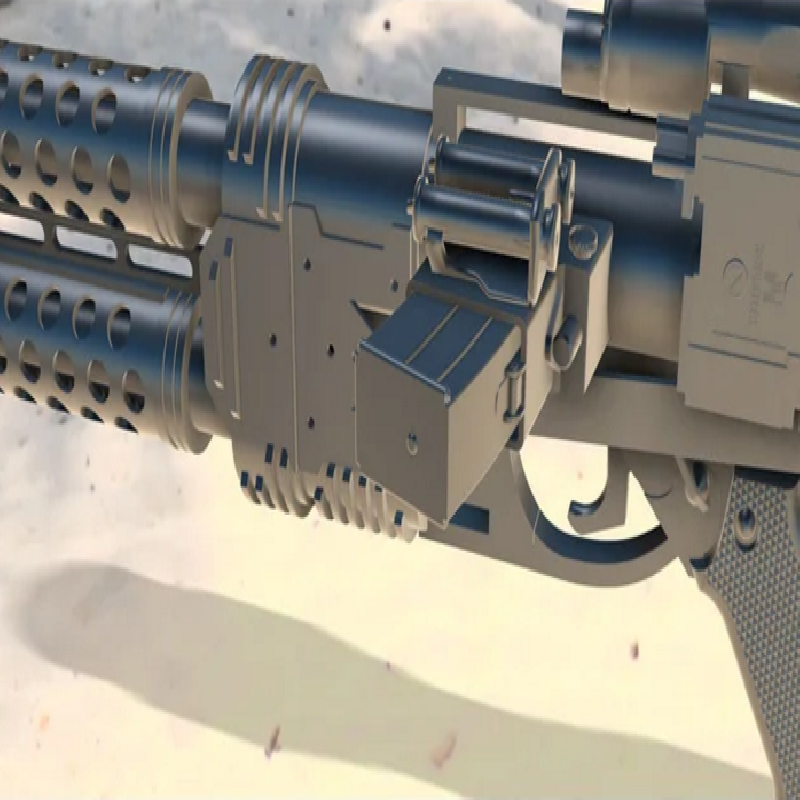
1: the body and heat shields have now 40mm external diameter, as the E11 blaster.
2: that said, don't need the external pvc anymore, as walls are wide enoght , only the internal one that now is 20mm diameter. Tubes are suported by internal fixed rings.
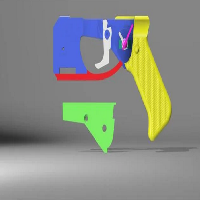
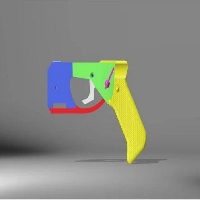
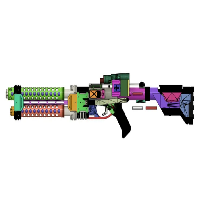
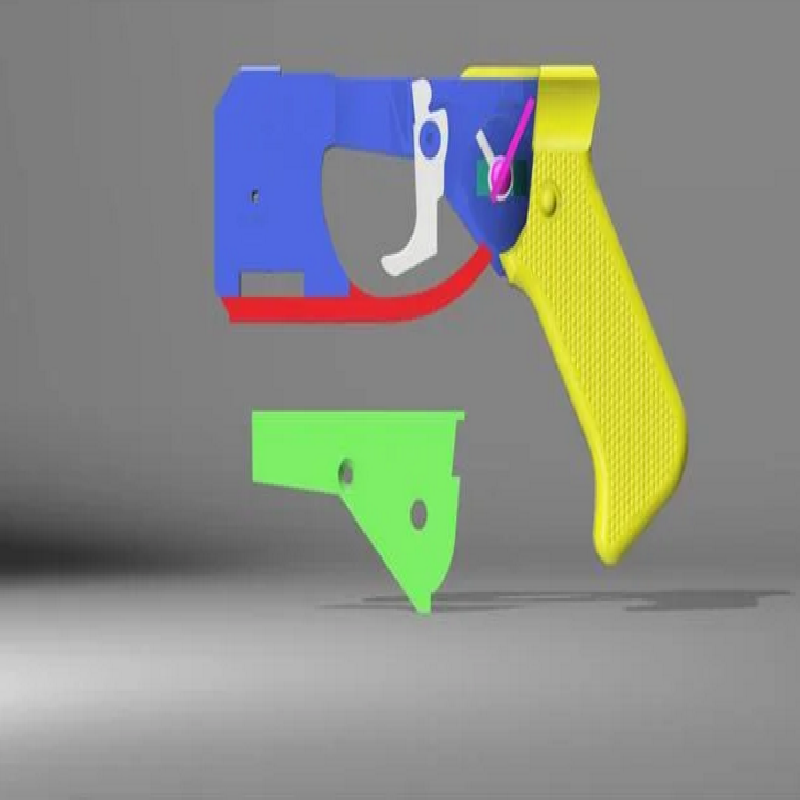
3: all the other body pieces have also been redesigned to fit togheter.
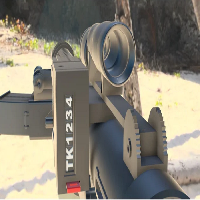
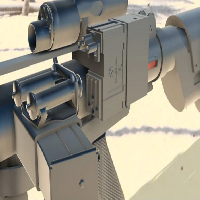
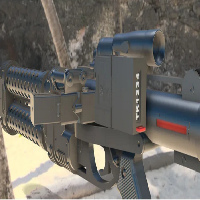
4: Added the possibility to illuminate the red back windows just by using a piece of clear plastic that can be holded by the "windows lock open" pieces... If illumination is not desired, just use the "window lock closed" and paint it red... (printing “windows lock closed “ in transparent material is also an option to illuminate)
ps.: magazine port is a good place for batteries... just dont forget to pierce the internal rings (for the cables) BEFORE gluening both body parts togheter).
5: also for illumination... designed a piece to hold the leds inside the body “Led_windows_tube – MOD”, just glue your leds on it's walls.
6: a couple of pieces have been modified to have a look closer to the references i've found.
Thanks to Sean Fields, and I hope he would not be upset to have his files modified.
Thanks also to Raymond Hebert, who made the best E11, wich gave good ideas to modify even more the E22.
Any feedback is Welcome!
Sean's original FILES (armor and blaster)
https://www.dropbox.com/sh/27klw0a6voyqbtr/AABH9VRmlPF55oWzP2-Kr3KWa?dl=0
Sean's original MANUAL:
https://photos.google.com/share/AF1QipMHbV6hE7FCVgLDFVP73lP4OSxlPt-OdPSG2UEEbMEuMEj3TNicipUwGKNcVCsDBw?key=SHdhbTJHdHpLTUZjQWhpS0FheVNzQmVBcUpXN2tn
Mr. Raymond Hebert's E-11 (Blaster Master)
https://www.myminifactory.com/object/3d-print-blaster-rifle-star-wars-storm-trooper-12097
Like the best looking troopers in Galaxy? Join the FAM!
https://www.facebook.com/groups/1742353536003671
Print Settings
Printer brand:
Anycubic
Printer:
Large Size Chiron
Rafts:
No
Supports:
Yes
Resolution:
200
Infill:
20
Filament brand:
sunlu
Filament color:
any
Filament material:
ABS
Notes:
Small parts, better printed in resin.