by 2by2
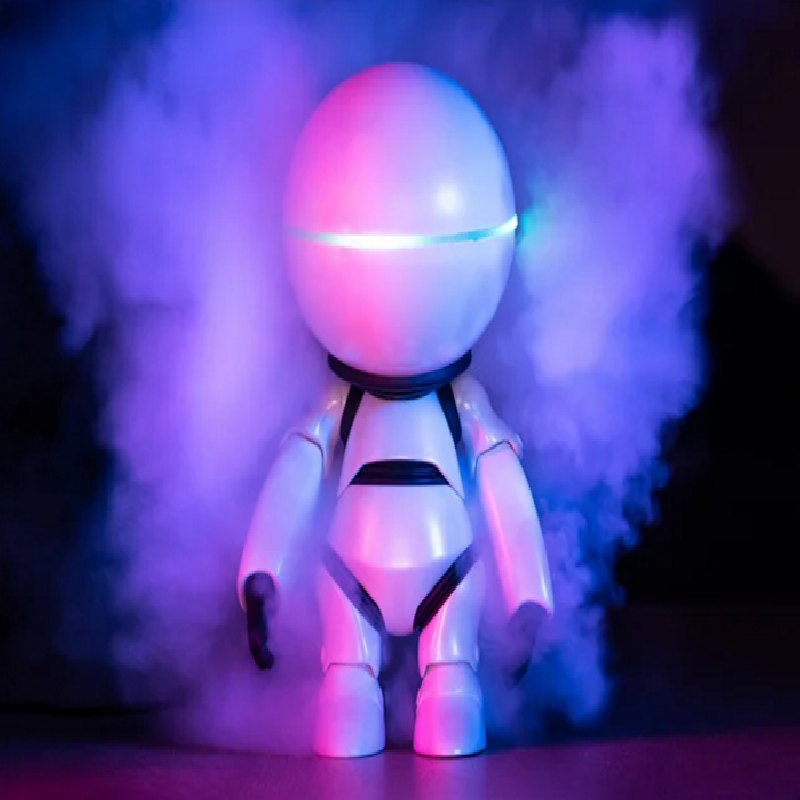
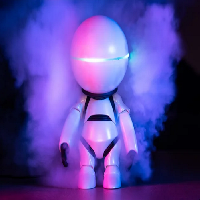
Convert your Homey domotica system into Marvin, the depressed robot from the Hitchhiker's guide to the galaxy movie.

It's not my original idea, to convert Homey to Marvin, but I couldn't find a good quality model. So eventually I decided to design my own.

You can route the power cable trough the body. I've added a cable route for the left of right feet (Print the one you need).

You can move the ball joints in the arms, try to find the best bold tension to move the arms freely but tight enough that it won't move when stationary
I also provided a collar for a homey with feet, and a version without feet.
I didn't like the feet, so I removed them (They are glued, hold it with a wrench, and hit the wrench with a light tab of a hammer). I filled the hole with polyester filler. After that I spray painted it with pearlescent white spray paint. But if you want to keep your Homey "unharmed", use the collar with the cut-outs
It was a lot of work to design it, so please share a "make" if you print one :)
Print Settings
Printer:
Felix 3.0
Rafts:
No
Supports:
No
Resolution:
100
Infill:
20
Filament brand:
Real 3D
Filament color:
White and Black
Filament material:
PET-G
Notes:
Printed everything with 0,1mm layer height. Only the UpperArm needs support (I could not find a way to print without support). I printed everything else without support in the orientation of the STL model. You might want to add an attached Skirt/Brim to the feet (print upside-down).
Some overhangs are quite steep like the collar. But they came out great without support if you print a fine resolution (0,1 mm layer height) and use inside perimeter first. (Or inside out).
Try to print every part separate to overcome ugly travel blobs.
Post-Printing
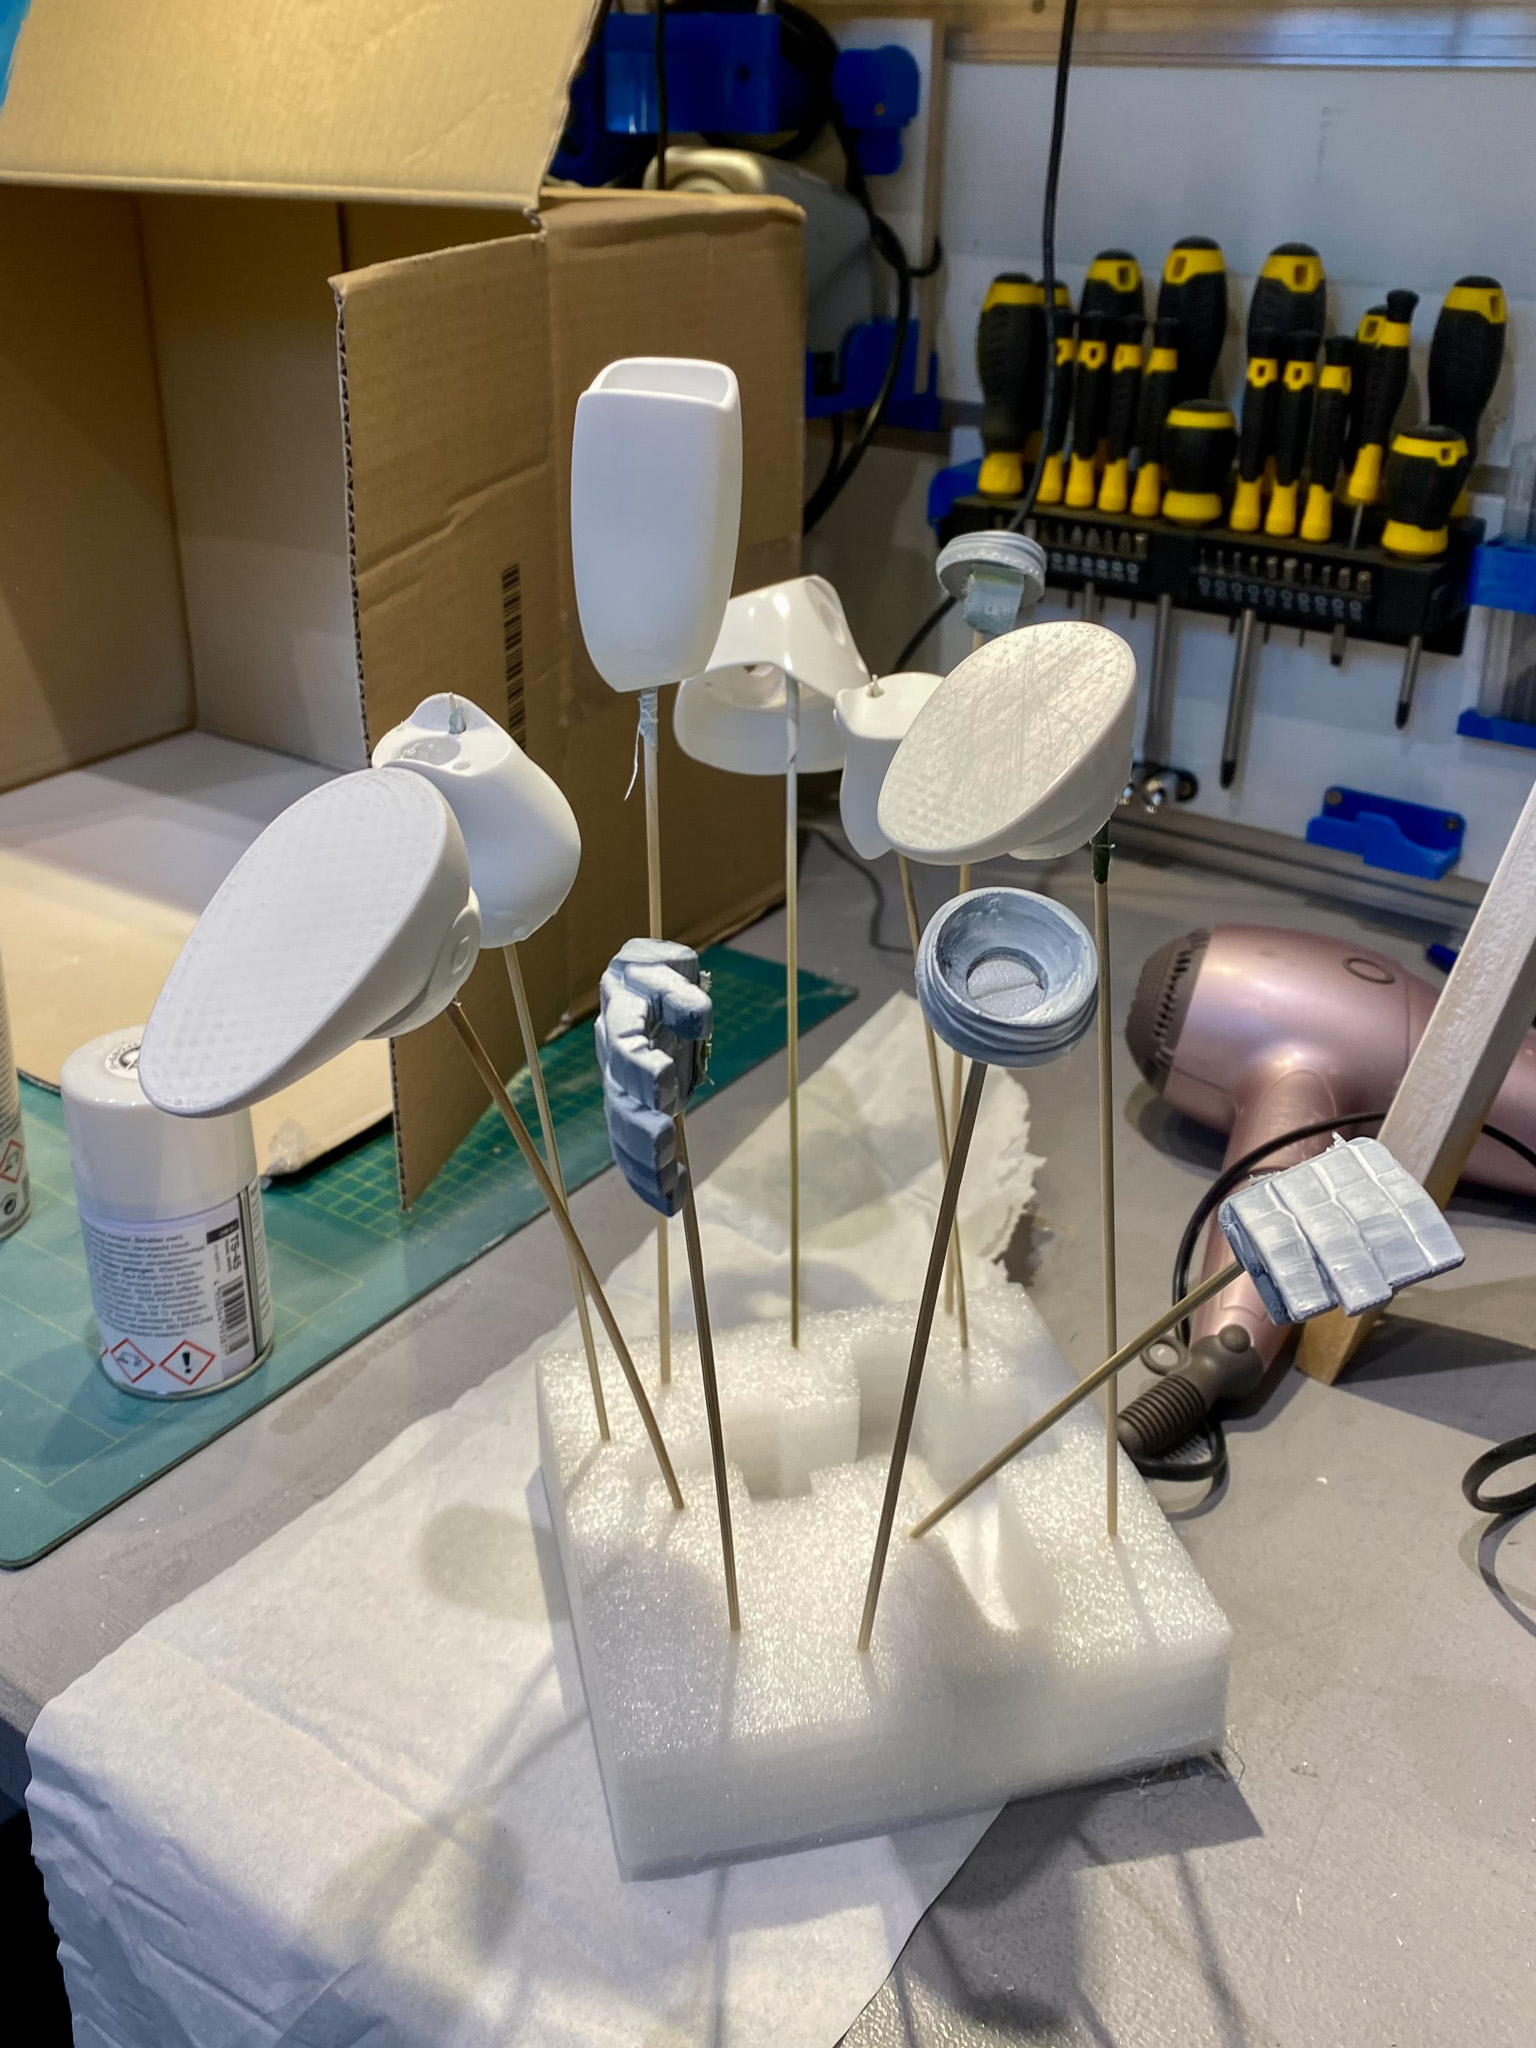
Sanded it with 80,120,200 and 1000 grid.
Used Tamya Surface Primer L White SP RS 180ml to prime
Used Tamya TS-45 Pearl white gloss 100ml for white parts
Used Tamya TS-82 Rubber Black mat 100ml for black parts
The original Homey power cable does not fit. You need a cable without a ferrite core, and a small USB mini plug. A flat cable is also preferable. You might want to route the cable trough the feet before assembling it (it's a quite tight corner)

You need:
2 x M4 x L8mm
6 x M4 x L12mm
2 x M4 x L16mm
8 x M4 x L20mm
Might want to post-drill the trough holes with 4mm.... But make sure you don't drill the parts where you need to screw in. (Like the feet, upper arm and upper body)
Or just superglue it together.