by uncovery
This is a sliced-up version of https://www.thingiverse.com/thing:2091732
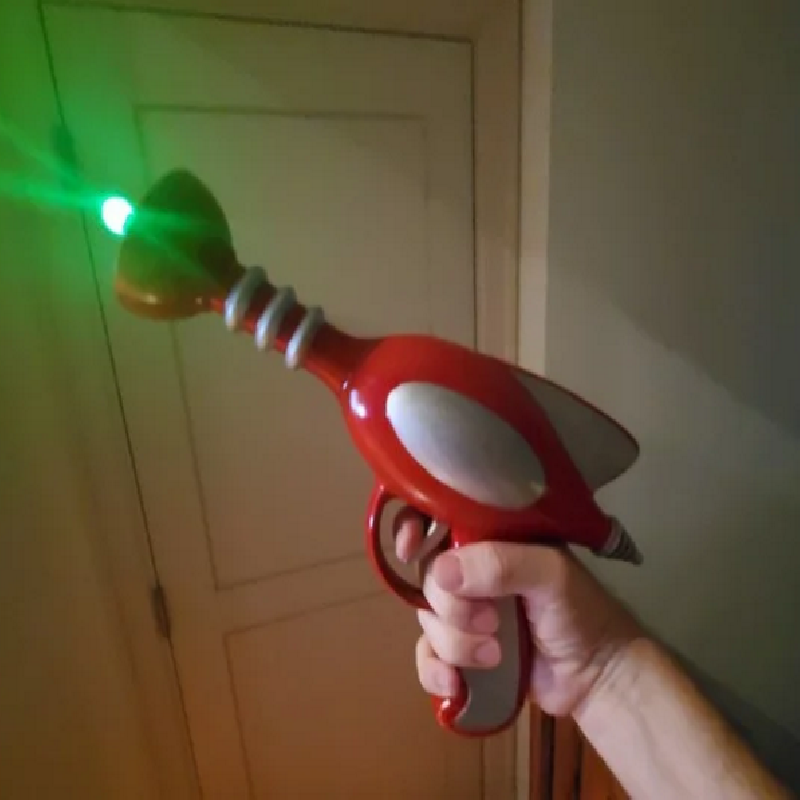
It's enabled to insert a 3mm LED in the front and use the trigger with a push-button and a 9v battery in the grip.
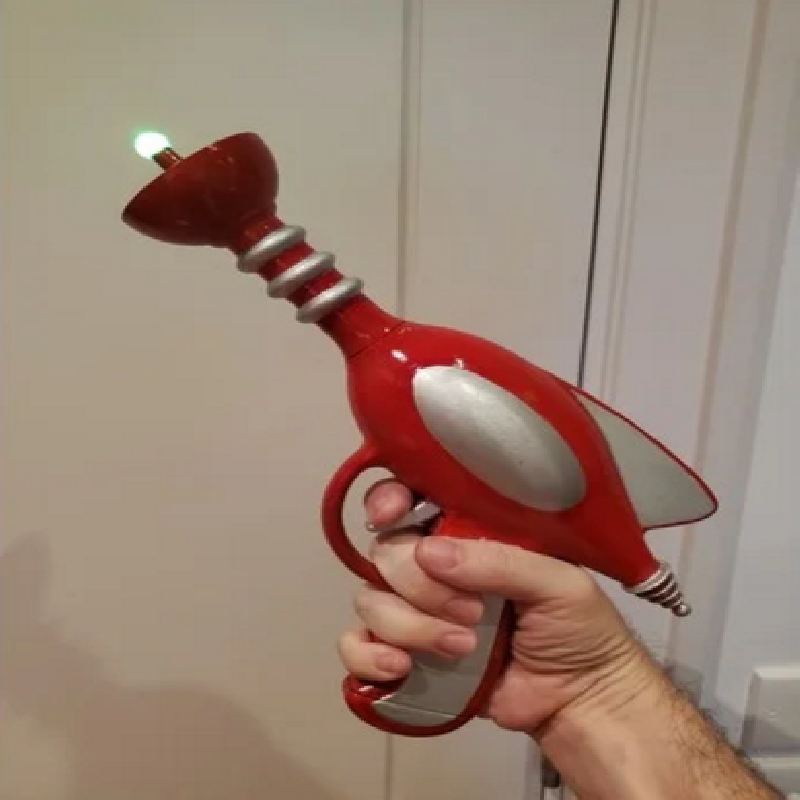
Recommended to print in colored (red) PLA and then paint the other parts in silver.
I printed it in transparent PLA and painted it except for the round end of the nozzle. Makes the nozzle look nicer but it's not that easy to get a nice and even paint job.
A 5v 3mm LED with integrated resistor like this here
A micro-push-button like the flattest one here
A 9v battery connector like this here
You can also use 3v LEDs and then use AAA batteries instead.
I added mouse-ears to the 2 halves, so no prim required, use supports on those. The trigger does not need supports, but brim is recommended. Connector and nozzle just print as-is. Battery grip needs support.
Sand the area of the 2 halves where the connector and the battery cover touches them. Make sure that the two halves connect without gaps when those parts are inserted. Cut off the mouse-ears.
Solder the wires, LED to the push-button with one wire, the other one to the Battery connector, The second battery connector to the corresponding push-button connection
Glue the push-button, to the front-ledge of the box the trigger will fit in so that the trigger actuates it when pulled.
Glue both halves together.
Glue in the connector.
Then glue on the nozzle and make sure it's rotated in the proper direction.
Don't glue the battery cover, obviously.
Sand the whole thing so that it's smooth.
Tape the little ball at the end of the nozzle so that it stays transparent
Paint the gun as desired
Print Settings
Printer brand:
Prusa
Printer:
I3 MK3S
Rafts:
No
Supports:
Yes
Resolution:
200
Infill:
15%
Filament brand:
Formfutura
Filament color:
Transparent
Filament material:
PLA