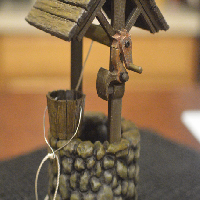
This is a functional wishing well that I made for my daughter. This was all sculpted and poly-modeled in Cinema 4D, and automatic polygon reduction was used to get some of the pieces down to a decent file size for upload here.
Printer:
D-Bot
Rafts:
No
Resolution:
0.2mm
Infill:
varies
Notes:
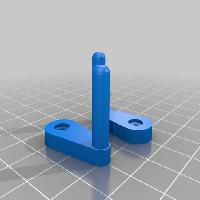
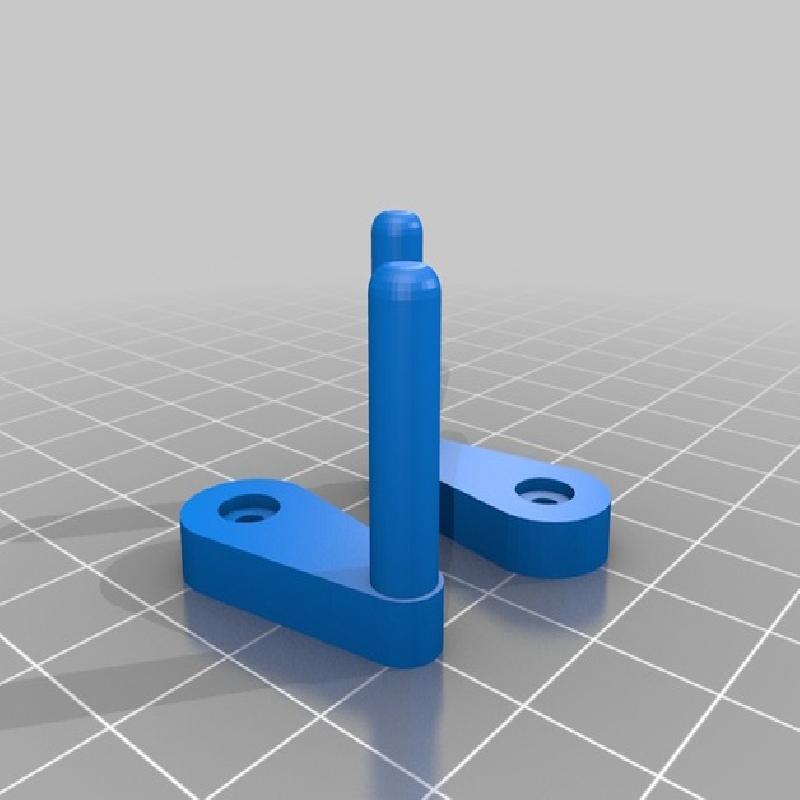
I used a 65% infill and 3 perimeters on support_b to ensure that the latch peg wouldn't break. Everything else can use lighter settings.
The roof and bucket need to be printed with supports.
The bucket_hollow part can be used for creating a bottom-heavy bucket. There's a cavity in the bottom of the bucket that you can fill with a couple of metal washers. I used two washers with 4.2mm (3/16") ID, 25.4mm (1") OD, and 1.5mm height. I used simplify3d to create a process that would stop the print just before the first layer of the upper part of the cavity, and a second process that would resume the print from that point. I've uploaded a photo of what this looked like.
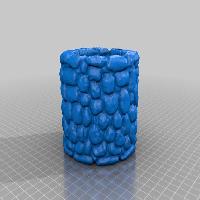
I printed this in a mix of ABS and PLA. I used ABS for the well and roof, and PLA for everything else. I did get some minor layer splitting on the ABS well.
I used XTC-3D to smooth out the well. Since precision isn't important for the well itself, I applied a ton of coats to minimize the sanding. Some ABS layer splitting is still visible, and with the contours of this piece I couldn't completely remove it with sanding. I then painted it and sprayed it with a matte finish protective coat.
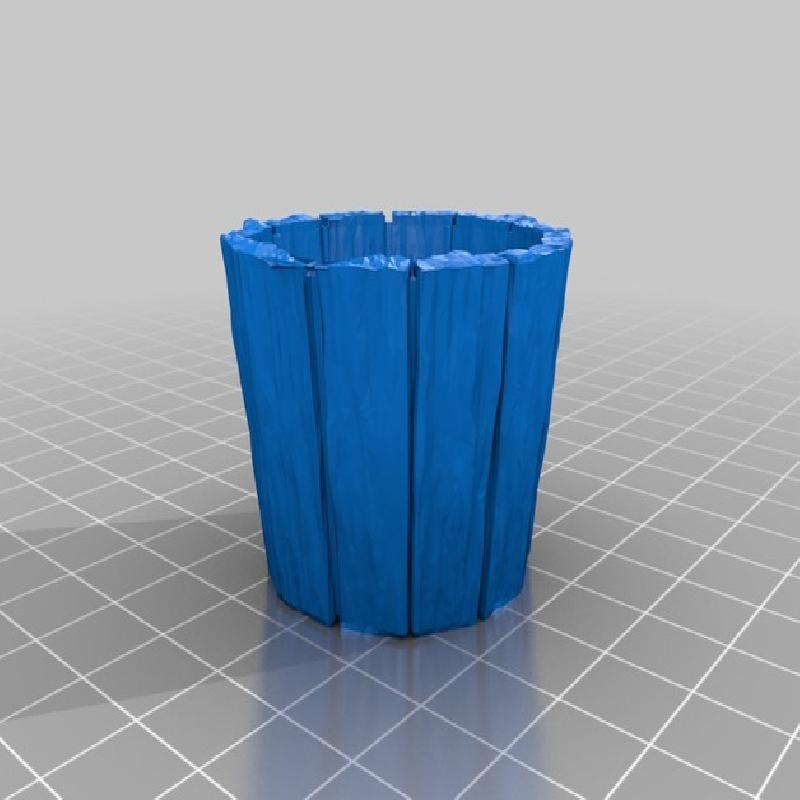
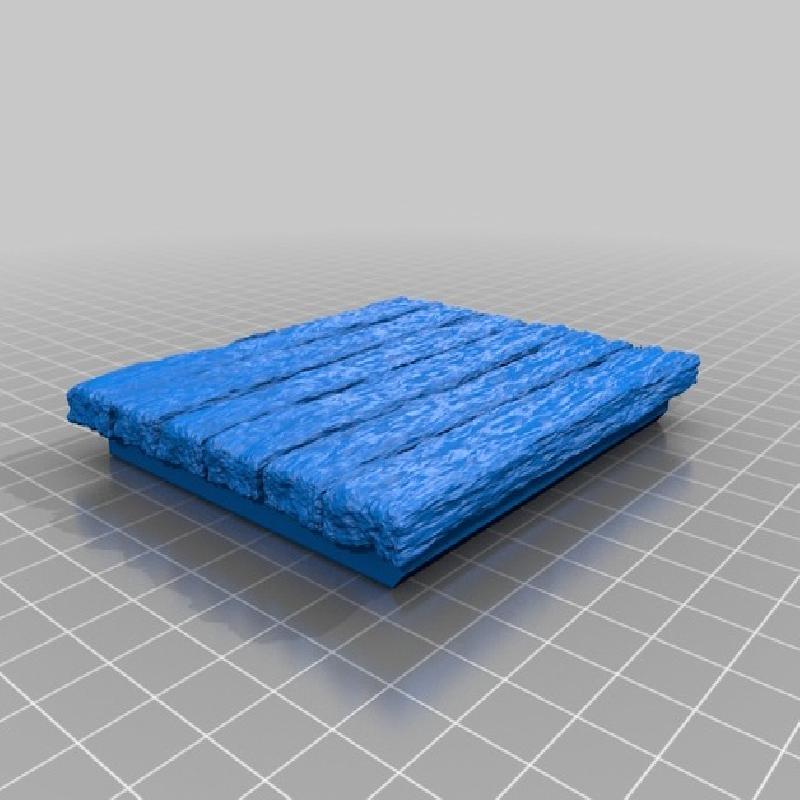
I found that I was able to use the layer stepping in the prints to make pretty decent wood grain by printing the roof at a 30 degree angle. You need pretty aggressive supports for that, but once it's done you can sand the top of the roof to flatten out some of the ridges and it looks much like old wood.
The supports go deep enough into the well body that I didn't need to use any glue.

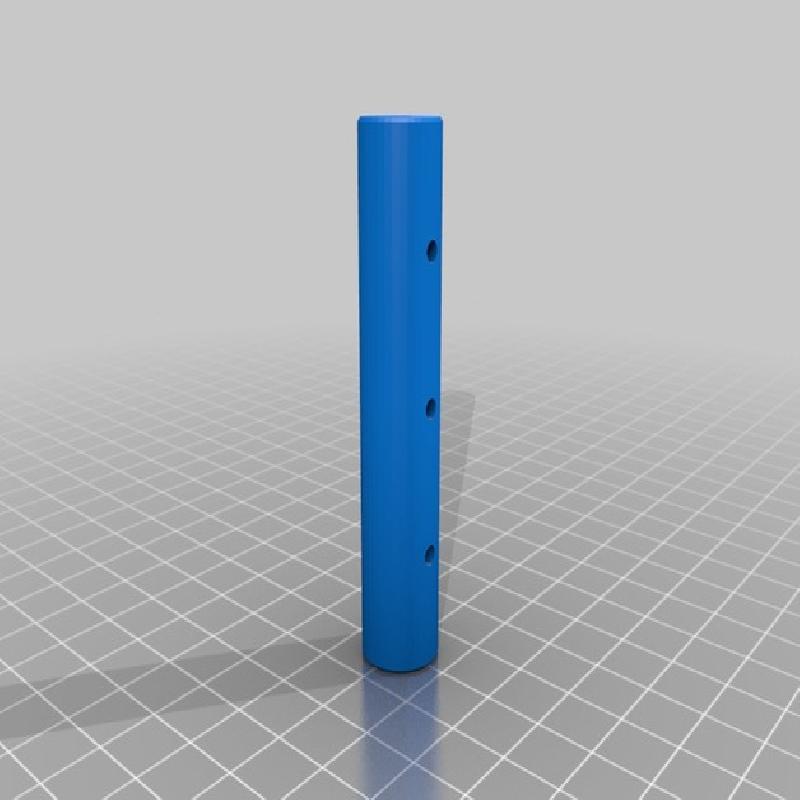
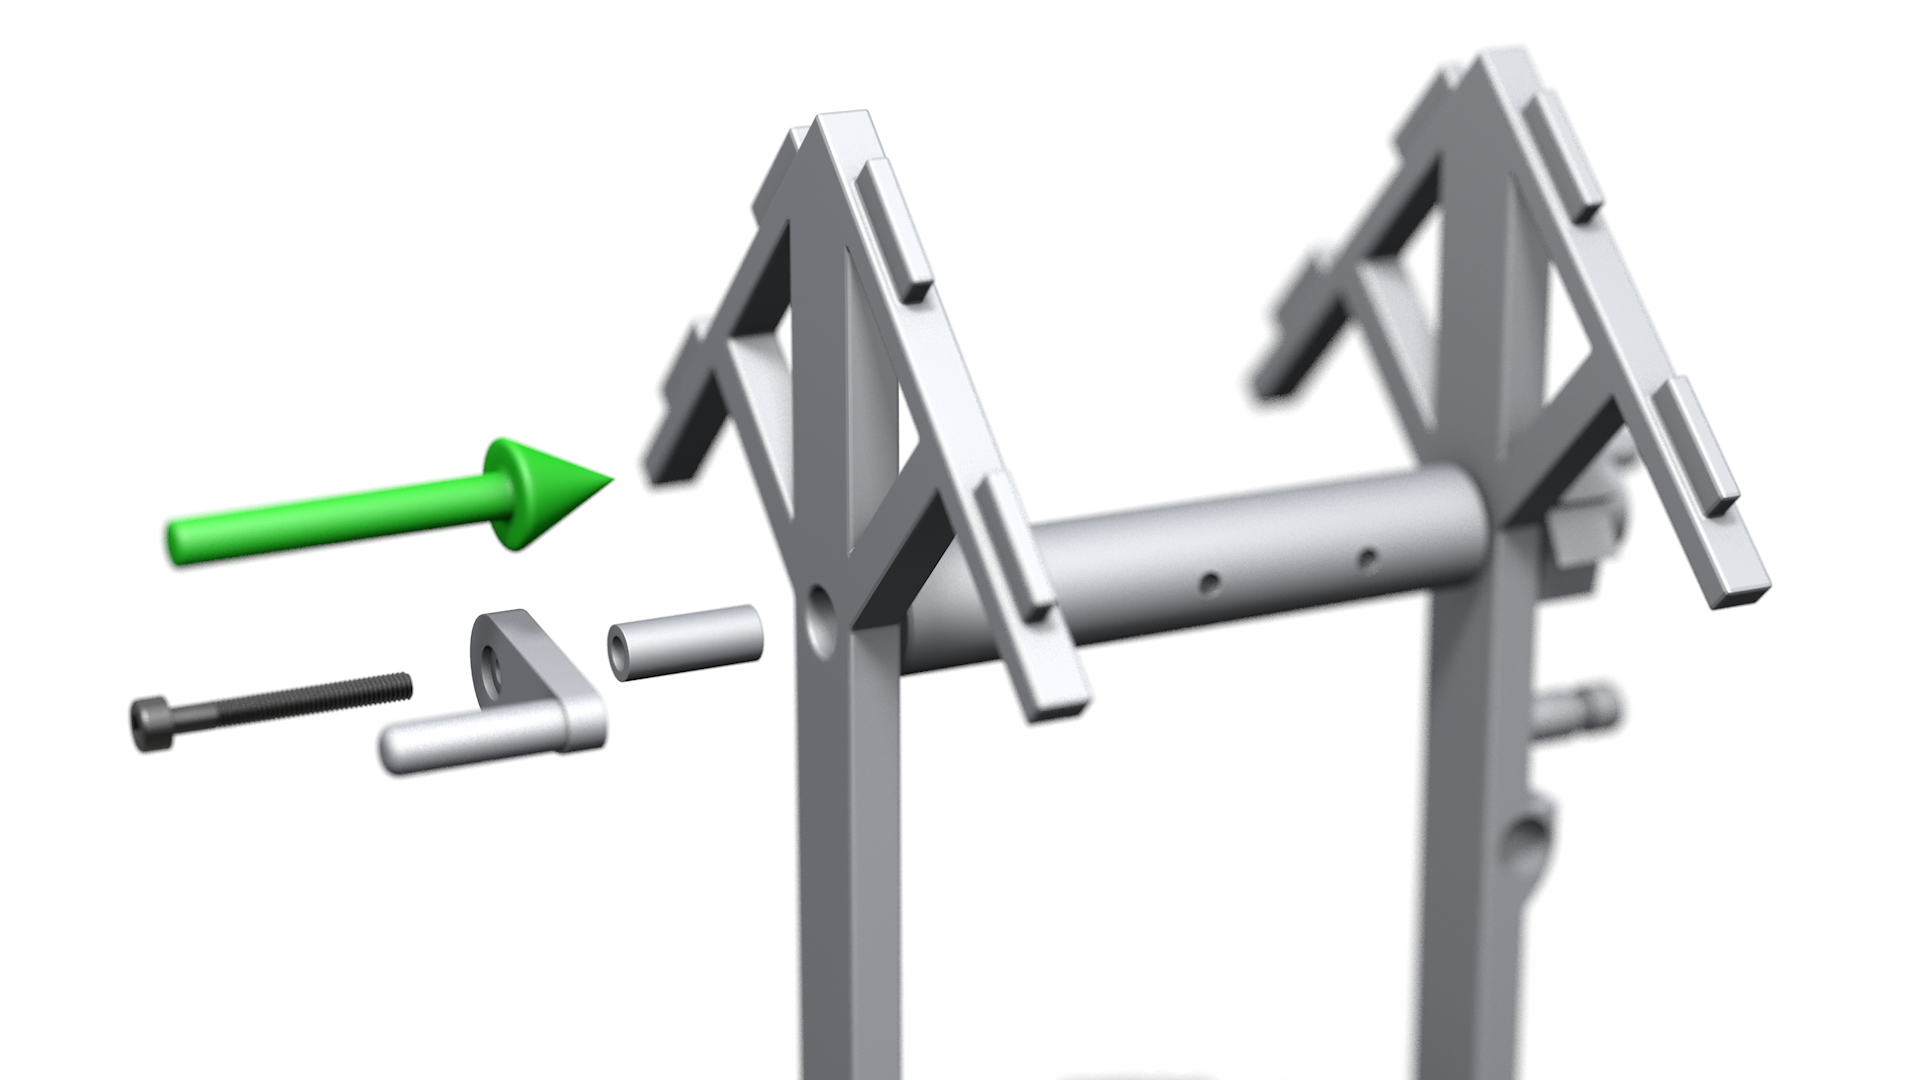
You will need a couple of M3x25 screws to attach the crank handles to the shaft. The screw should be a pretty tight fit. Use some lock washers if necessary.

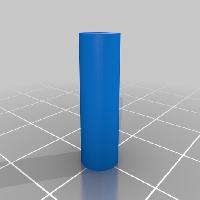
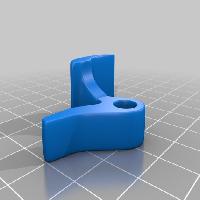
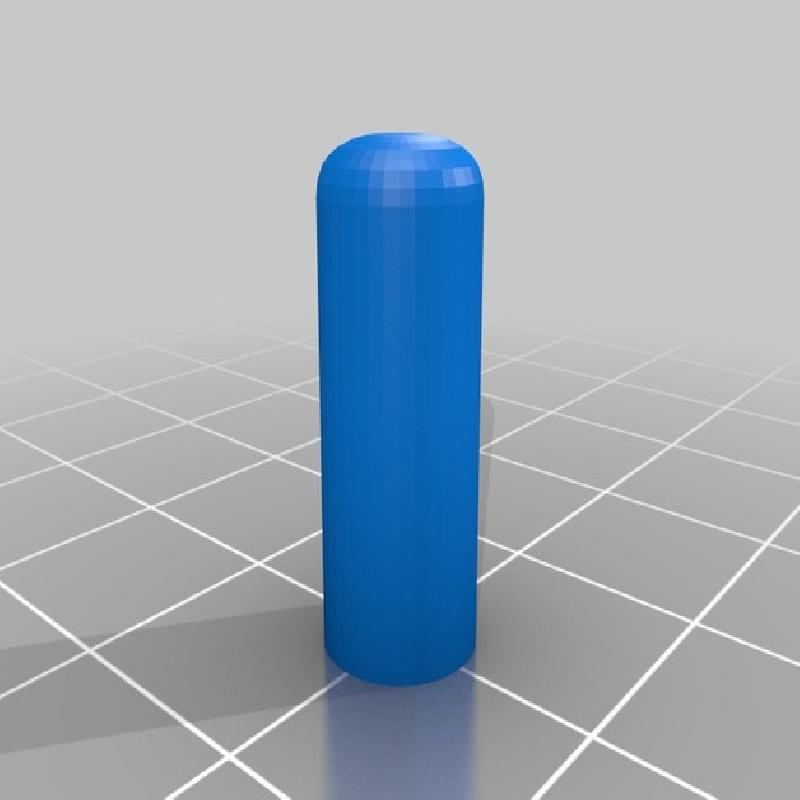
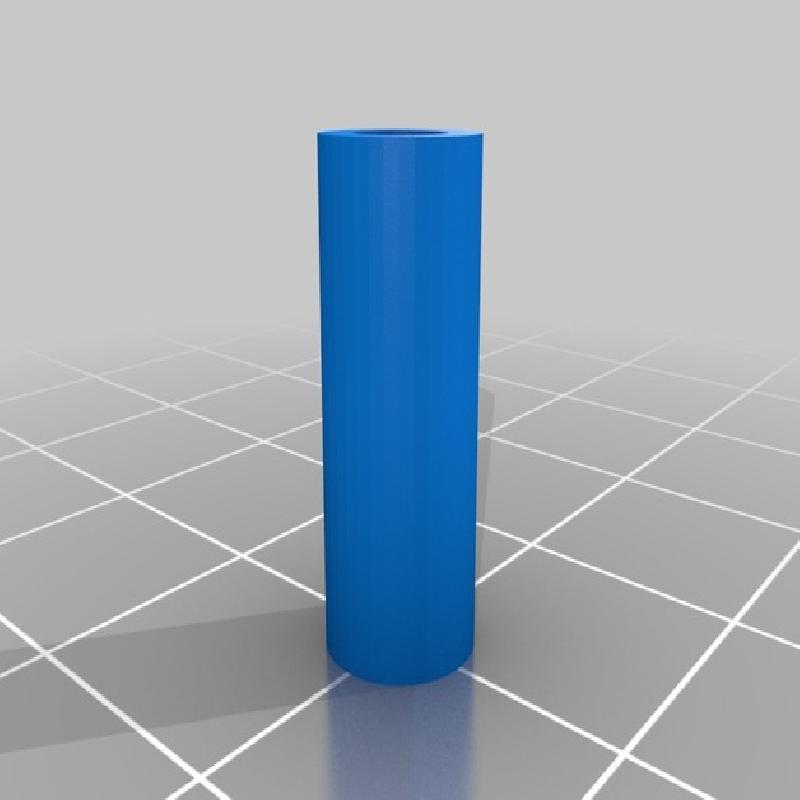
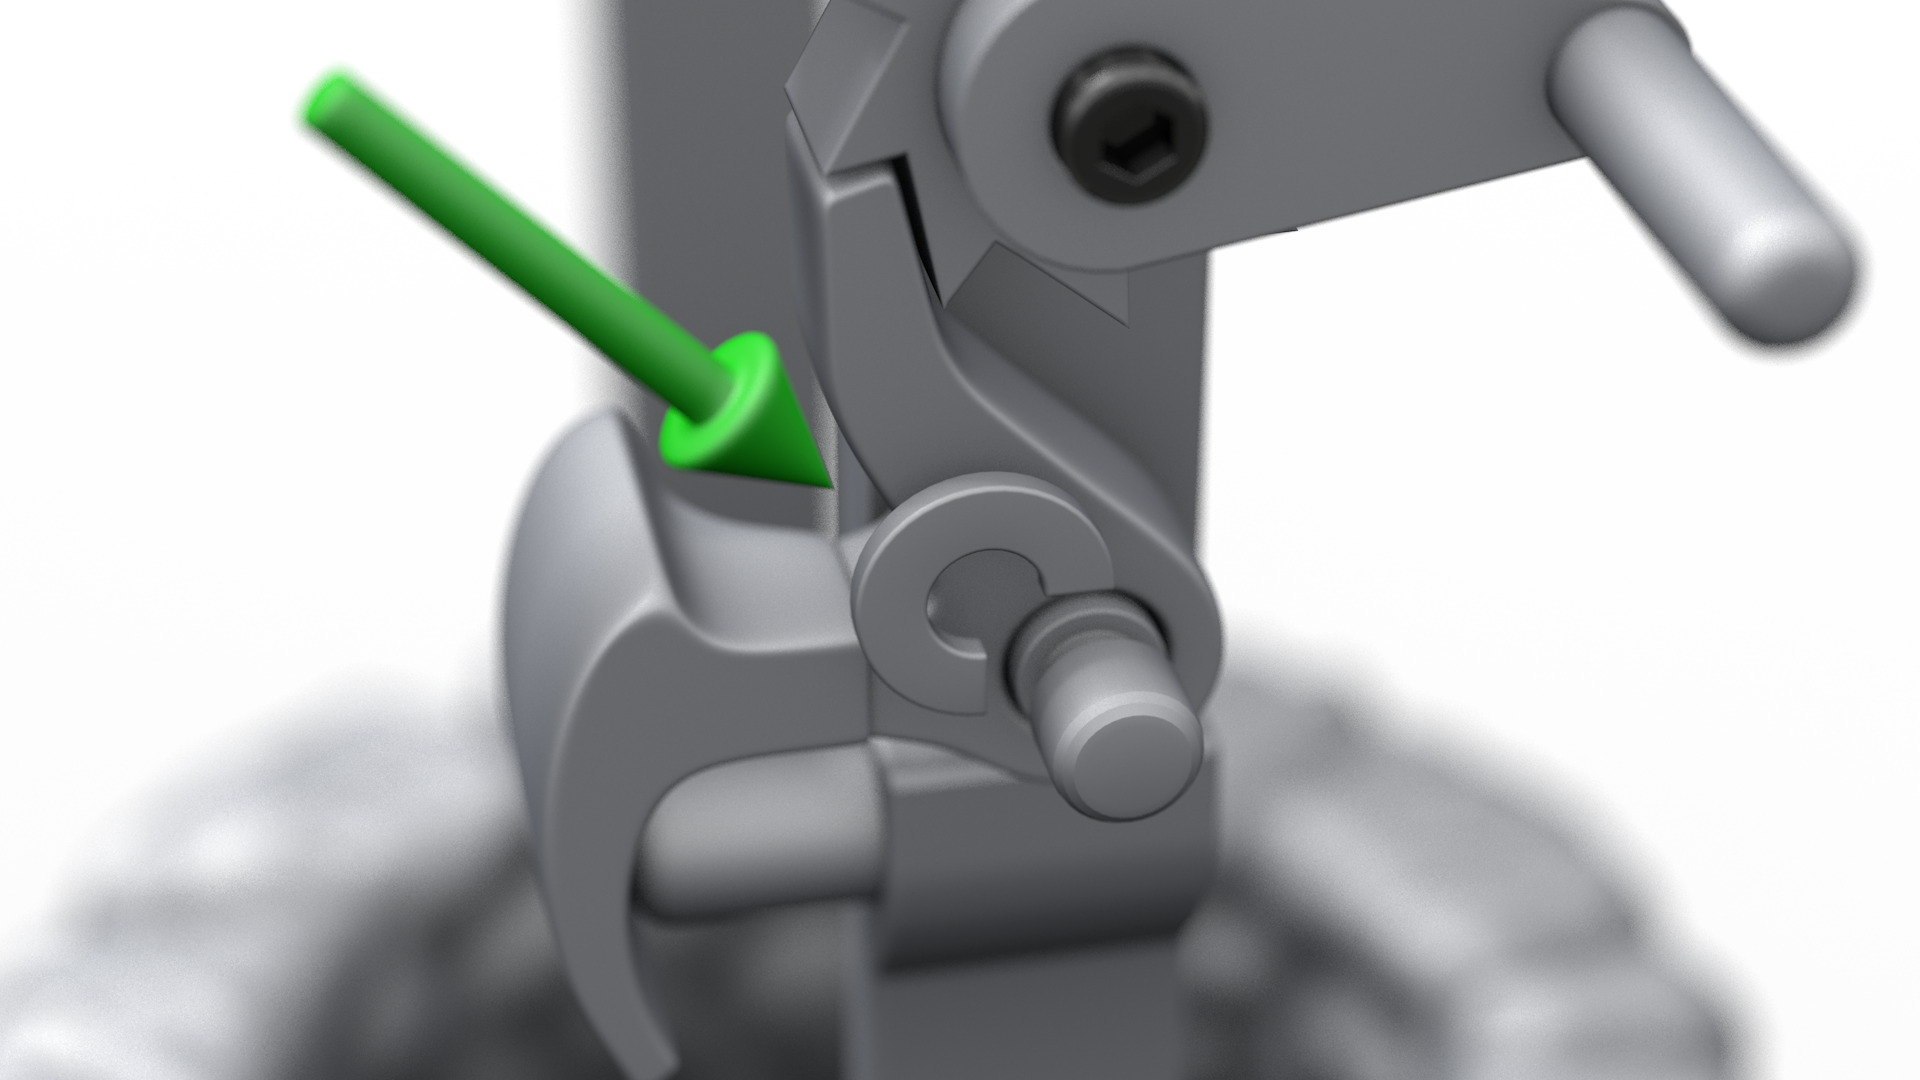
You'll also need a small spring for the latch mechanism. The one I used was about 6mm diameter and 12mm resting length. You can also use a spring from a pen since the spring_peg is hollow. I had to sand my spring_peg pretty smooth to get it to slide consistently.
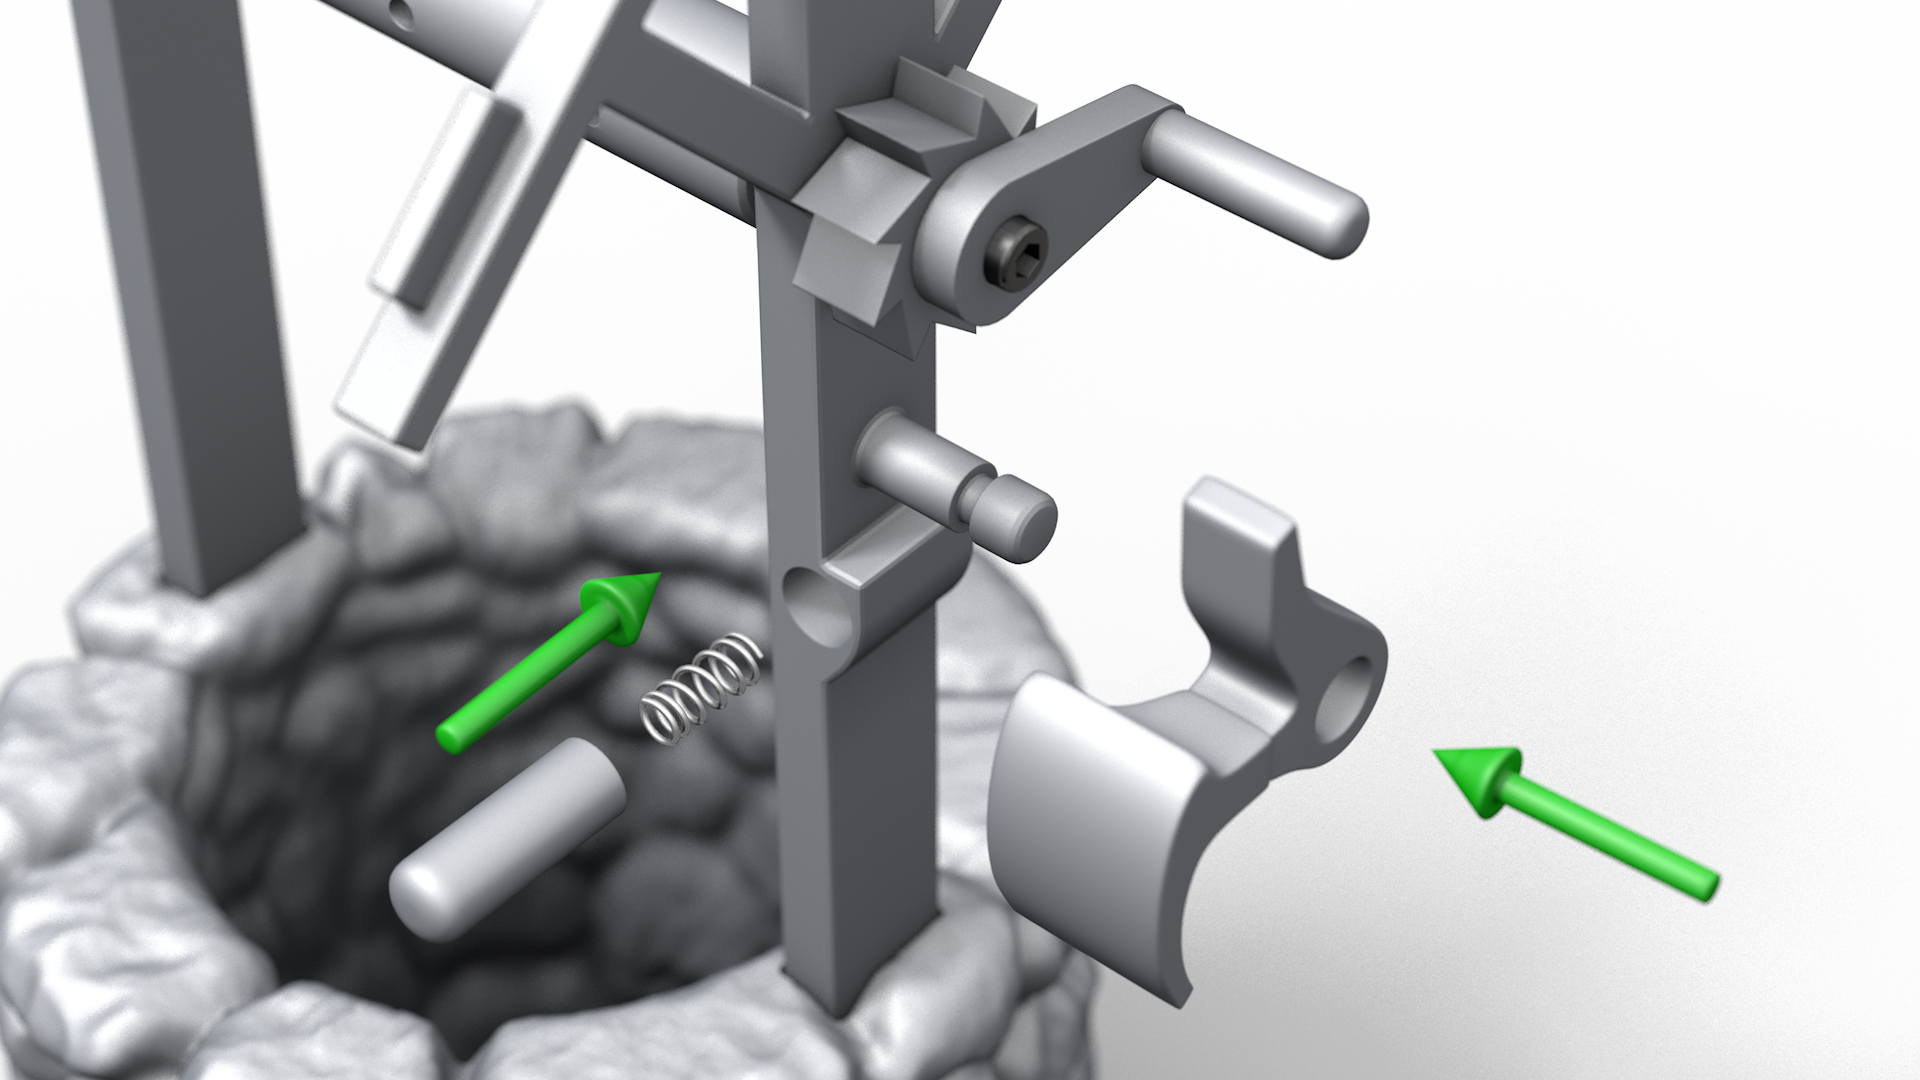
The latch_clip snaps onto the support peg. Make sure that everything is moving smoothly before doing this.
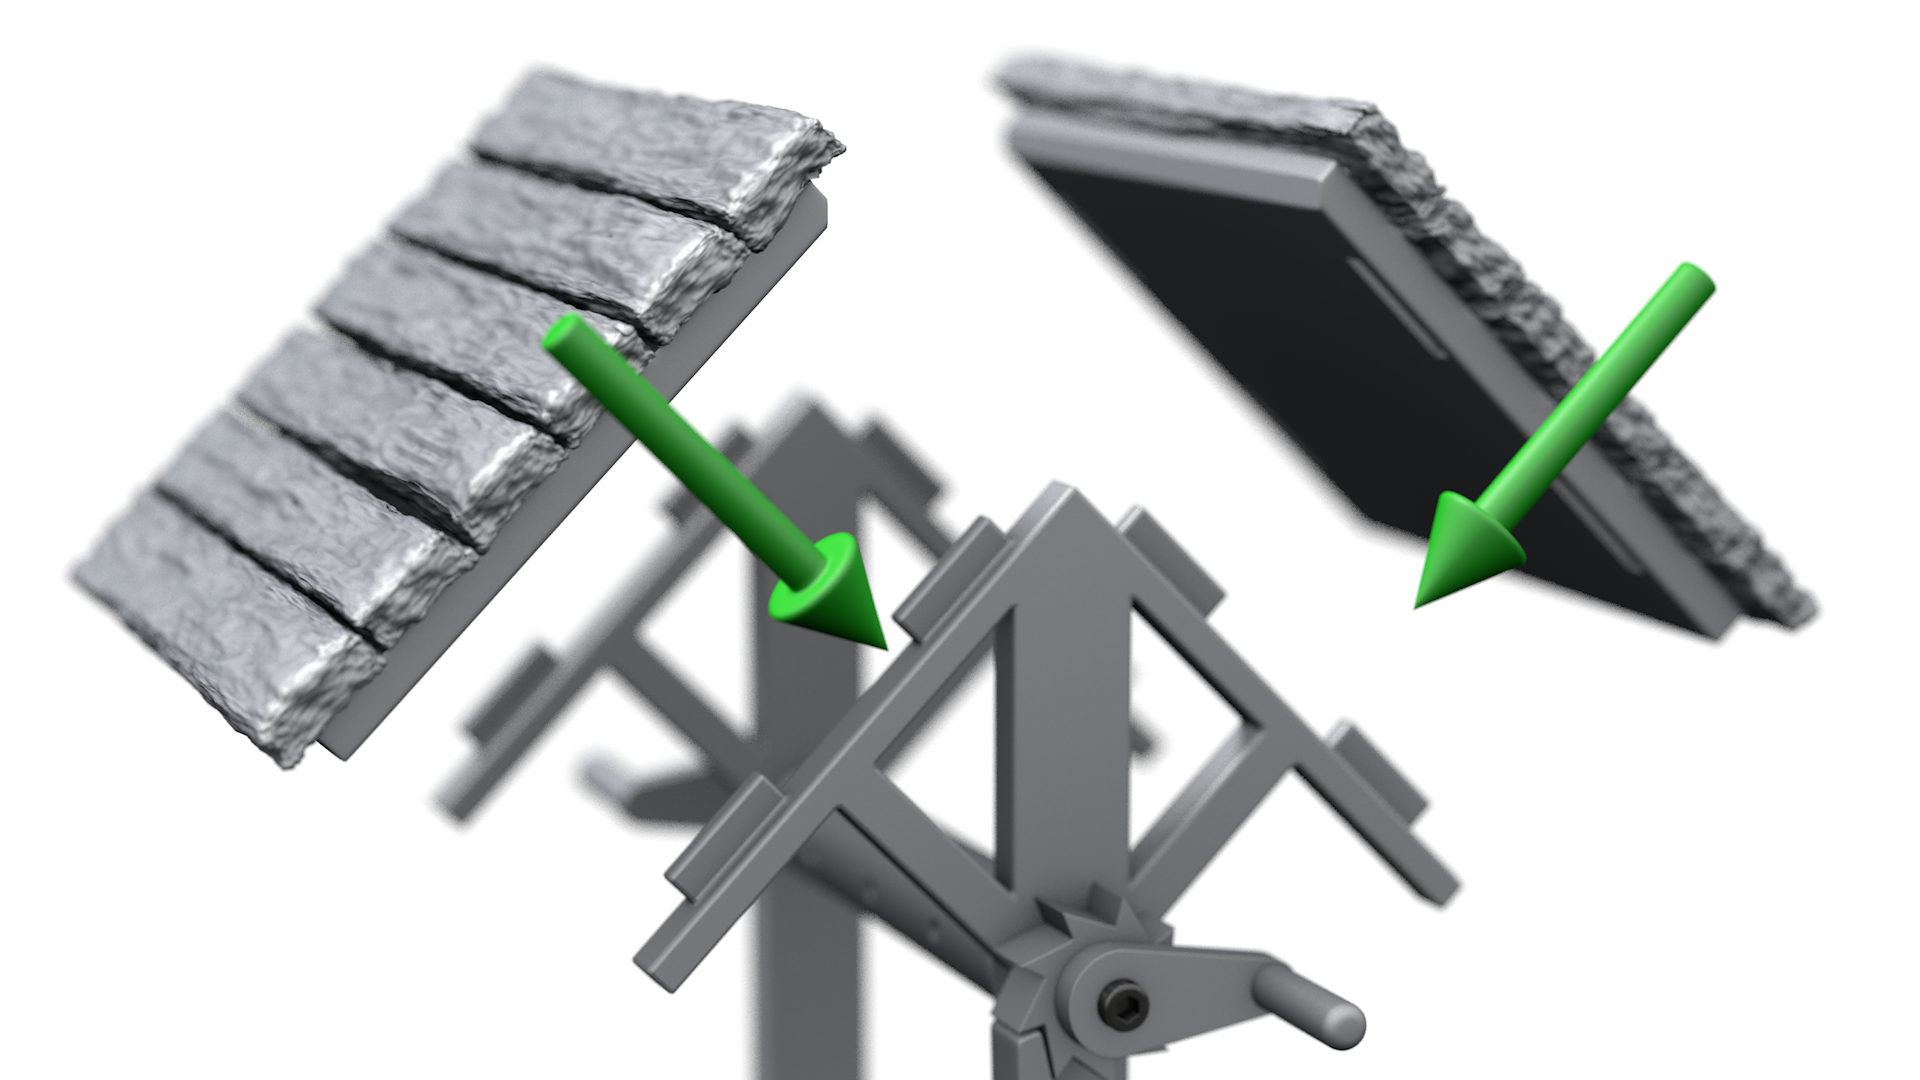
I didn't use glue for the roof. The pieces snapped in securely enough. Pay attention to the notches along the edge of the roof. Those need to be oriented so that the notches press against each other.
After assembly I cut a hole in the lid of a glass jar. I put a few self-tapping sheet metal screws through the lid and into the bottom of the well.
I drilled a couple of holes in the bucket and used a paper clip for the handle. I tried a few different kinds of wire but the paper clip worked out the best. I then used some butcher's twine tied to the handle and through the center hole of the shaft. I also put a length of the twine through the hole in the bottom of the bucket. I attached the other end to the lip of the glass jar's lid. The idea is that when the latch is released and the bucket drops, the twine attached to the bottom of the bucket will catch and cause the bucket to tip over. Make sure this is attached as far from the center of the well as possible, otherwise it has a tendency to twist.