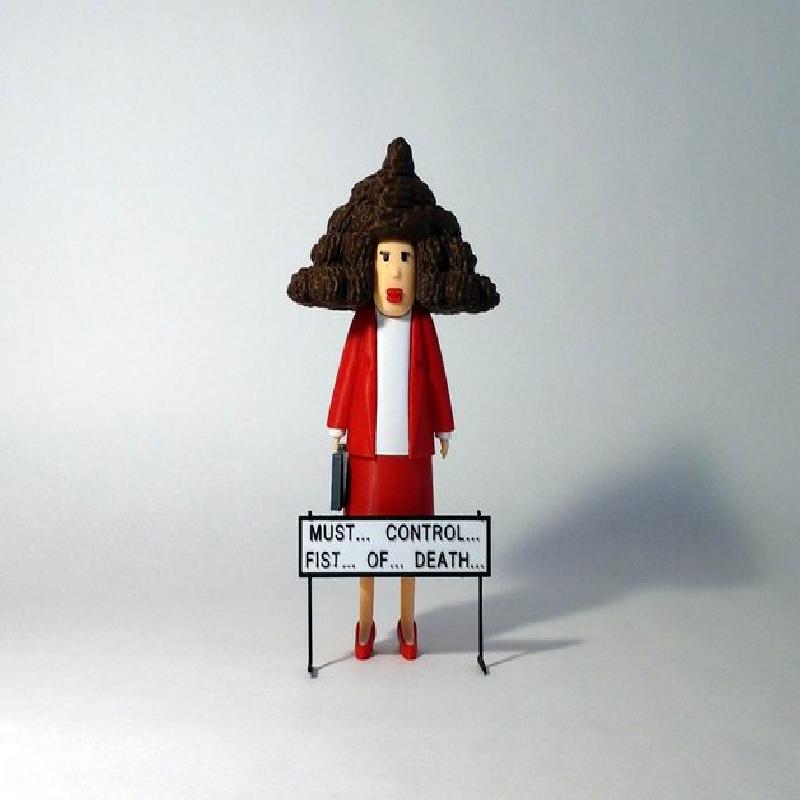
Alice, from the Dilbert comic strip by Scott Adams.
She is depicted as being one of the hardest-working engineers in the comic, however she suffers all the problems of being a female engineer.
No supports are required. If you have the right filament colors, no painting is needed.
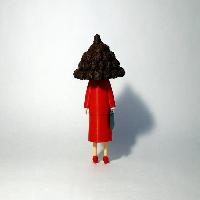
The completed model is 210mm tall after assembly. This model is in proportion to the Dilbert, Wally, Pointy Haired Boss and Dogbert models from the comic that I've previously posted.
Enjoy!
Printer:
FlashForge Creator X
Rafts:
Doesn't Matter
Supports:
No
Resolution:
.2 mm
Infill:
10%
Notes:
See notes below for helpful printing and assembly instructions
Colors (there are no multiple printed pieces)
Black:
eye_left (includes the eyebrow)
eye_right (includes the eyebrow)
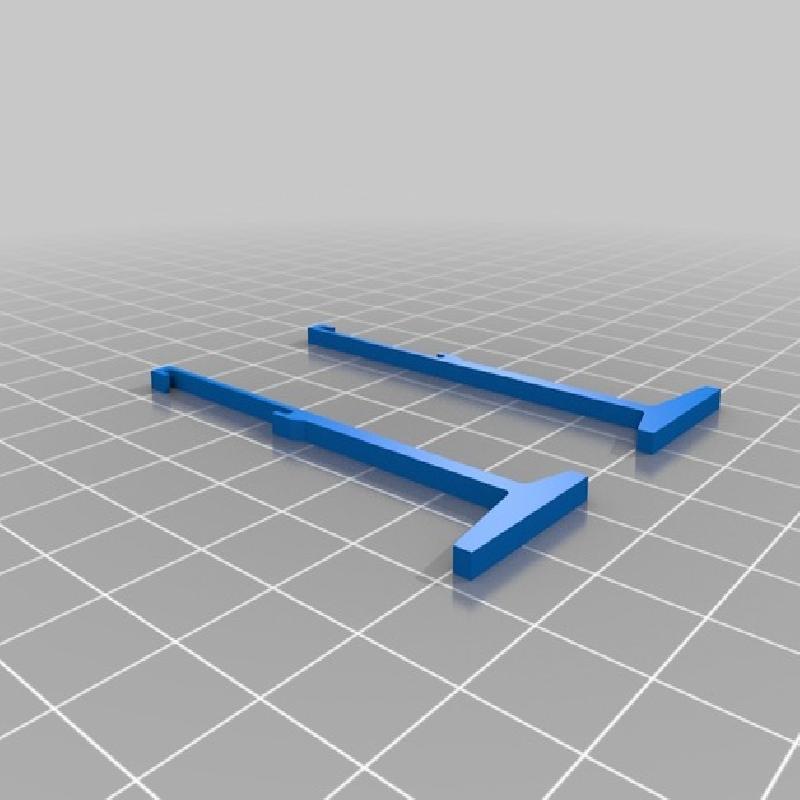
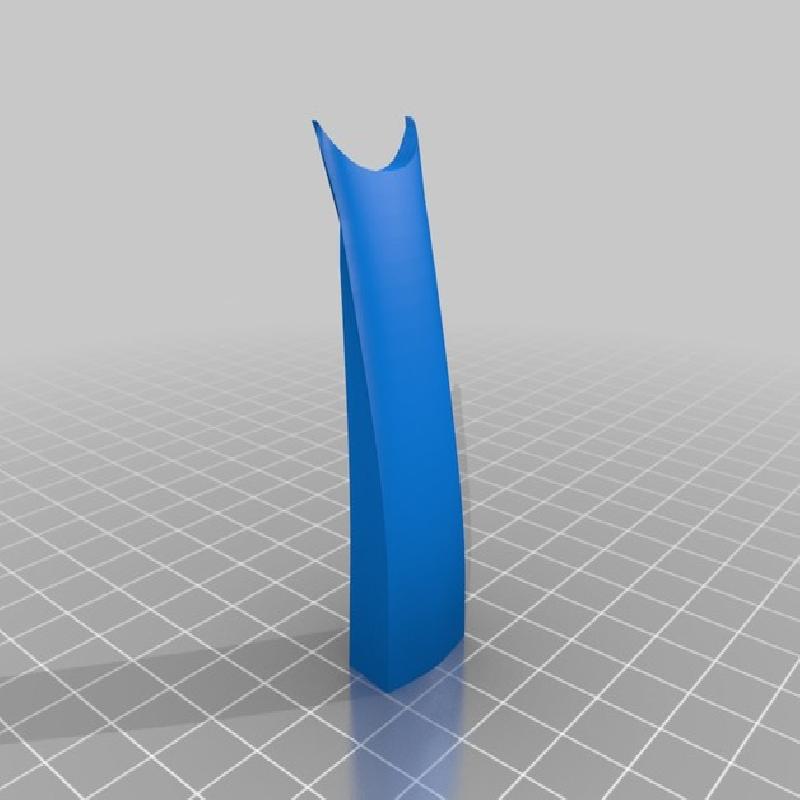
stand_13
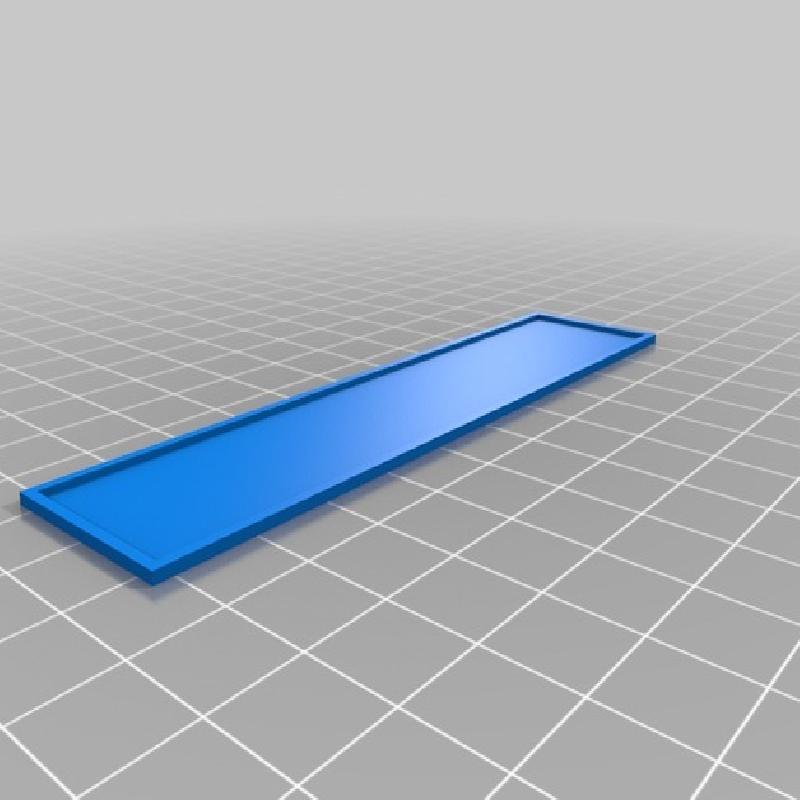
text_frame_13
..
White:
shirt
cuff_right
cuff_left
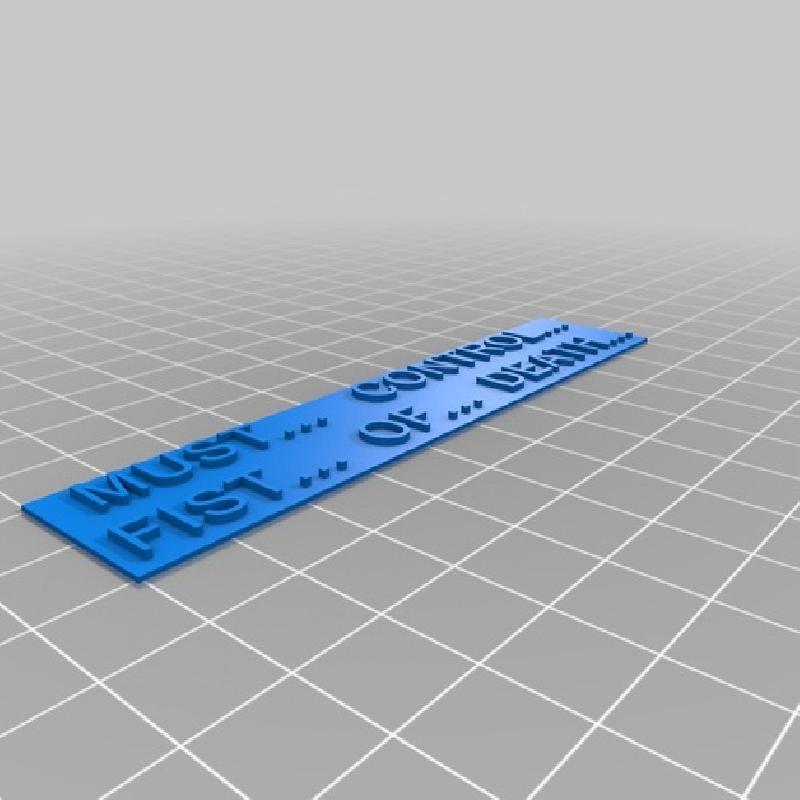
text_13 (see below for optional two color printing instructions with a single extruder)
..
Red (or dark pink):
skirt
jacket
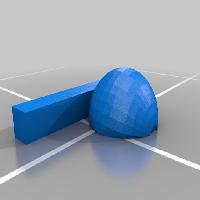
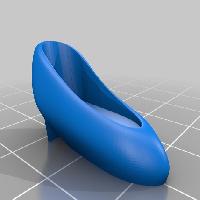
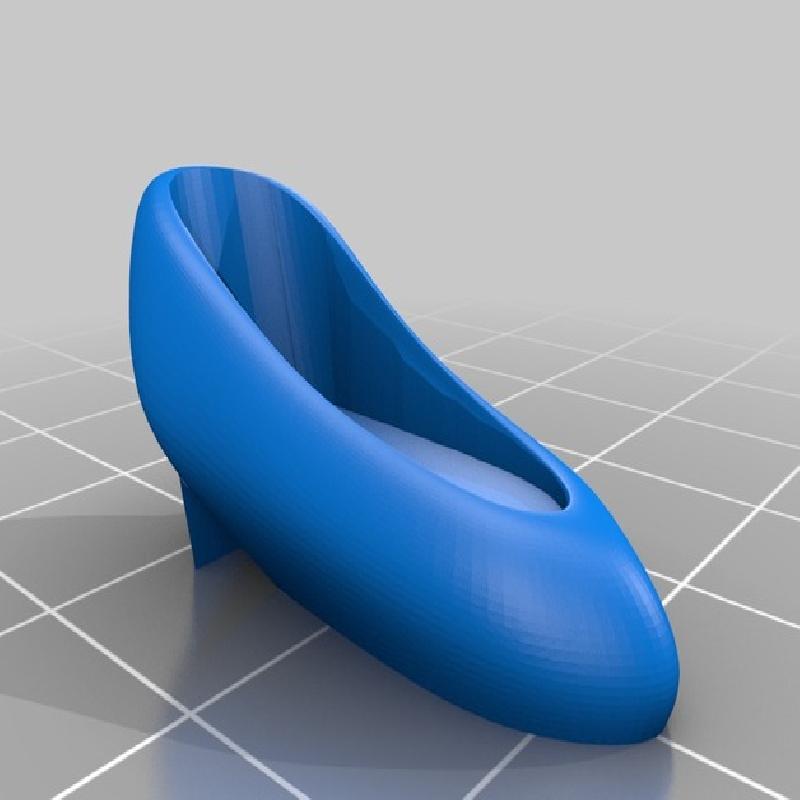
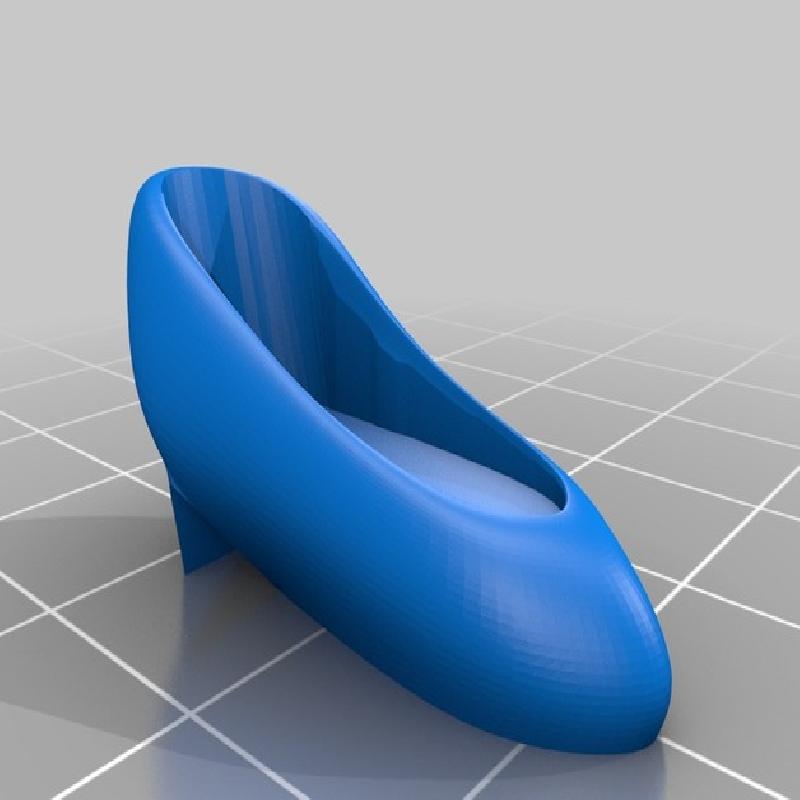
shoe_right
shoe_left
mouth
..
Beige (or any skin color):
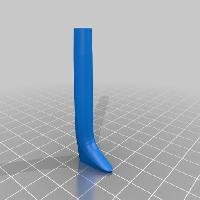
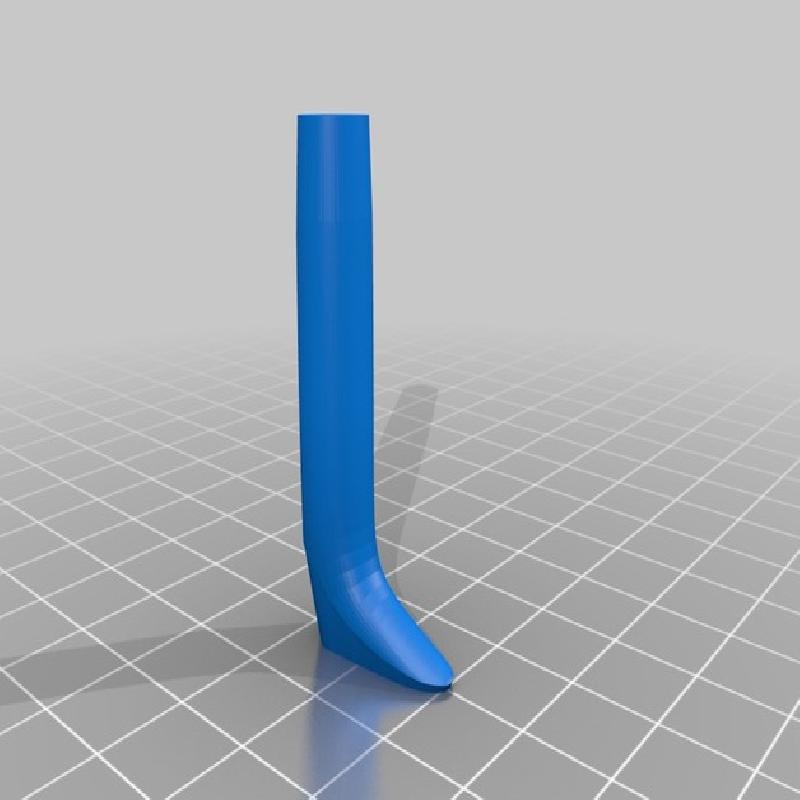
leg_left
leg_right
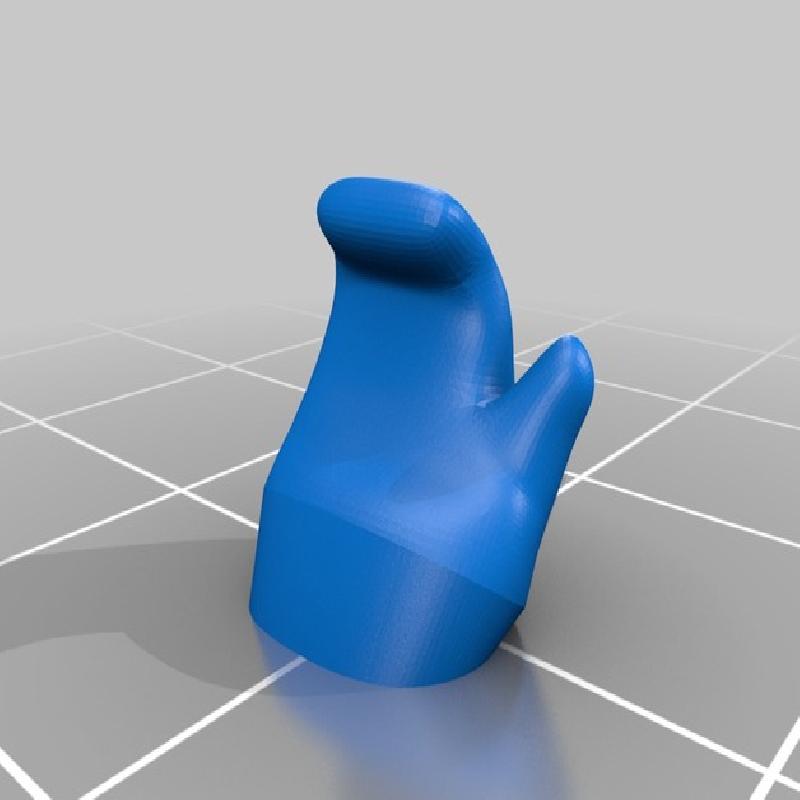
hand_left
hand_right
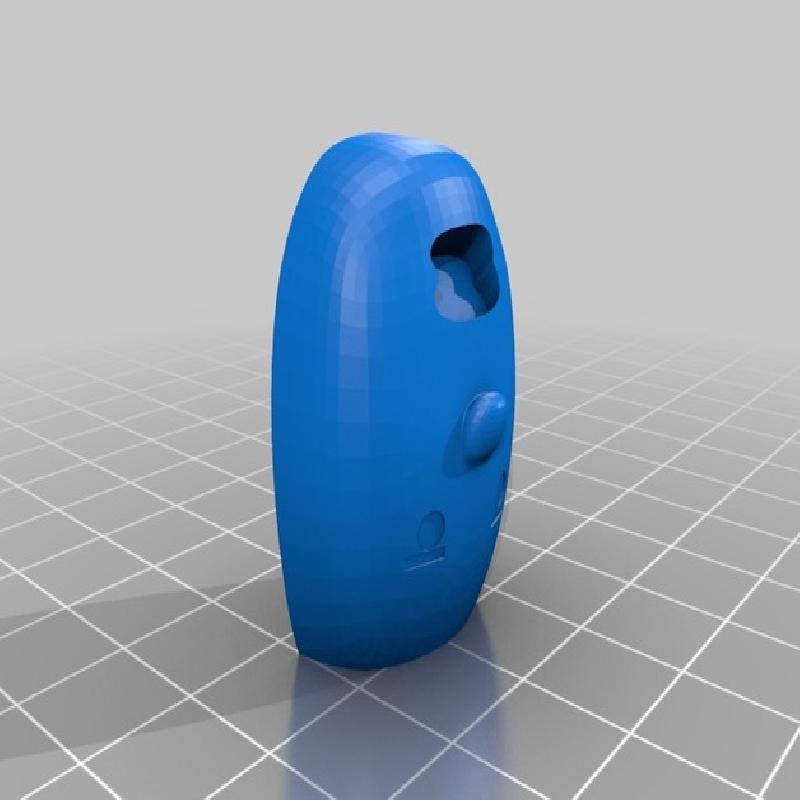
head
..
Brown:
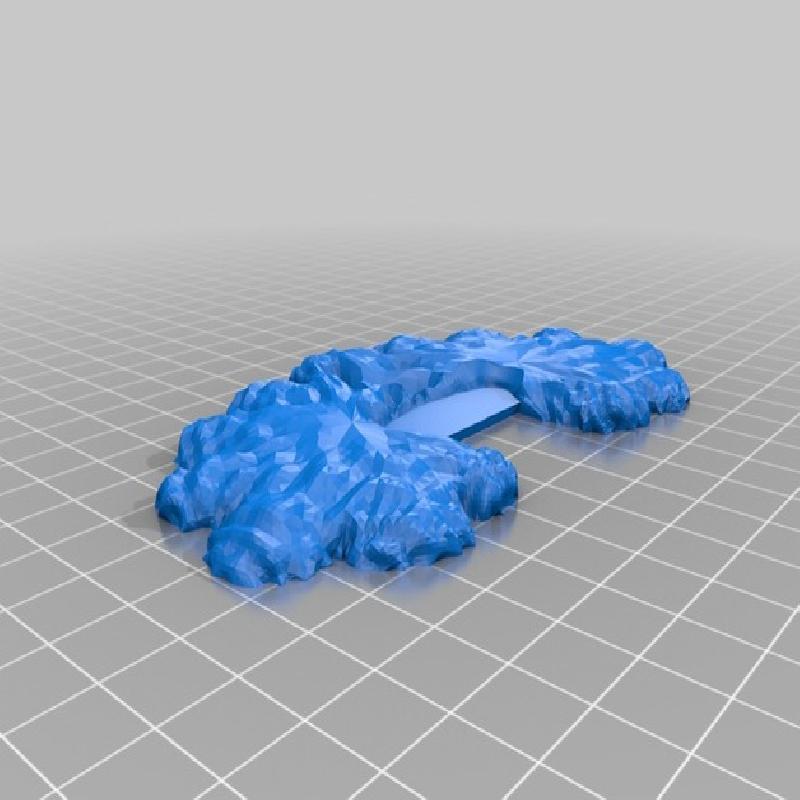
hair_top
hair_bottom
..
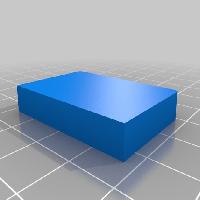
Grey (or any suitable color)
briefcase
Printing and assembly tips
Printing Tips:
1-No supports are required.
..
2-I used a brim on a few pieces, use your discretion based on your own preference:
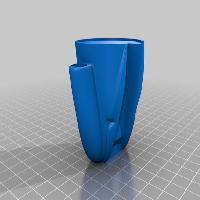
-jacket is printed upside down to avoid supports, however this results in a smaller base
-the legs are tallish with a small base
-do NOT print the eyes with a brim
..
3-The eyes pieces contain the eyebrow and are quite small. I printed multiple copies at the same time with no brim and they came out perfect, however this part could be tricky if you have problems with bed adhesion.
..
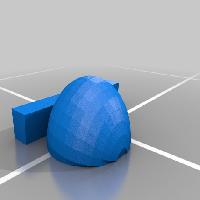
4-hair_top contains a built in support structure that needs to be removed after printing.
..
5-In case anyone wonders how I align pieces for printing, one major consideration (besides printing without supports) is how to avoid layer stepping. For pieces that have slow curves, the smoothest finish is to have the curve vertical instead of horizontal. This is why I always have a head piece printed vertical, even if there is a much simpler way to print it.
..
6-For printing the words with a white background and black lettering, see my full instructions included with the quotes from the Dilbert series:
http://www.thingiverse.com/thing:1727898
..
Assembly tips:
-The diagrams below will help in assembling the model and is quite straightforward.
-The model is meant to be glued together.
-Since there are a number of smallish pieces, some of the pieces have tight clearances. Take care to ensure that the first layer 'squish' and any added brim is completely cleaned off.
-The head only has a minimal dent for the eyes which are to be used as placement markers for aligning and gluing the eyes.
-When assembling and gluing the right hand/cuff into the jacket, be sure the hand has the briefcase already hanging off it but not glued. There is no room to insert the briefcase after the hand/cuff/jacket has dried.
-Remove the built in support structure from hair_top before assembly (fairly obvious but here for completeness!)
-Be sure to completely test fit the head/jacket/hair/shirt combo before gluing any of the pieces.
-The bottom of the skirt has the thicker side in the back. The holes for the legs will then be slightly further back.
-It's easy to get the left/right legs and shoes mixed up. Sorry, but the pieces are small and there was not much room for distinction.
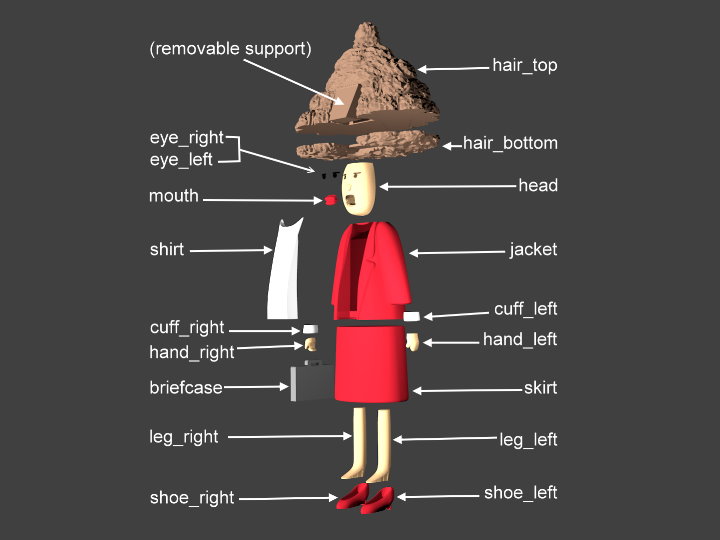
Alice assembly
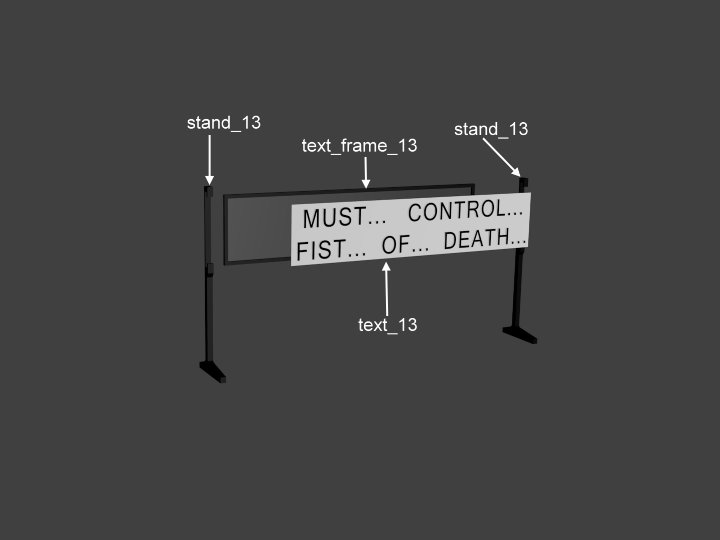
Alice quote assembly