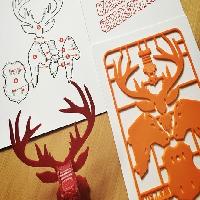
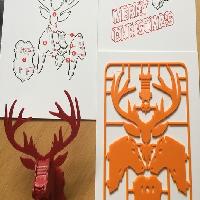
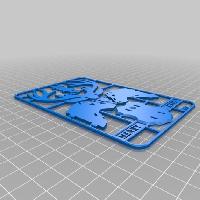
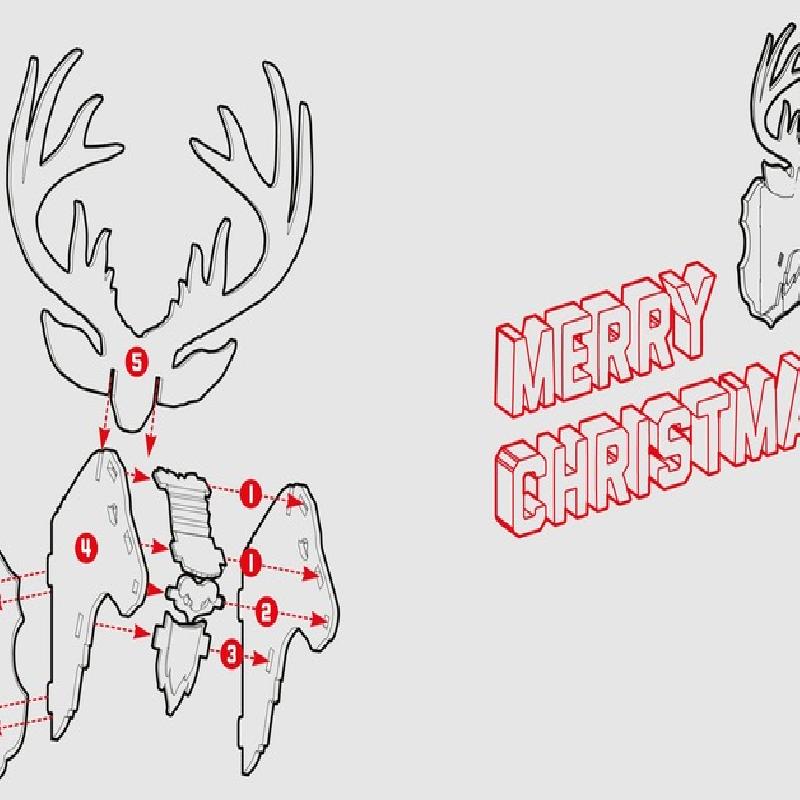
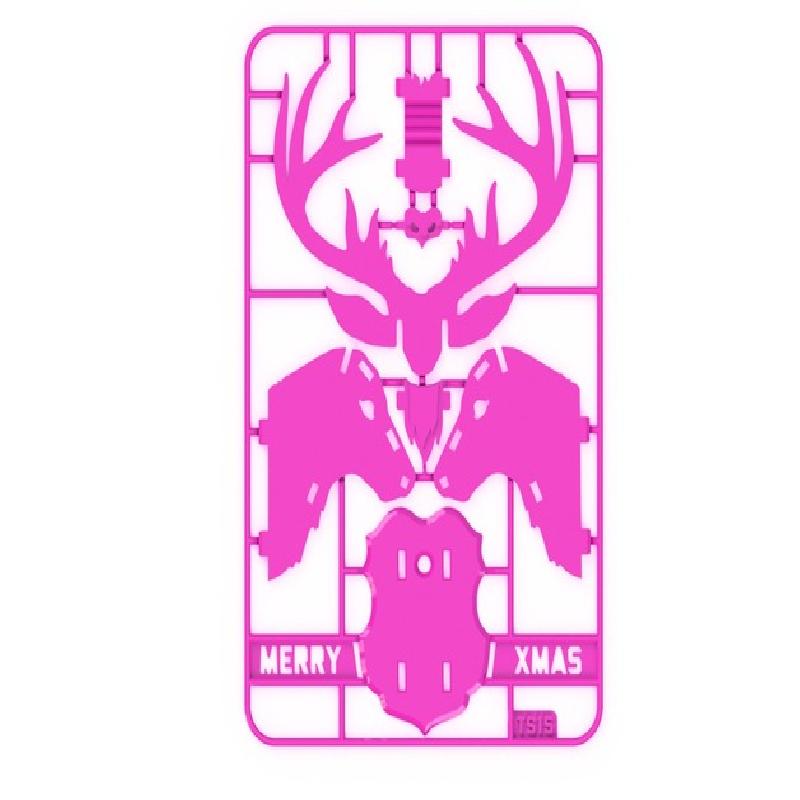
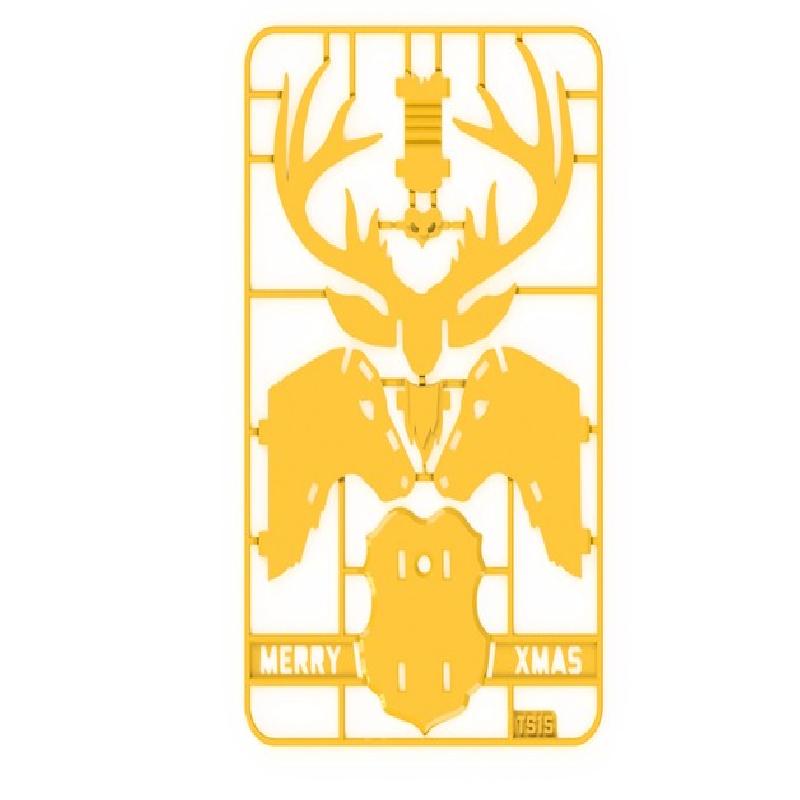
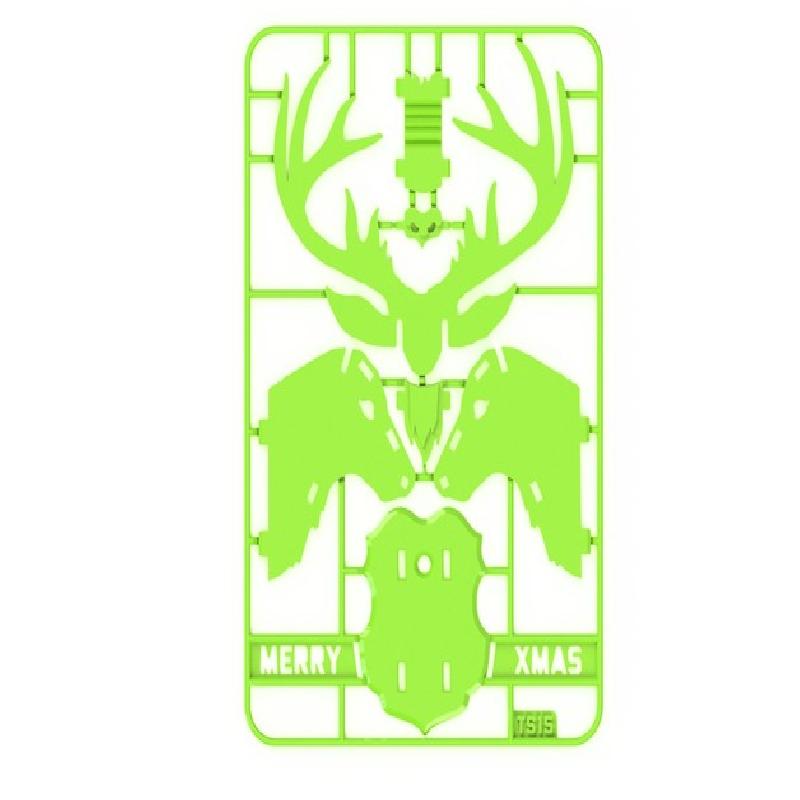
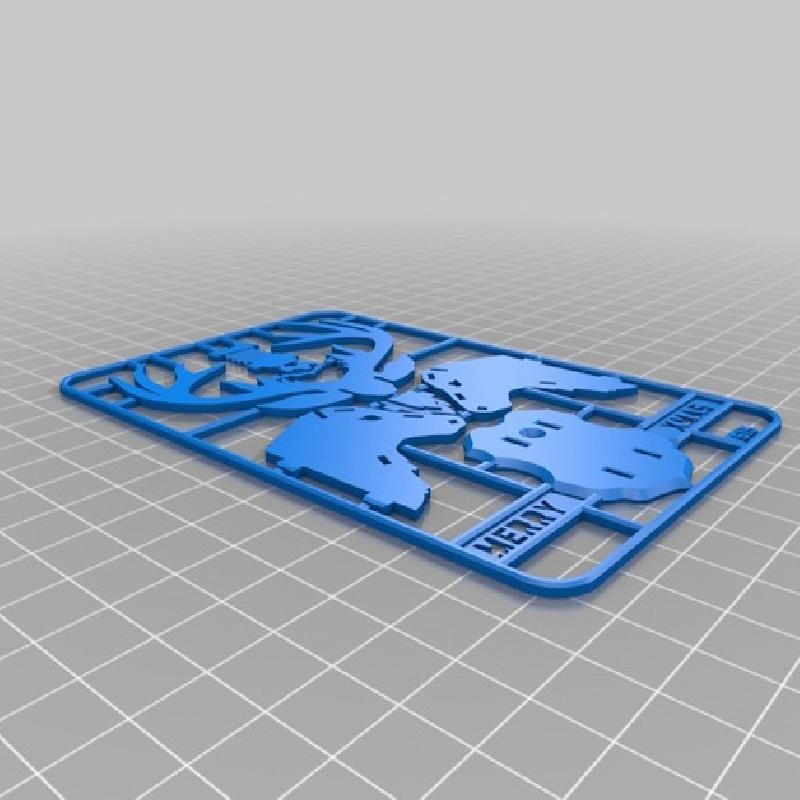
A 3D printed Christmas (Holiday) card. Flat-packed for easy postage, the reindeer model can be snapped from the supportive frame and then assembled.
I designed this for Christmas 2015, and got the A6 traditional cards printed professionally. I then 3D printed all the models and attached them to the front of the cars using micro glue dots.
You may need to fiddle with the settings of your printer to make sure the final print fits together well. As you can imagine the tolerances are pretty tiny.
Included with the STL I have added all the 3D renders, which I used for the fronts of the 2D printed cards, and the vector graphics I used for the insides (including instructions).
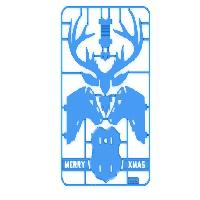
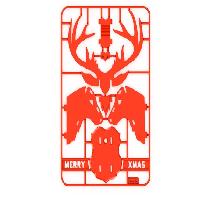
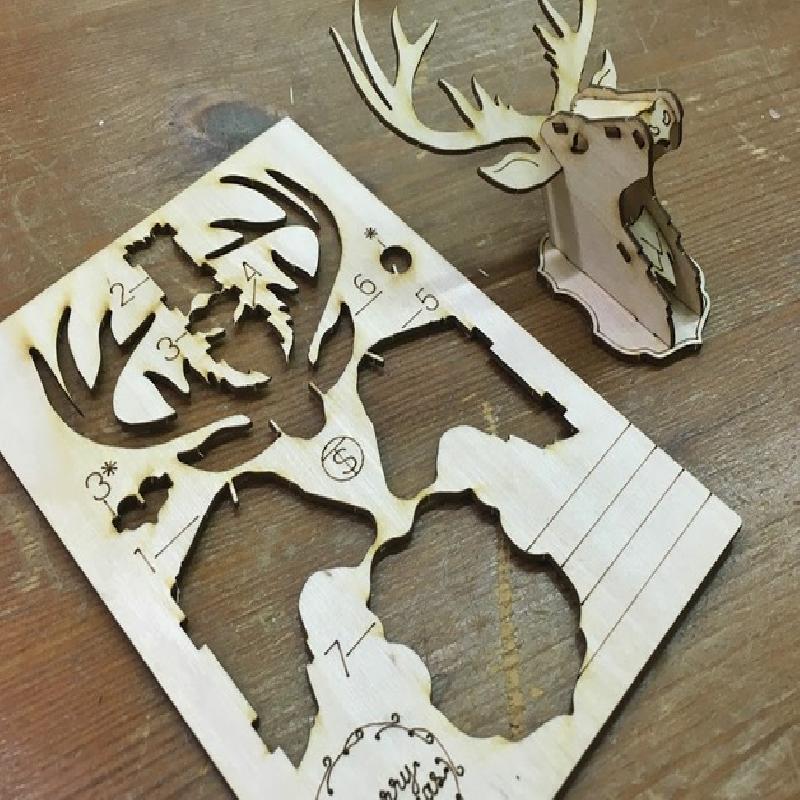
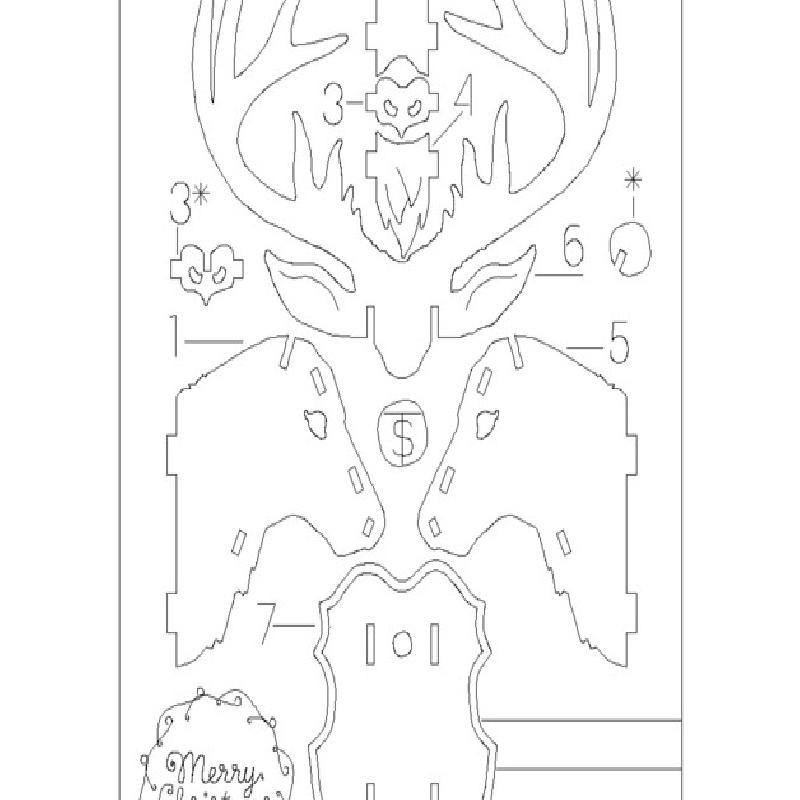
BONUS Laser cutting version
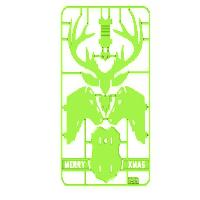
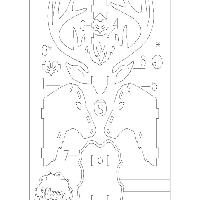
Due to popular request I have added the files for laser cutting this kit card. It's designed to fit a A6 card front, and use 1.5mm ply stock. There are 4 layers/colours which denote the following cut styles:
Red: Simple cut, whichever settings that work on your laser for this material.
Black: Dot mode using Red settings with 0.3mm interval and 10mm dot length. This allows the end recipient to pop out the elements to assemble the model.
Blue: Light cut/etch, faster and much lower power cut to draw on details and instructions.
Green: Dot mode using Red settings with 0.2mm interval and 50mm dot length. This allows you to separate the cut cards from the cutting stock.
If you have trouble please let me know in the comments and I will try to help if I can!
Printer Brand:
Ultimaker
Printer:
Ultimaker 2
Rafts:
No
Supports:
No
Resolution:
0.2
Infill:
100%
Notes:
As the model is quite thin, I would recommend using top and bottom layers to make the infill 100%. Printed mine with different coloured PLA. You will want to print the first layer slower than normal as its quite fiddly and you don't want the parts lifting due to swift nozzle movement.