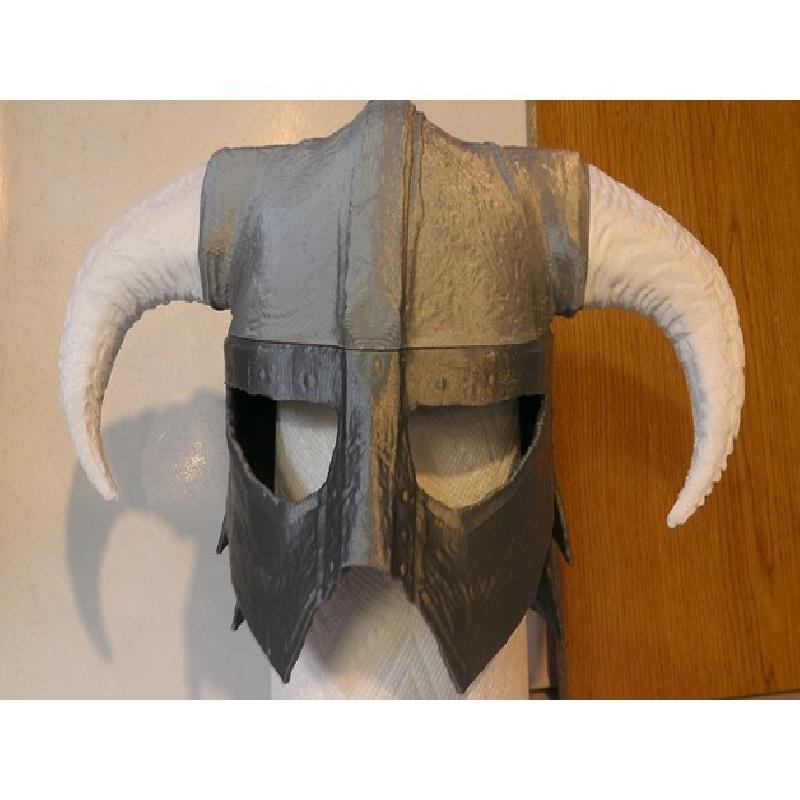
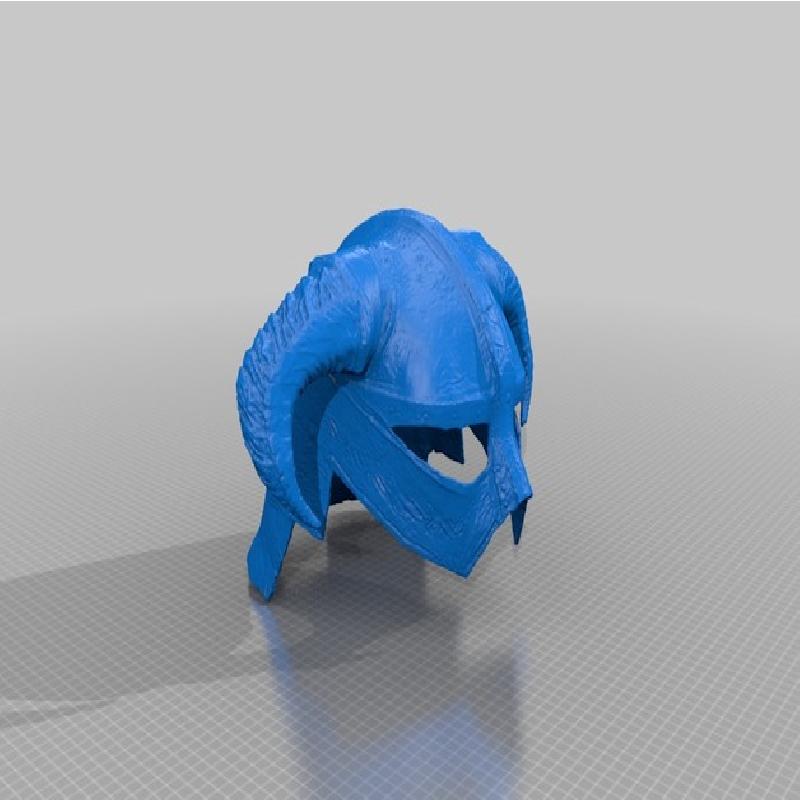
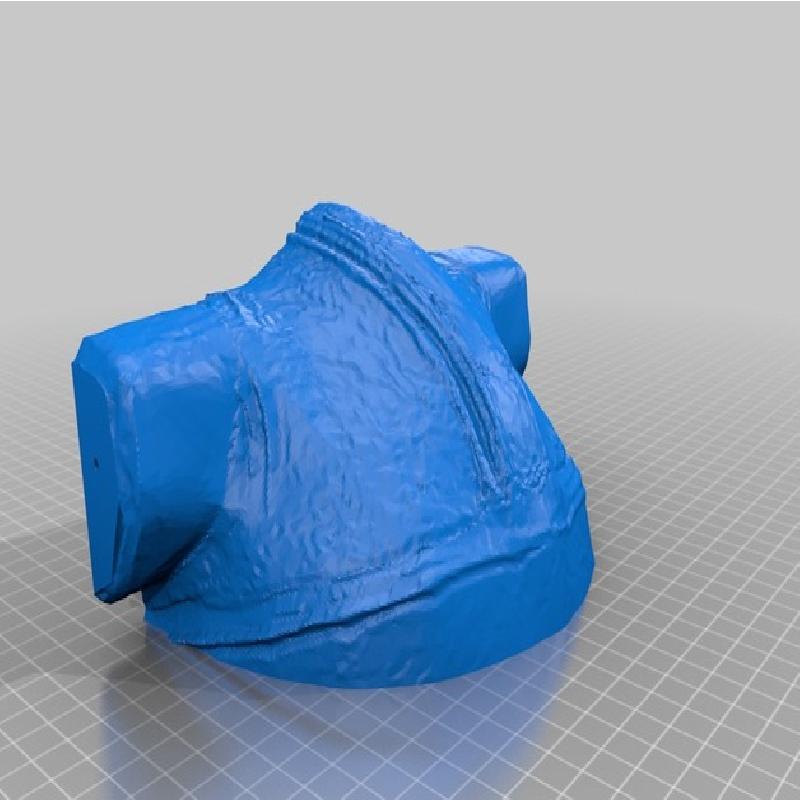
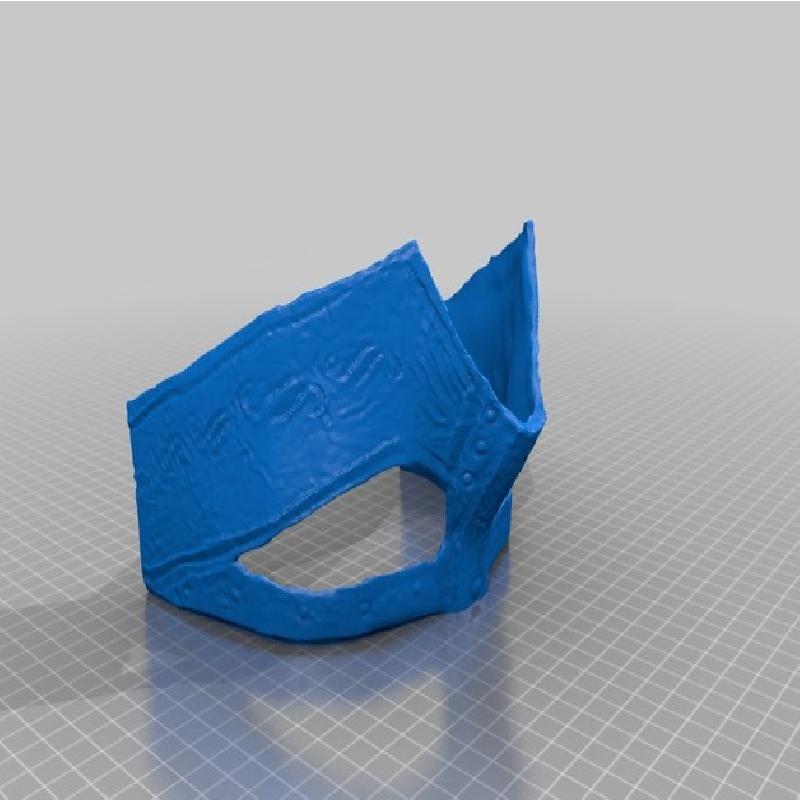
This version of the Skyrim Iron Helmet is altered to make it more practical to actually print full size and wear. Video game models are unfortunately not optimized for real-world wearability :)
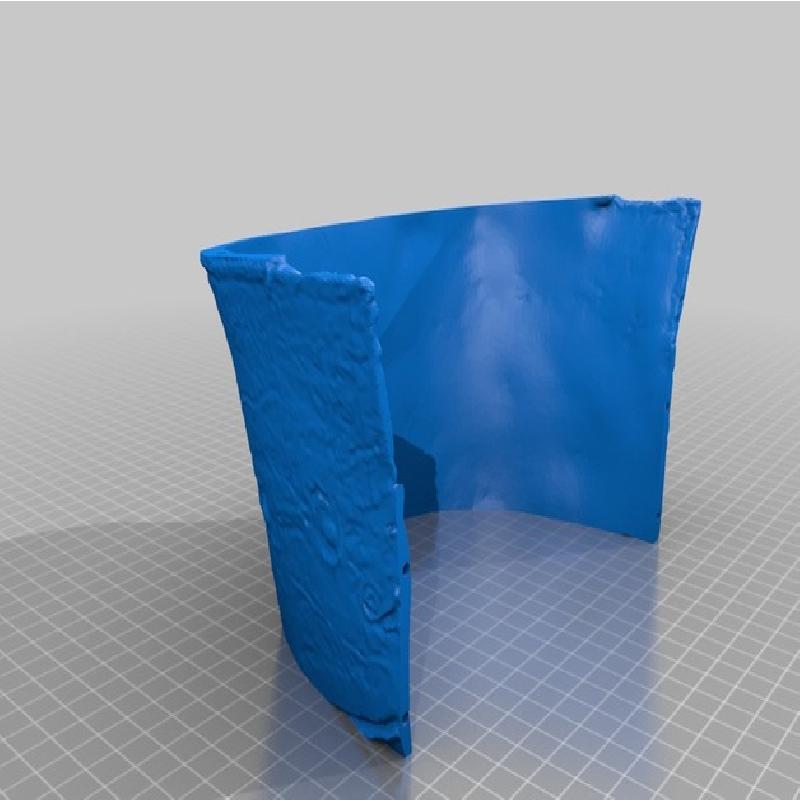
1) The walls of the helmet have been thinned to reasonably uniform thickness. This process smoothed away the details on the interior of the helmet...but if it's being worn you won't see those details anyway.
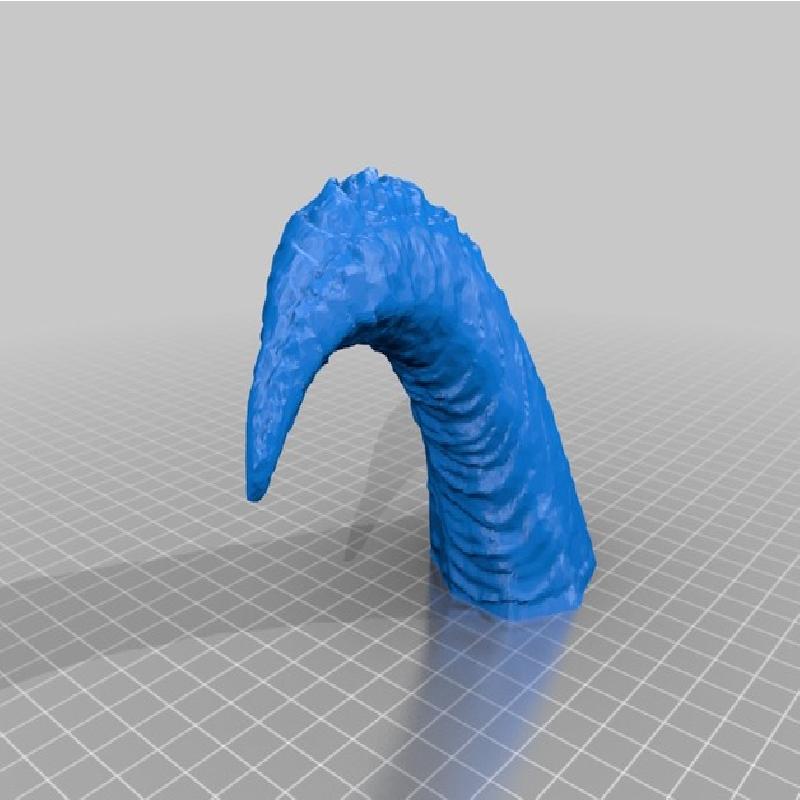
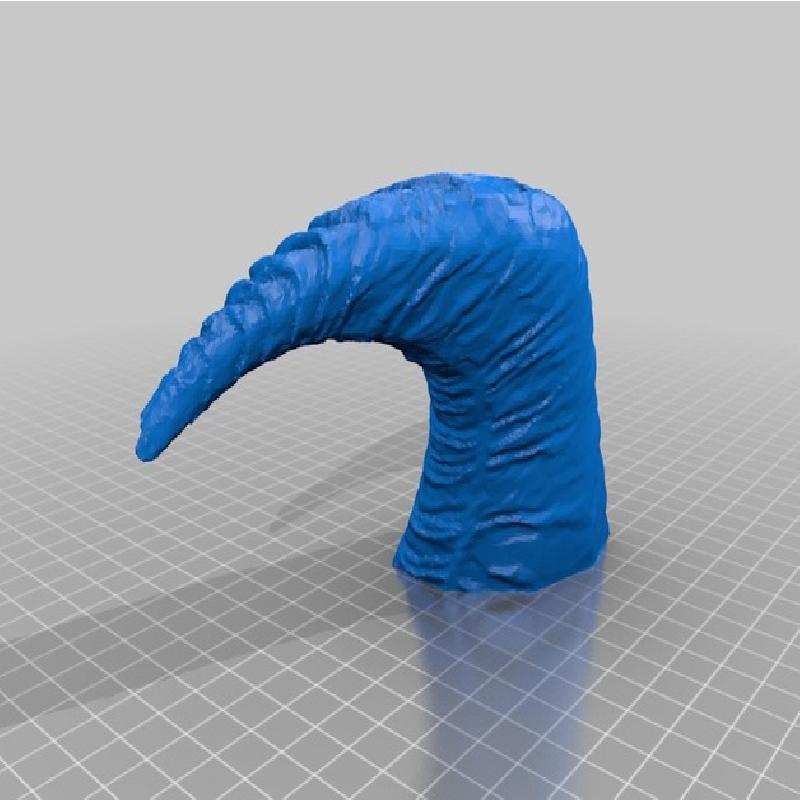
2) The in-game model seemed to be designed for an abnormally long head, or maybe an abnormally long nose. I did some warping and scaling to get more normal proportions.
3) Added rivet details (rivets were part of colored texture but not the normals map in the original game files)
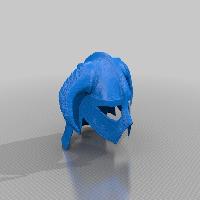
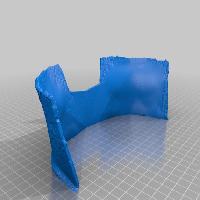
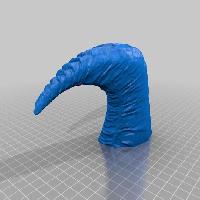
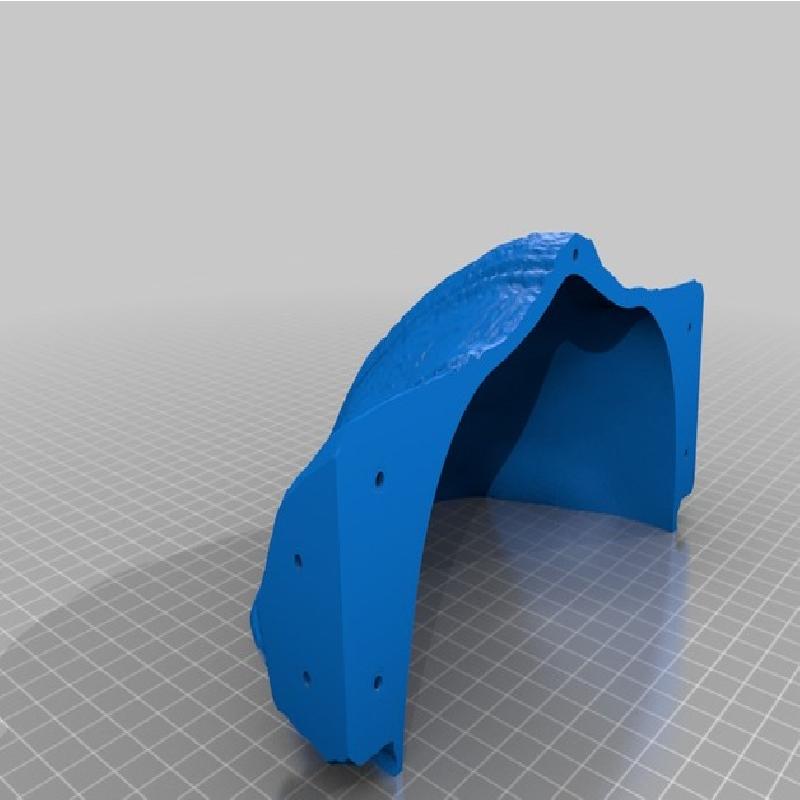
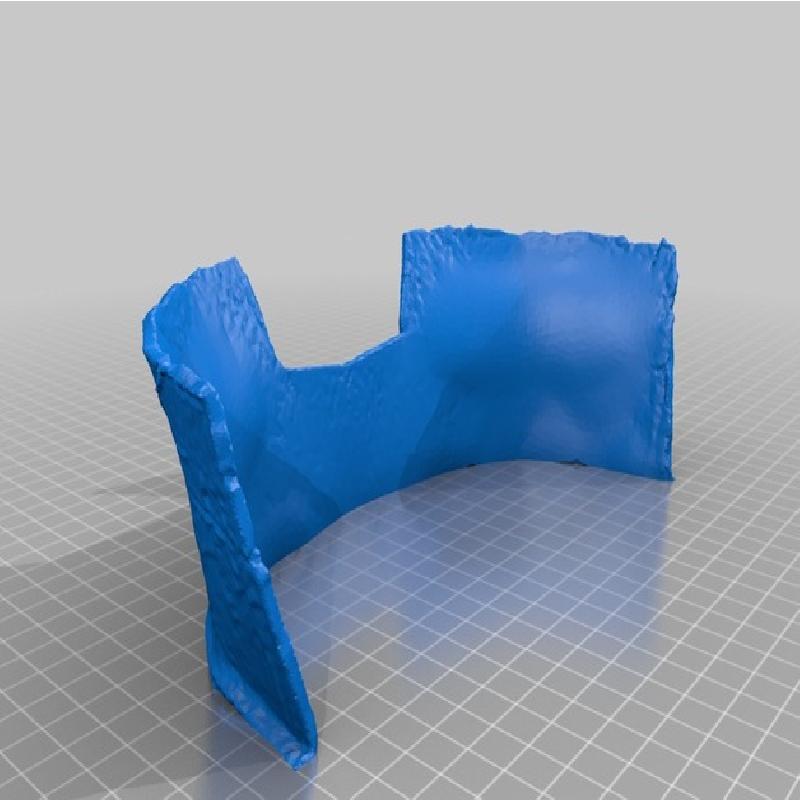
4) Cut the model into pieces to fit a makerbot-size printer, and added holes on the edges for pins to help with assembly.
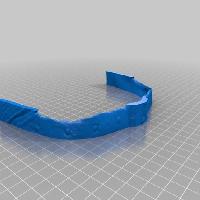
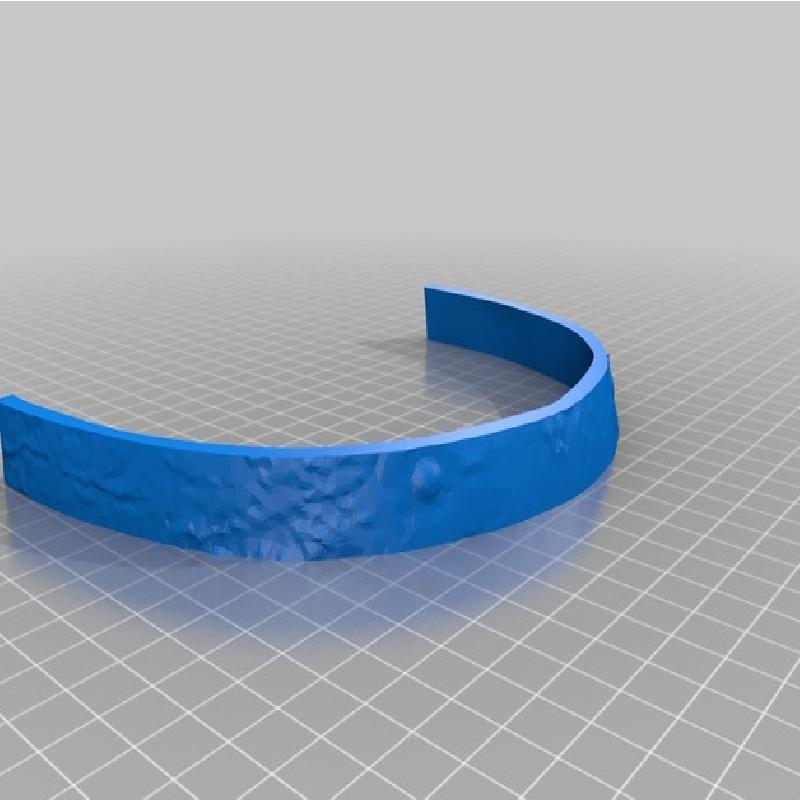
*The model is sized to approximately adult L hat size. There are 2 "sizer" pieces provided, and I recommend printing them first. Put them together into a headband which should be able to go around your head, level with the eyebrows. This will tell you if you need to scale up or down. If you are going to add padding leave extra room
**The "toddler" zip folder contains the pieces scaled down to child head size, and scaled slightly front-to-back to fit a rounder head shape.
If you are printing in pieces, use the edge holes and pegs to aid assembly. Depending on how clean your print comes out it may be helpful to use a 3mm drillbit to clean out the holes.
I recommend printing the peg file at a couple different sizes (90%, 95%, 100%, 105%) to find a snug fit. The holes are 3mm, so you could also cut pieces of 3mm filament.
I used CA glue to assemble. This worked OK but the joints were brittle--may try a different glue next time.