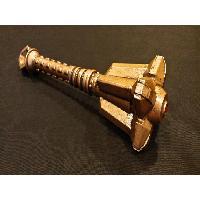
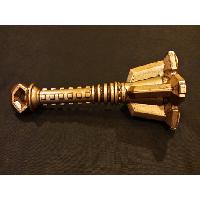
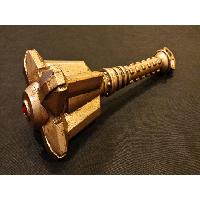
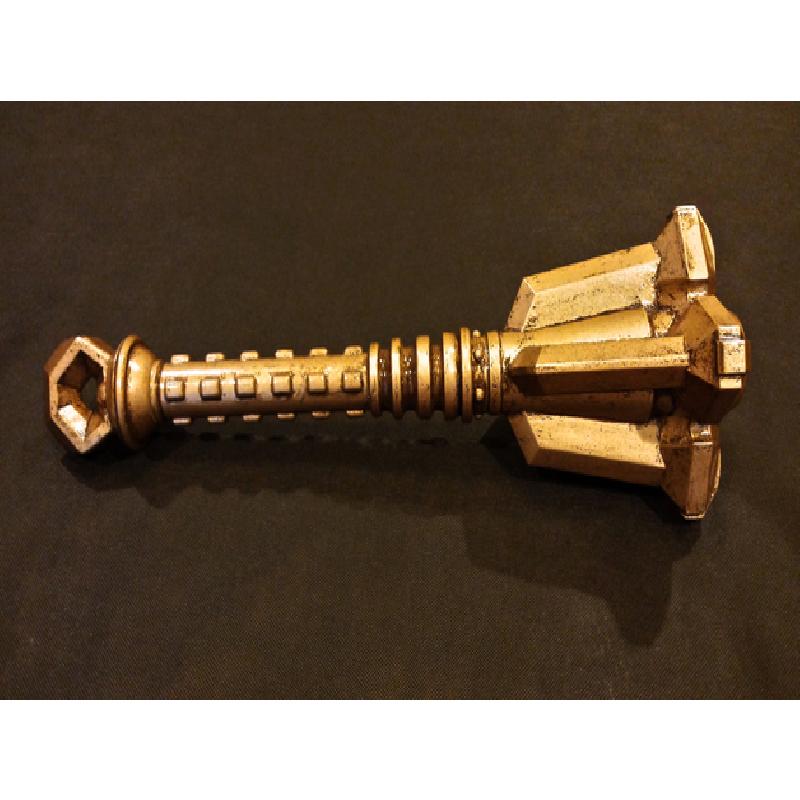
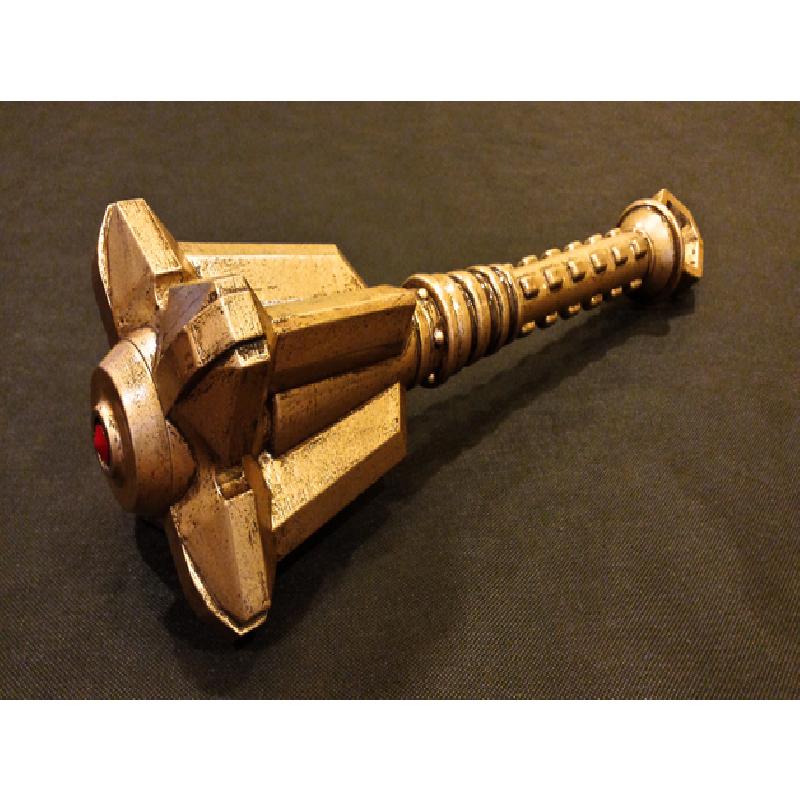
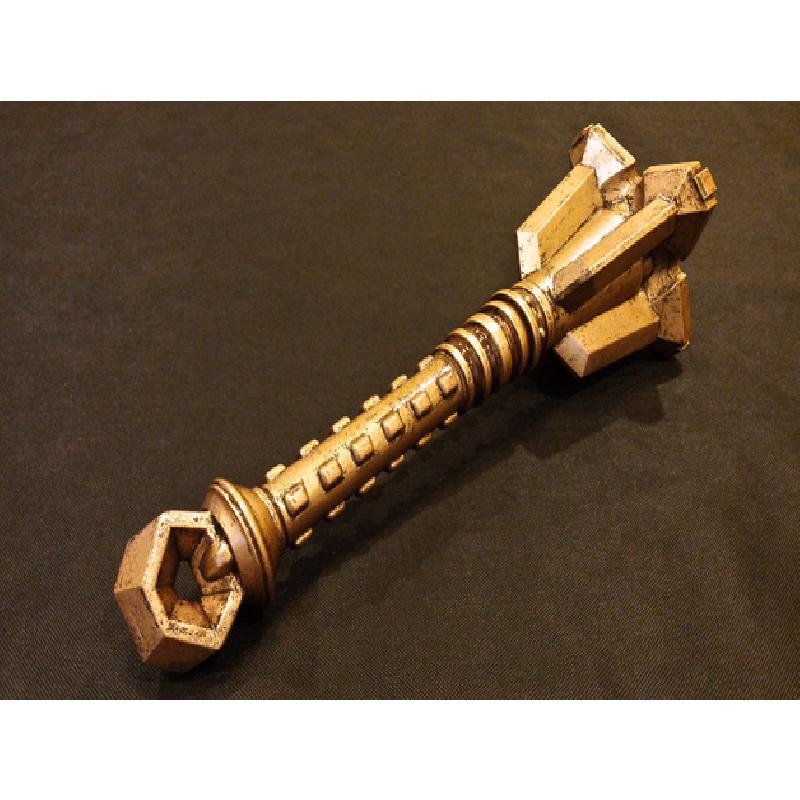
Let's face it, who hasn't day-dreamed of wandering the tundra of Skyrim, searching for treasure, and fighting dragons? Well with this replica Dwemer Mace, you can be one step closer to achieving your Dovakiin adventurer status!
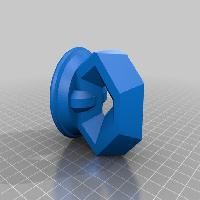
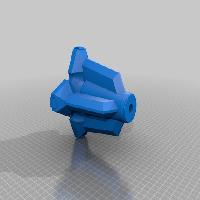
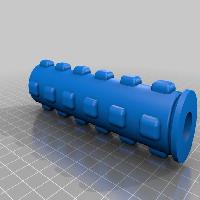
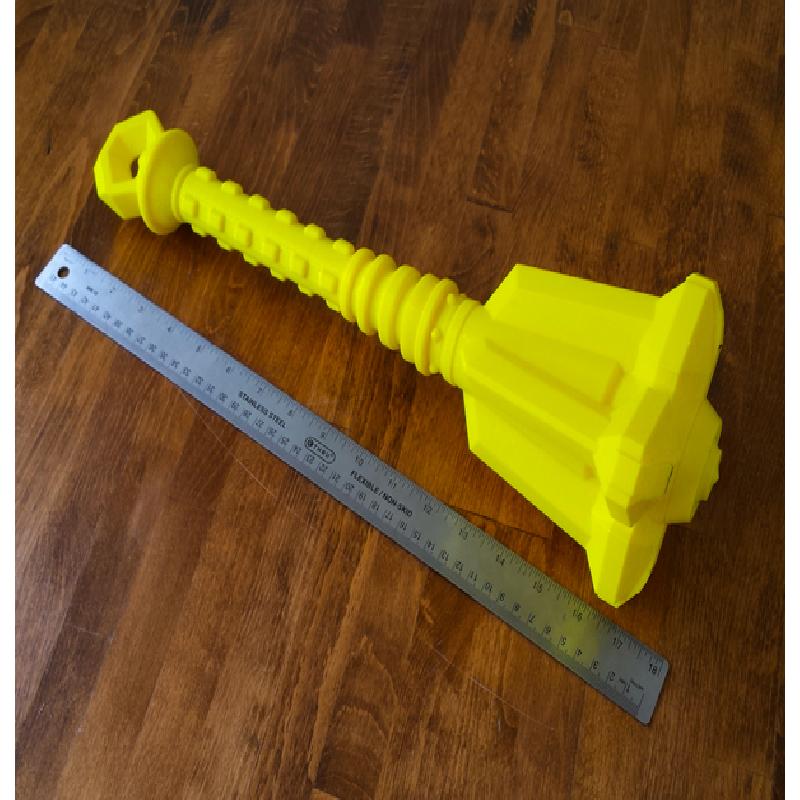
This is a 5-part print, so be sure to download all files available. There are assembly instructions below, because additional hardware is required. These model pieces were made with a 6" cubic build area in mind, and should fit accordingly. The assembled prop is approximately 18" in total length.
Printer Brand:
Printrbot
Printer:
Printrbot Simple Metal
Rafts:
Yes
Supports:
Yes
Resolution:
0.2
Infill:
10%
Notes:
I used both rafts and supports to print these parts, but you may use your discretion based on your printer settings. I would recommend printing everything vertically as to avoid any unnecessary support clean-up. I also printed the Mace Head upside-down to make things a bit easier on myself. It was about a 15 hour print, so find something fun to fill the time, like spelunking into an undiscovered Dwemer ruin.
I used Matter Control for my slicing software and was able to print all pieces at full scale. I would not recommend scaling down the model pieces, as the through holes and hex nut insets were intended to be used at full scale. If the pieces are scaled up or down, the tolerances will change, therefore making the associated hardware unusable.
Assembly
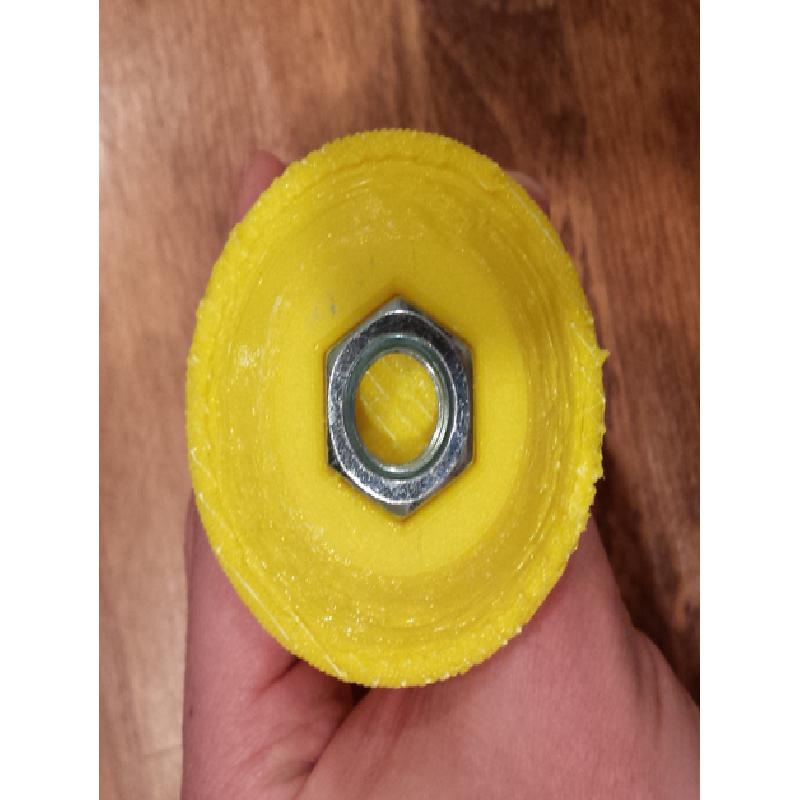
This build will require a trip to your local hardware store. You will need (2) 1/2"-13 Hex Nuts and a corresponding 18" long 1/2"-13 threaded rod (which you will need to cut to length accordingly).
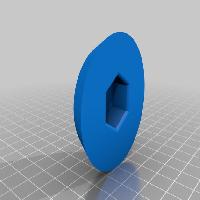
There will be support material within the hex nut sockets. Clean them out well and the nuts will fit in just fine. To secure the nuts in place, I used medium strength 2-part epoxy. I also used thread-locker to ensure the end caps won't become loose while handling the finished prop.
Paint Finish
For this project I decided to use Bondo to fill in the ridges left by the printing process, then used many files and sandpaper grits to sand it smooth. I used a couple of base coats of primer, then a hammered paint to add texture. Top coat of bright gold, then a wash of raw umber acrylic, sealed with a crystal clear.
All the spray paints / clears I use are by Krylon. I find the primers sand very well, and the paints adhere to most any surfaces. Of course, you can finish this model however you'd like, this is just what I used.