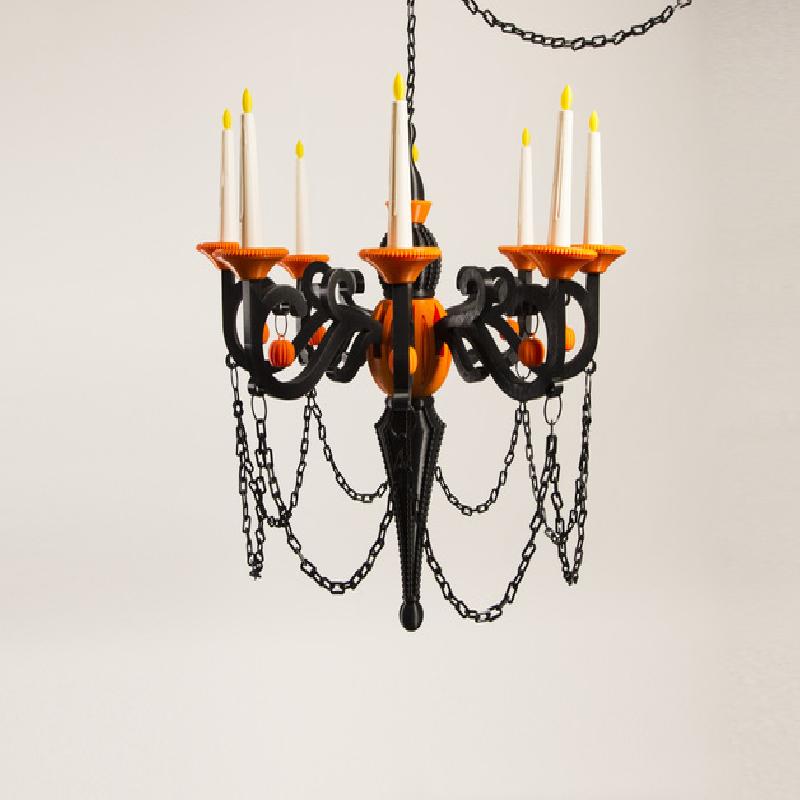
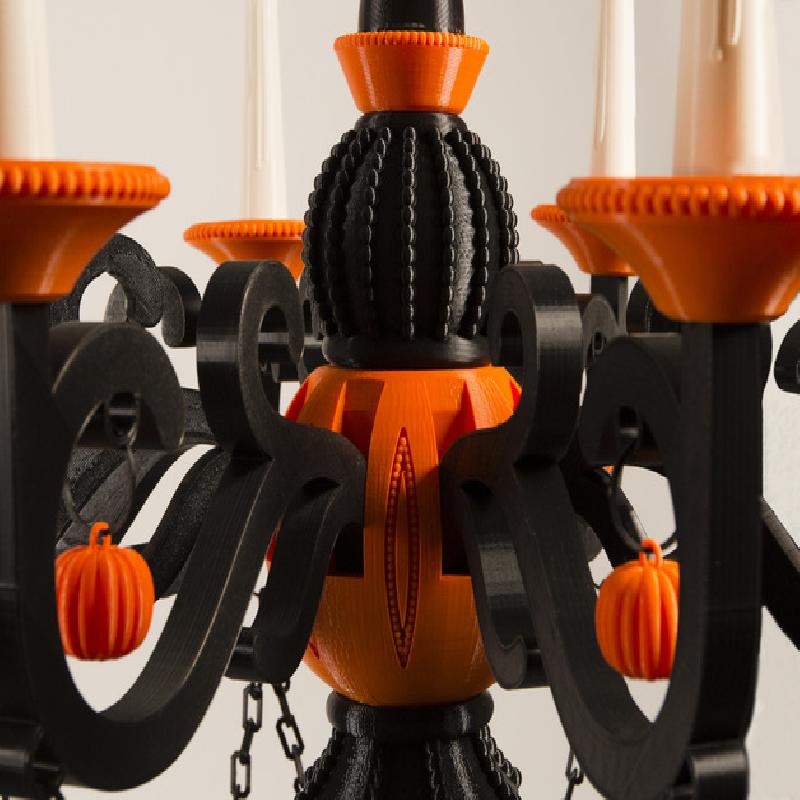
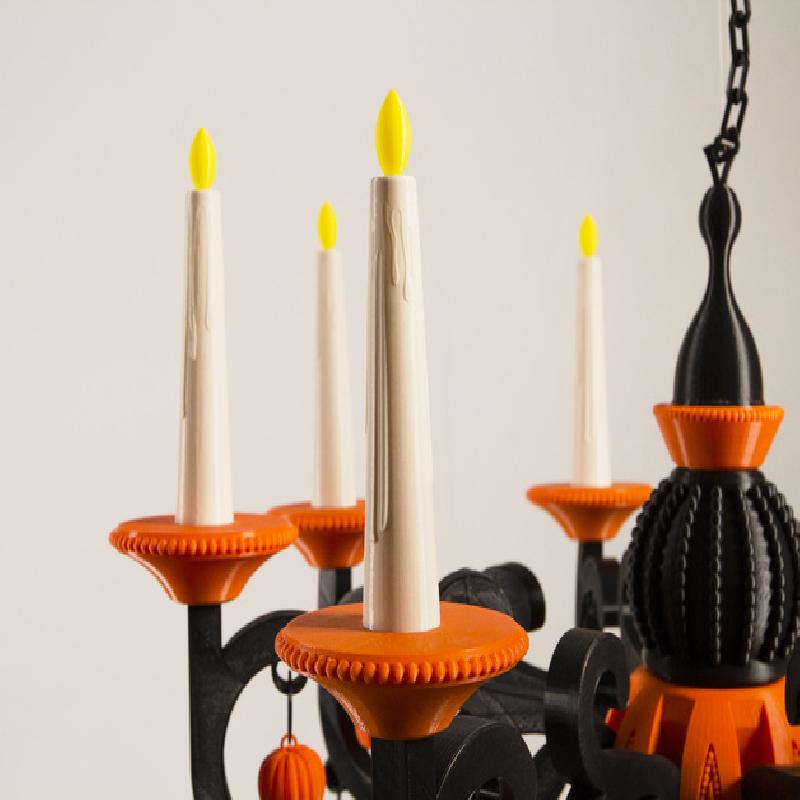
When it comes to Halloween, MakerBot designers
agree that bigger is better. This great holiday accessory is now
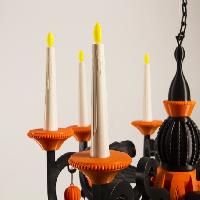
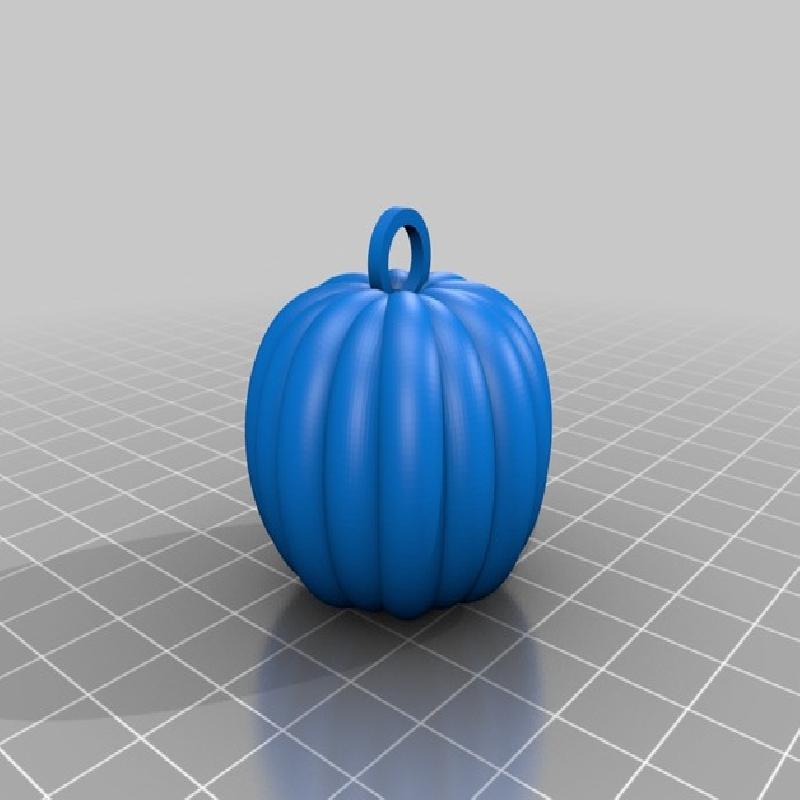
available for personal download. Full of fun details like tiny
pumpkins and dripping candle wax, the Chandelier of Fear
looks frighteningly fantastic in a variety of colors. And, when
all the ghouls and ghosts have finished their night of trickery,
take off the pumpkins and make it a permanent household
fixture.
This should only be attempted by experienced users. Please see
the Instructions tab for assembly instructions.
Below is a list of component pieces for the Chandelier, their
recommended settings, and the number of prints required for
each. No pieces require supports, and only the chain needs a
raft. Print all pieces at .2mm layer height for quality, or .3mm
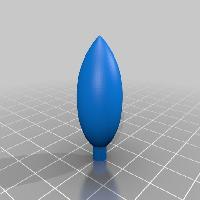
for a faster print. Use 2 shells for all pieces, except use 3
shells for the Flames.
Print quantities:
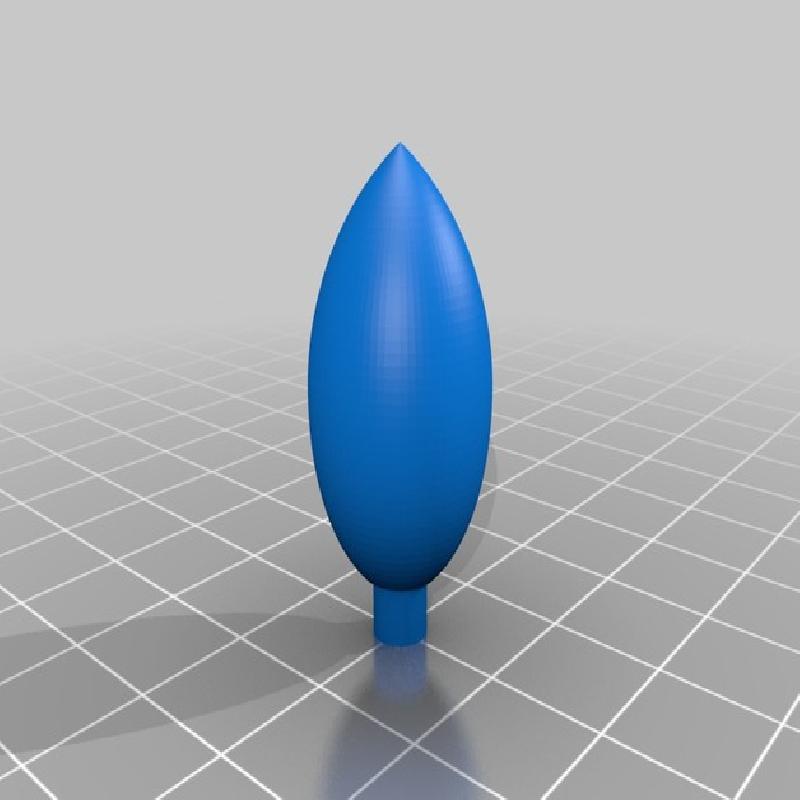
Flames: 8
Candles: 8
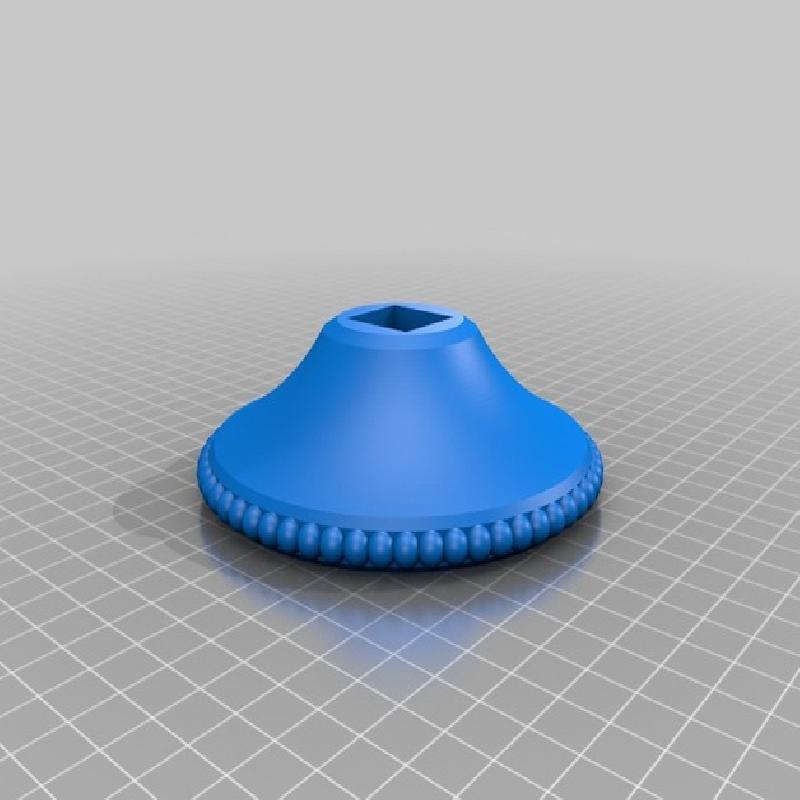
Candle Cups: 8
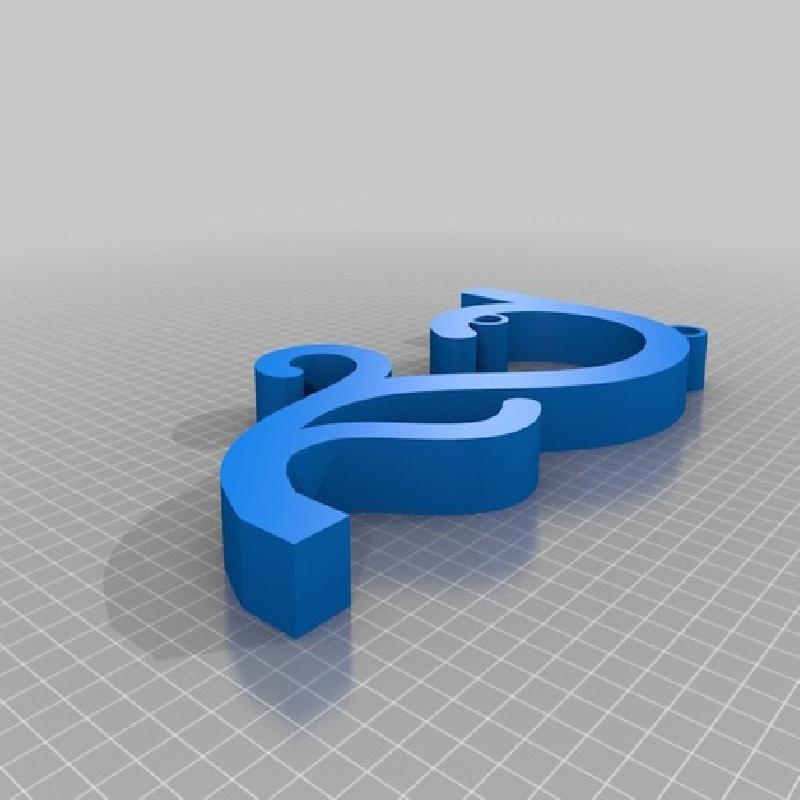
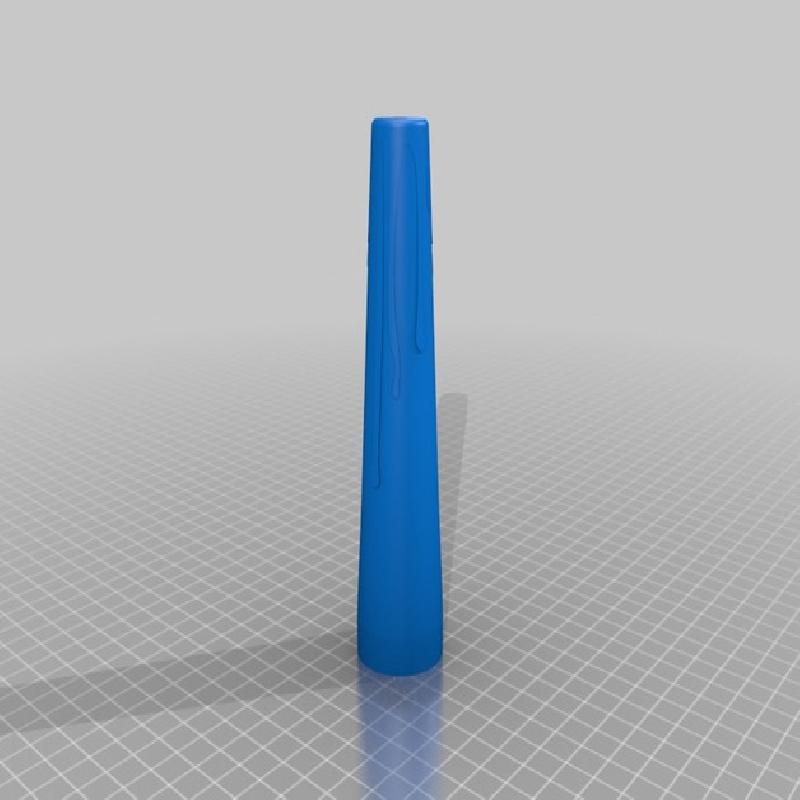
Arms: 8
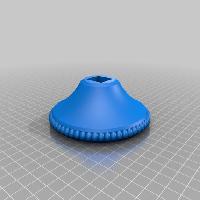
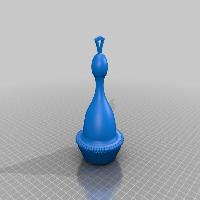
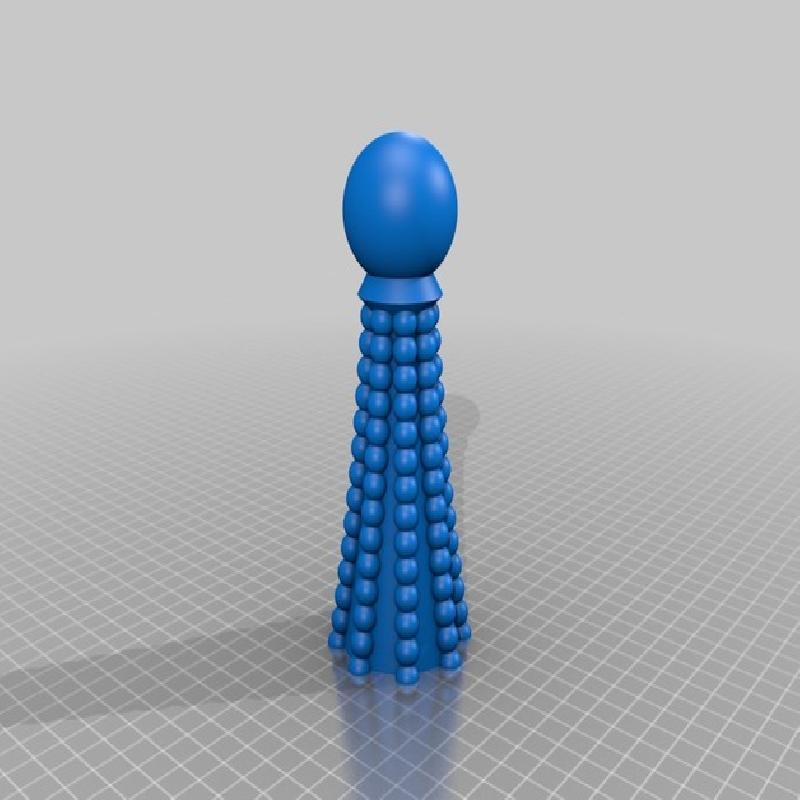
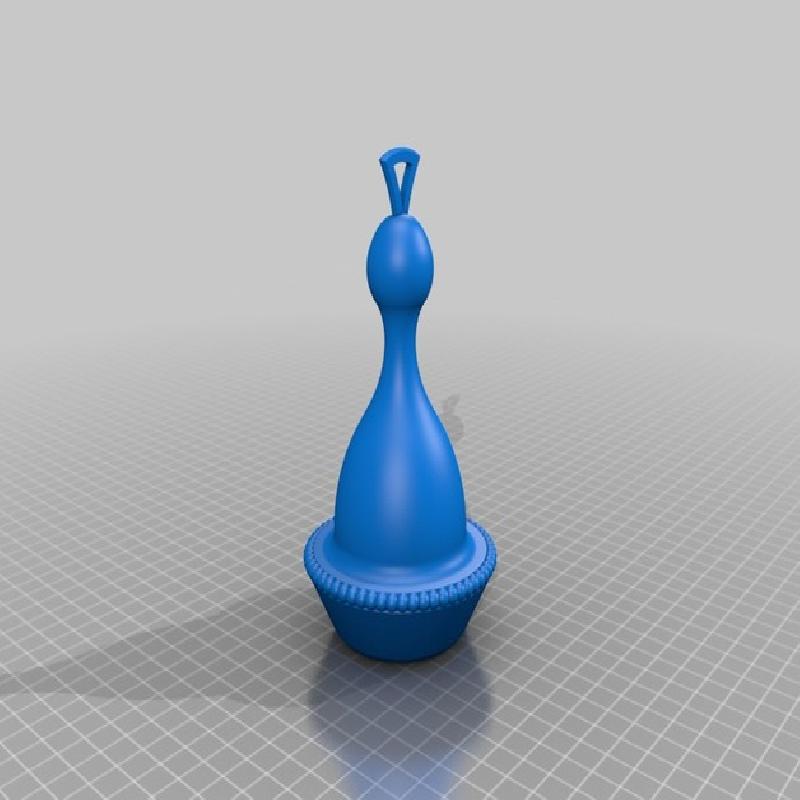
Center Top: 1
Middle Small: 1
Middle Large: 1
Bottom Big: 1
Bottom: 1
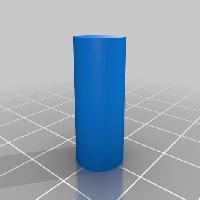
Pegs: 3
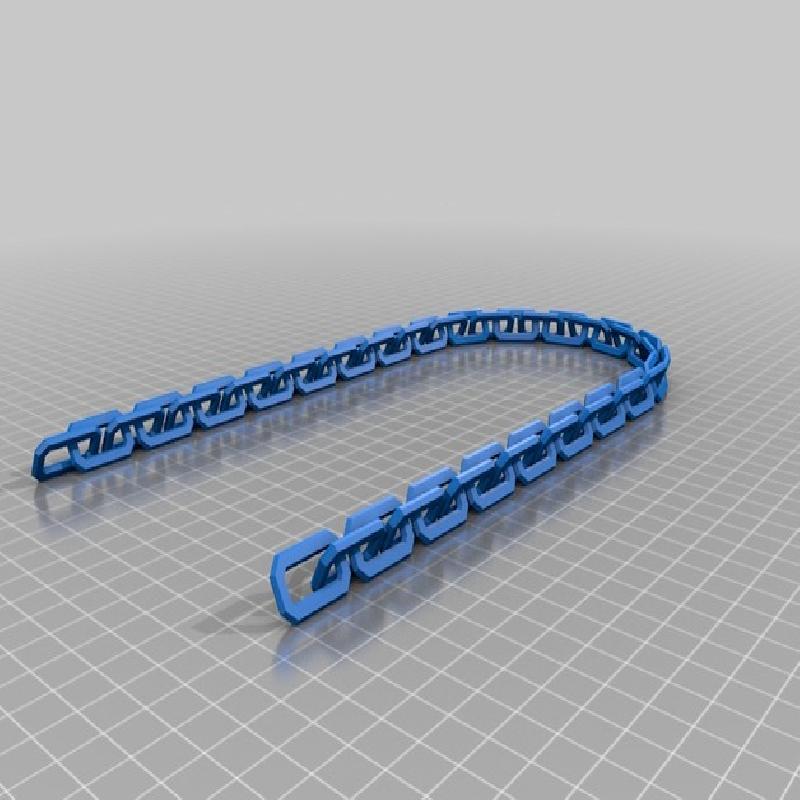
Chain: 6
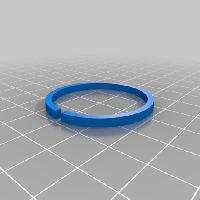
Rings: 16
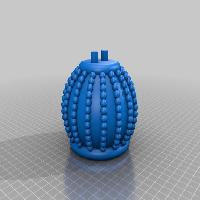
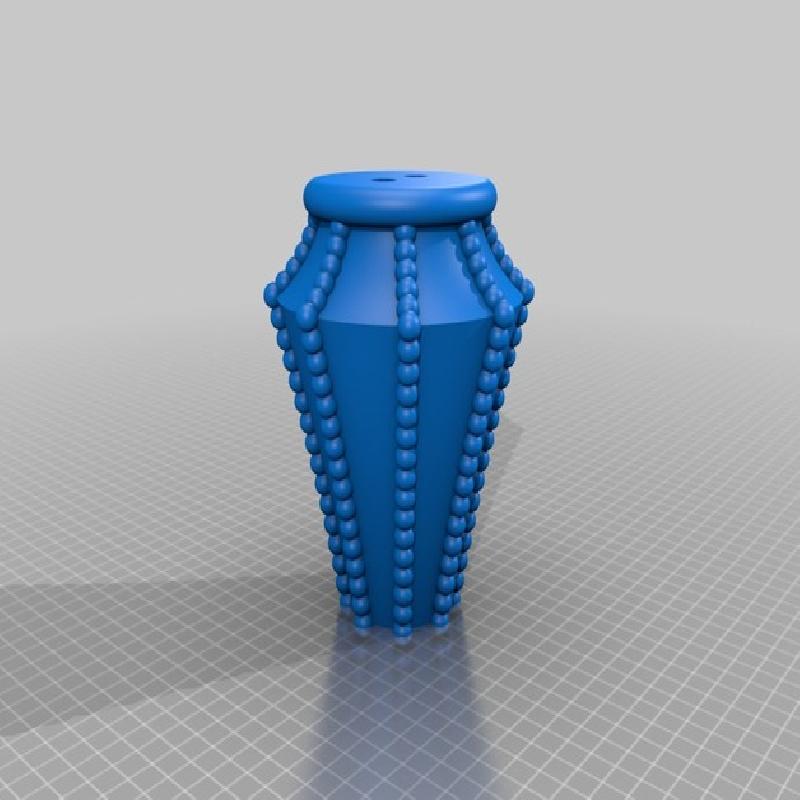
Pumpkins: 8
To color swap the Center Top piece, use a Z Pause height of
27mm.
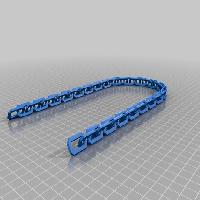
For the chain, print one piece (using a raft), remove from
the plate, and take off the raft. As the second chain piece is
printing, slip the end of the first piece into the end link of
the second piece just before the second piece gets closed
off, which will create one long piece of chain. Repeat this for
every plate to get a very long piece of chain.
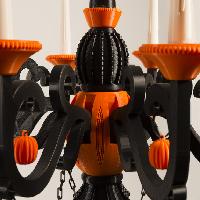
Connect the Chain to the bottom of the Arms using eight
Rings, and then use the remaining eight Rings to connect the
Pumpkins to the top ring of the Arms.
It may be necessary to use a rubber mallet and glue for
assembly. We recommend covering your mallet head with
painter’s tape to prevent rubber transferring onto your print.