Printer:
FlashForge Creator X
Rafts:
Doesn't Matter
Supports:
No
Resolution:
.2mm
Infill:
10%
Notes:
See below notes for some very minor supports that are required
Colors (there are no multiple printed pieces)
White:
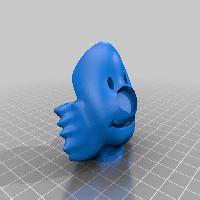
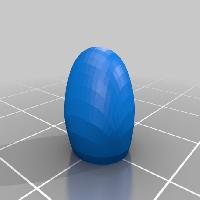
h_face
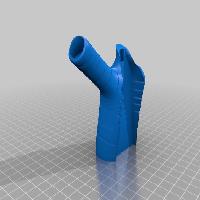
h_fur
h_left_foot
h_right_foot
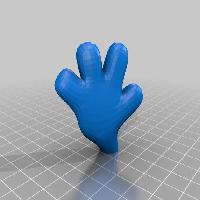
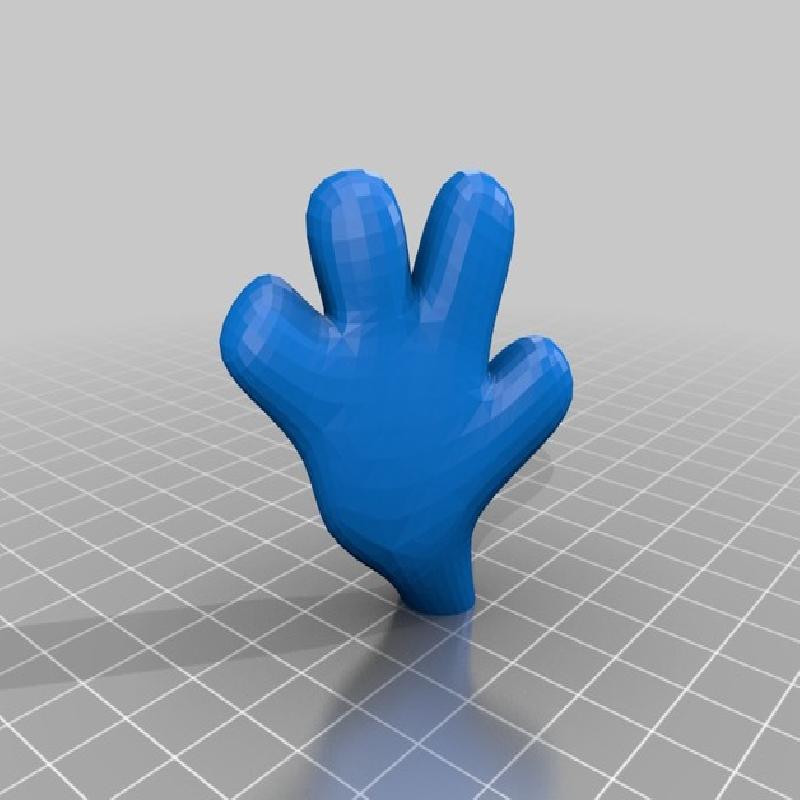
h_left_hand
h_right_hand
..
Orange:
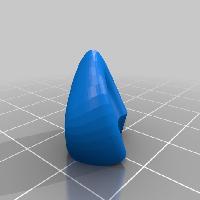
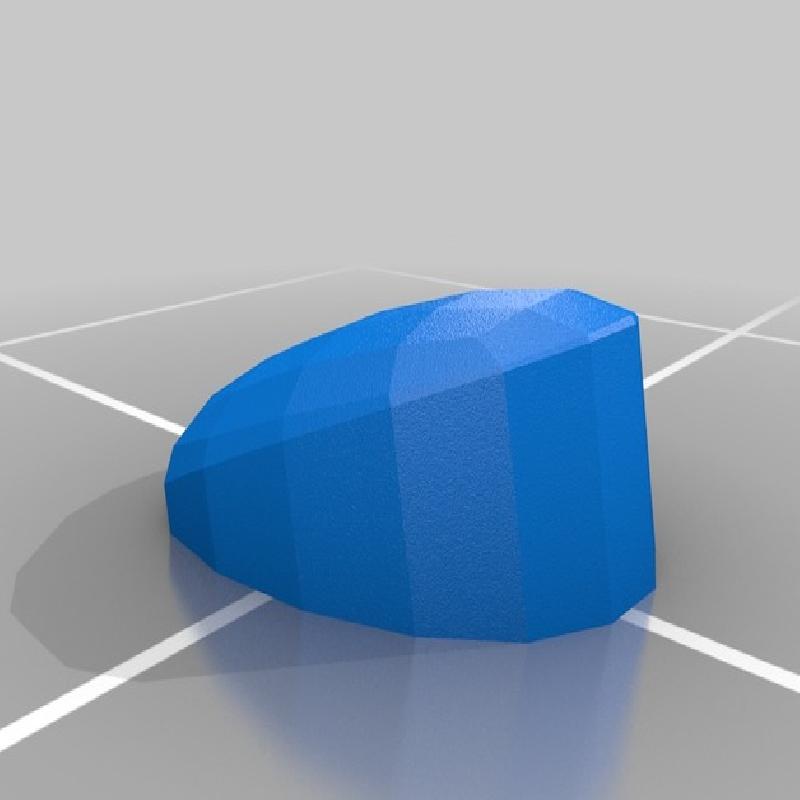
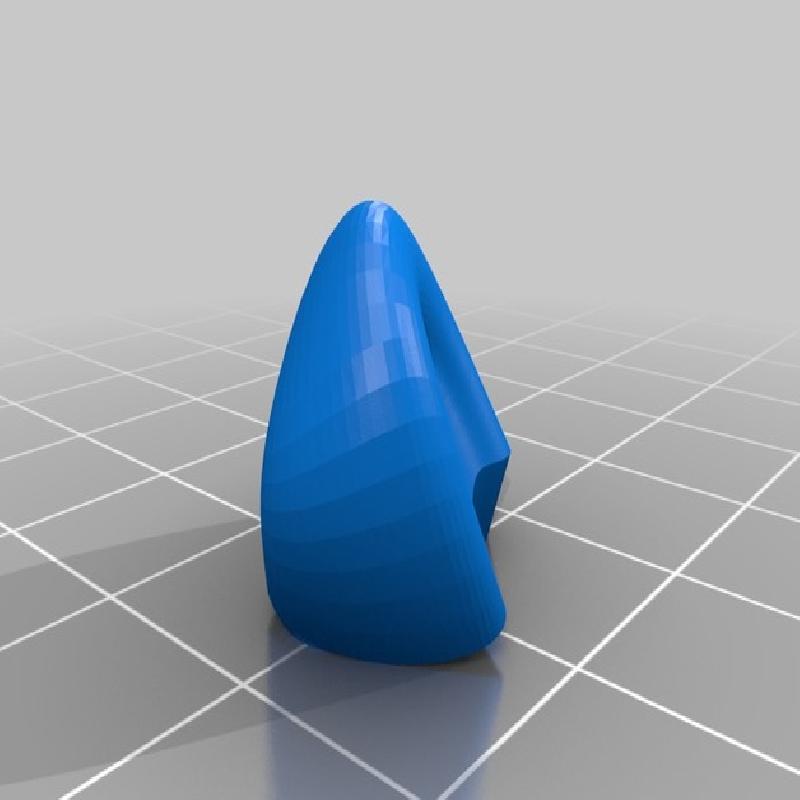
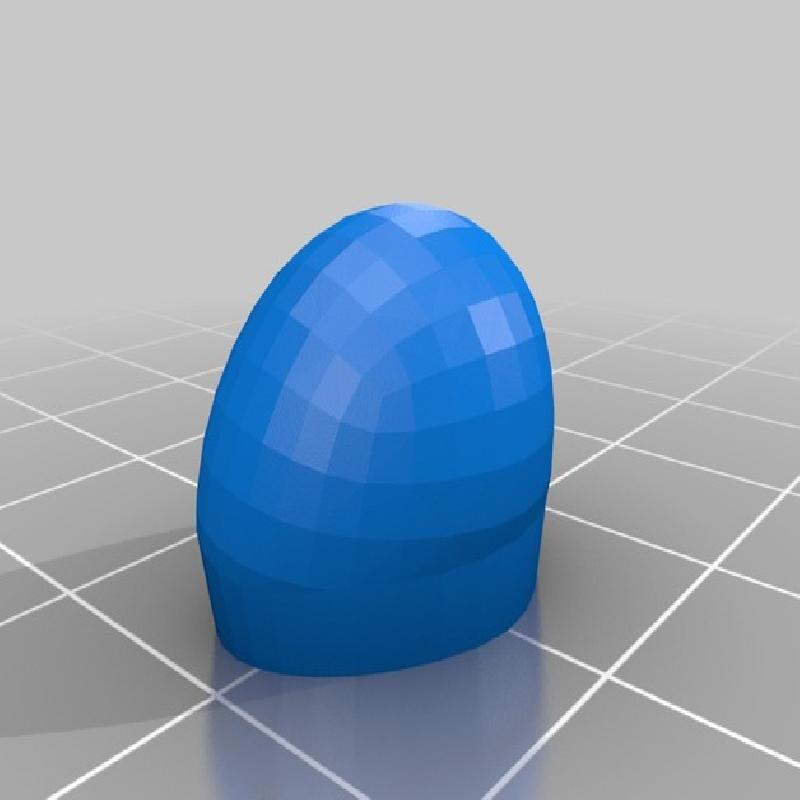
h_head
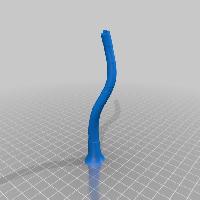
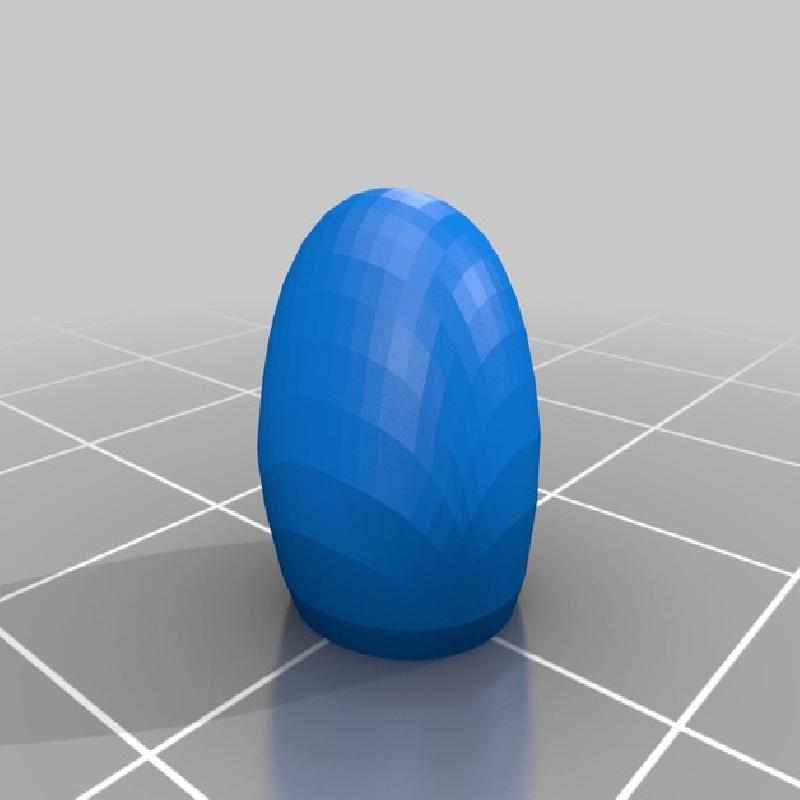
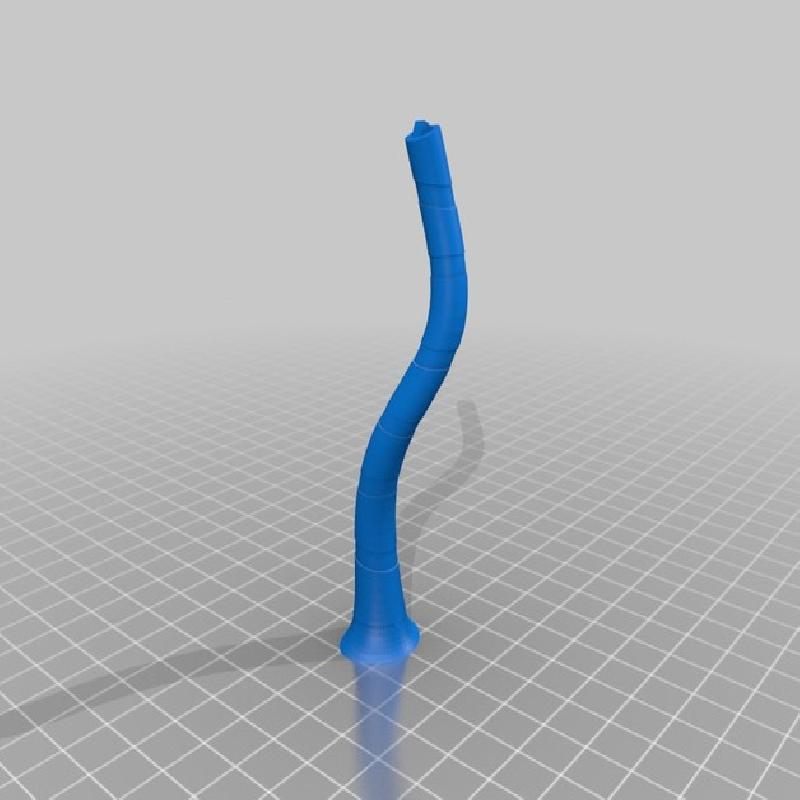
h_tail
h_body_top
h_body_bottom
h_leg_left
h_arm_left
..
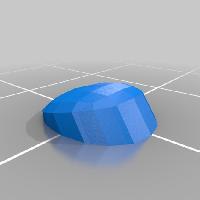
Black:
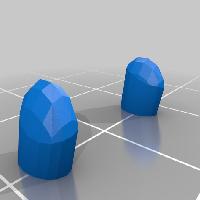
h_ear_right
h_ear_left
h_nose
h_tail_tip
h_mouth
h_toe_1
h_toe_2
h_toe_3
h_toe_4
h_eyes
h_stripe_1 through h_stripe_32
..
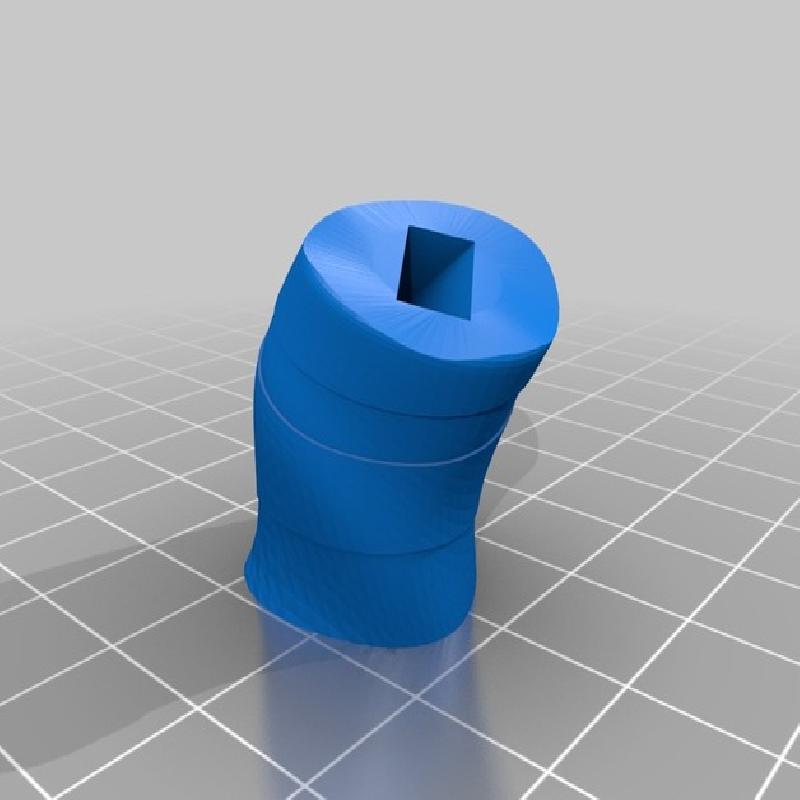
Any color (hidden connectors)
h_head_bump
h_body_bump
Printing and assembly tips
1-Very minor supports are required for the following pieces:
. h_face requires supports only under the lowest portion of hair
. h_fur requires some very small supports by the collar
..
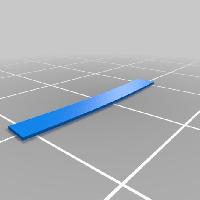
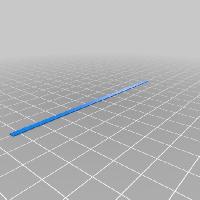
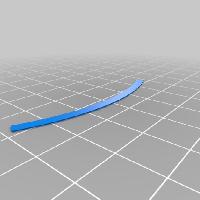
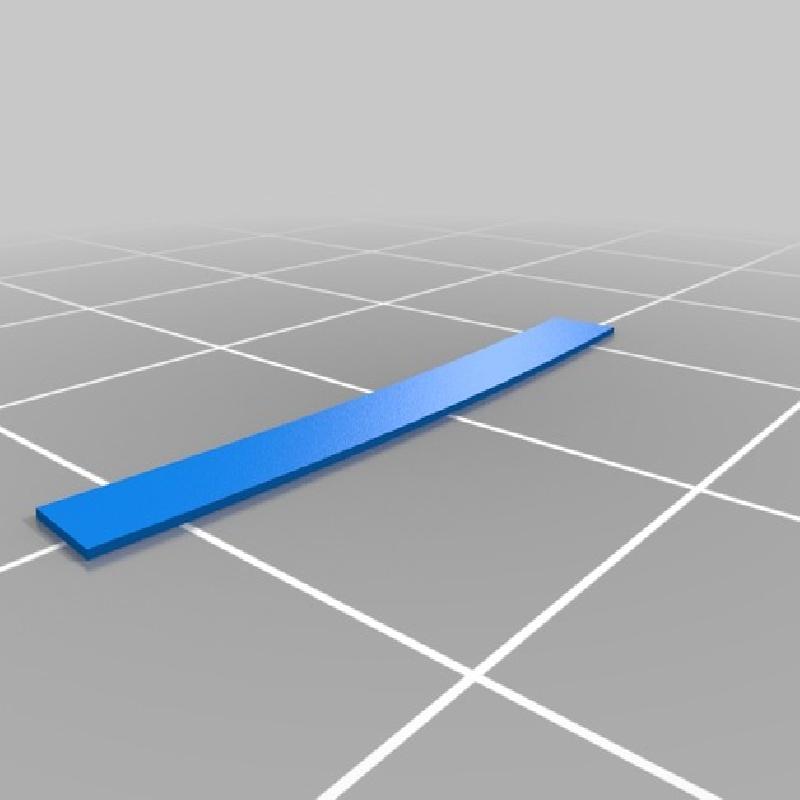
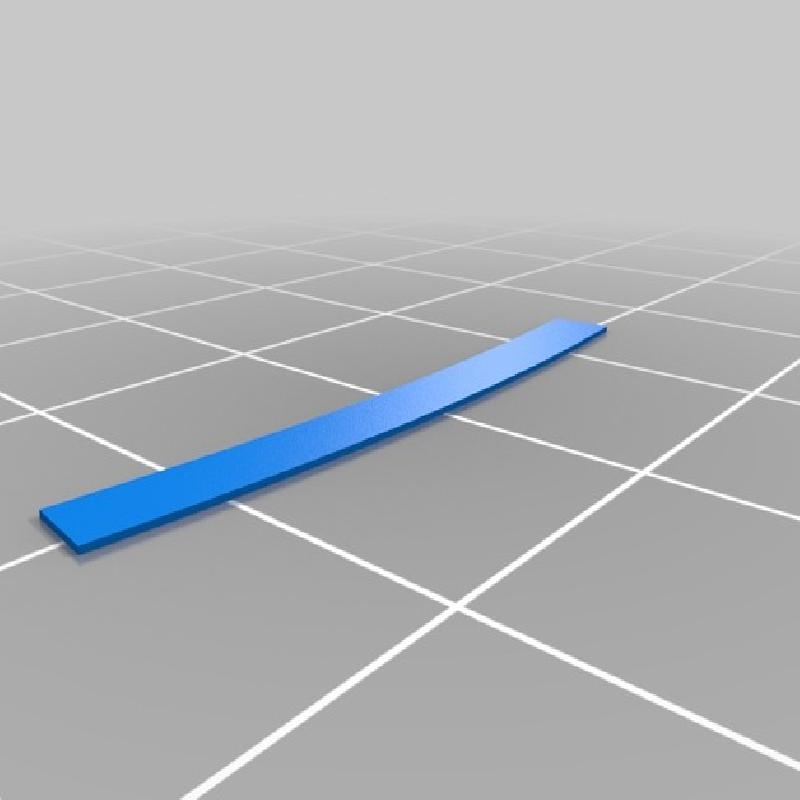
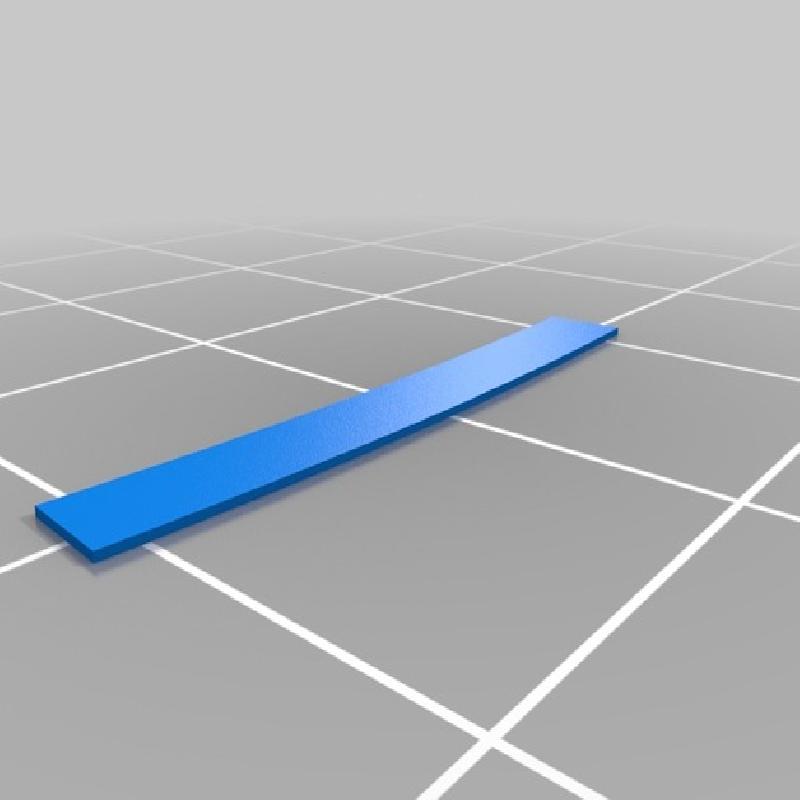
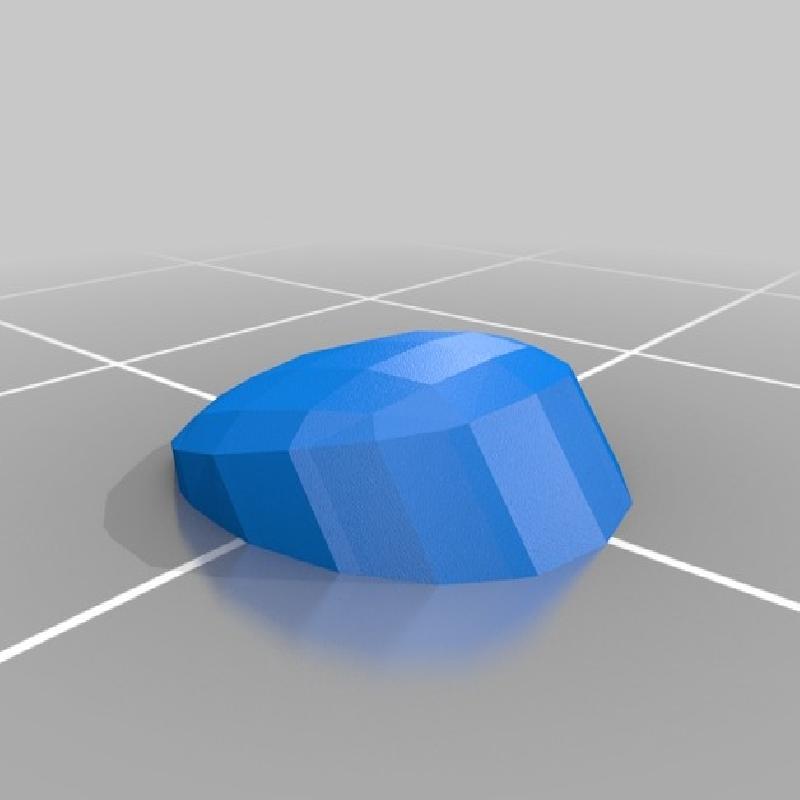
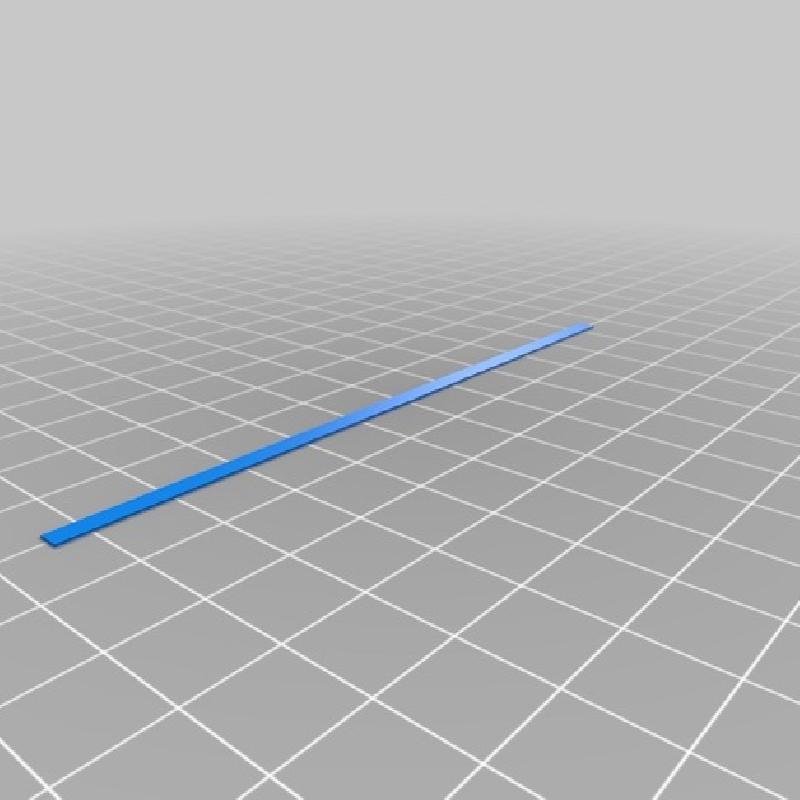
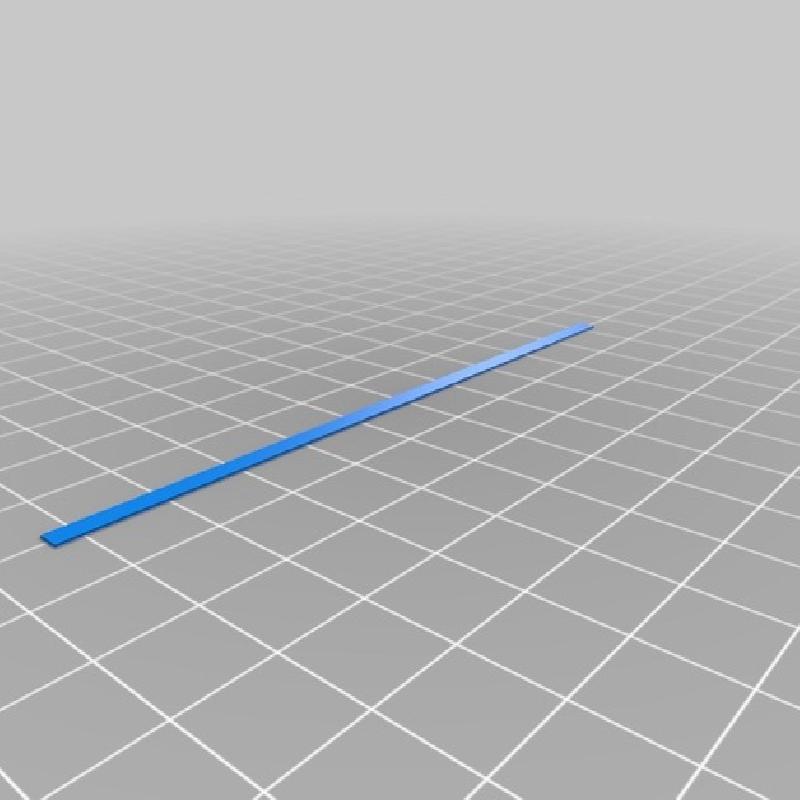
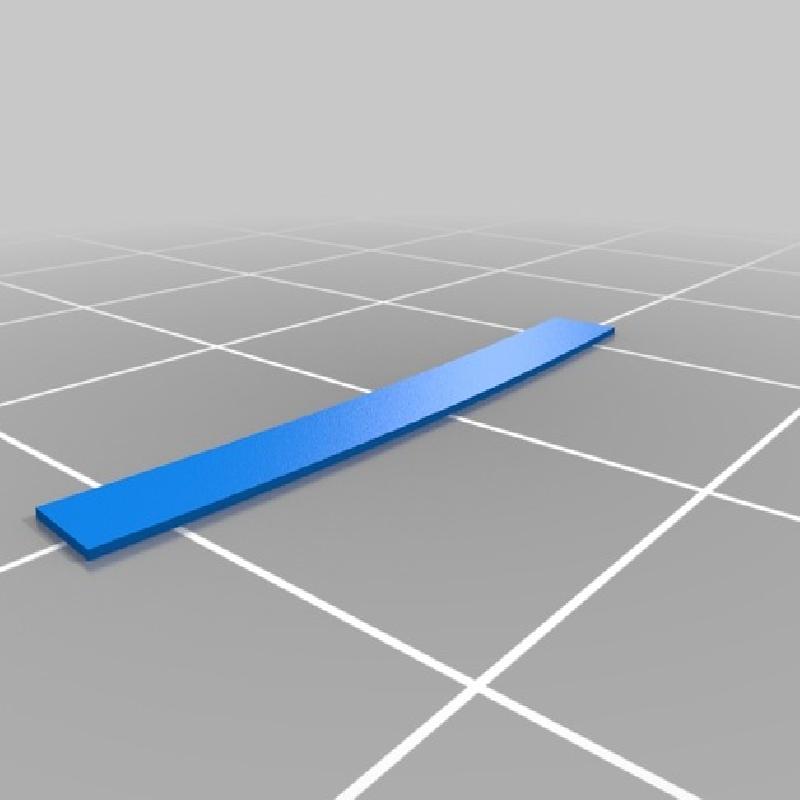
2-The stripes are designed to be a single layer thickness of .2mm, or less as long as they print solid on your machine.
..
3-Be sure to clean any first layer squish if you have any problem joining parts. The parts should fit nicely when printed cleanly.
..
Assembly tips:
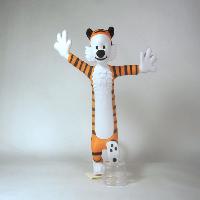
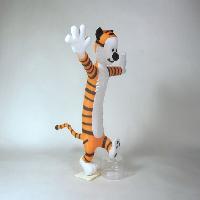
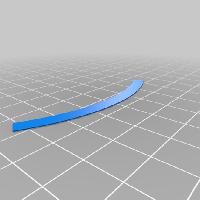
-'Stripes! There had to be stripes!' I avoided creating this model for quite some time due to the stripes. I finally settled on a design:
. The stripes are printed flat, one layer high
. The parts that the stripes are glued to contain indents for stripe placement.
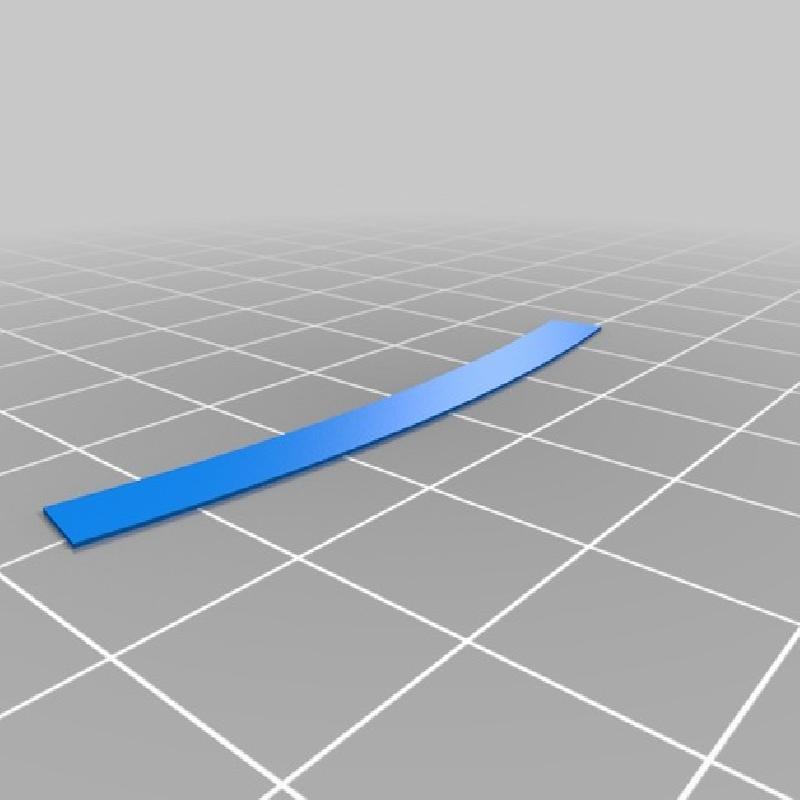
. Most of the stripes are slightly curved to help wrap around the surface.
-*Important: To make it simpler to glue flat stripes to a round surface, take a moment to curl the stripes like you would with a piece of ribbon. Using a flat edge, pull the stripe along the edge to make it curl. Pay special attention to the very ends and ensure the ends curl.
-Test the length of each stripe before gluing, due to printer differences, stripes may need to be trimmed a bit.
-Optionally, instead of using the 3D printed stripes, the stripes can be painted on using the indents as a guide.
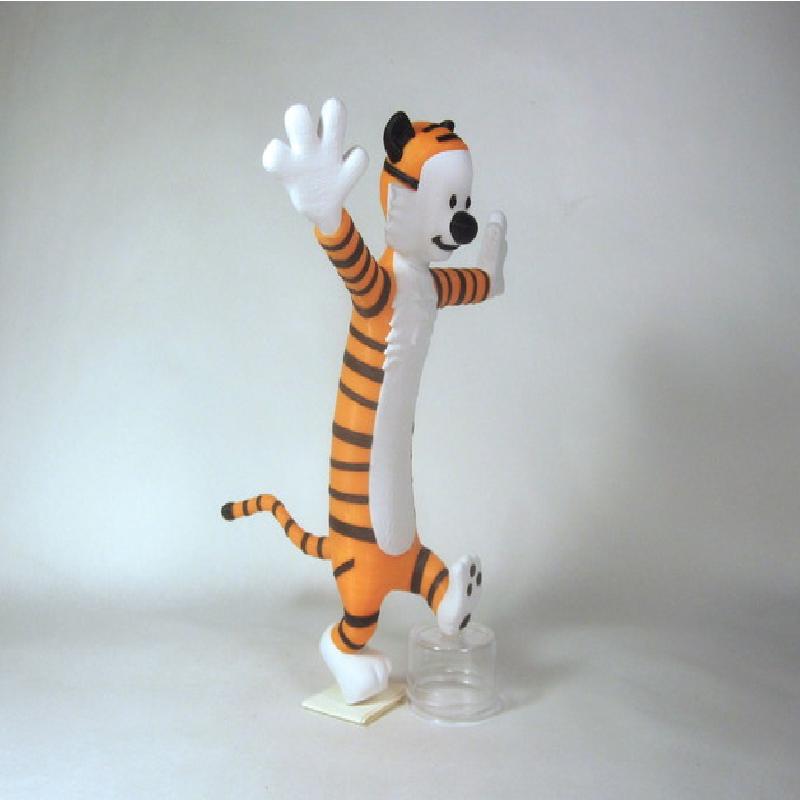
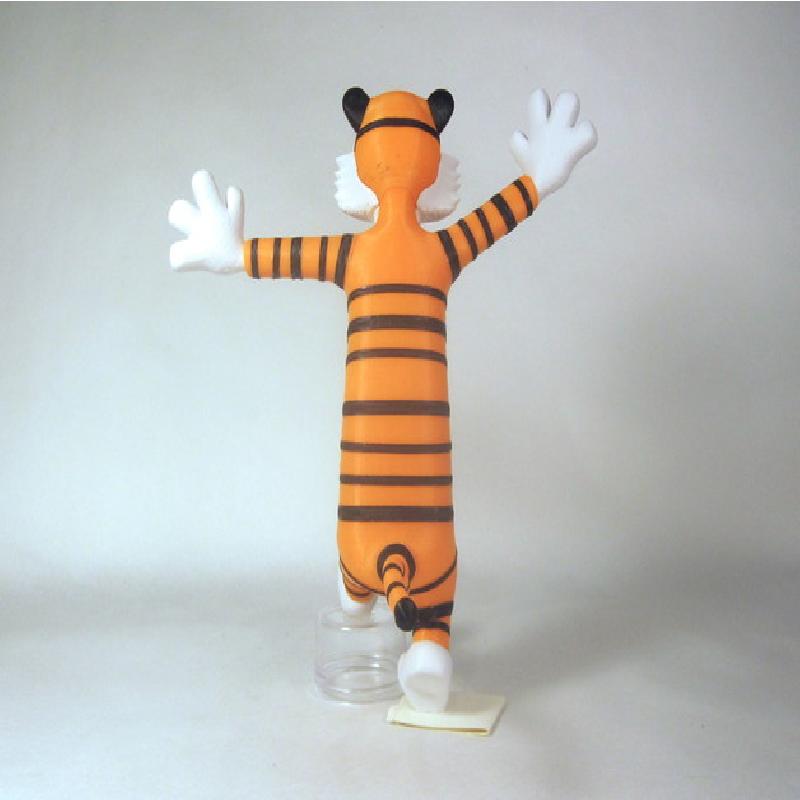
-The diagram below will help in assembling the model and is quite straightforward.
-The model is meant to be glued together. I use E6000 glue. It is a nice clear tacky glue allowing for easy part positioning. The longer you let it sit before joining parts, especially for the stripes, the tackier it gets until it fully sets.
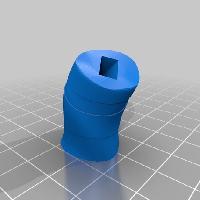
-The Hobbes model fits the log using the Thingiverse links provided in the introduction
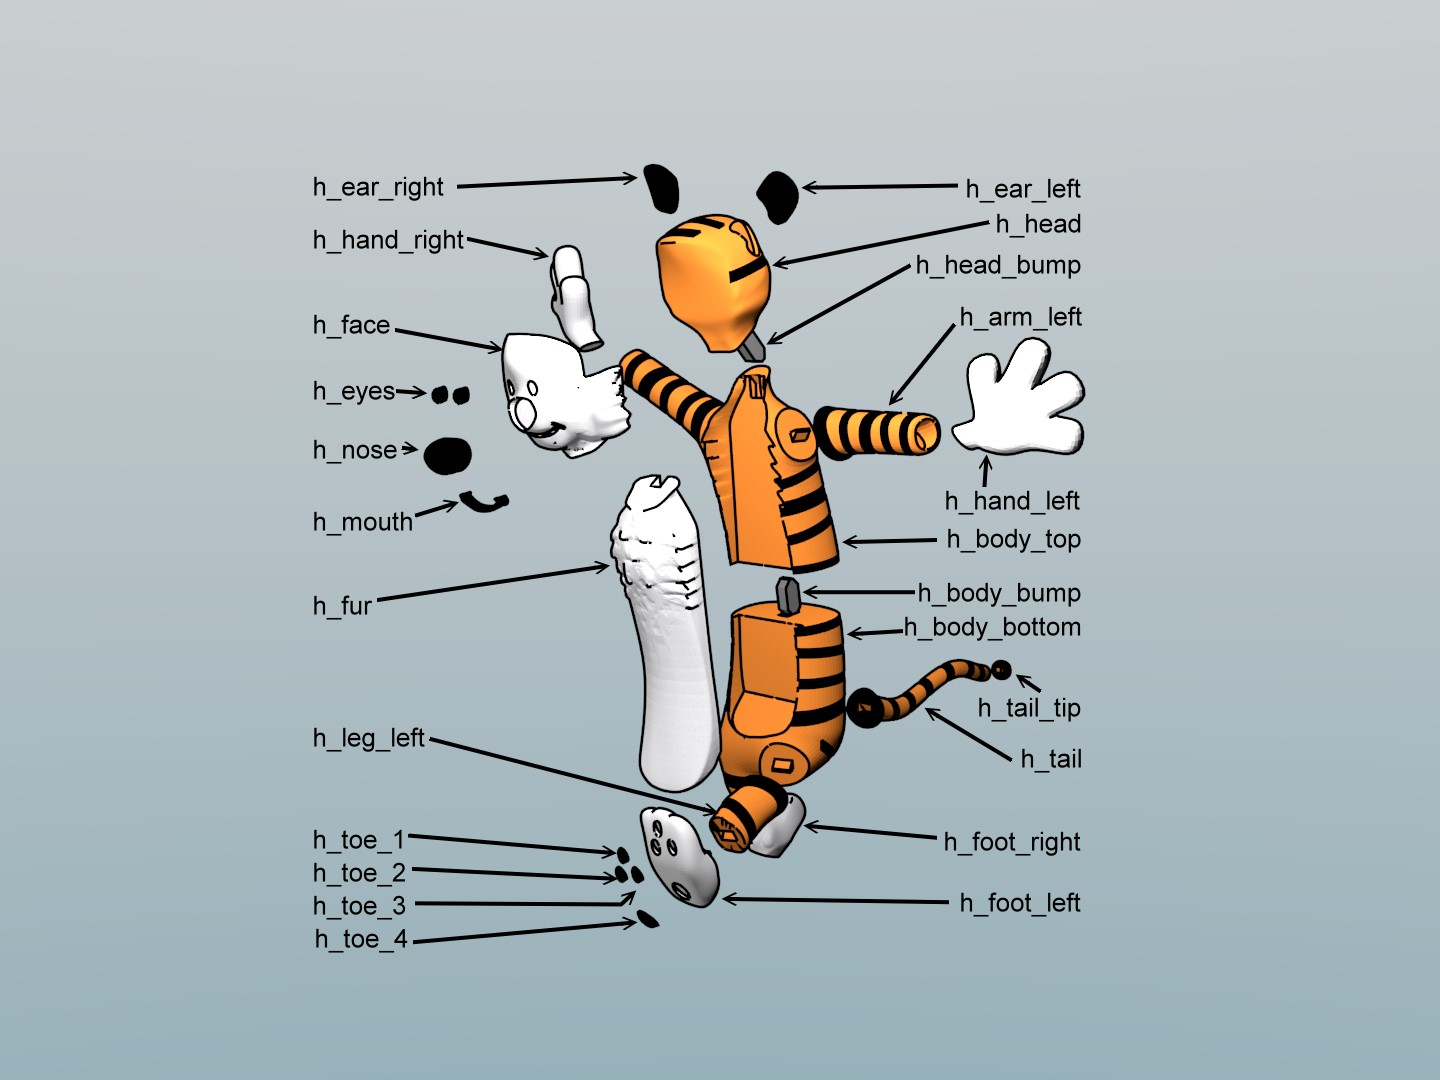
Hobbes assembly
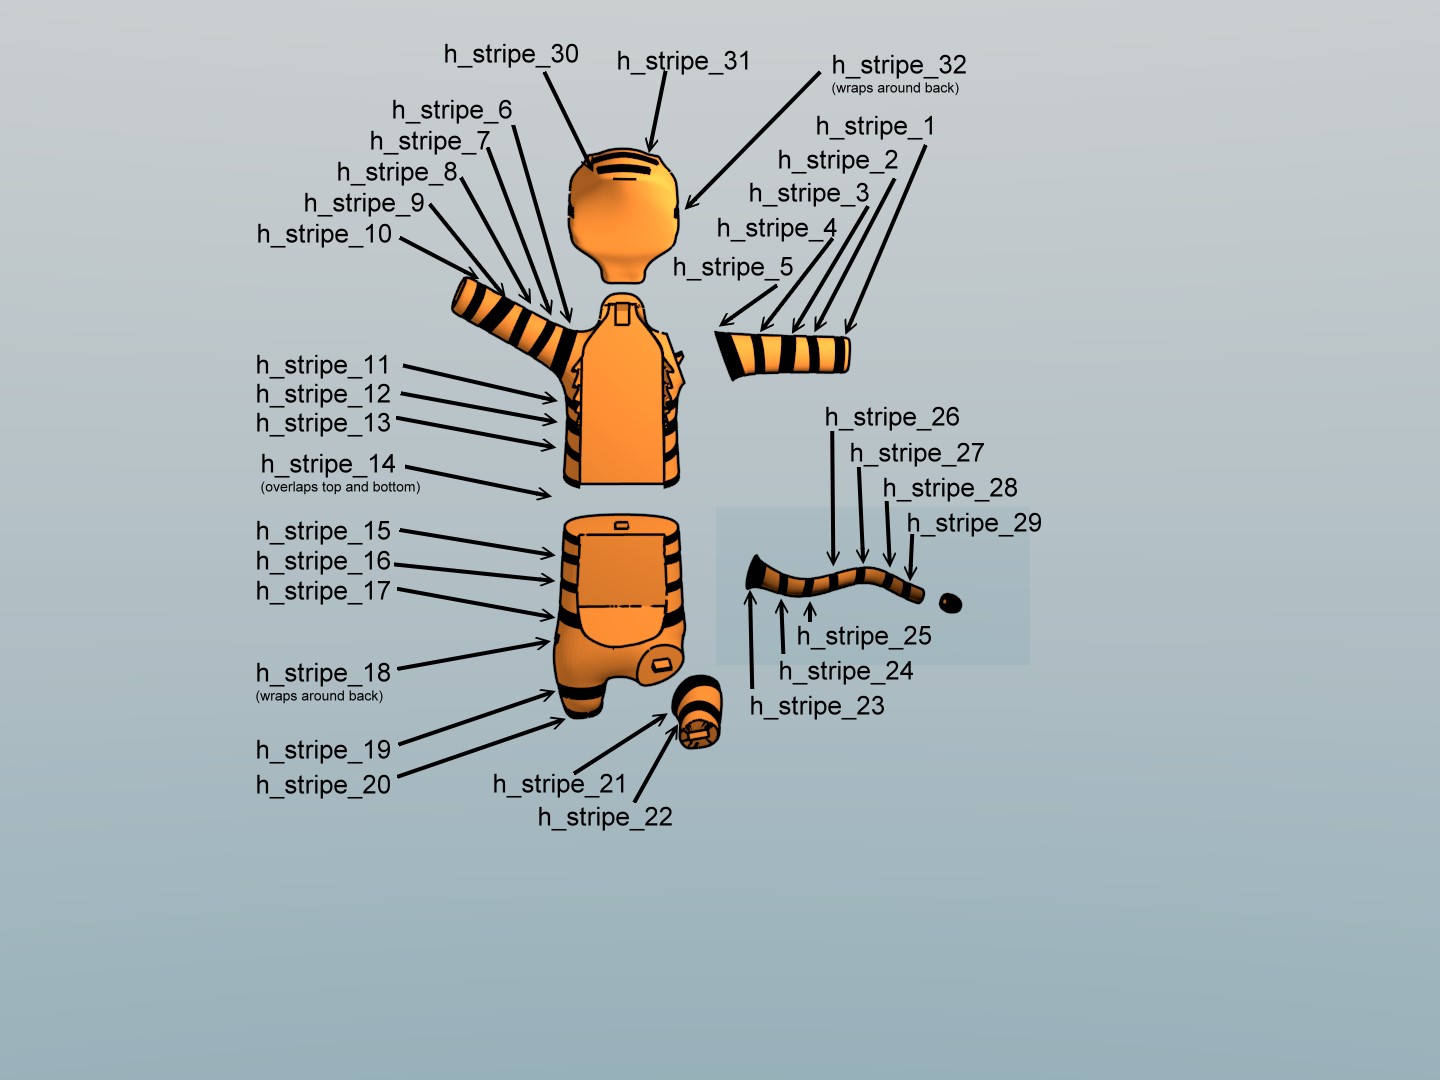
Hobbes stripes assembly