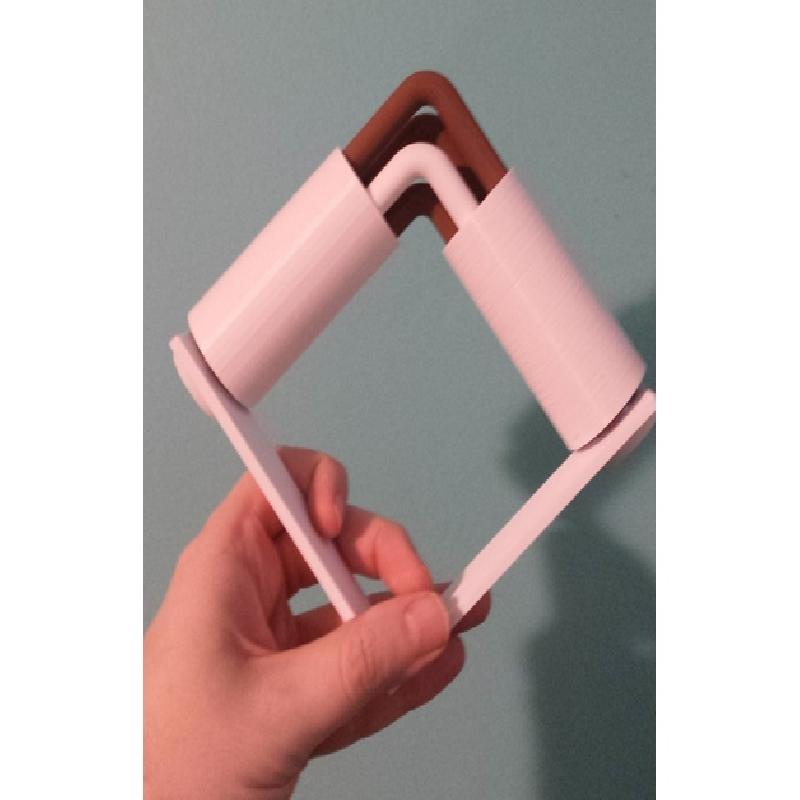
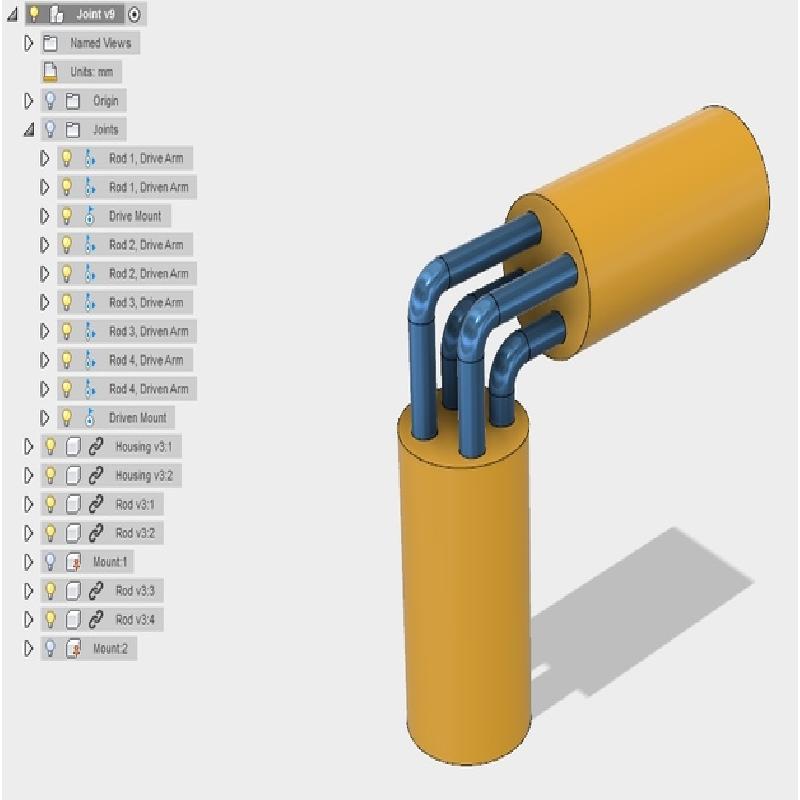
A Hobson's Coupler (or Hobson's Joint) is a mechanism that diverts rotational power around a corner. Unlike a universal joint, it can function at an angle of 90 degrees and is a true constant velocity joint, but the angle is fixed at construction.
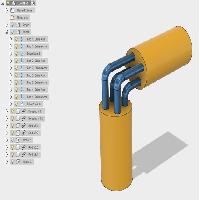
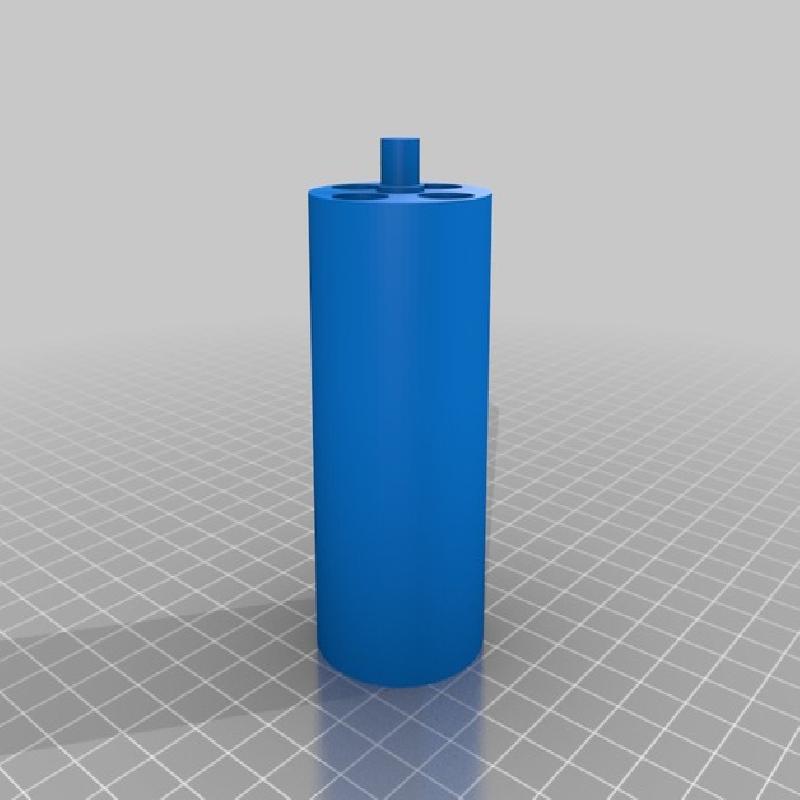
Three or more angled rods connect a pair of rotating cylinders (which each resemble the cylinder in a revolver). Each arm of a rod is free to slide and rotate within its "chamber" in the cylinder. The rods force the cylinders to rotate in sync with one another. As a rod moves closer to the point where the cylinders are nearest, both arms of the rod slide into their respective chambers. As the rod moves further away, the arms slide back out.
The mechanism is used purely as a coupler in applications like the 90 degree Gearless Angle Drive (a ratchet/socket driver attachment by Cal-Van Tools), and in certain shaft-driven bicycle designs. It can also function as an engine in its own right (with the rods serving as the engine's pistons) in steam or compressed-air powered Elbow Engines, and in the 1970s Bricklin-Turner Rotary Vee concept engine (and similar designs ). It is also the basis for the fictional V-Engine used in the mecha setting Heavy Gear.
I designed these parts so I'd have a simple model to play around with.
Printer Brand:
Wanhao
Printer:
Wanhao Duplicator i3 V2
Rafts:
No
Supports:
No
Resolution:
0.2
Infill:
10-20%
Notes:
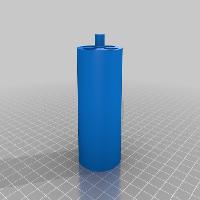
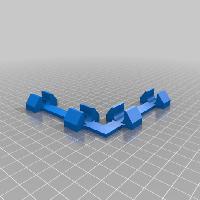
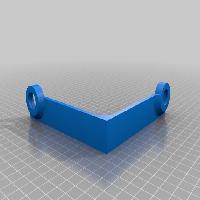
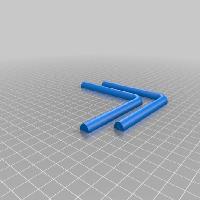
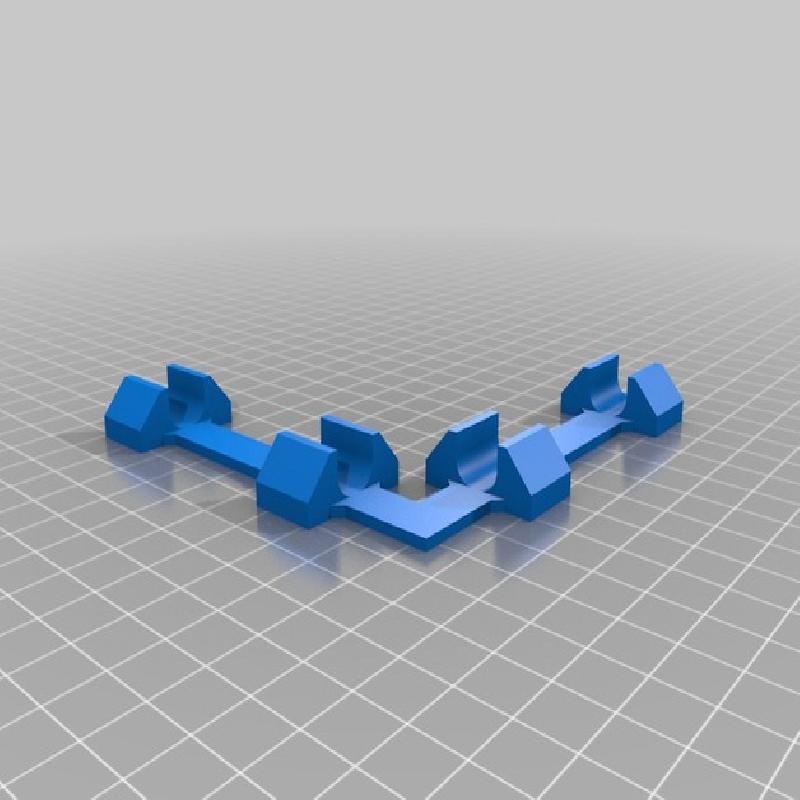
You will need to print four rods (a total of eight half rods), two cylinders, one mount, and one or more gluing jigs. Use whatever plastic you prefer, but I recommend printing one rod in a different color than the other three, simply to make it easier to watch or talk about that specific rod.
I purposely made the tolerance around the rods pretty loose to ensure that the mechanism wouldn't bind or be too tight. This results in some extra noise due to rods banging around in their chambers. But it spins very freely.
The only non-printed items I used for this model were a pair of 608 skate bearings, a little epoxy or superglue to assemble the halves of each rod, and something for light sanding on the rods (to smooth off raised imperfections, like the "flashing lines" caused by the extra extrusion on the first layer). Nail file, sanding block, whatever. You can probably get away without or substitute for any or all of these extra things (and the mounting bracket) if you are feeling creative/lazy.
A jig is included in the printable files. This part is meant to help align the halves of each rod as they are glued together. Put the lower half of the rod into the jig, put on a little glue on the top surface, then put on the other half of the rod. Make sure they are aligned as well as possible, and then set some weight on top until it dries.
Each rod also has a little triangle on one end. It doesn't strictly matter if both halves of this triangle are on the same end; it's mostly there just in case you want to make sure you aren't putting two of the same half together.
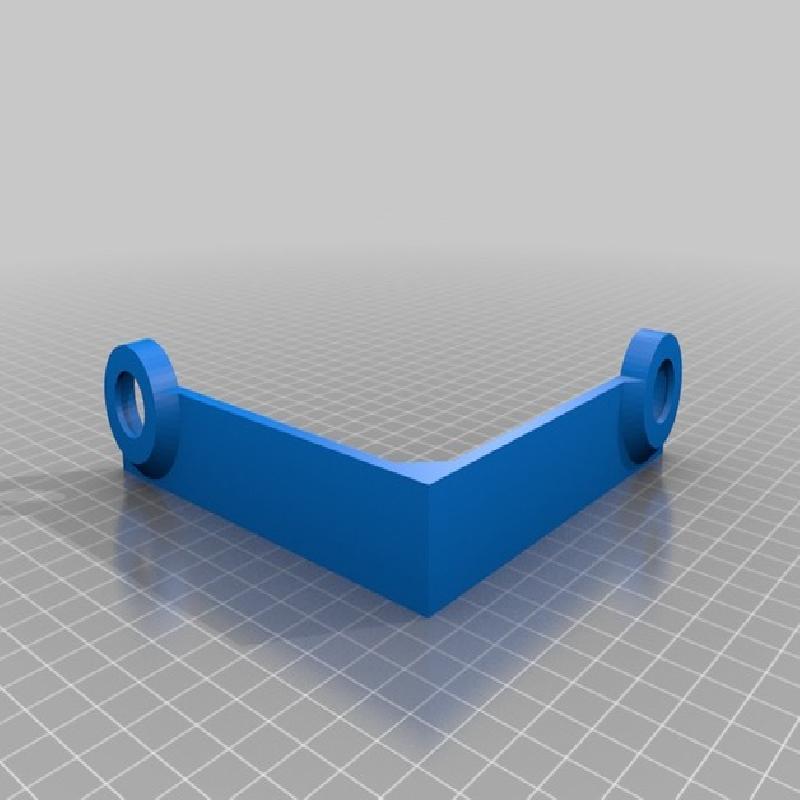
The skate bearings mount on the posts on the end of each cylinder, and in the recess in the mounting bracket. Friction is the only thing holding the these parts together, which might or might not be enough for your parts as printed.
If the assembly is laid flat on a table, the mounting bracket is designed to be hold the cylinders far enough off of the surface that they can turn freely. However, it needs a little weight on the corner diagonal from the four rods, in order to keep the bracket level to the table.
I'm considering adding an optional part that will clamp onto my mounting bracket to optionally display the model in the "diamond" orientation shown in the photo. Turned that way, gravity keeps the cylinders from sliding off the bearings on their own.