by villamany, published
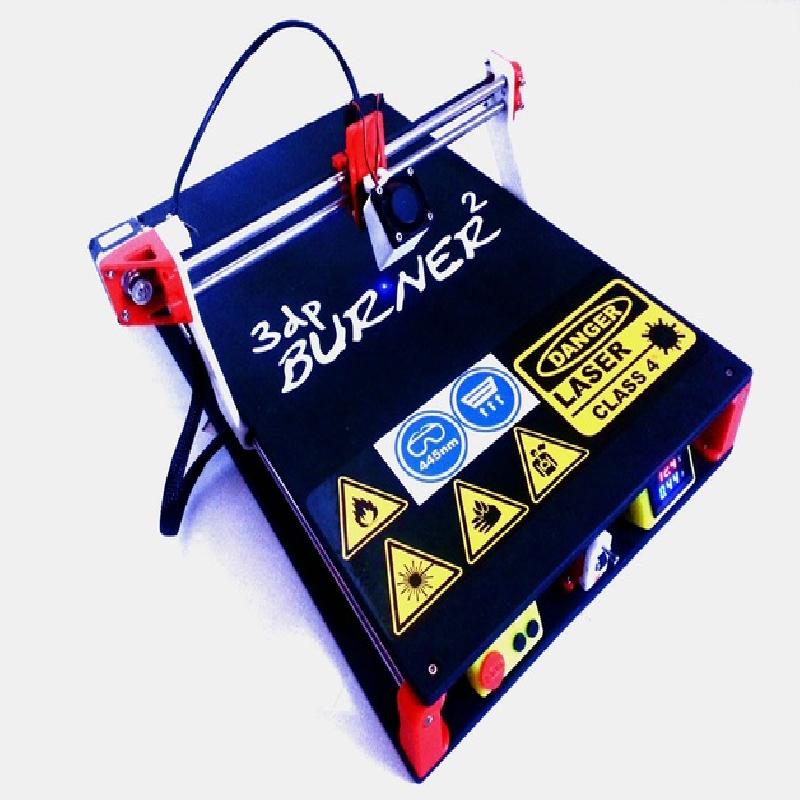
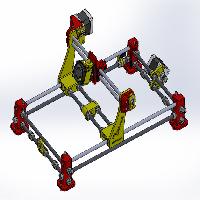
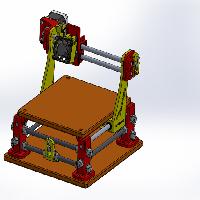
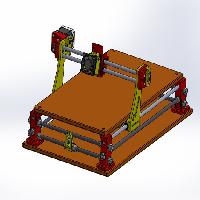
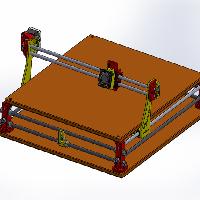
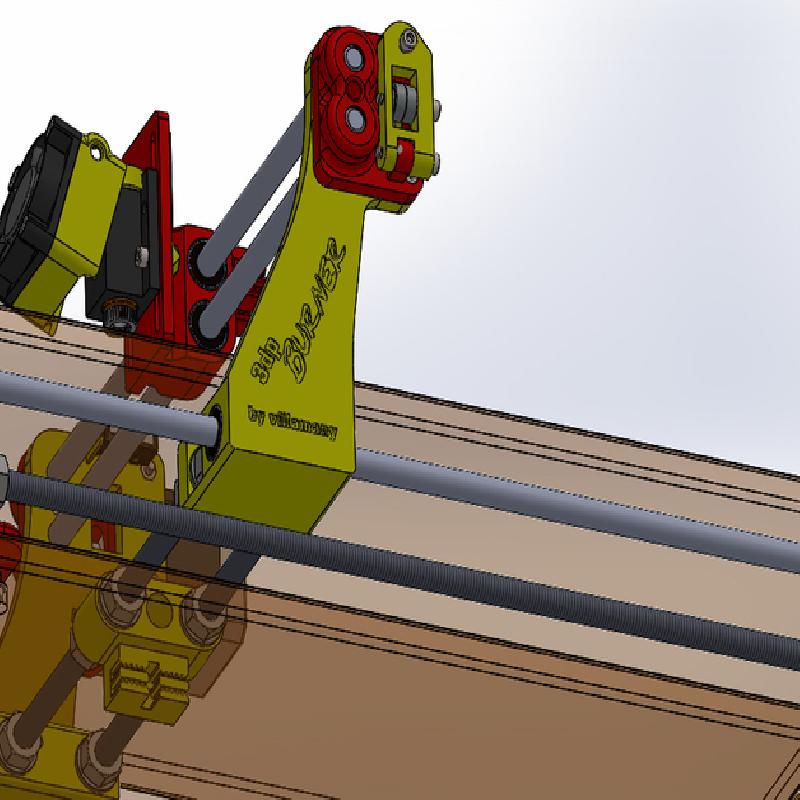
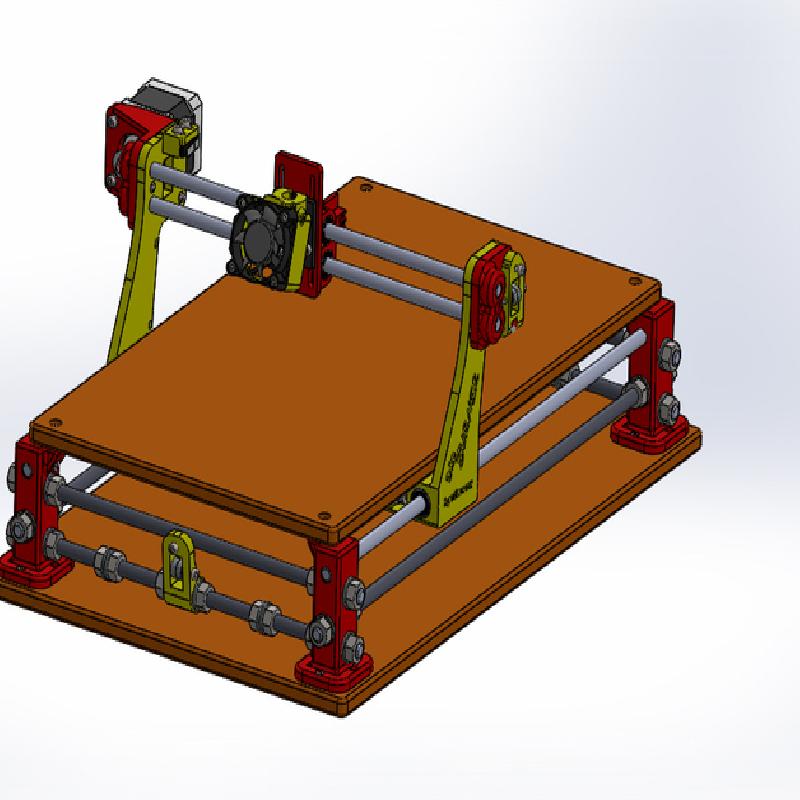
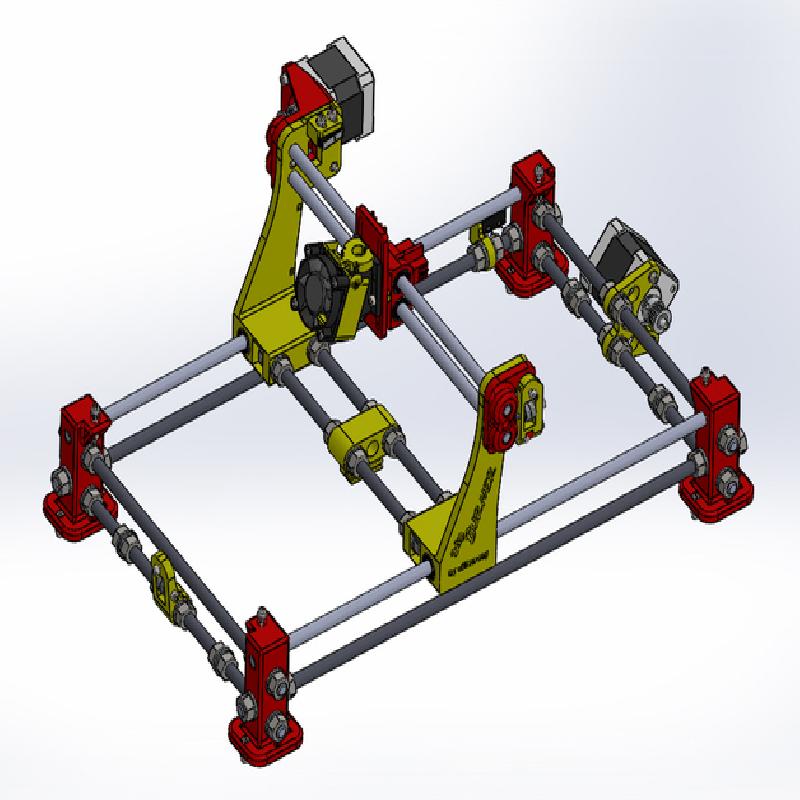
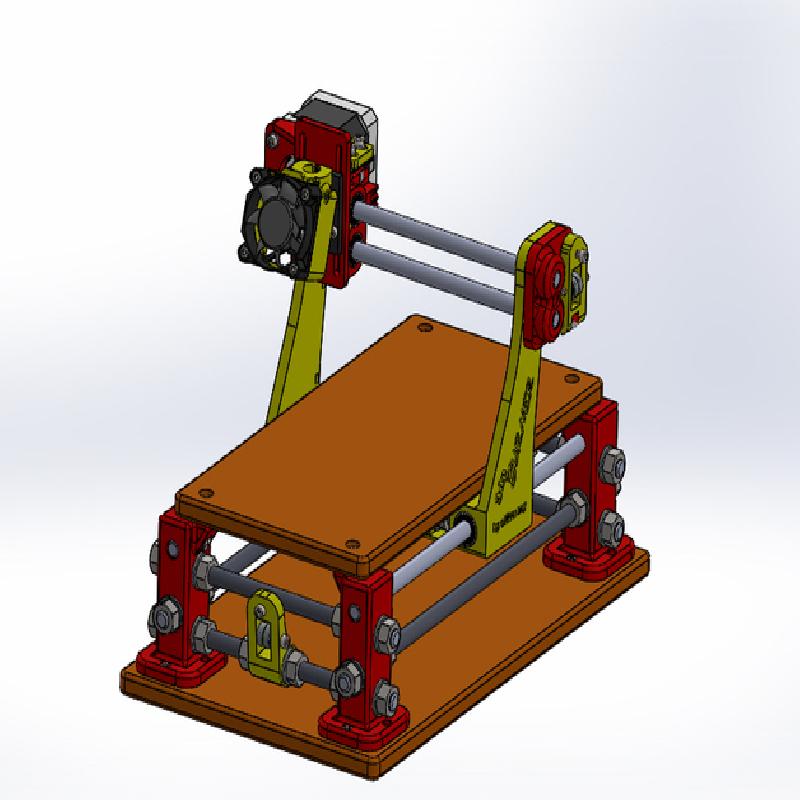
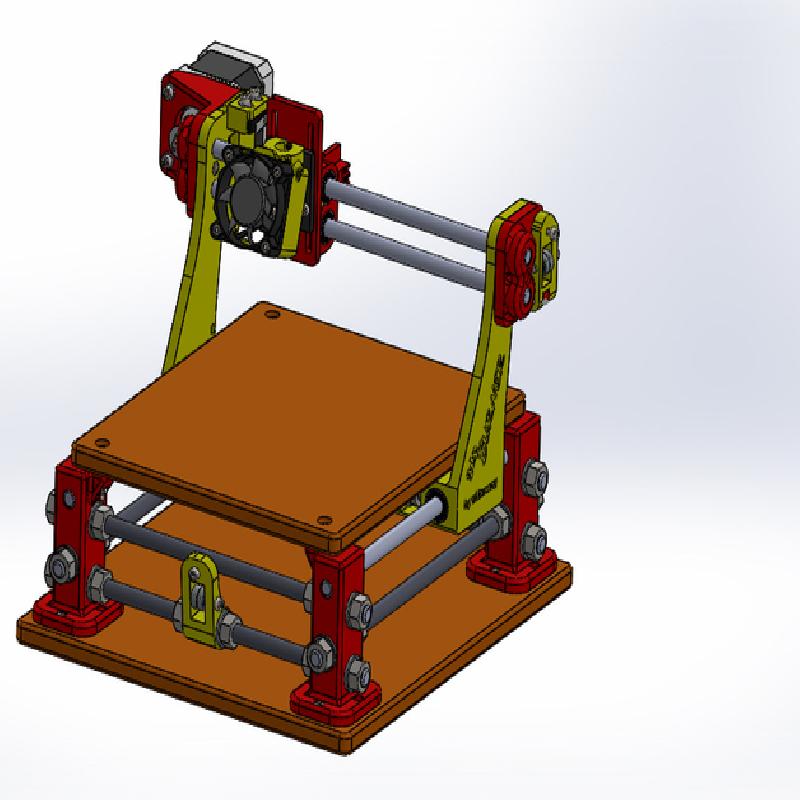
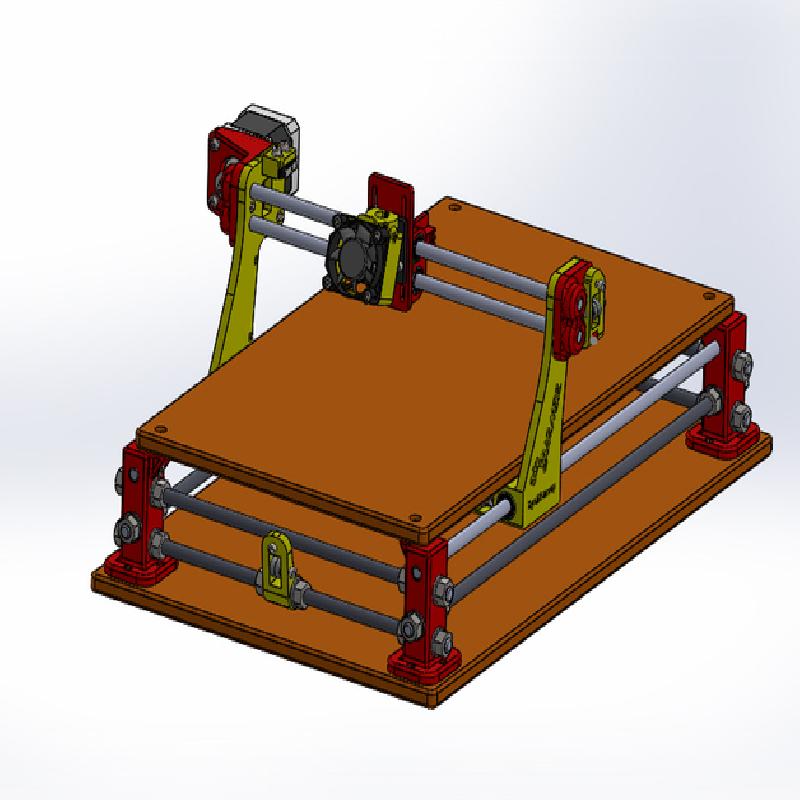
3dpBurner is an open source laser cutter/engraver.
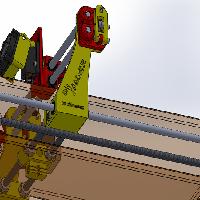
It is created with the same RepRap concept, using 3D printed parts and some easy to find "vitamins" (not printed hadware).
I tried to do it as cheap as possible, by using cheap electronics
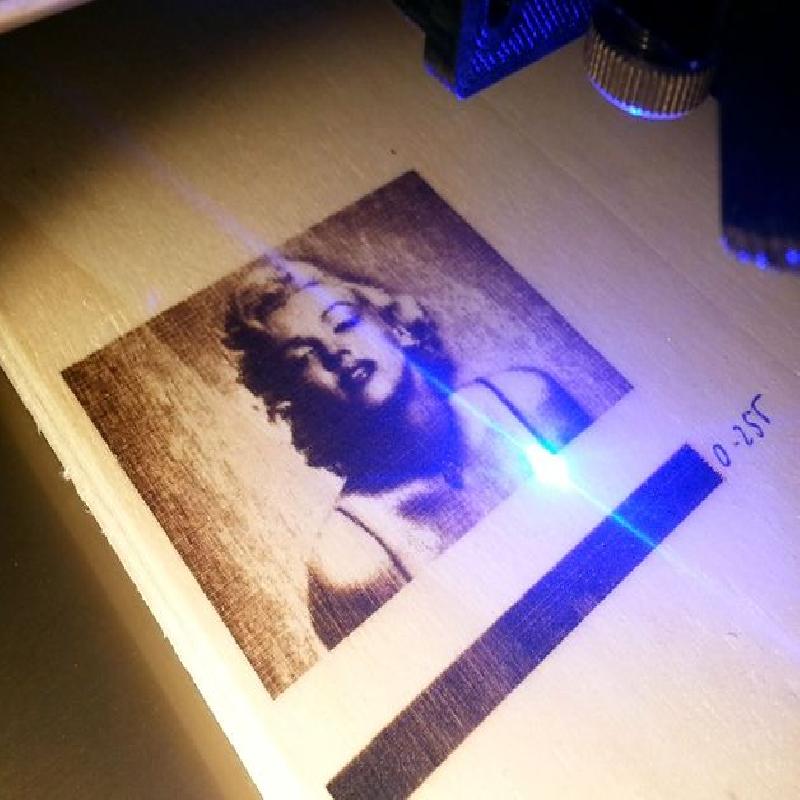
and a "low power" laser (a laser diode).
The X/Y working area is fully customizable and the max working object height is up to 50-60mm.
You can check http://3dpburner.blogspot.com for more details.
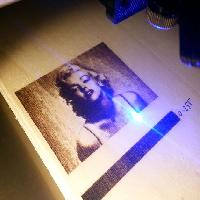
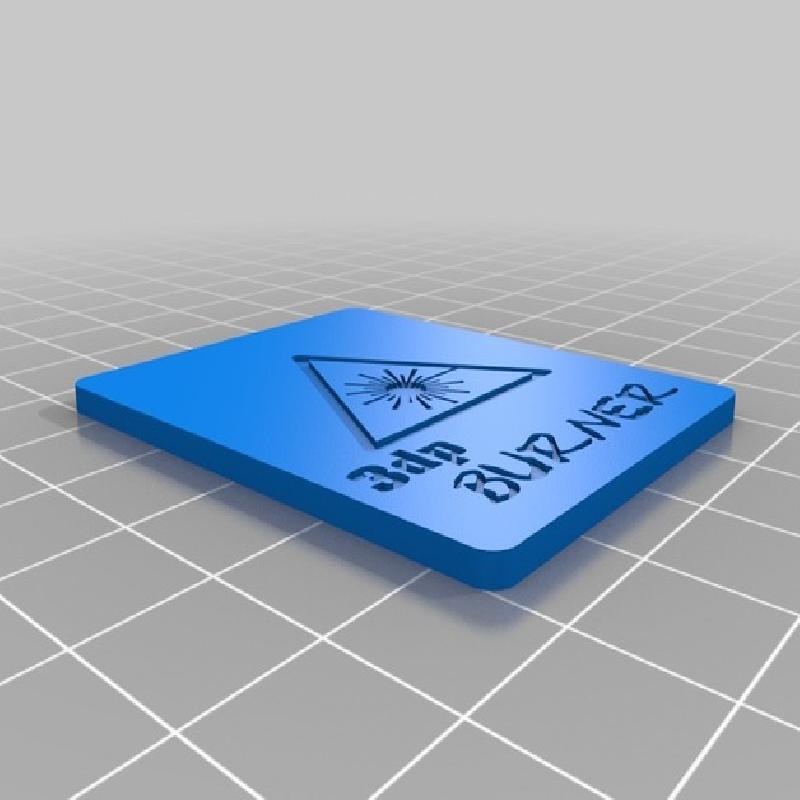
NOTE: It is imperative you get the apropiate protection for your eyes and prevent the toxic fumes released by the most of materials. First thing you need to buy prior to powering your laser is a pair of glasses adecuated to your laser wave lengh. The laser spot or laser reflections can hurt your eyes very easily. Avoid to use invisible diodes as IR laser diodes, they are more dangerous due you can not see when they are powered.
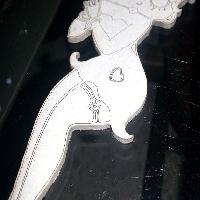
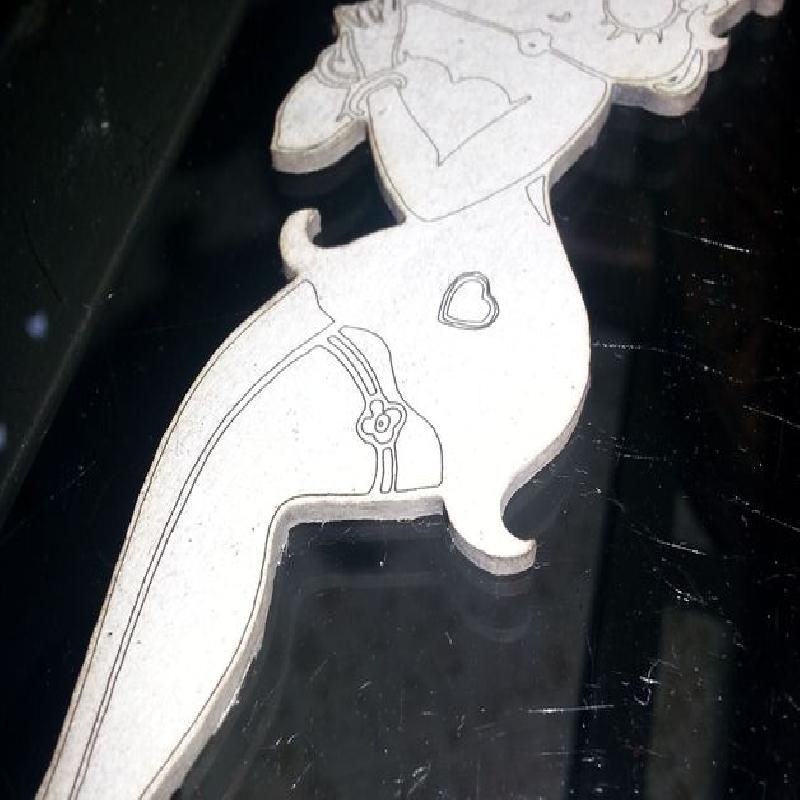
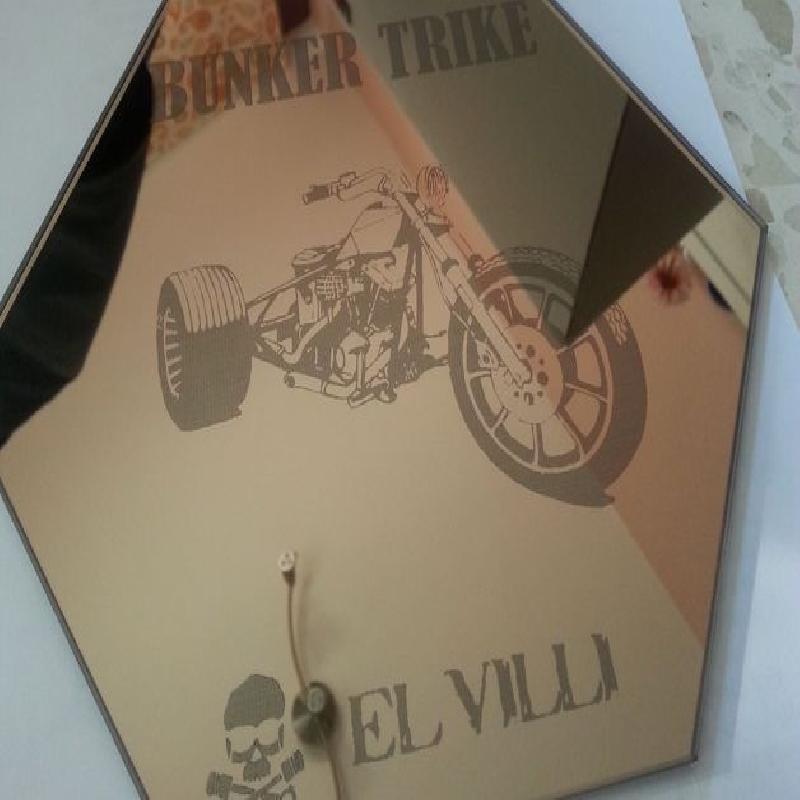
You can see some works here: http://3dpburner.blogspot.com/p/videos.html
Sep/17/2015: NEW VERSION UPDATE!. Added a 3dpBurner2 picture. Check the 3dpBurner2 page of the blog for more info.
Apr/27/2015: After some months and many tests, the 3dpBurner has been proved to be stable and rock solid, producing very good results, so the design is considered full finished now :)
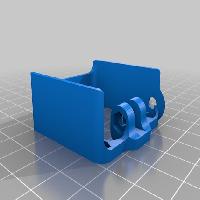
Jun/18/2015: Laser Driver bumper is for the WalyePower model laser driver. If your WalyePower PCB board is larger you can break the unfinished cutting tab (some sellers send it with this tab).
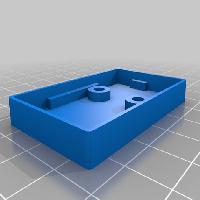
Dec/28/2014: Added "walyePowerLaserDriveBumper.STL" and "ArduinoUNObumperPlain.STL" files.
Videos:
https://www.youtube.com/watch?v=10mtTxxuomQ
https://www.youtube.com/watch?v=JqyotXOw7E0
https://www.youtube.com/watch?v=v1f7wb4RKRg
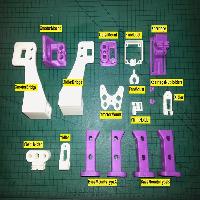
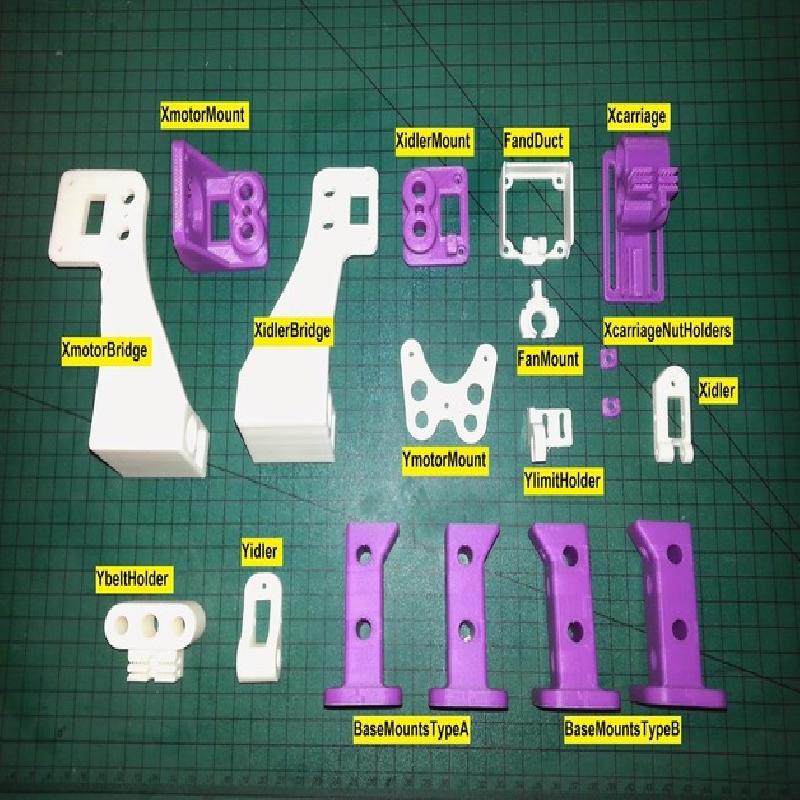
These are the recomended print settings:
Printed on .STL file position, using ABS without supports.
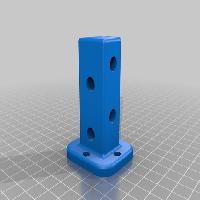
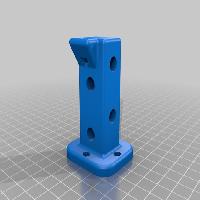
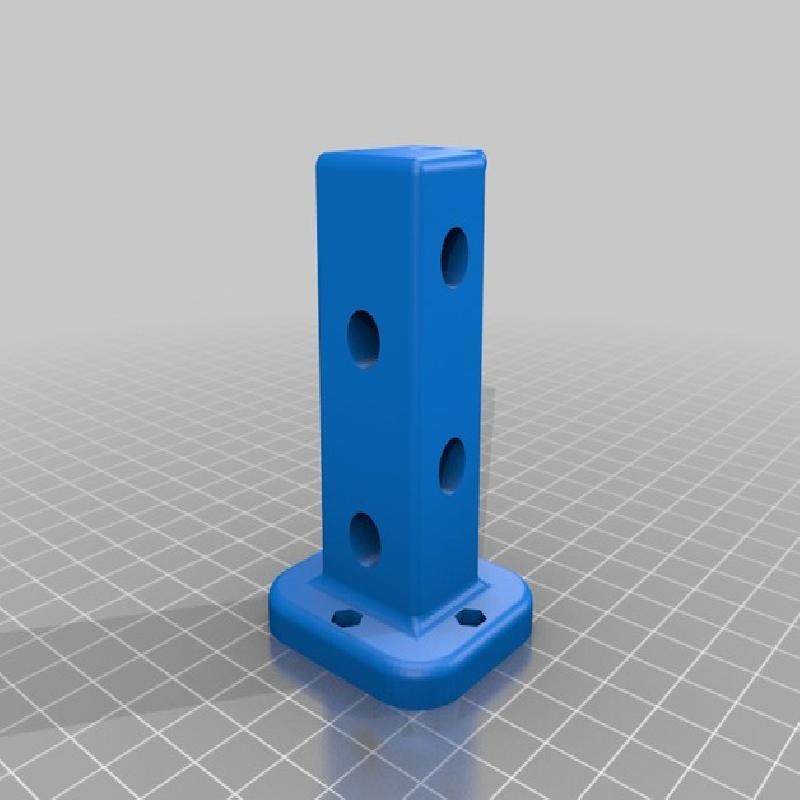
baseMountTypeA.STL----x2----Infill 50%
baseMountTypeB.STL----x2----Infill 50%
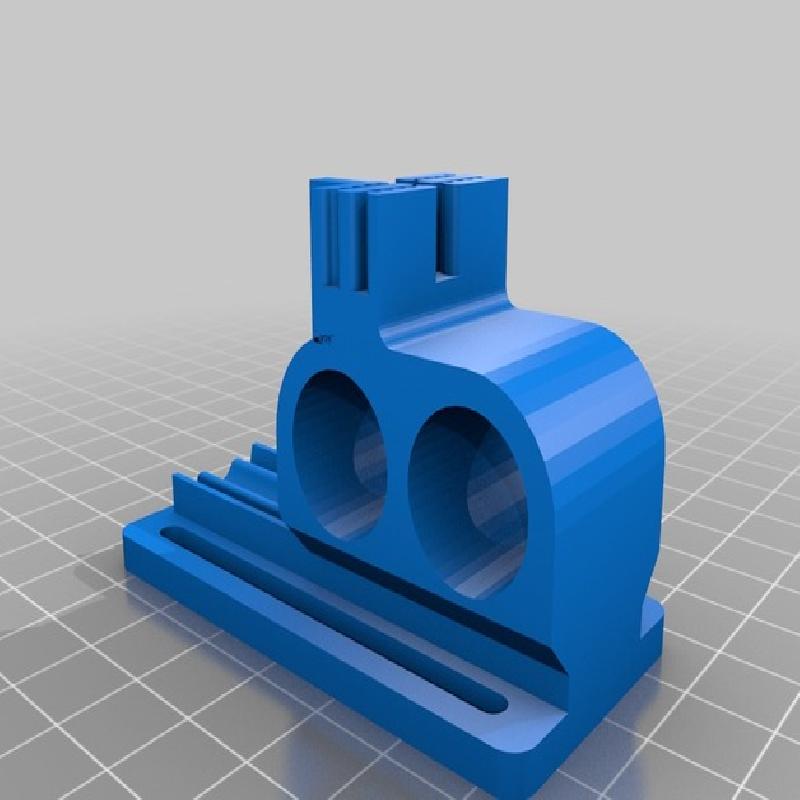
fanDuct.STL-----------------x1----Infill 50%
fanMount.STL---------------x1----Infill 50%
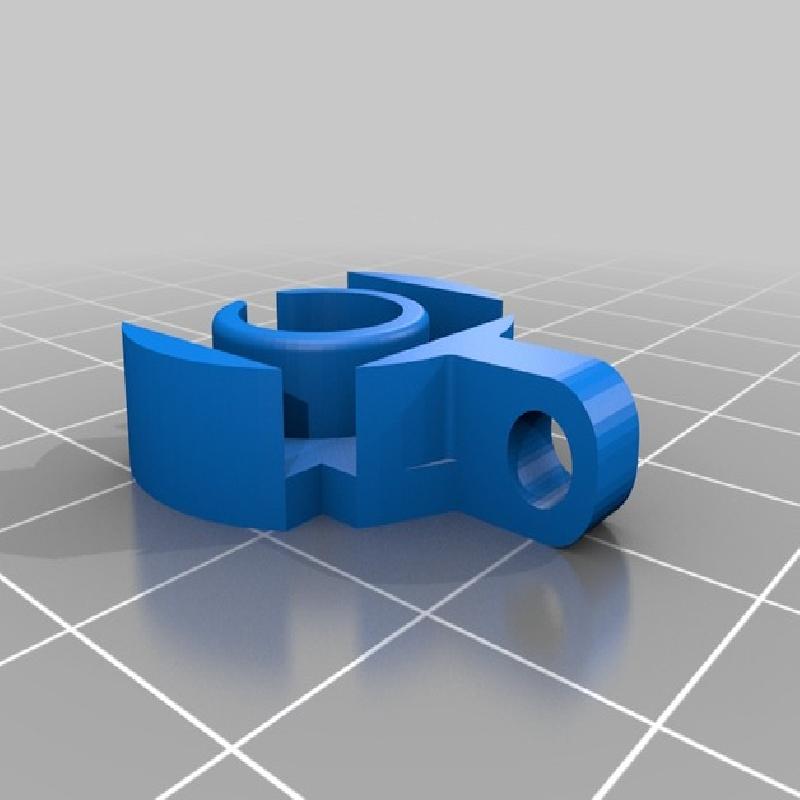
xIdler.STL--------------------x1----Infill 50%
xIdlerMount.STL------------x1----Infill 50%
xMotorMount.STL----------x1----Infill 50%
yBeltHolder.STL------------x1----Infill 50%
yIdler.STL--------------------x1----Infill 50%
yLimitHolder.STL-----------x1----Infill 50%
yMotorMount.STL----------x1----Infill 50%
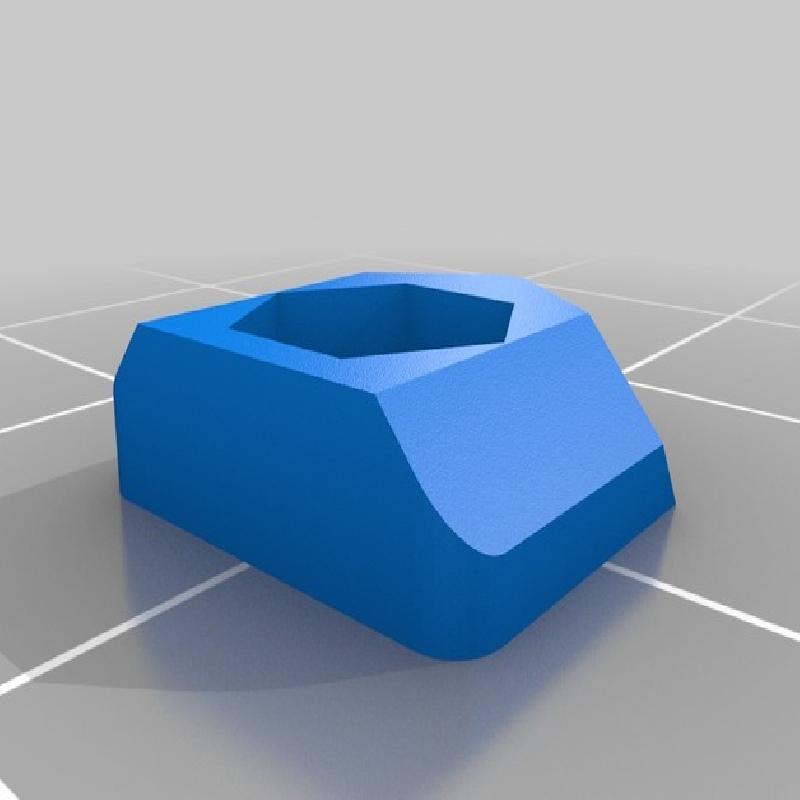
xCarriageNutHolder.STL--x2----Infill 50%
xIdlerBridge.STL------------x1----Infill 90%
xMotorBridge.STL----------x1----Infill 90%
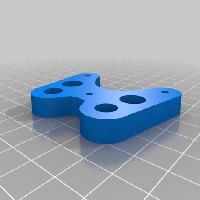
xCarriageV4.STL-----------x1---.Infill 90%
gauge50mm.STL-----------x1----Infill 20%
walyePowerLaserDriveBumper.STL---x1----Infill 20%
ArduinoUNObumperPlain.STL---x1----Infill 20%
Check the blog for full details and instructions: http://3dpburner.blogspot.com