I have traveled across the land, searching far and wide for the perfect pokeball belt prop, but it seems that in order to cosplay the very best, I had to create my own.
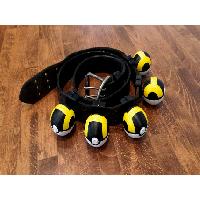
For this model, I wanted to closely emulate the size and removal characteristics seen in the original show. Most of the commercially available toys are either too large to comfortably sit on a belt when worn, or did not clip on in a way that was conducive to active wear (i.e. running, sitting, gym training, etc.).
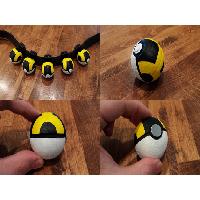
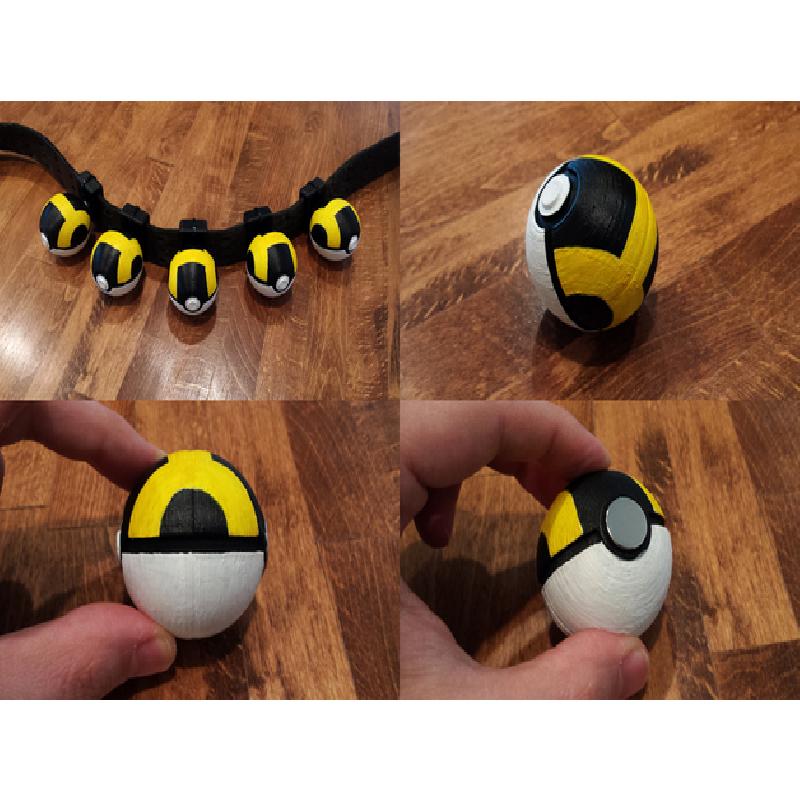
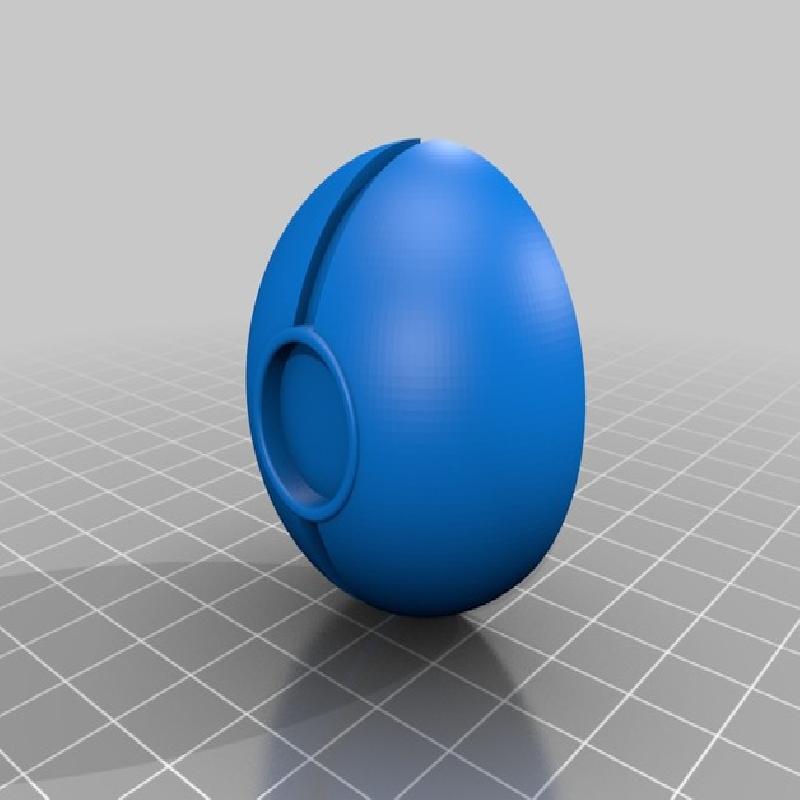
The assembled pokeball model is 1.75” in diameter, and is solid (does not open). The magnets worked perfectly for both their strength and their ease of use; I was actually able to run wearing a fully-loaded belt.
Printer Brand:
Printrbot
Printer:
Printrbot Simple Metal
Rafts:
No
Supports:
No
Resolution:
0.2
Infill:
10%
Notes:
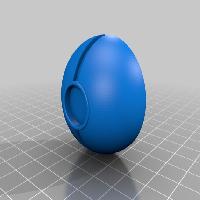
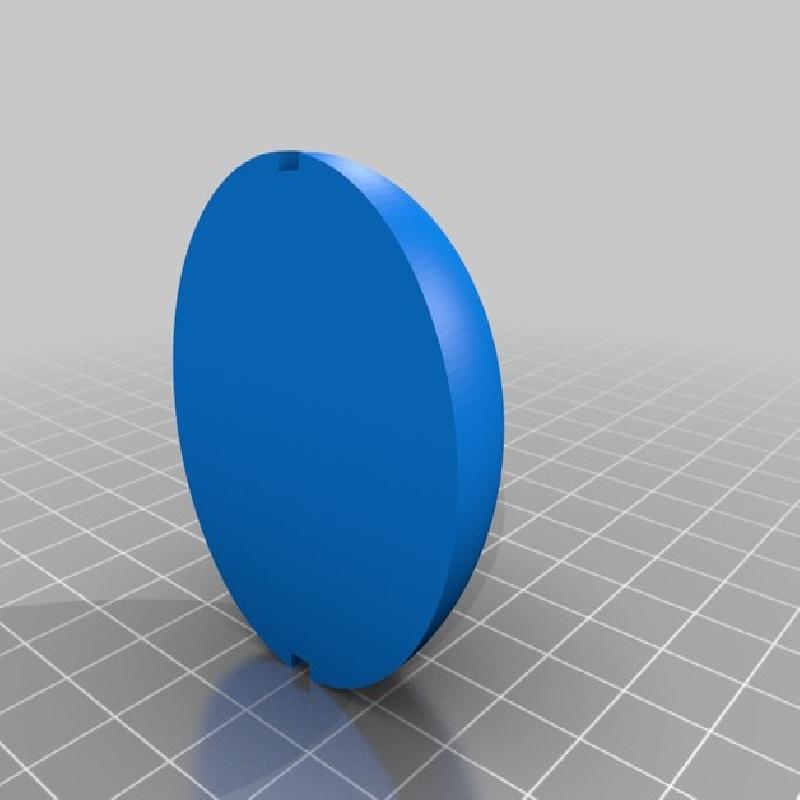
The halves are not perfect hemispheres. I instead added a 1/32” flat extrusion where they would contact the printer bed. This is to allow for a little slop when taking the model off the bed if it becomes difficult. I sanded down the extrusion a bit so I could get a nice flat-to-flat connection when I stuck the pieces together.
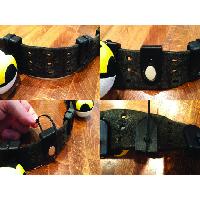
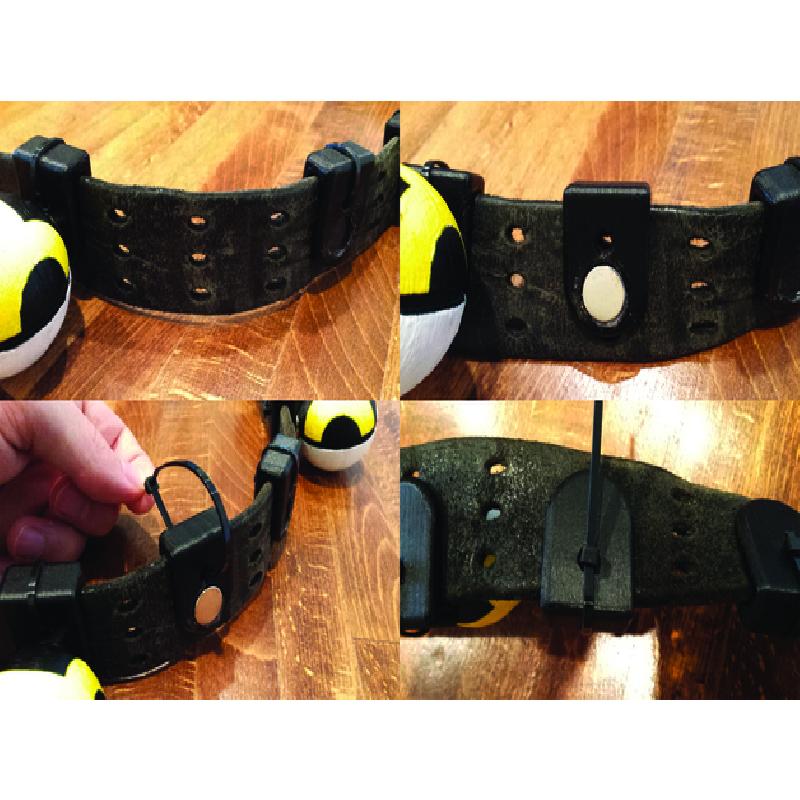
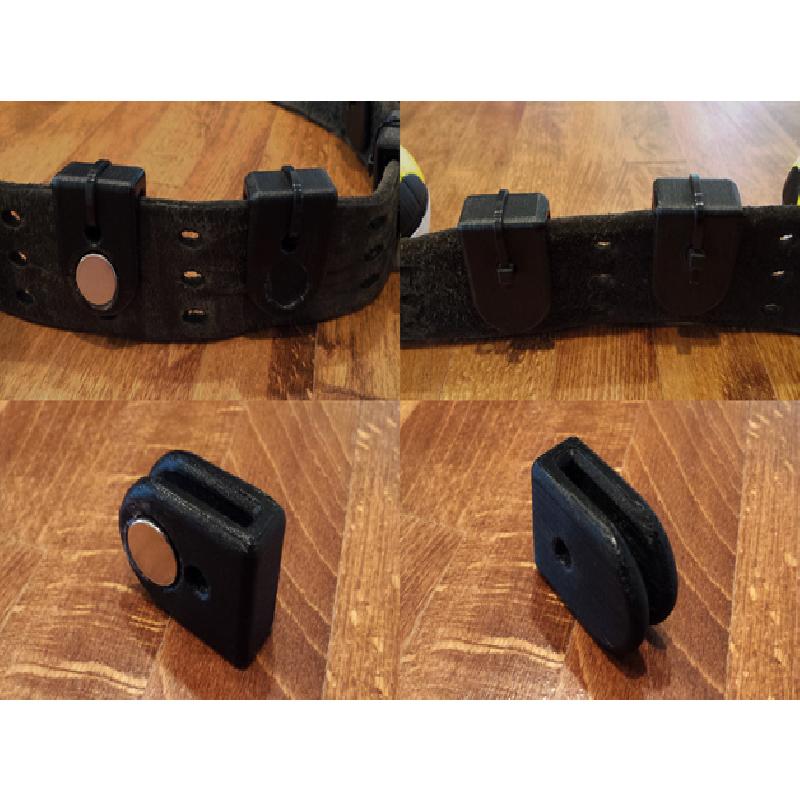
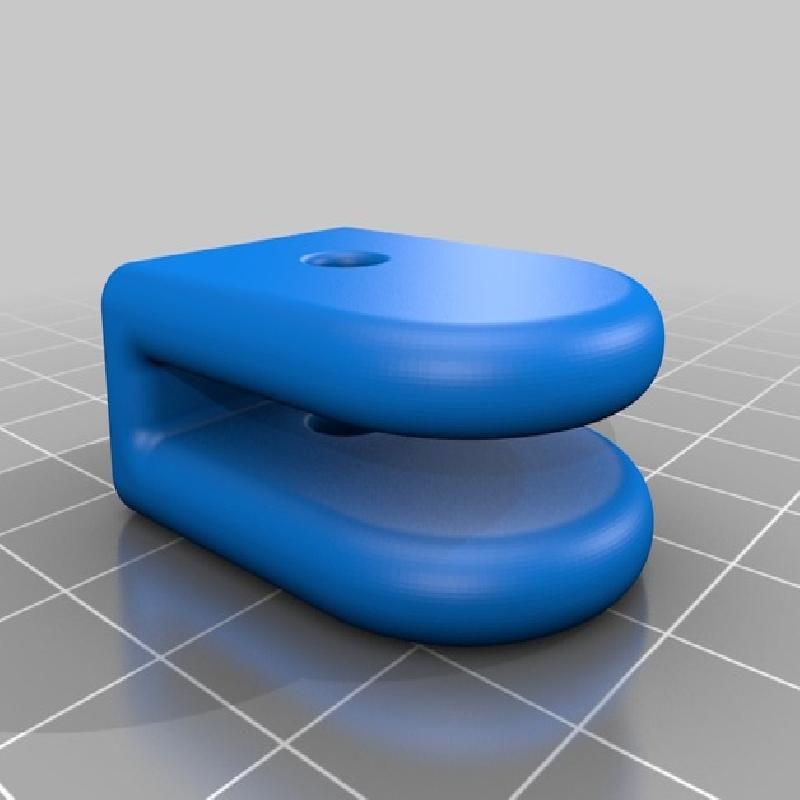
The belt clips may not be entirely useful to everyone. I made them specifically for my belt, which had three holes throughout, meaning that I could put the clips wherever I wanted. It is only a half-clip, so it easily slides over the side of the belt, and has a through hole at the top to place a zip-tie through for security. I would only recommend using this clip on a belt you can drill a holes in, otherwise you may want to design your own to fit your specific belt.
I would not recommend scaling the model pieces, as the depressions for the magnets were intended to be used at full scale. If the pieces are scaled up or down, the tolerances will change, therefore making the recommended hardware unusable.
Additional Materials
Neodymium Magnets: 0.5” diameter x 0.125” thick @ 6.44 lbs Pull Force
https://www.kjmagnetics.com/proddetail.asp?prod=D82
Two-Part Epoxy
Rubber Cement
Assembly
I adhered the two halves of the balls together using rubber cement. I applied a bit to both sides, let them dry, then stuck them together. These things have been thrown around and dropped a lot. They haven’t broken apart, so I would say it was a success.
I initially used hot glue to secure the magnets within the ball and belt clip… which proved to be only a temporary solution. It seems that the hot glue didn’t make the best bond on the plastic, and the magnets were a bit too strong, so they kept popping off after extended use (taking the ball on and off the clip). My recommendation would be to use a two-part epoxy to secure the magnets to the models.
Note about using neodymium magnets: These things are super strong and pretty unforgiving. I used them because I wanted to ensure these props would not fall off the belt during use, and they didn’t; I was even able to run with the belt on. That being said, take caution when assembling your props. I accidentally let two magnets get too close to one another, they flew together and pinched my finger, creating a nasty blood-blister.
Paint Finish
I wasn’t terribly concerned with quality on this one, so I used a base coat of black primer, then black semi-gloss spray paint. I hand-painted the white and yellow using acrylics. Use a base of white first, then cover the white with yellow, otherwise it won’t show up very well at all.