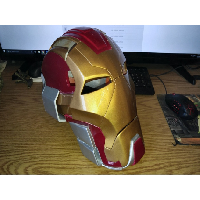
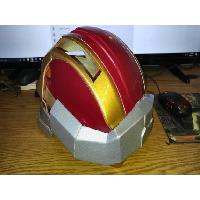
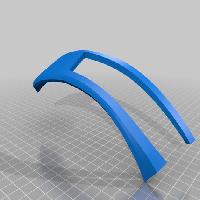
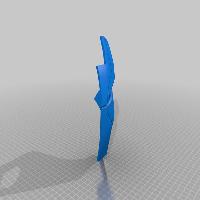
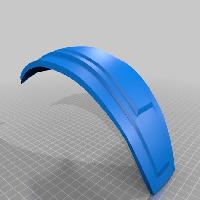
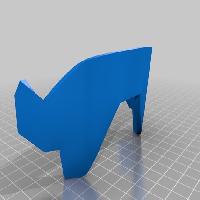
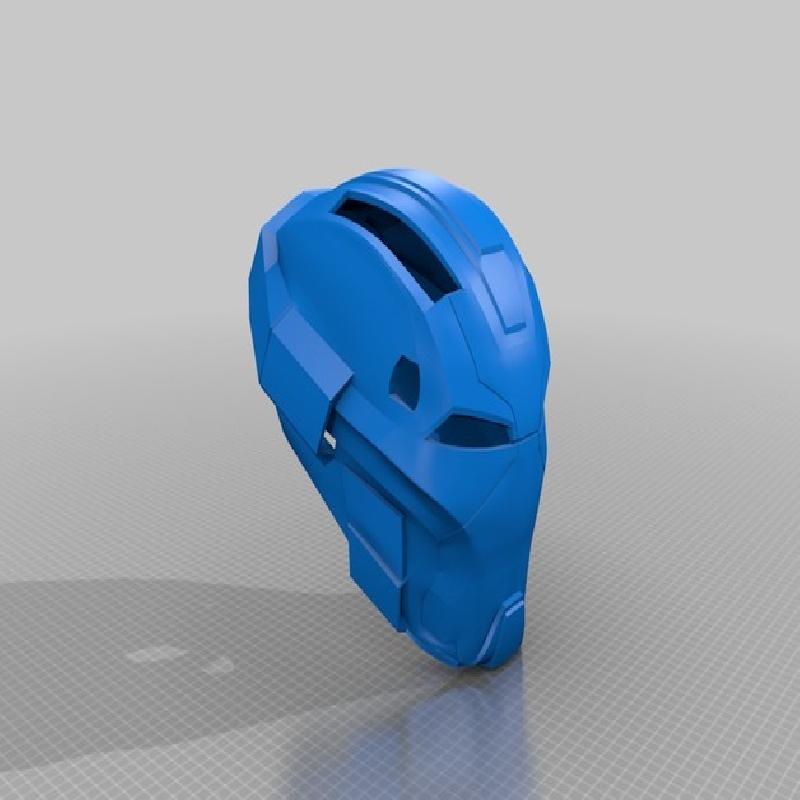
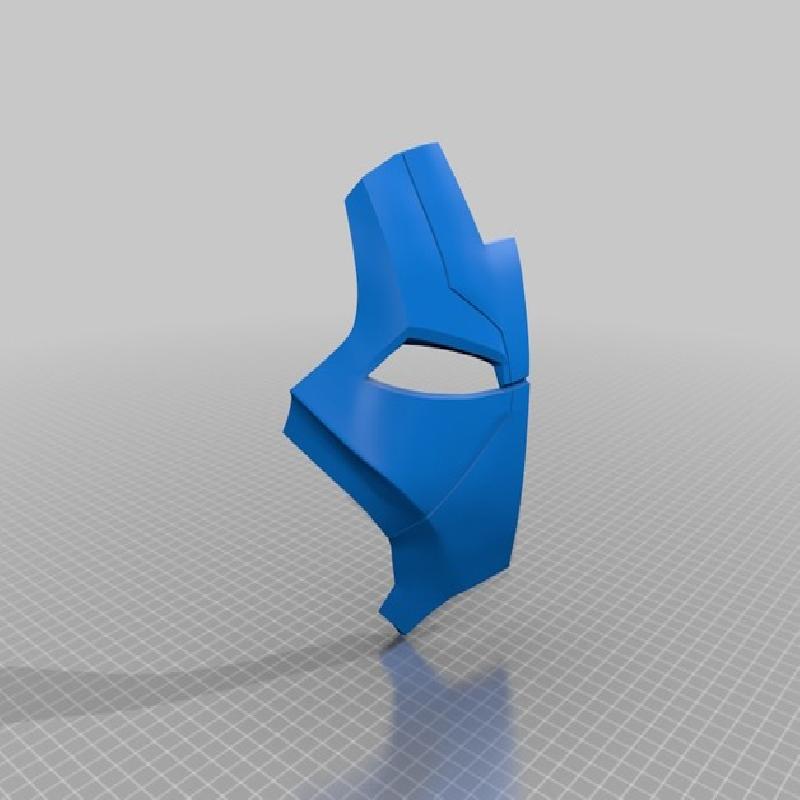
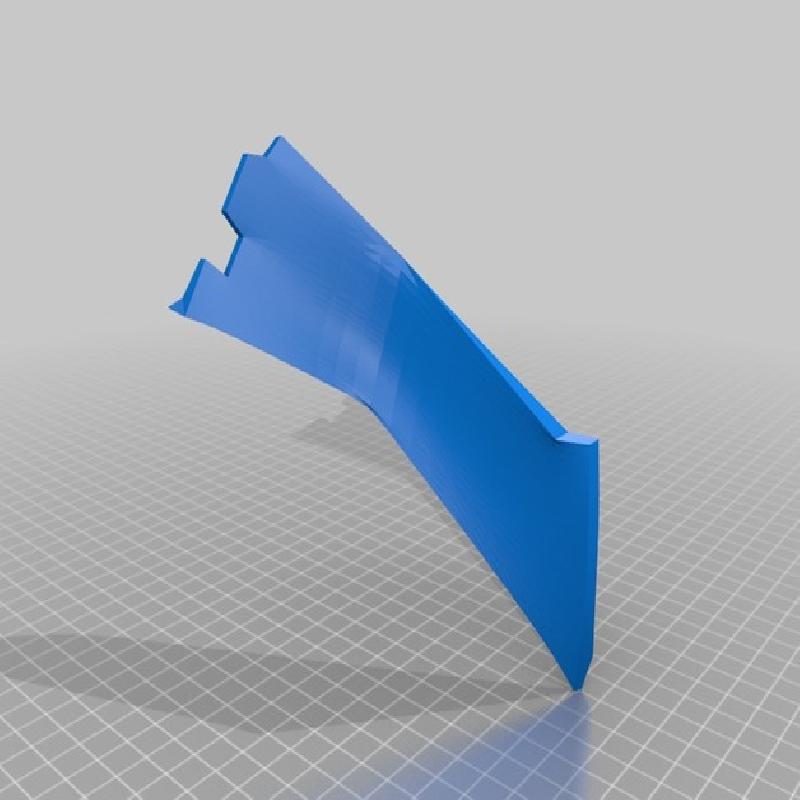
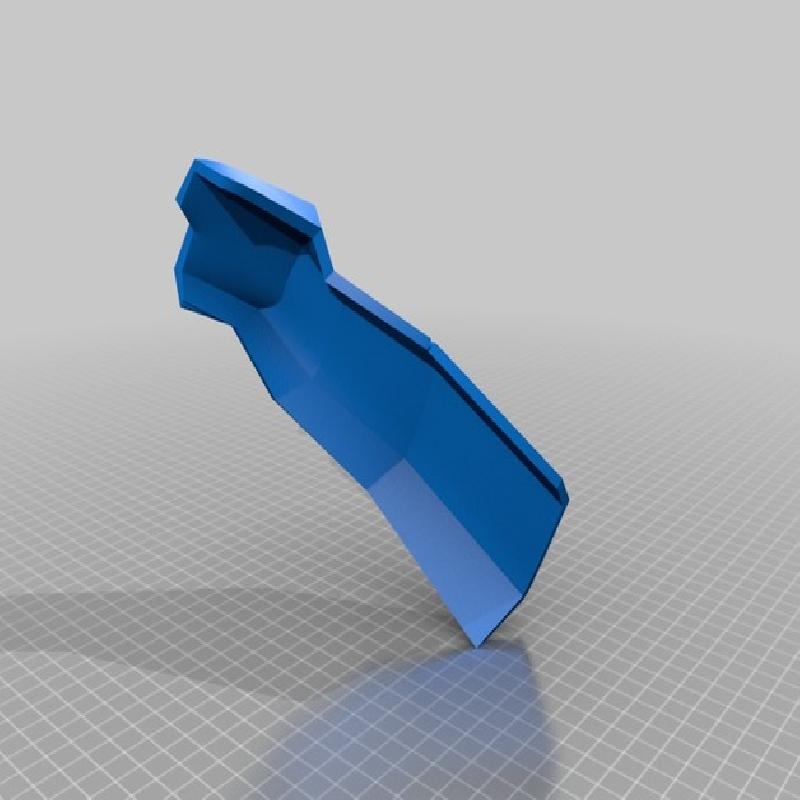
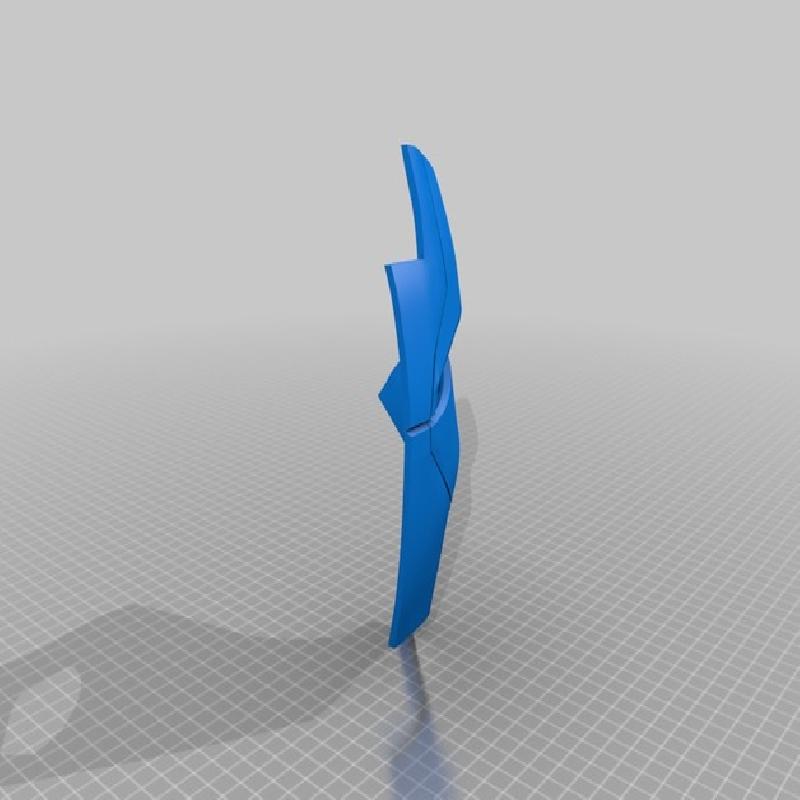
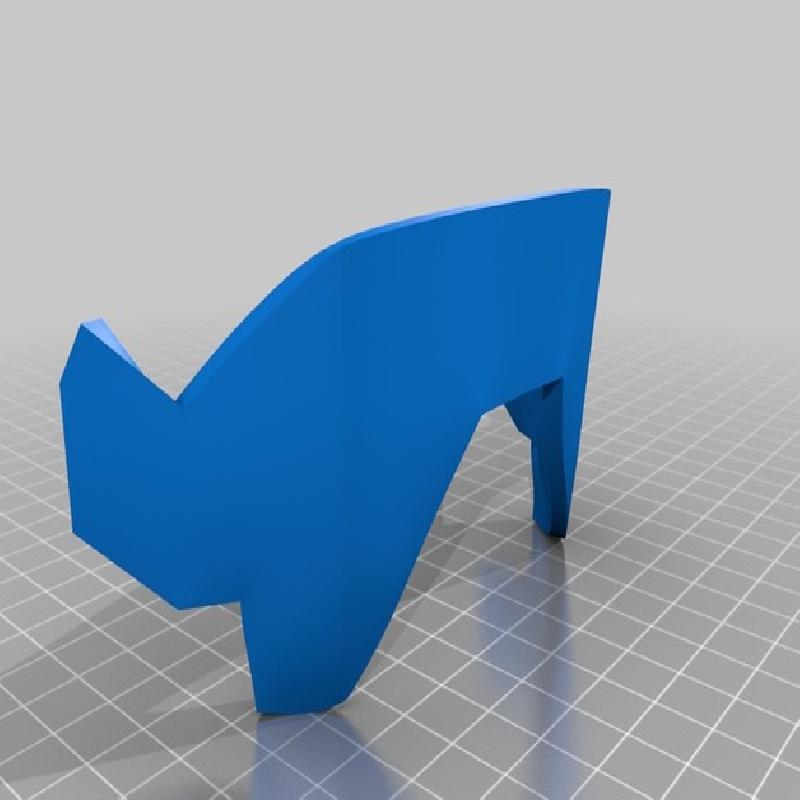
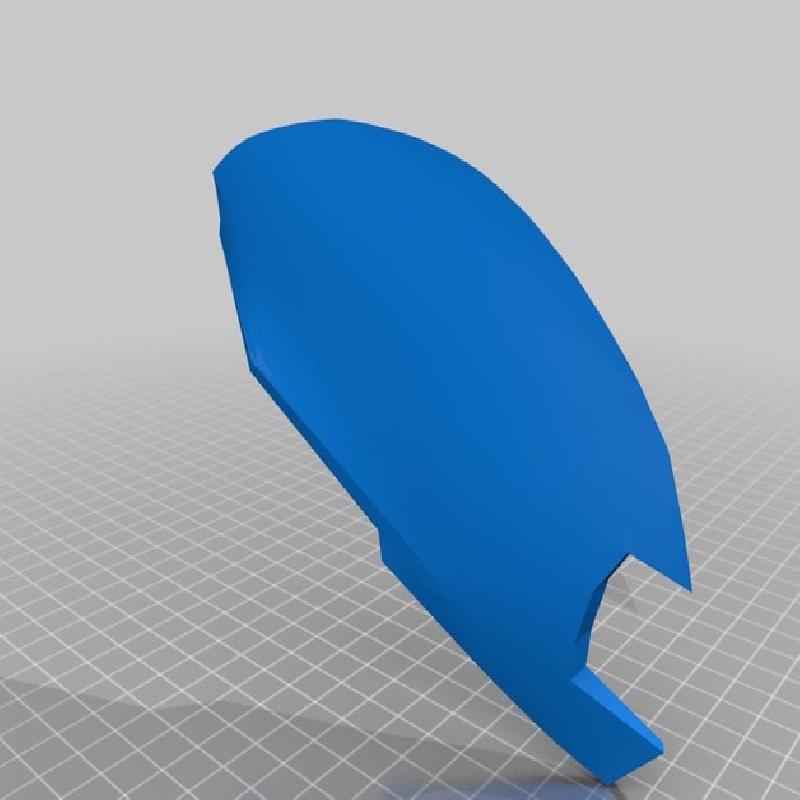
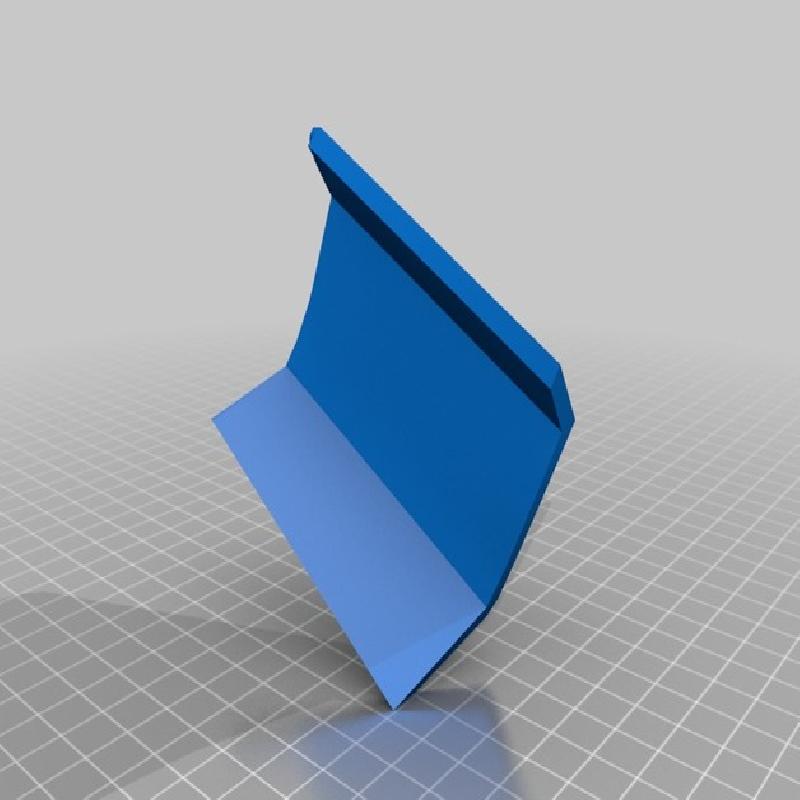
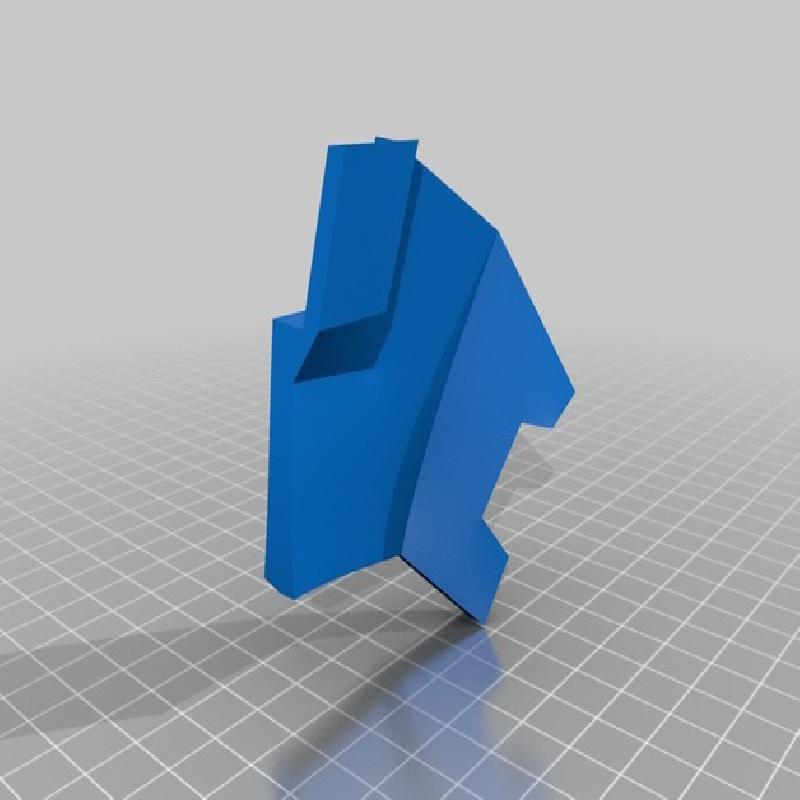
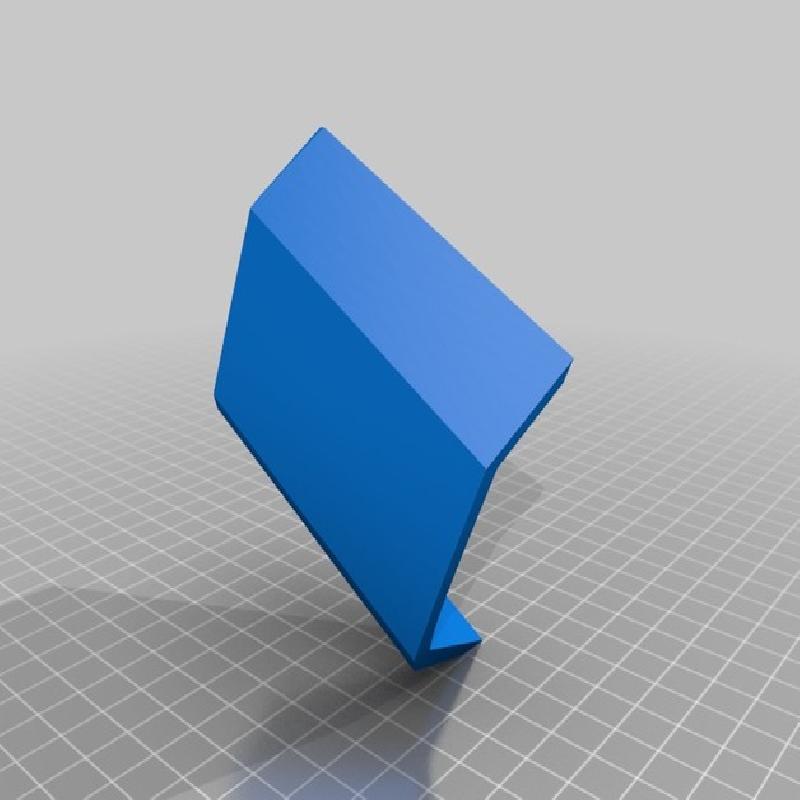
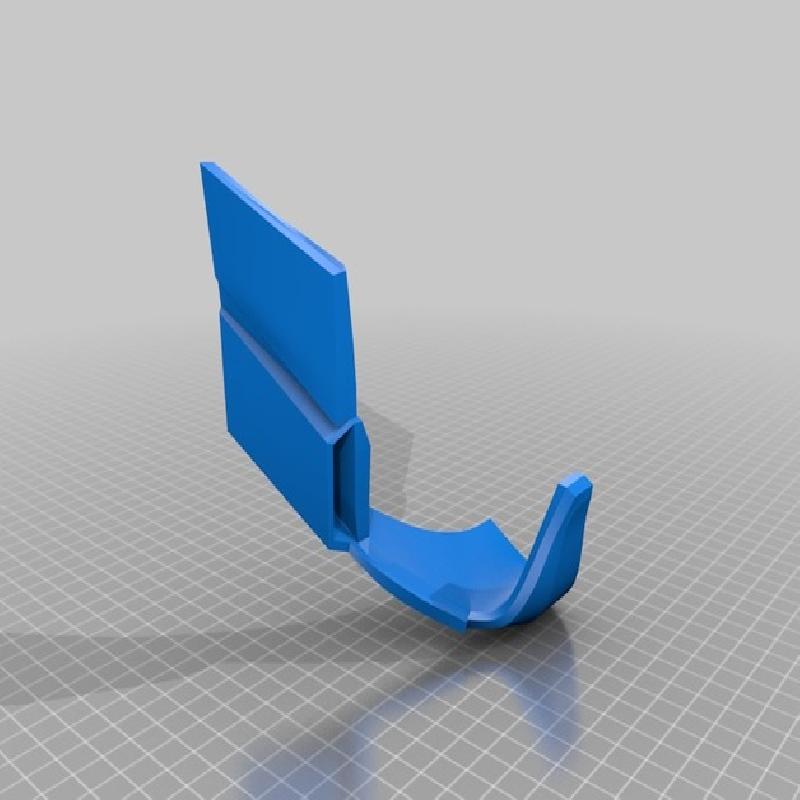
Remix of the helmet found by Jace1969.
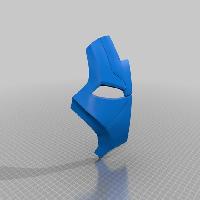
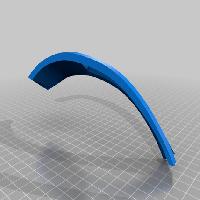
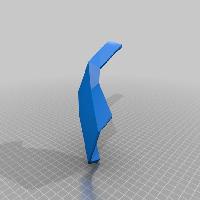
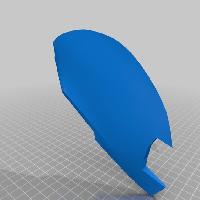
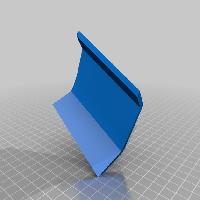
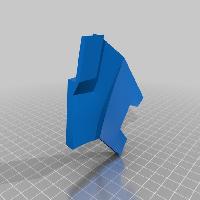
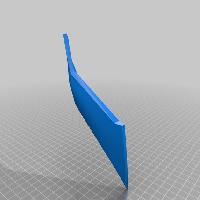
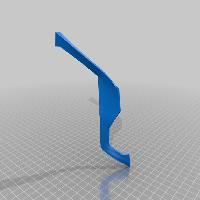
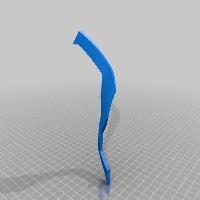
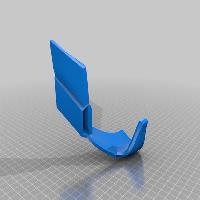
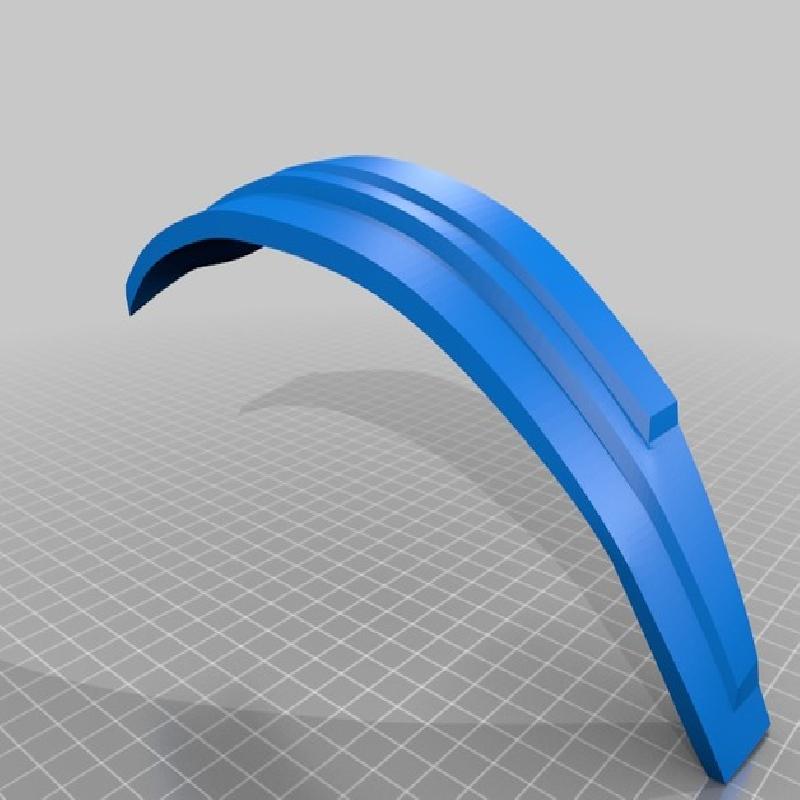
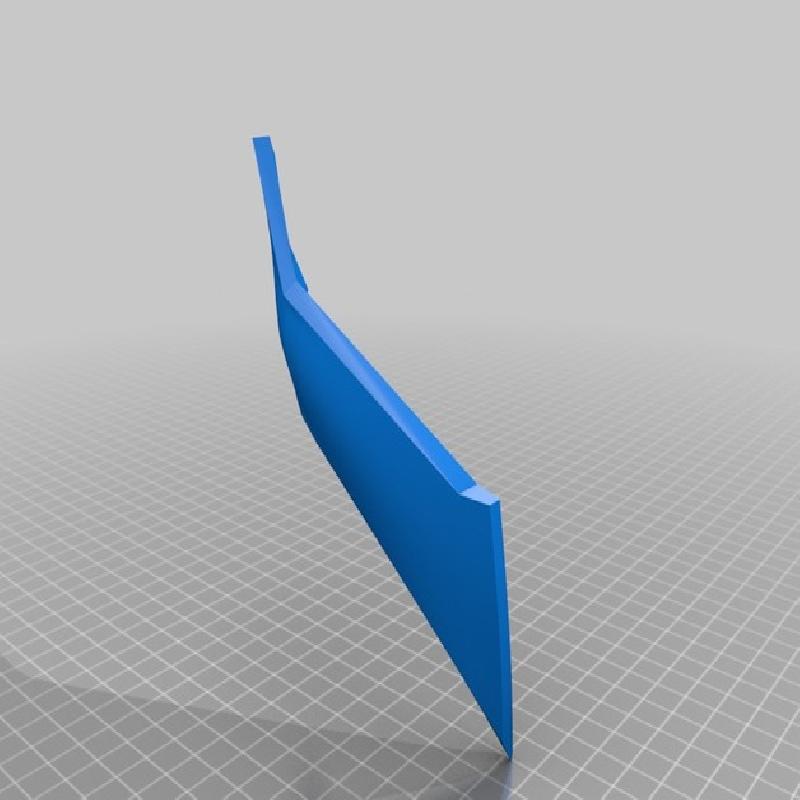
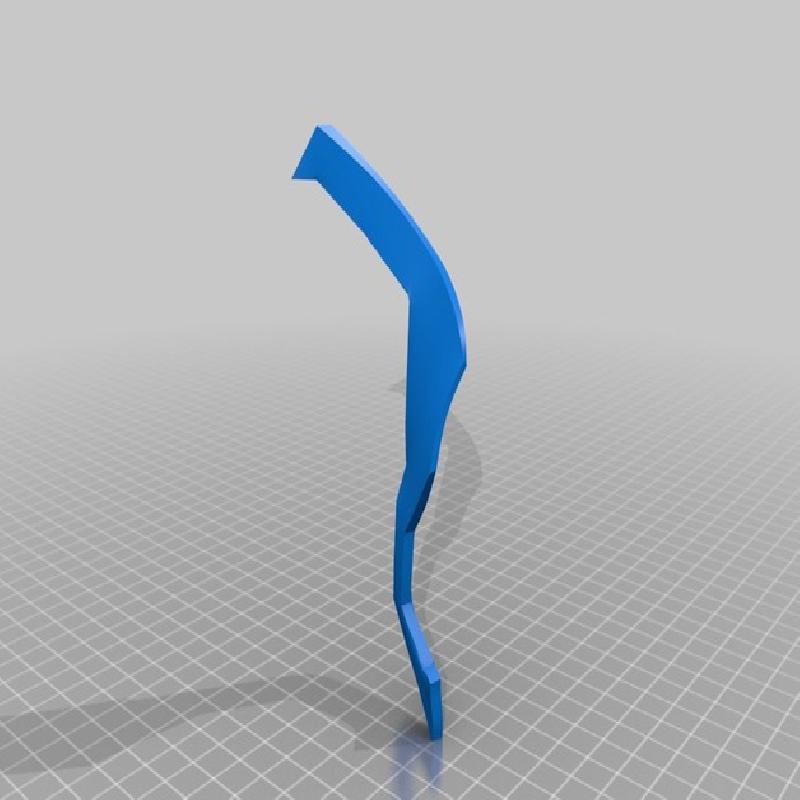
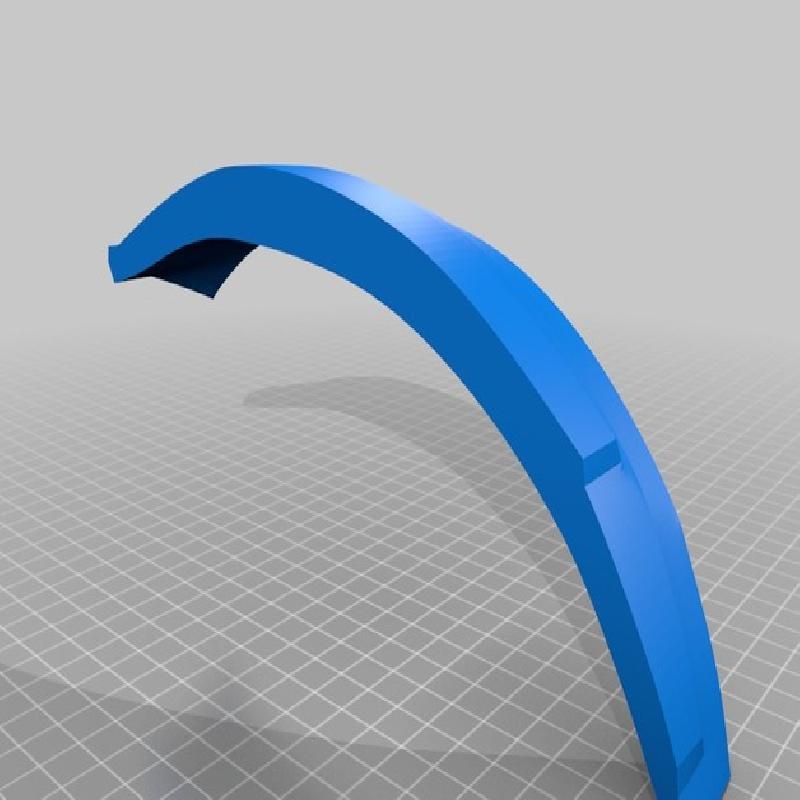
I repaired most of the model and broke it into pieces for easier short-prints. Its also been scaled to fit my [large] head. It seems a bit long, leaving a few cm of space at the front and back, but only half that on the sides.
This is not an easy project, most pieces will require significant sanding after being done.
I advise against attaching the neck pieces, as the helmet cannot be put on with them.
For those looking to rig up the helmet with servos/electronics, you'll need to rework the faceplate as it wedges against the bottom lip.
Printer Brand:
Wanhao
Printer:
Wanhao Duplicator i3 Plus
Rafts:
Yes
Supports:
Yes
Resolution:
0.2 mm
Infill:
25%
Notes:
-Printed with a brim, not a raft. Depending on the angle you choose to print pieces, some will require considerable clean up and sanding.
Lots of sanding. Use an electric sander with a 80-120 grit to wear down the obvious blemishes. I held the sander with my knees and rubbed the pieces onto it for maximum control.
After 120 grit, get some primer or bondo (use a color different from your plastic) and fill in the layer lines/print defects. Make sure to let it cure for a day or two.
After curing, sand it with 120 - 300. Sometimes its hard to tell if you've sanded enough, so I always sand until there's no more primer or bondo visible. Don't worry about going smoother, the paint will do the rest!
Regarding painting: primer layer, several light coats with your paint of choice, and then a gloss coating to help protect the paint. I messed this up a lot, give yourself a week to do this step alone. If you use too much paint, wait for it to dry and re-sand.
Used blender and cura.
I took the base mesh and spent a few hours cleaning up the connections and adding connective surfaces. I scaled the helmet by printing a ring-section that stretched from the bridge of the nose, over the ears, to the back of the head. Use boolean tools in blender for this!