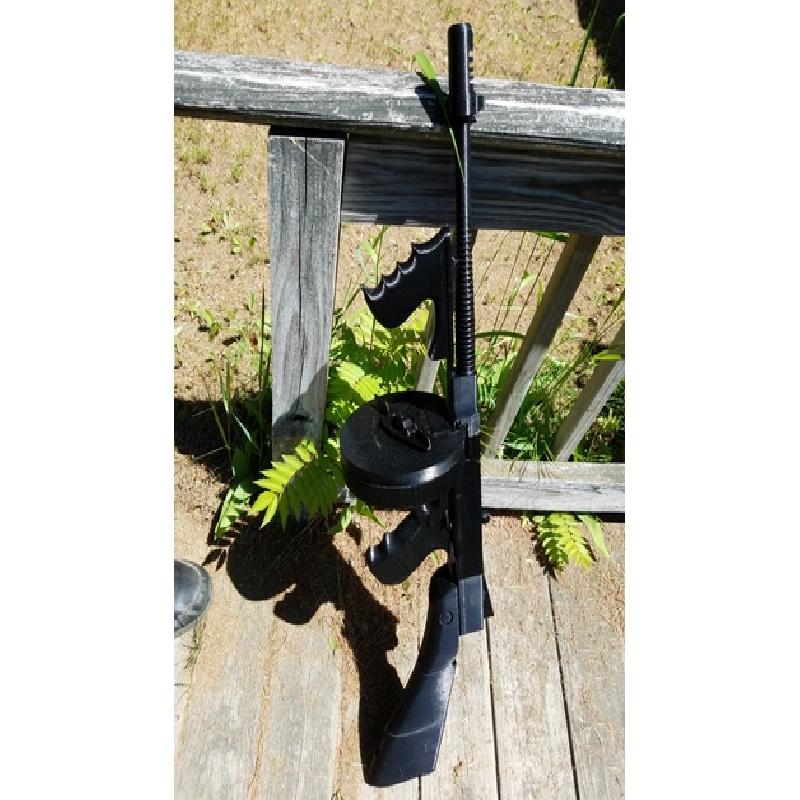
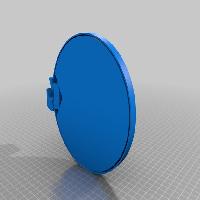
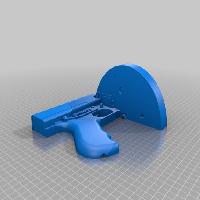
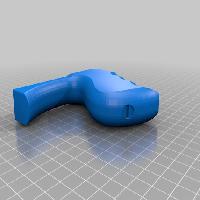
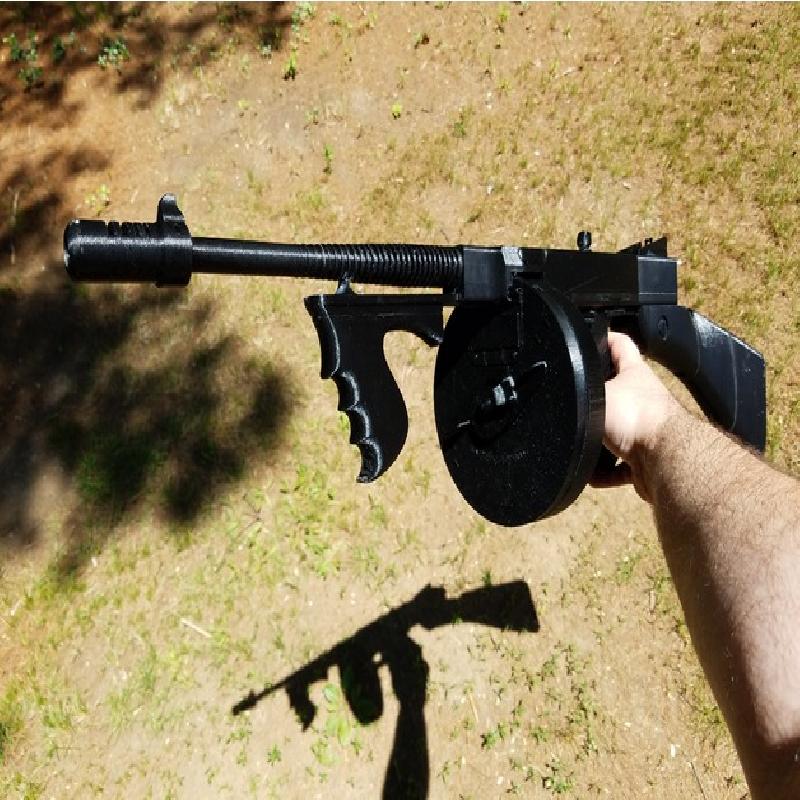
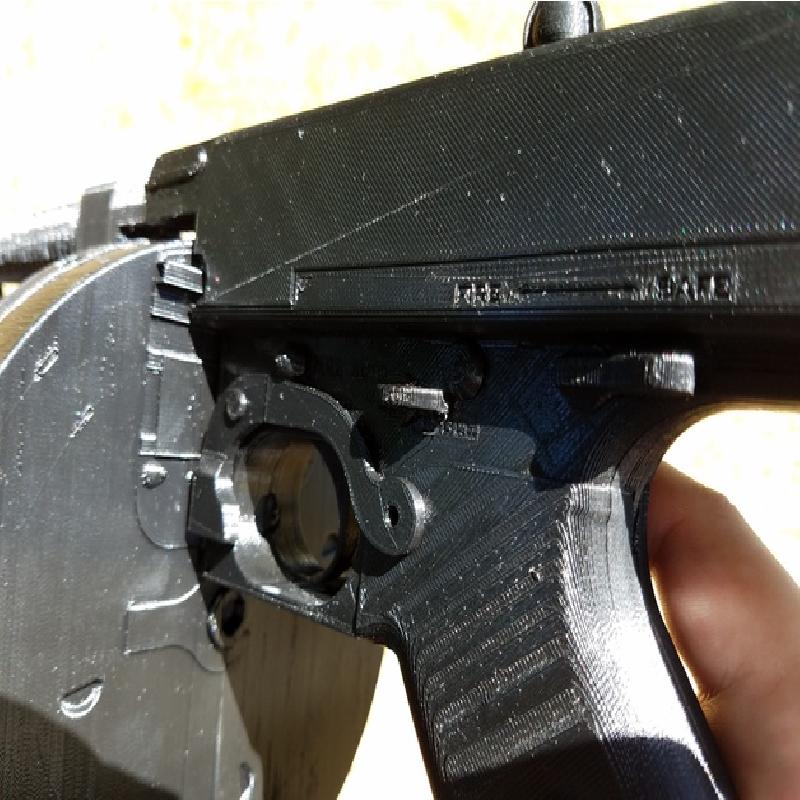
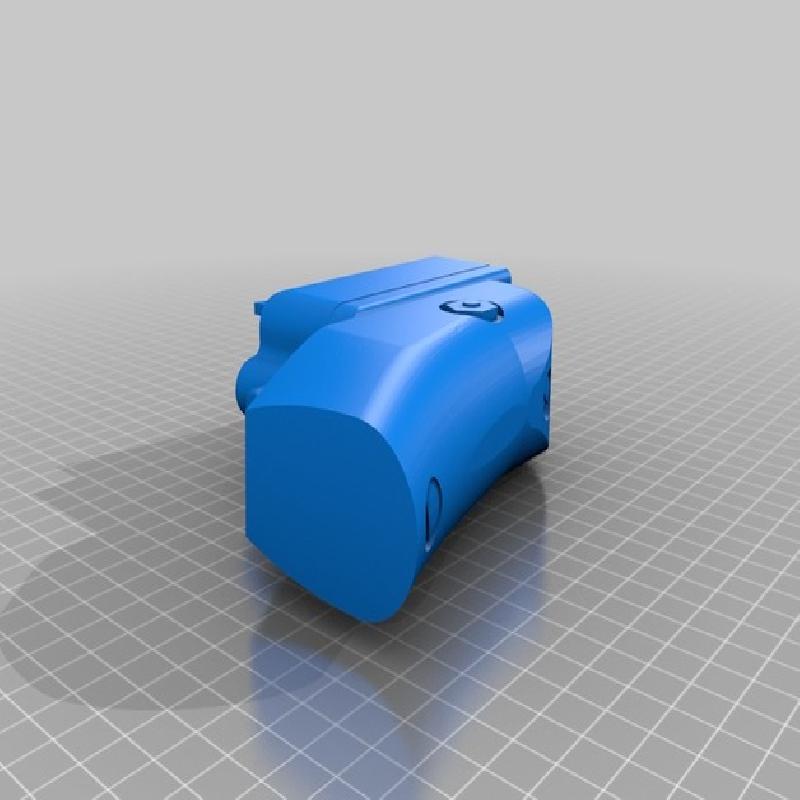
This is a full scale, printable version of the original Thompson. It includes both the classic drum magazine, the vertical foregrip, and all of the engraved text of the original firearm. The only difference is the original ladder style rear sight has been replaced with the more popular fixed sight.
While the finished model is very sturdy overall, there is one weak spot: the connection of the foregrip to the barrel. This is the same weakness that resulted in the grip being replaced with the standard barrel foregrip, so it's at least historically accurate.
The model has no moving parts, and is fairly easy to assemble, even without internal guide rods. It does take almost an entire 1kg roll of PLA to print, and better than 80 hours of print time.
Printer Brand:
Wanhao
Printer:
Wanhao Duplicator i3 V2
Rafts:
Yes
Supports:
Yes
Resolution:
.2
Infill:
20
Notes:
Rafts are encouraged, as even with the large surface area there was some lifting on the sides. However, it's not always possible. The upper receiver/drum pieces took my full print area, but it did help the smaller pieces print flatter.
Most of the pieces should be arranged to print with the interior glue side down to keep the most detail possible in the model.
Sanding
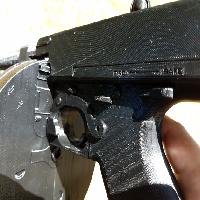
Almost all of the pieces had to be sanded a bit to glue well. This was mostly because I printed with rafts to keep the interior faces super flat. I also had some issues getting the trigger to line up perfectly, so I rolled up some sandpaper and filed down the ridge.
Gluing
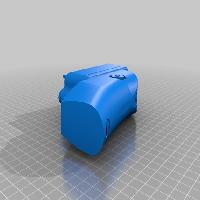
The model is designed to be printed in large pieces and glued together. Most of it went together pretty well, but I did run into issues with the upper receiver/drum pieces lining up properly. If someone wanted to model in some guide rods, that would probably help. I might give it a shot if I were to print another one.
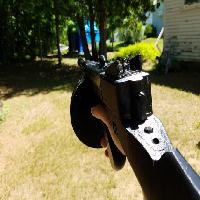
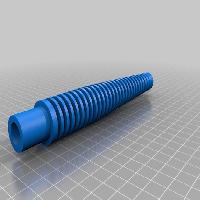
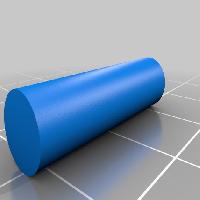
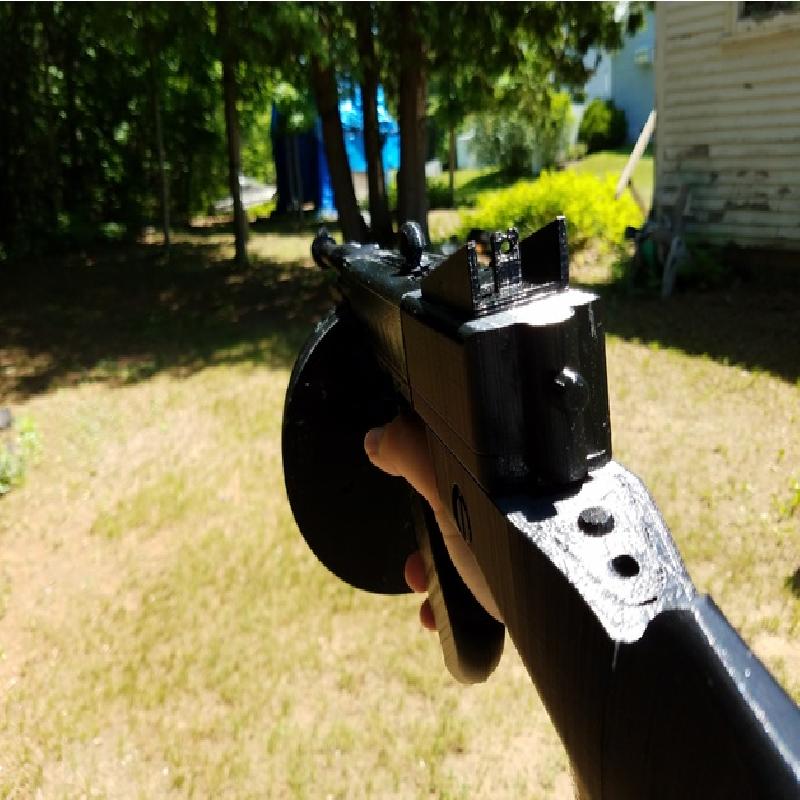
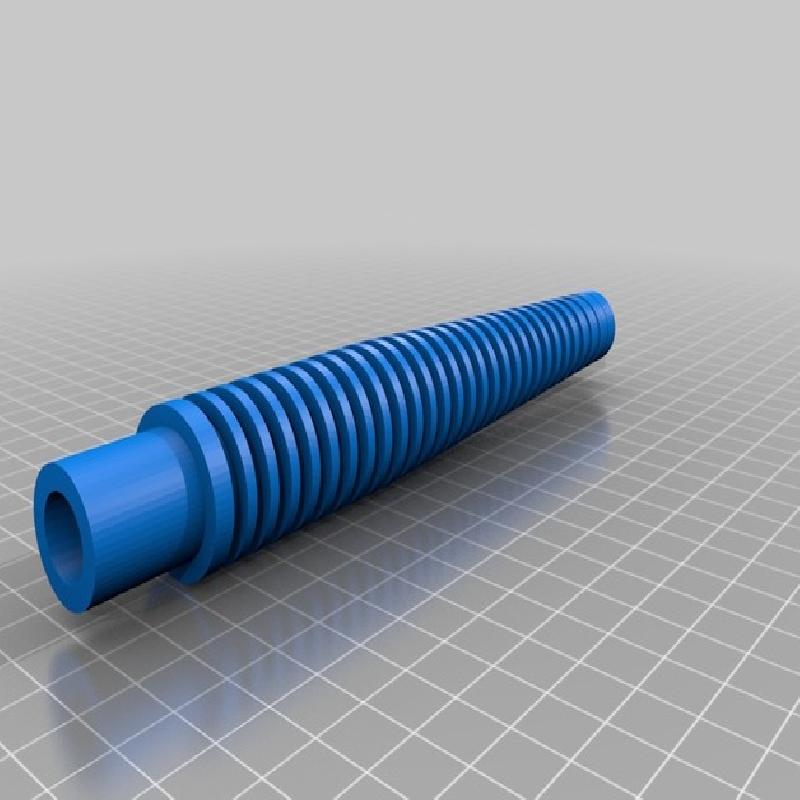
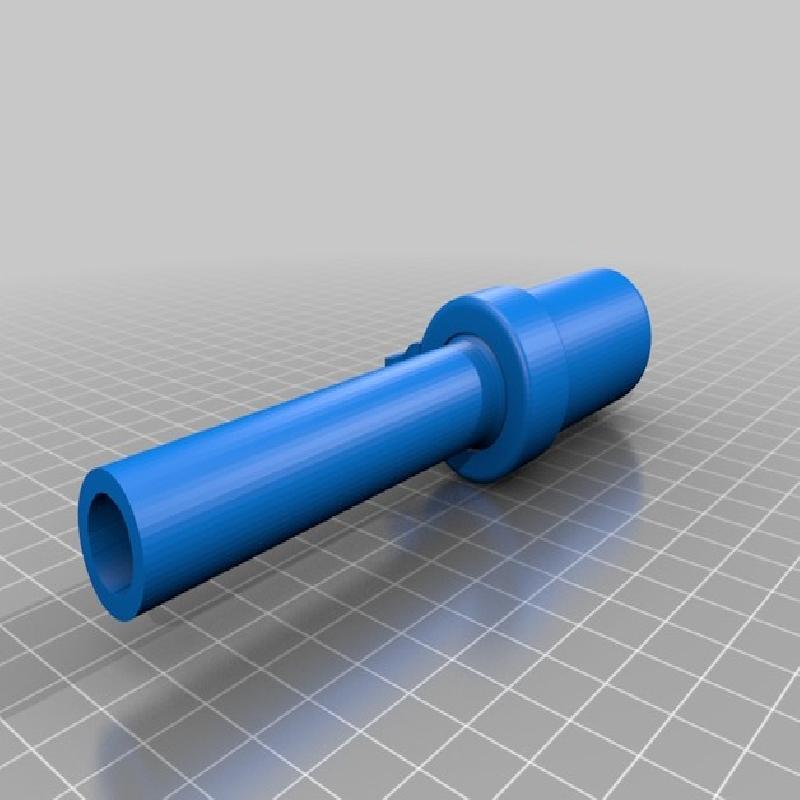
The barrel is the easiest to put together, and I didn't end up gluing down the compensator. It fits in pretty tight, and leaving it unglued allows for adjusting the sight alignment post-assembly.
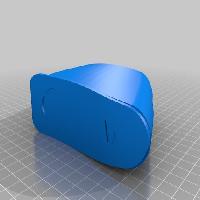
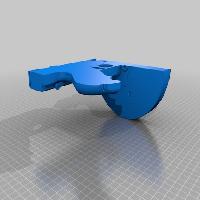
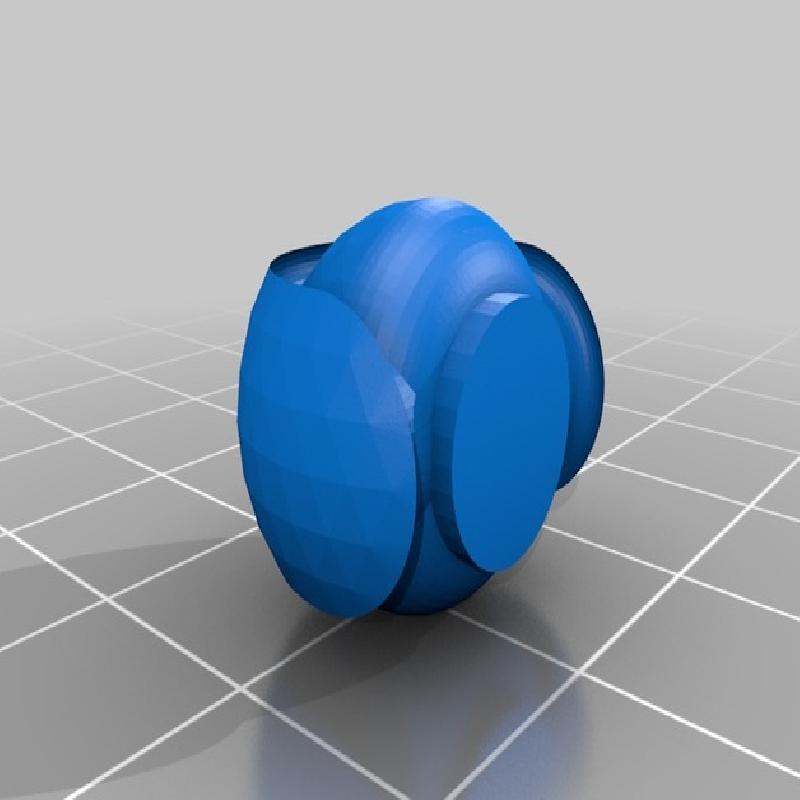
The Foregrip
As mentioned, the foregrip is really the weak point of the whole design. It holds to the main body very well, but where it connects to the barrel, not so much. I think the original (being made of metal) fared better, but even that was replaced with something sturdier.
Care must be taken when gluing the grip on to make sure the little U support lines up with one of the barrel fins. I then glued the support to the fin, but it has come apart a few times if it falls over or something.
The Dream
Ever since I watched the black and white gangster movies as a kid, I wanted a thompson. It was the first thing I thought of when I got my printer, and every thing I printed, failed, got better at, and practiced was in preparation for this. Once it was finished, I practically slept with it for days. The only down side is I can't take it into work to show off.
The Design
I combed Thingiverse for weeks looking for a good model. While I found some great guns to try out, I could never find a really good Thompson. I ended up over at grabcad.com, and found a couple of models that would work.
The main gun: https://grabcad.com/library/thompson-1928a1-model-1
The foregrip: https://grabcad.com/library/thompson-1928-no-stock
The detail and scale were great, but they were obviously not printable. I took the models, combined them, and then spent a couple of weeks modeling and repairing to get them to be one solid shell.
tools3d.azurewebsites.net really saved my bacon on this, and I don't think I would have been able to complete my repairs without it.
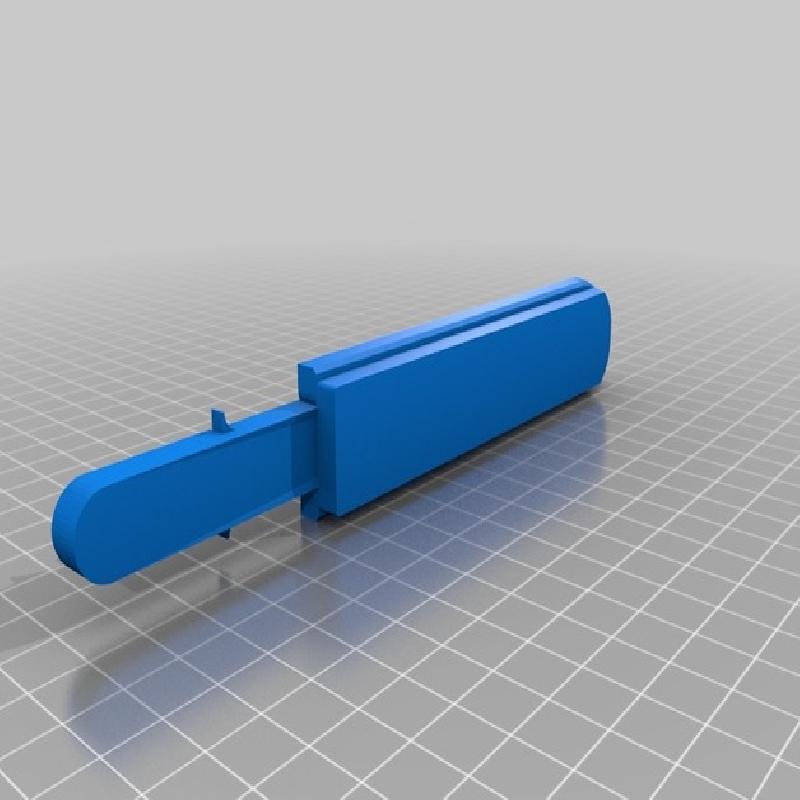
I then broke up the model, knowing that I only had an 8in by 8in area to print in, but wanting the finished piece to be as sturdy as possible.
Take Aways
There are still some issues with the model. Because of how it was designed, the drum was VERY hard to convert. It ended up alright, but not perfect.
I also wish I'd taken the time to model slots and guide rods into the main body for assembly, and I will before I print another one.
I'd also like to print one, sand it down, and paint it for a full movie prop. I probably will one day, but given how long this took to print, and how much PLA it took up, I'll probably just relax and enjoy the one I have for a while.