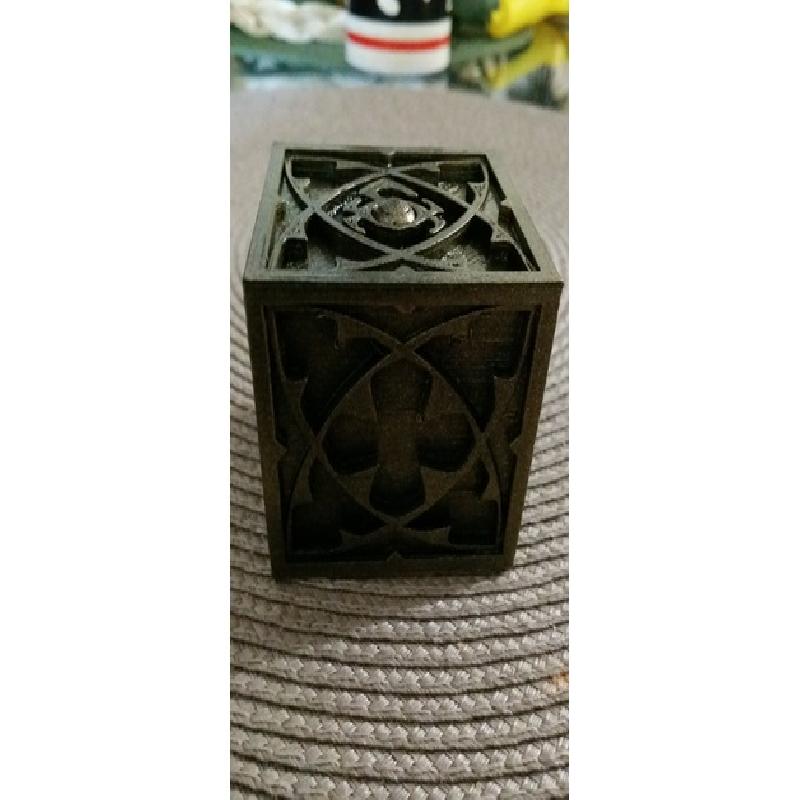
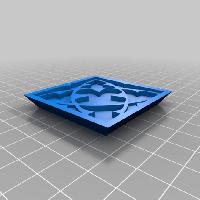
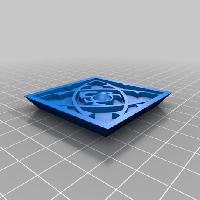
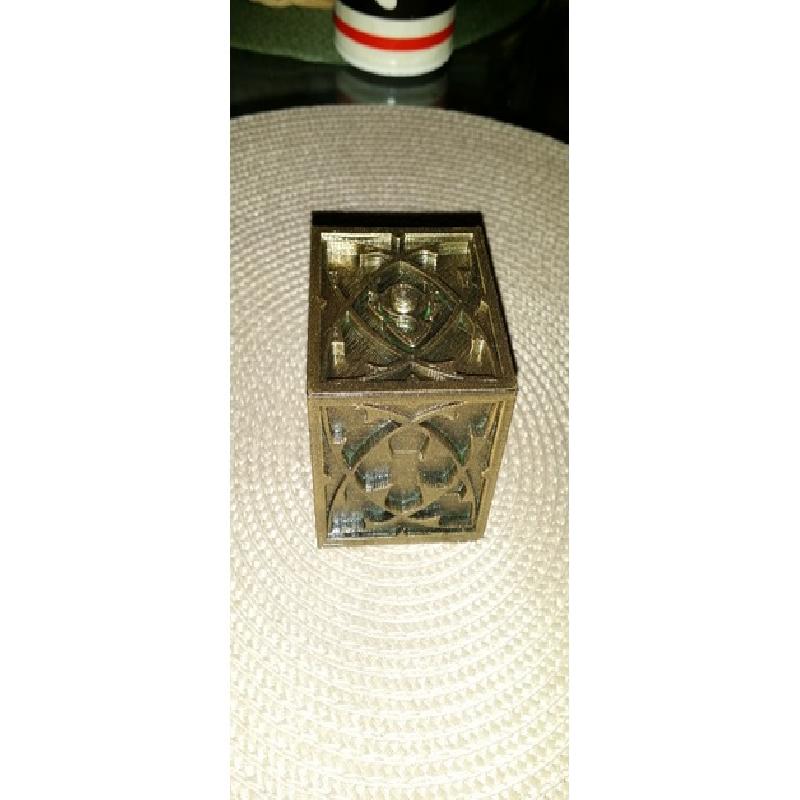
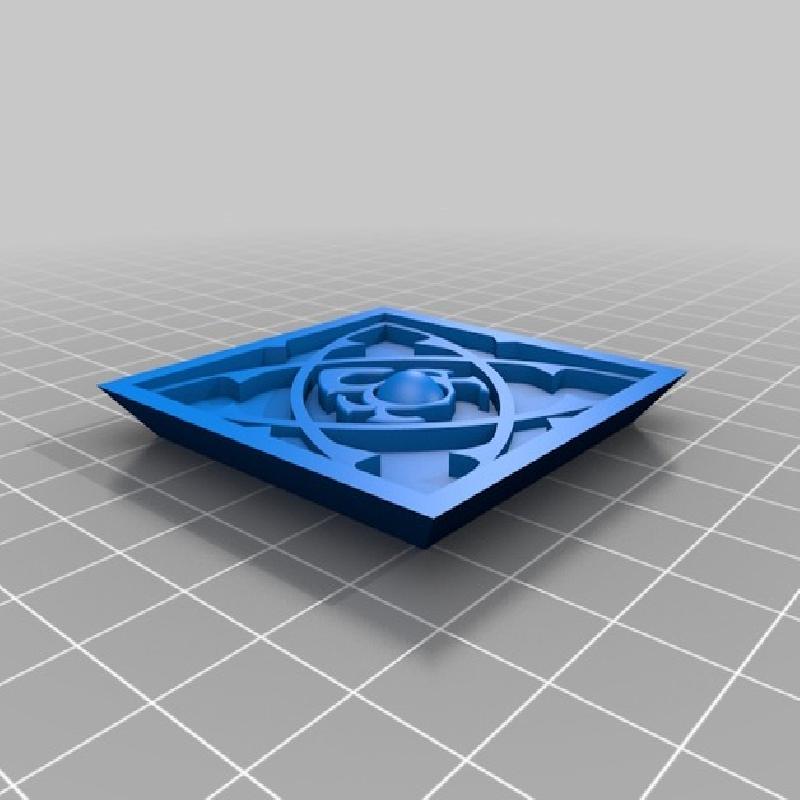
This is a reproduction, to the best of my ability, of Kanai's Cube from Diablo 3 video game. Use this to combine your valuables into mystical items and create your own custom magical upgrades, results may vary.
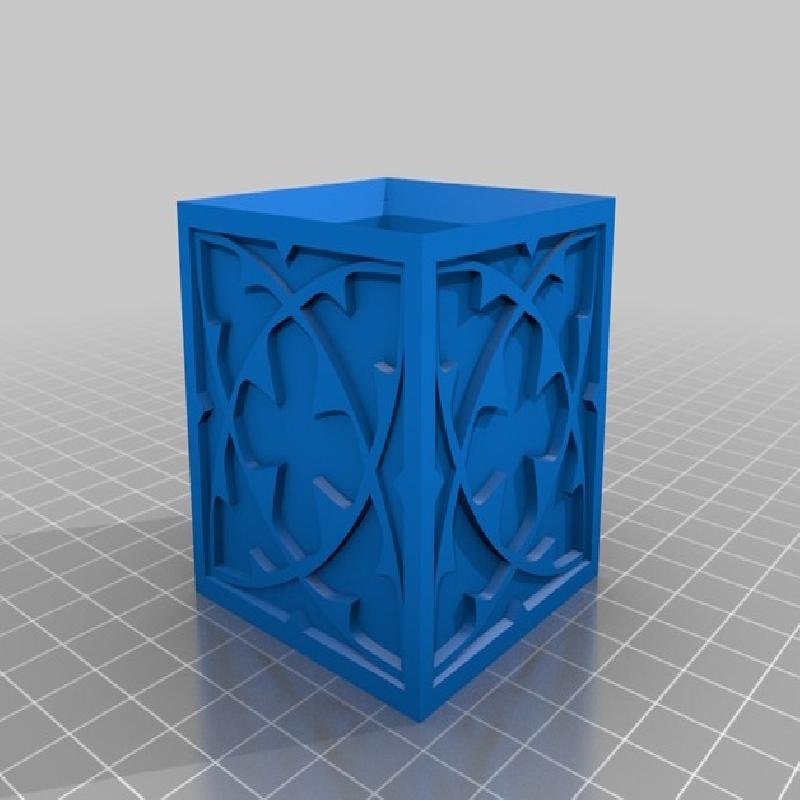
This is a 52 x 52 x 52 cm cube with about 42 x 42 x 42 cm inside space.
Printer:
Anet A8
Rafts:
Doesn't Matter
Supports:
Doesn't Matter
Resolution:
.3 mm
Infill:
60% (smaller % is acceptable)
Notes:
Printed in cheap PLA at 198 C with printer bed at 45 C. Skirting was used to help prime the heads before actual print was started
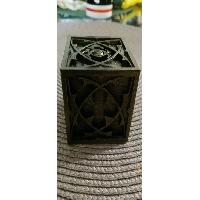
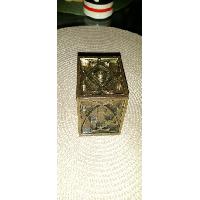
Paint job
The bottom plate will need to be glued into place to complete the cube body.
I am not a model maker so all I did was to spray paint this black ( may not be needed if printed in black filament first) then lightly sprayed with gold paint.
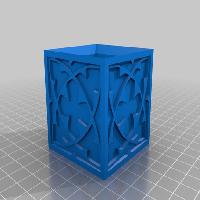
Fusion 360
I had seen another version of this on the web and while I commend the person responsible for making the cube, I had issues with it. It wasn't symmetrical nor was is completely square and the top would not fit if rotated 90 degrees. Also the etching on the cube sides was not consistent from side to side which really set my into an OCD fit (and I don't suffer from OCD). It took me a while to get what little information I could gather to try and best replicate the actual cube design. Big shout outs to my friend Adam for creating the sigil on the top lid piece.
I made this using Fusion 360 in 3 parts to try and eliminate any unwanted or wasted filament on supports. I did not use any supports on this when I printed this and set my slicer to print external shells last. I use IdeaMaker for my slicer and slowed my first layer down to 10 mm/s to ensure good adhesion on my printer bed.
I used the cheapest green filament I had and a .3 mm nozzle with .2 mm layer height and a .2 mm first layer height. After the first layer I print at 40 mm/s (your printer may do fine at faster/slower speeds).
Open to questions & Comments
Please tell me what you think or if you have any questions or other comments on this project. I am not a 3d designer and do the best I can with what little skills I have taught myself over the last several months. I am always open to more experienced 3d designers giving me an encouraging word, word of advice or even polite criticism.