by cathalgarvey, published
Notice: This is a project in development, and I intend to improve it over time. This draft will work, but it's hardly ideal. Caveat Emptor!
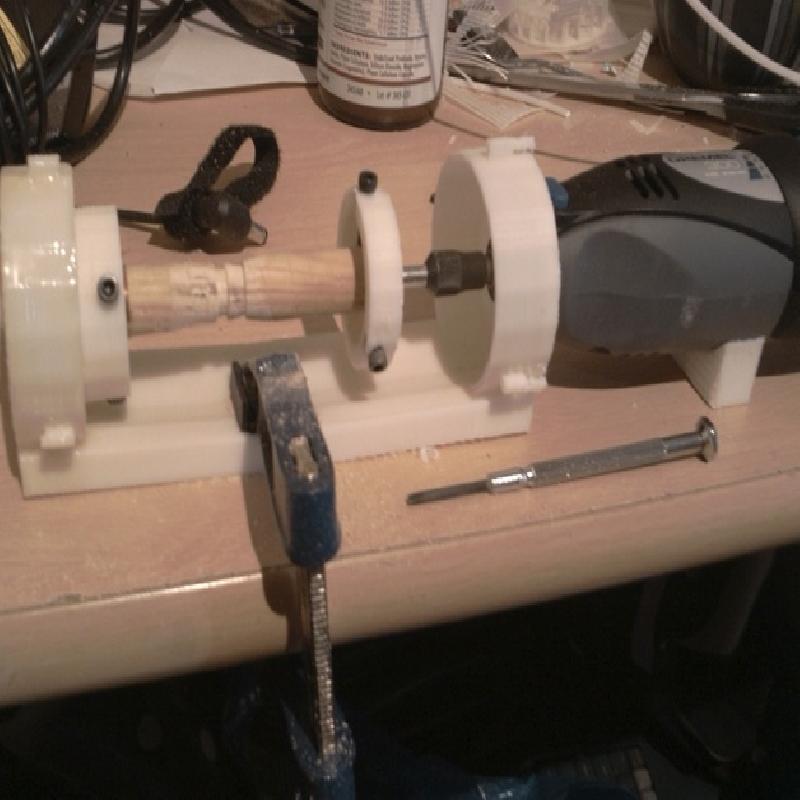
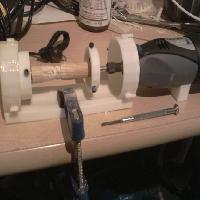
Update Jan 31st: I've uploaded Version 2, which is pretty much the same as 1.5 (which I've removed as a result) but comes with the "Hex Key Holder", which can be fitted with a standard screwdriver bit from a powertool to act as a crude "center". My experiments with using two such centers to drive the lathe weren't great, as one invariably ends up spinning and the piece stops. So it looks like the required parts at present are: Two Bearing-End-Body Sections, two Bearing-And-Tool-Fittings, A Boltplate and a Hex tool holder. You'll also want a Dremel Rest and a length of MDF/wood to bolt it all down to. And you'll need googles, and perhaps gloves, and a lot of sense.
For now, it is left to the user to figure out spacing of the body sections and how to align them. I'm working on improving that. :)
More Update: Really bad video of me demoing Microlathe: http://www.youtube.com/watch?v=6XXN6UkrnIw and a shot of the finished piece of dowel on my Twitpic: http://www.twitpic.com/y8jnl
Also, Microlathe was featured on Makezine! http://blog.makezine.com/archive/2010/01/tiny_printable_dremel-powered_lathe.html
Microlathe is a little dremel-powered woodturning/watchmaker's lathe that can be printed and bolted together with all those leftover M3 nuts and bolts that came with your Makerbot. In addition to the M3 nuts/bolts, you only require a 608 bearing (I got an extra one with my Makerbot) and an 8mm diameter spring to fit the bearing-end. You probably don't even need that spring.
So, if you have a Dremel handy, you can consider this "The Lathe That Came Free With The Makerbot"!
Microlathe is Parametric, and makes use of a "Global Parameters" script from which the others derive shared traits such as the radius of the bolt plates, etc.. you could try printing a larger one, but bear in mind the limited space you have to print the body portions, which are already quite large for a Makerbot.
MicroLathe makes use of shapes.scad, which was kindly released to the community under the GNU General Public License by Catarina Mota. Permission was explicitly granted for shapes.scad to be considered released under an Attribution, Sharealike license additionally in this case, to facilitate licensing crossover. Thanks a million Catarina!
Microlathe also makes use of teardrop.scad, which was provided kindly by Erik De Bruijn. Teardrop.scad is released under the GPL2 license, with the inheritance clause generously waivered in this case to permit release under a non-GNU license. I'm very grateful Erik, thanks!
I'd appreciate a small donation via Paypal if you find yourself using this to generate a profit (selling turned items, etc.), or if you just love it and want to show your appreciation. Otherwise, it's all yours to print for yourself or others! Just don't charge for it without asking me and informing the buyer that it's available freely here.
Microlathe requires some large printed parts, which may necessitate the use of a heated or pre-heated build platform. Even with a heated platform, my body sections had a slight curve to them that required clamping to a flat surface to remedy. Future revisions may do away with the "Spine" of the Lathe to help prevent this.
In the STL Pack, you'll find all the parts needed. You can alternately print directly from the Gcodes in the Gcode Pack, though bear in mind I extrude at around 230C. You may need to change this temperature manually.
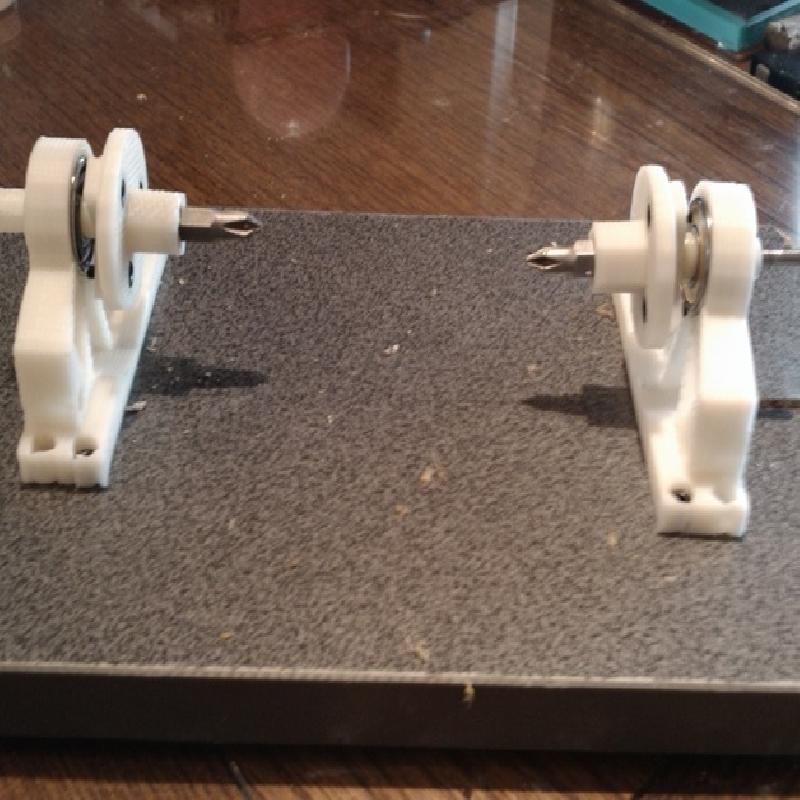
As of my first test print, the tolerances were slightly too tight on these STLs. You will need a craft knife to widen holes that don't fit your nuts and bolts. You may also want a ratchet-clamp to help push in the captive nuts on either bolt-plate. Their tight fit is actually advantageous, as they're used to provide easy threads for the bolts, and you want them immobile. But be careful, as you can damage the Fabject at this stage. Additionally, the spur for the inside of the bearing was too narrow, leading to instability at higher speeds. I aim to fix this shortly!
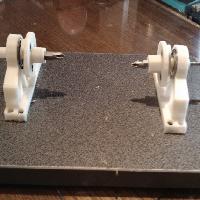
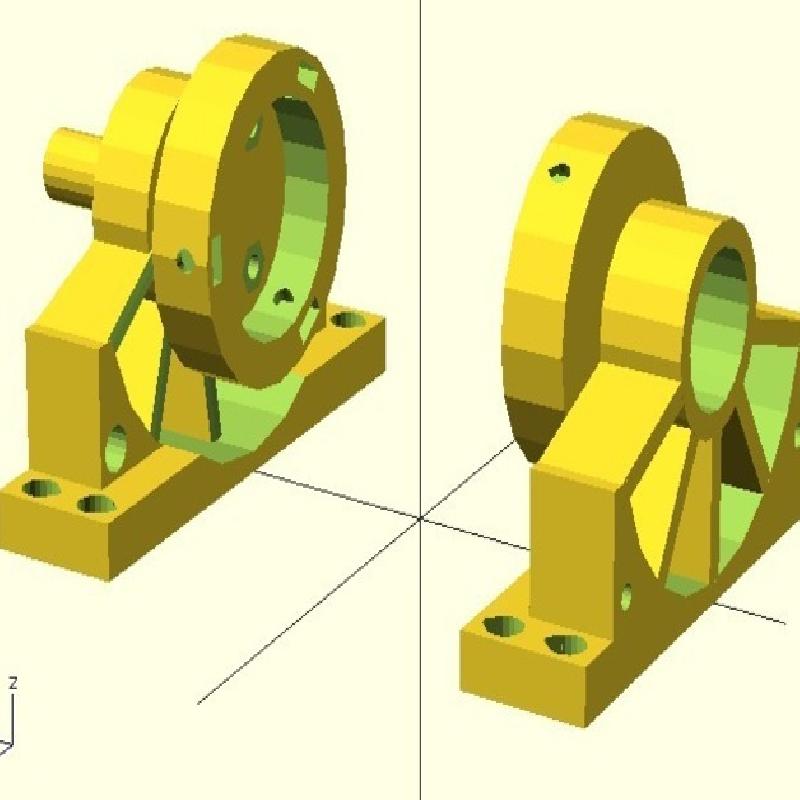
Assemble as shown in the pictures, using M3 nuts and bolts to secure all the parts together.
You may need to have several sets of M3 bolts of varying length for the boltplates, so that when a dowel is affixed properly by the bolts, the Bolt-Heads are flush with the rim of the BoltPlate. This is because I added housings for the spinning boltplates to help prevent injury (which don't really house the boltplates that well anyway); if you want to render without these housings, it's up to you.
The first draft does work, but is flawed. Take great care, and bolt/clamp down the body to a solid surface if you plan to use it.
Use of the MicroLathe, Dremel, and Makerbot are entirely your own concerns and risks. I take no responsibility for any personal harm you cause yourself, others, or to property through your use of this item in any manner. Wear goggles.