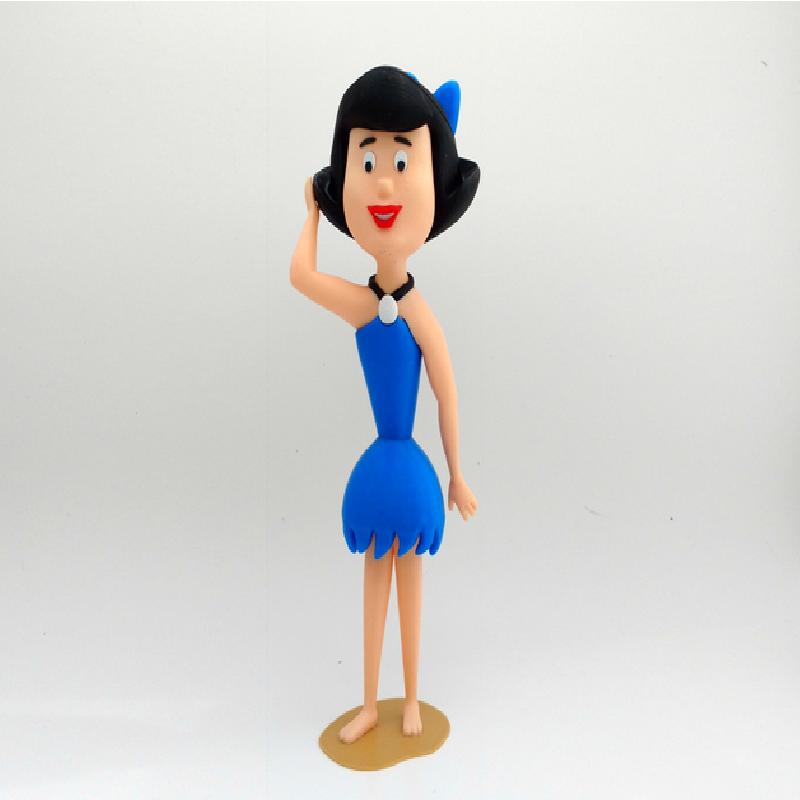
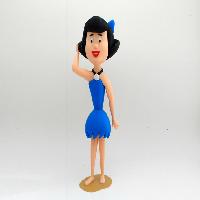
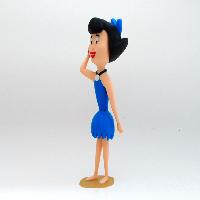
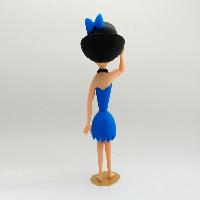
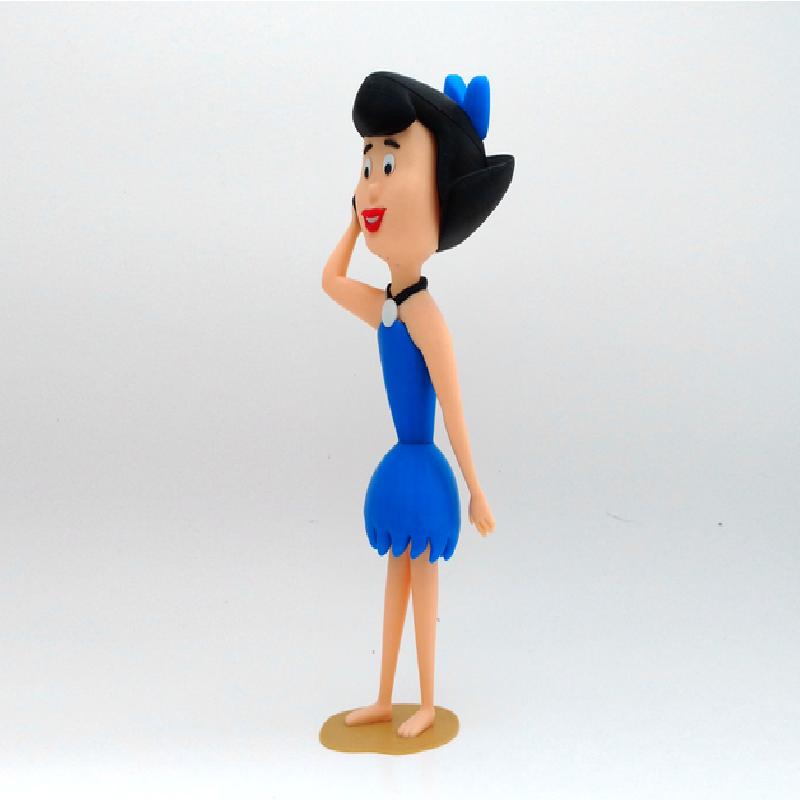
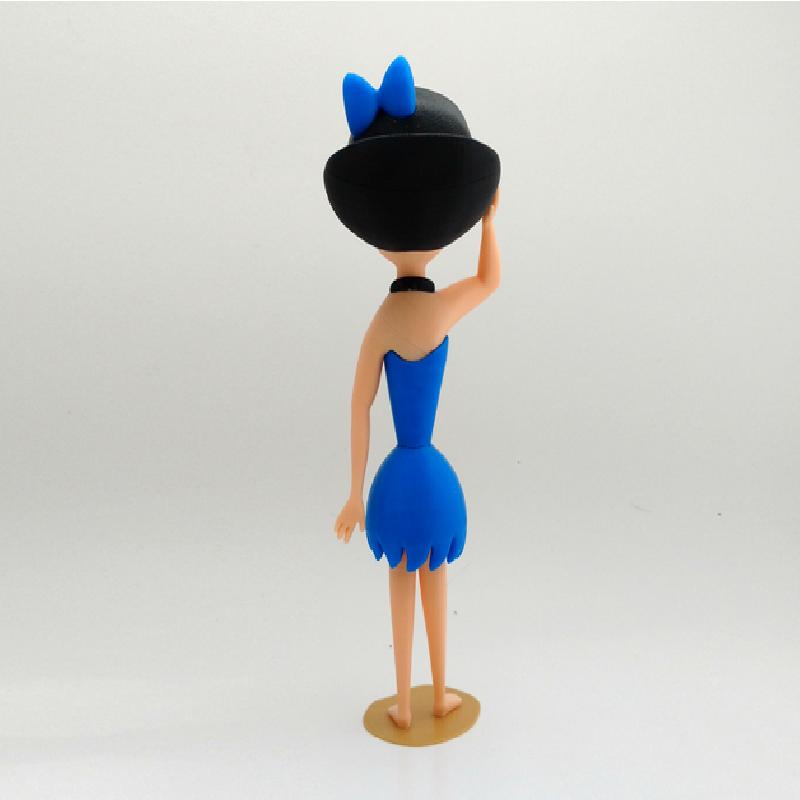
Betty Rubble, from the Flintstones cartoon show by Hanna-Barbera.
The Flintstones cartoon takes place in a romanticized Stone Age setting, depicting the lives of the Flintstone family and their best friends and neighbors the Rubbles.
Betty was modeled in proportion to my Fred, Wlima, Barney and Dino models.
Fred: http://www.semaker.com/productdetail/7382
Wilma: http://www.semaker.com/productdetail/7383
Barney: http://www.semaker.com/productdetail/7929
Dino: http://www.semaker.com/productdetail/1074
No supports are required. If you have the proper filament colors, no painting is needed.
The model is 260mm tall.
Enjoy, and I hope you have a "Yaba Daba Do" time printing this!
Printer:
FlashForge Creator X
Rafts:
Doesn't Matter
Supports:
No
Resolution:
.2mm
Infill:
10%
Notes:
See below for helpful printing and assembly tips
Colors (there are no multiple printed pieces)
Black:
eye_black_right
eye_black_left
eyebrow_right
eyebrow_left
strap
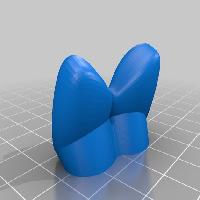
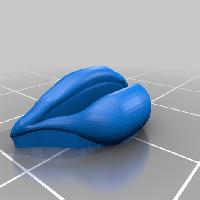
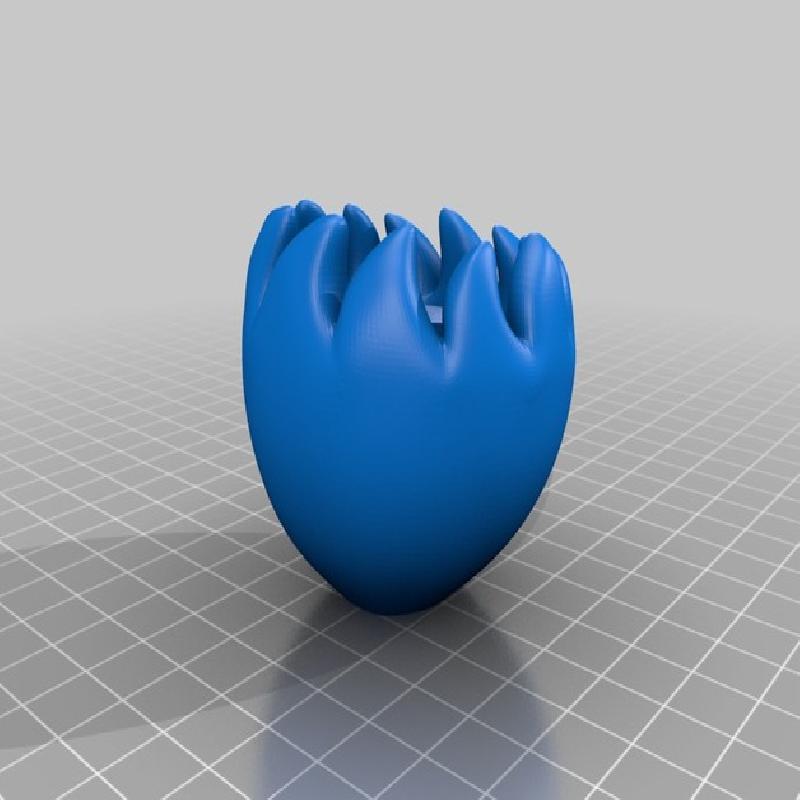
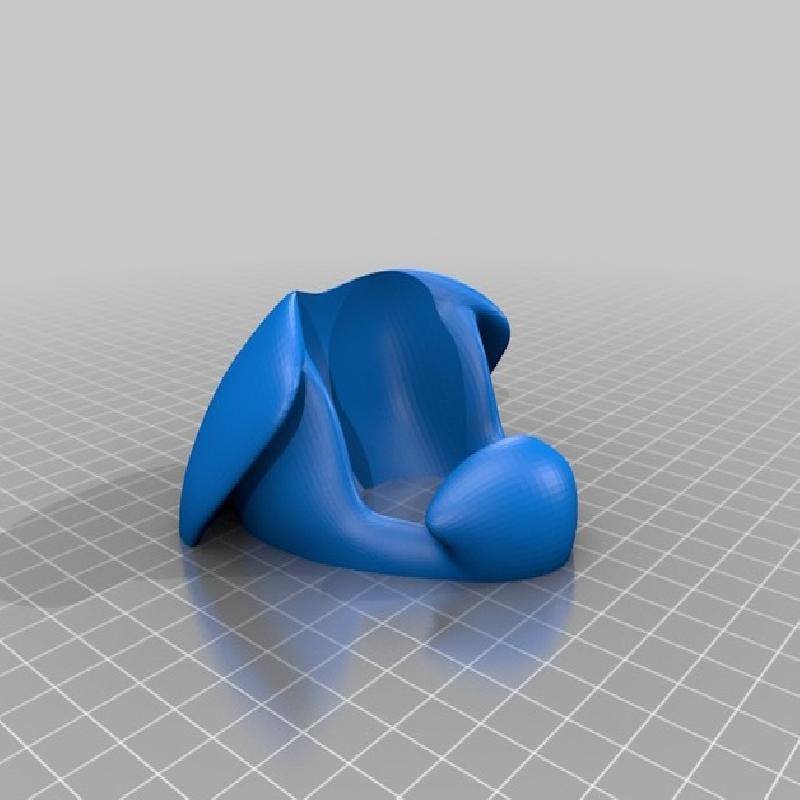
hair_top
hair_bottom
..
Skin or Beige:
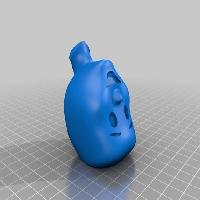
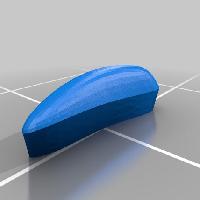
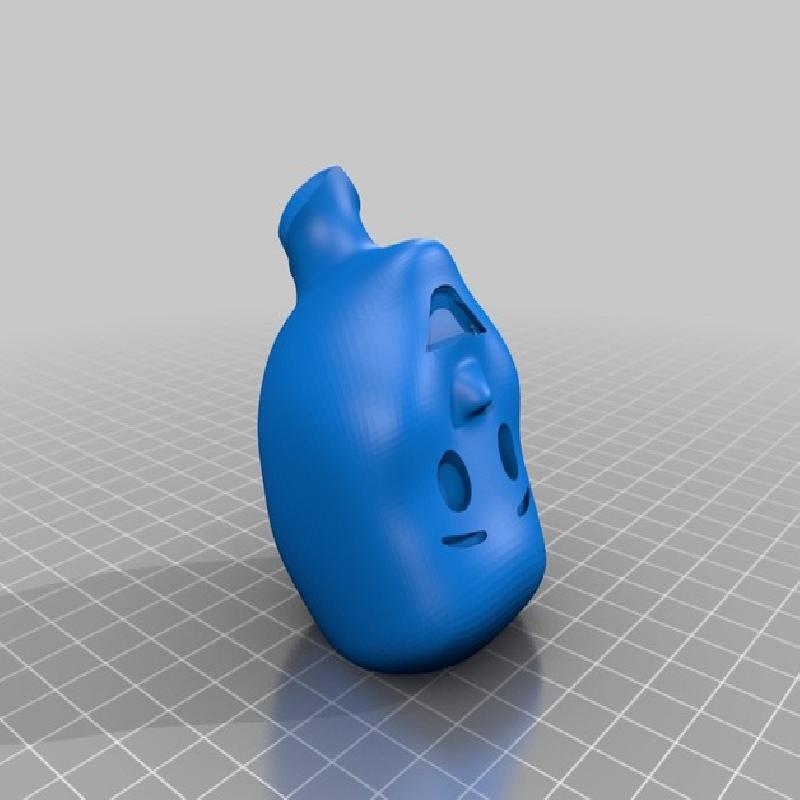
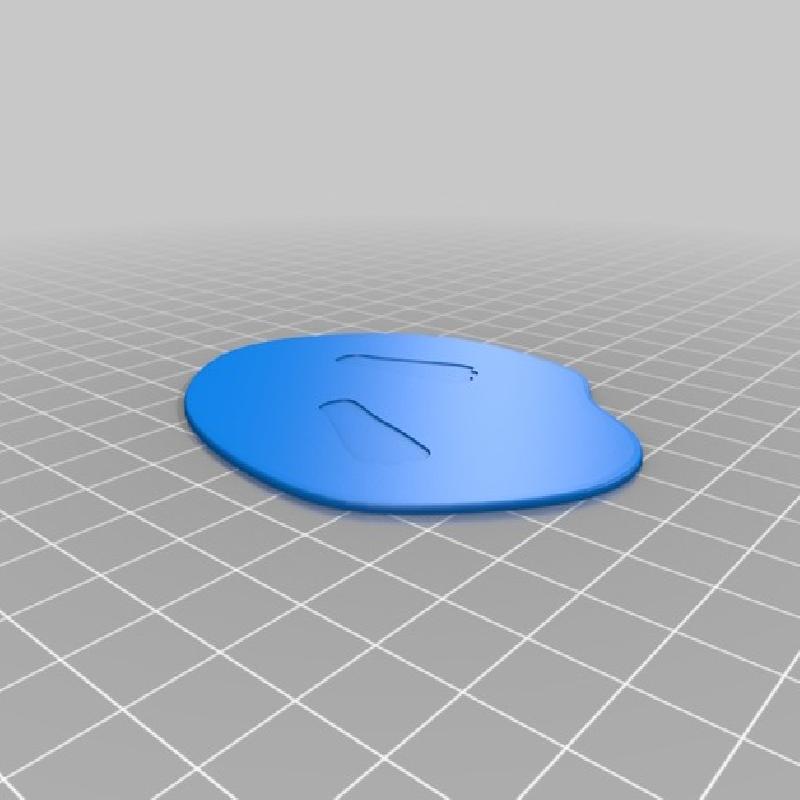
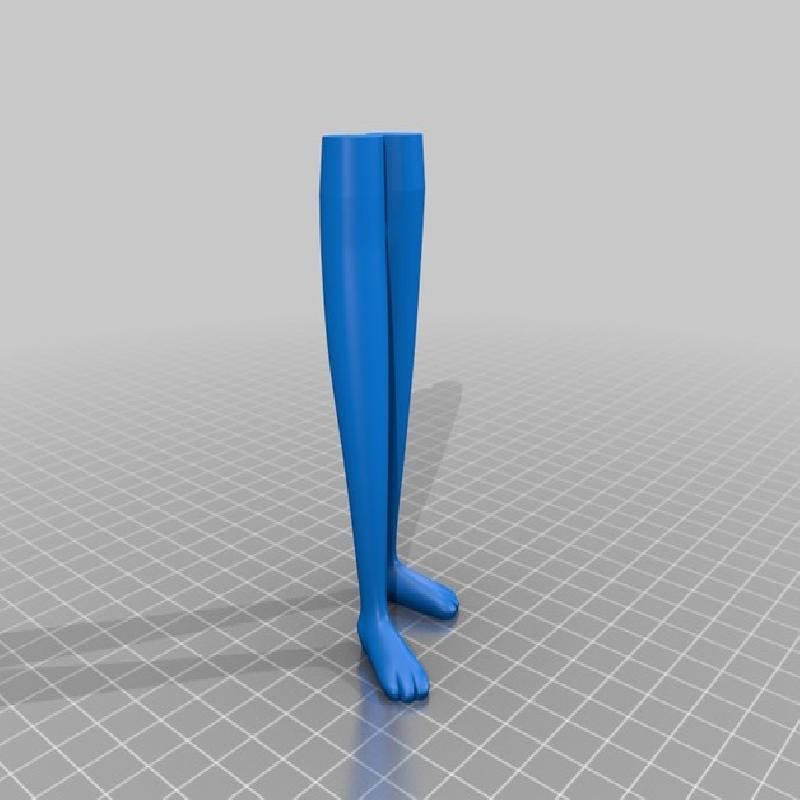
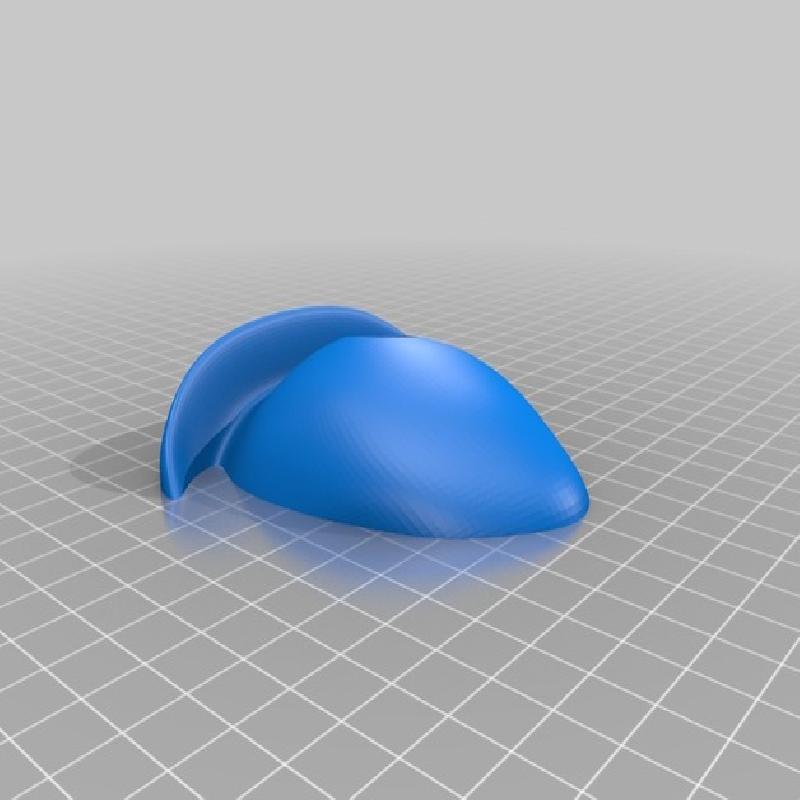
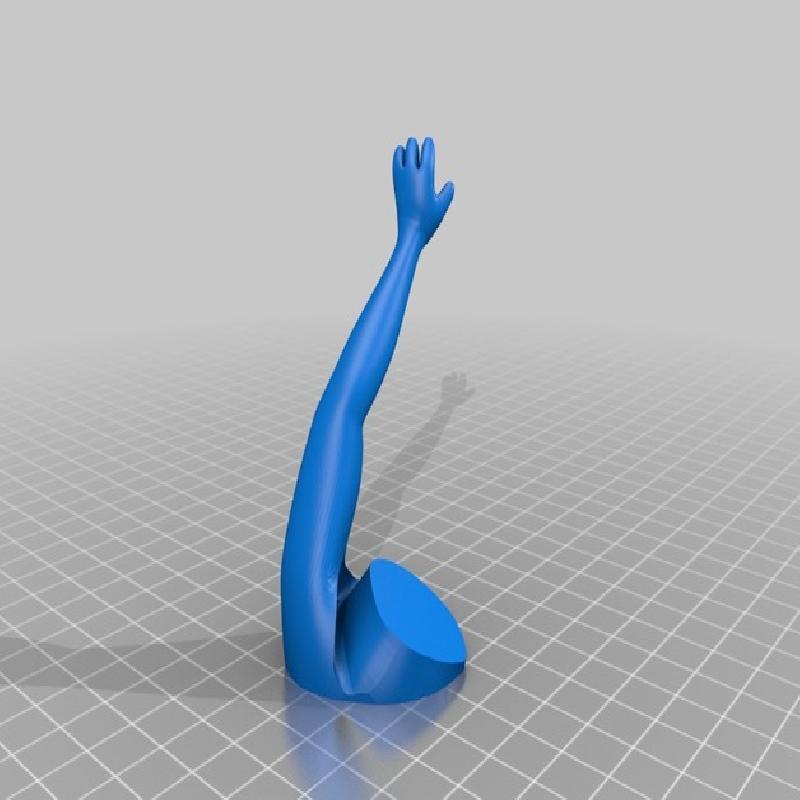
head
legs
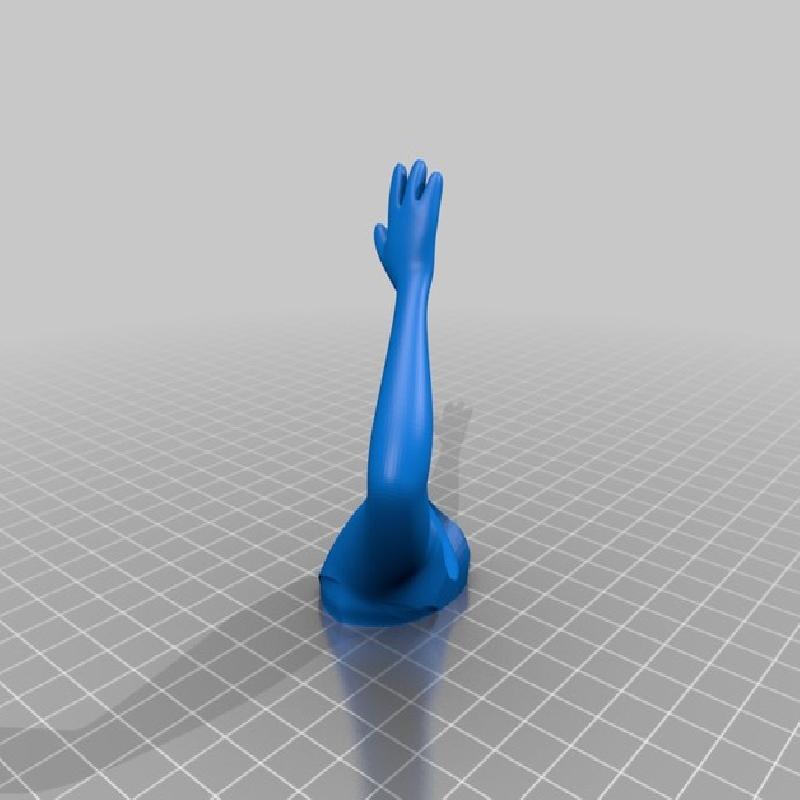
arm_left
arm_right
..
Blue:
dress_top
dress_bottom
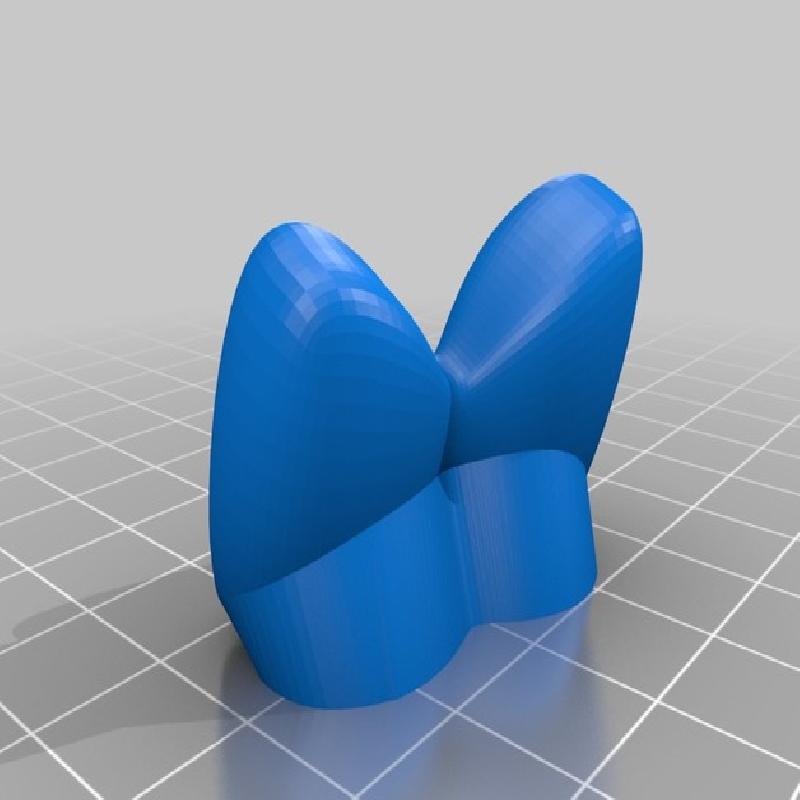
bow
..
White:
teeth
pearl
eye_white_right
eye_white_left
..
Red:
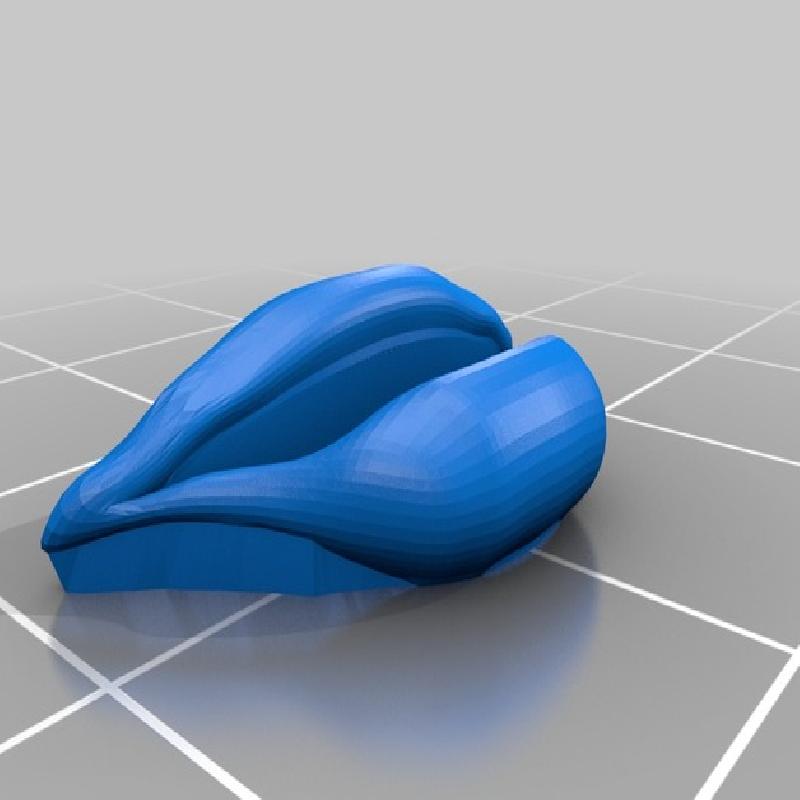
mouth
..
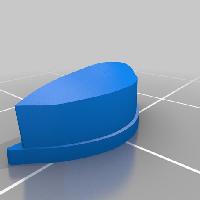
Gold or Light Brown:
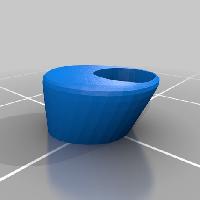
base
..
Any color (hidden pieces)
pins (contains all four pins)
..
Printing and assembly tips
1-As with most of my models, no supports are required.
2-Be sure to clean any first layer squish if you have any problem joining parts. The parts should fit nicely when printed cleanly.
3-I did not require any rafts or brims for any of the parts, use your discretion for your machine.
4-Be aware, there are some small parts.
..
Assembly tips:
1-The eyebrows are inserted with the flat side from the print bed into the head and the wider edge towards the middle.
2-As a purist I usually load each part separately, however the left and right eye_blacks are interchangeable.
3-The eye_whites are inserted into the head with the hole for the eye_blacks slightly off-centered towards the middle.
4-The dress bottom bulges out a bit in the back, do not put this part in backwards!
5-Refer to the assembly diagram for putting the model together. The model is meant to be glued.

Betty Rubble assembly diagram