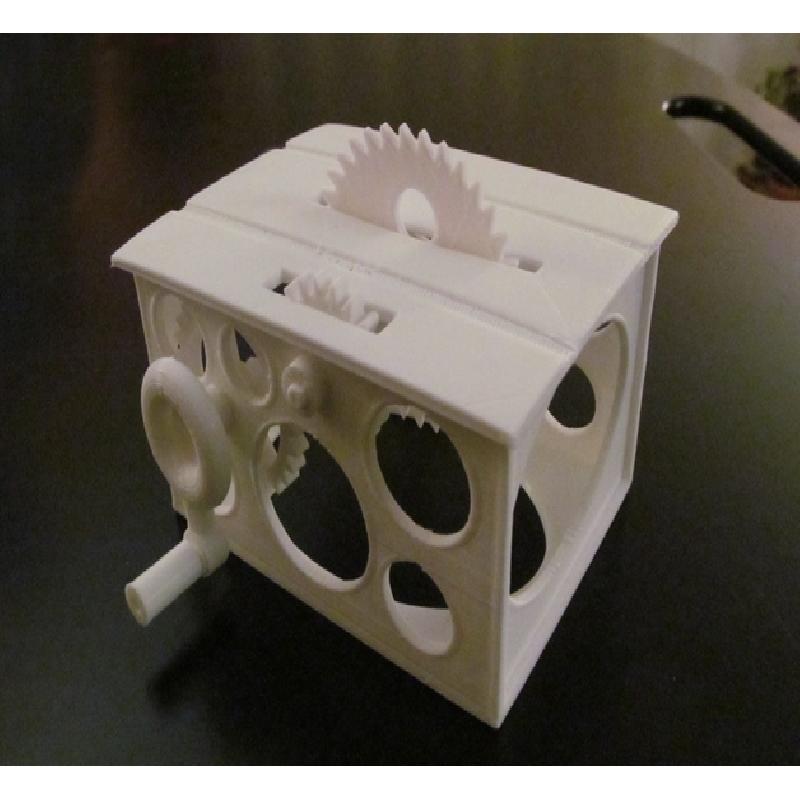
Mini Hand Powered Table Saw - Geared Version
"A fun and inconvenient way to cut a slice of bread in half that only takes 10 times longer than using a regular knife."
Check out the video to see it in action. https://youtu.be/YdjeBk1n6ic
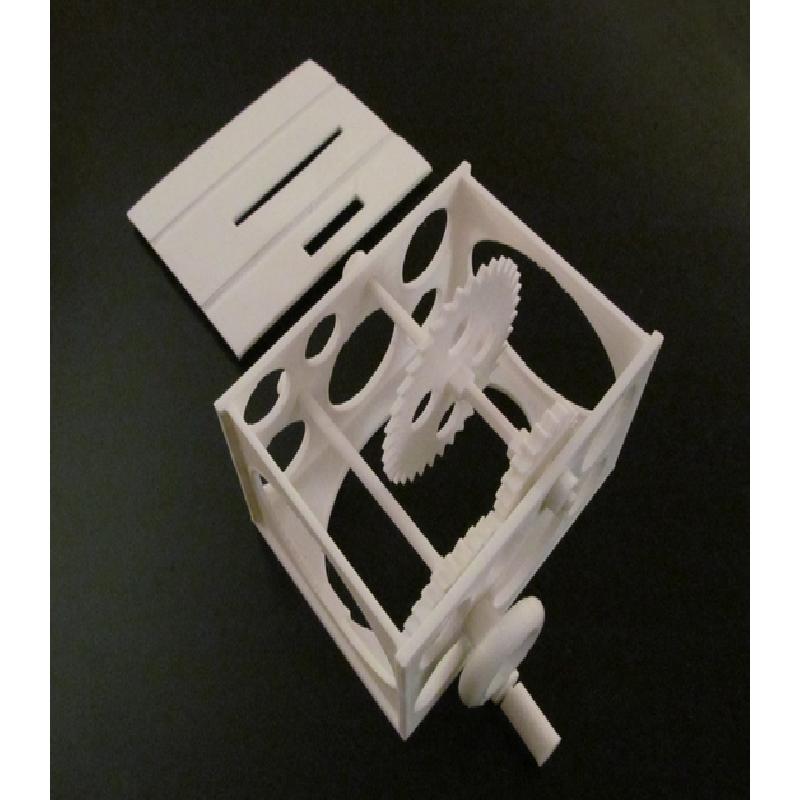
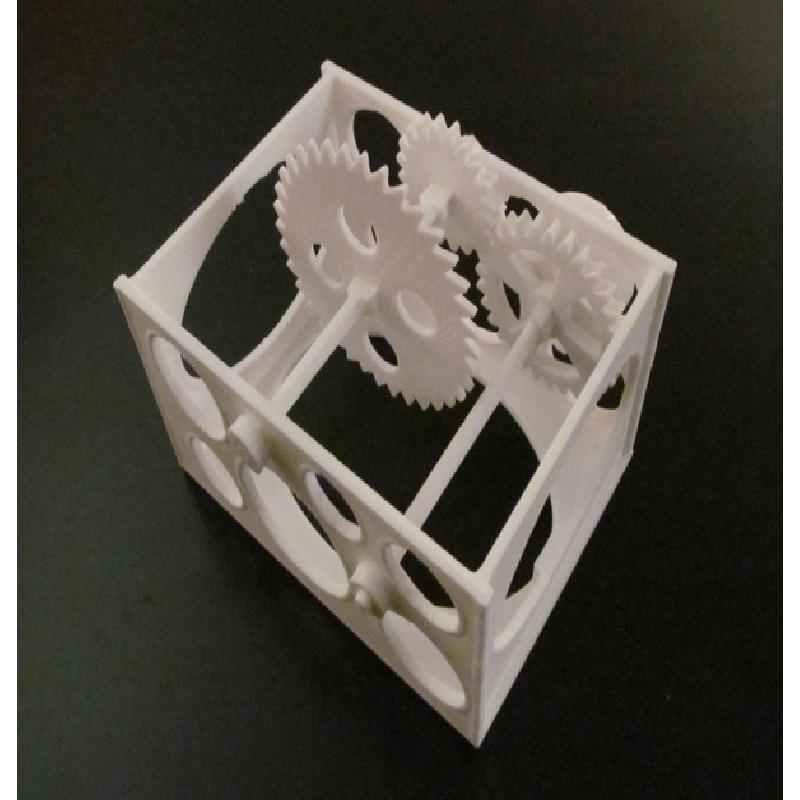
This is the Geared version of my Mini Hand Powered Table Saw. Unlike the Direct Drive version, this one is operated by rotating the crank forward to cause the blade to turn towards you. The gear ratio is also about 1:1.5 so for every turn of the crank you make, the blade will rotate 1.5 turns.
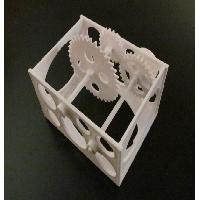
Like the previous version, I printed everything without supports except the Crank assembly and the Top. My Monoprice Select Mini printer was even able to print the Table Bottom without supports, though just barely. Some of the layers began curling under before it was able to bridge the gap and close the tops of the largest openings.
You also need to print 3 of the washers.
The half circle opening in the Crank is the hardest to clean out. I eventually added a drop of glue to keep it on the Crank shaft otherwise it would fall off after rigorous cranking.
When attempting to cut something, the Table should be held in place with a small clamp or a second pair of helpful hands.
Printer:
Monoprice Mini Select
Rafts:
No
Supports:
No
Resolution:
0.2mm
Infill:
10%
Notes:
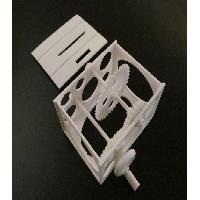
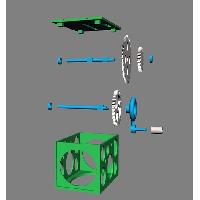
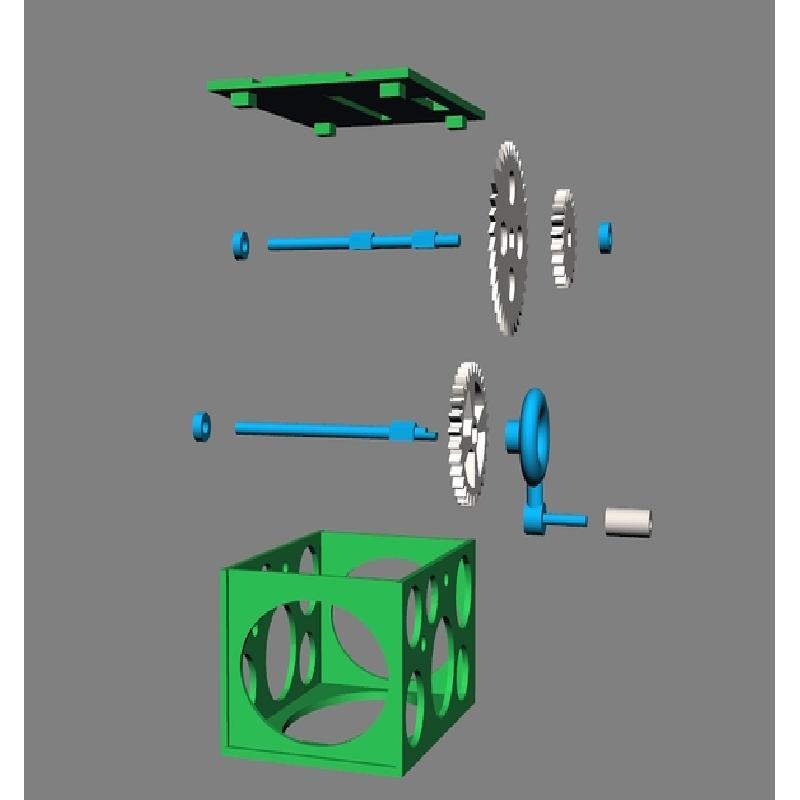
ASSEMBLY INSTRUCTIONS (See Exploded View Picture)
Parts may need some clean up for the pieces to fit together.
Add the Handle over the thin part of the Crank. This should fit tightly enough not to come off but loose enough that you can turn it in place.
Slide the Large Gear onto the Crank Shaft and then angle the left end of the shaft down through the Table Bottom putting the end through the small lower hole on the left. Once it is in you can slide the right end of the shaft through the hole on the right. Add a Washer to the left end of the shaft and the Crank to the right end of the shaft. The Washers should fit very snugly.
Slide the Small Gear and the Blade onto the Blade Shaft and position it into the two small upper holes like you did with the Crank Shaft. Then add a washer to each end.
Add the Table Top. If needed, the Blade and the two Gears can all be adjusted along the shafts.
And you are ready to go!