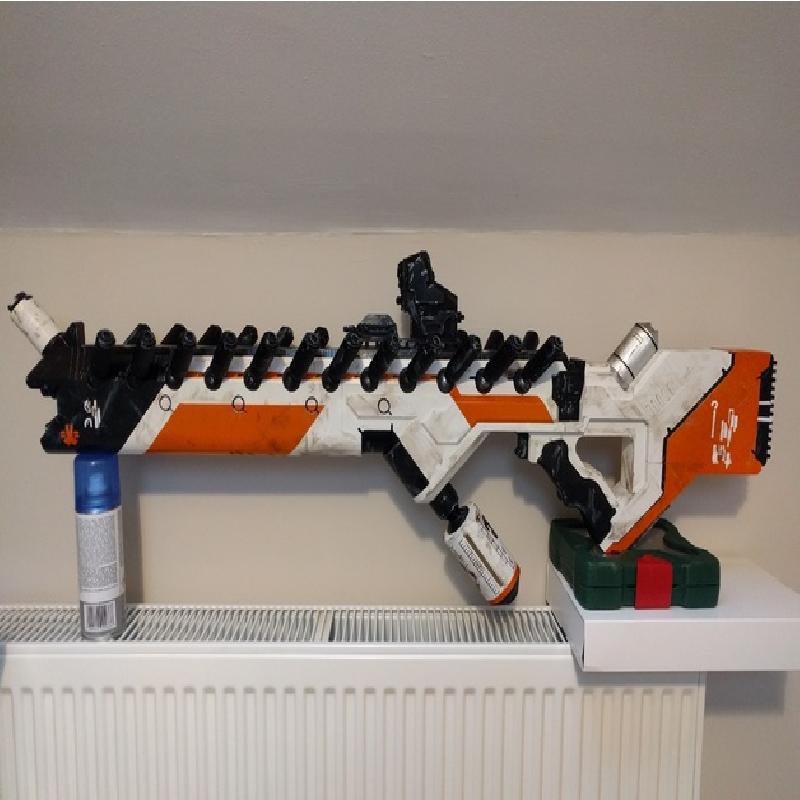
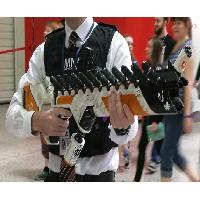
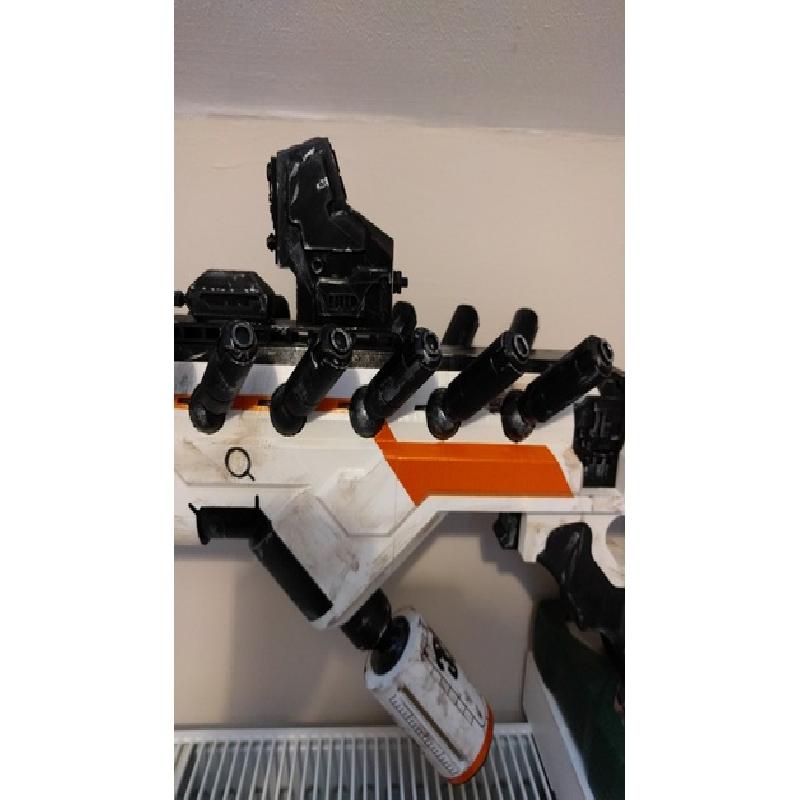
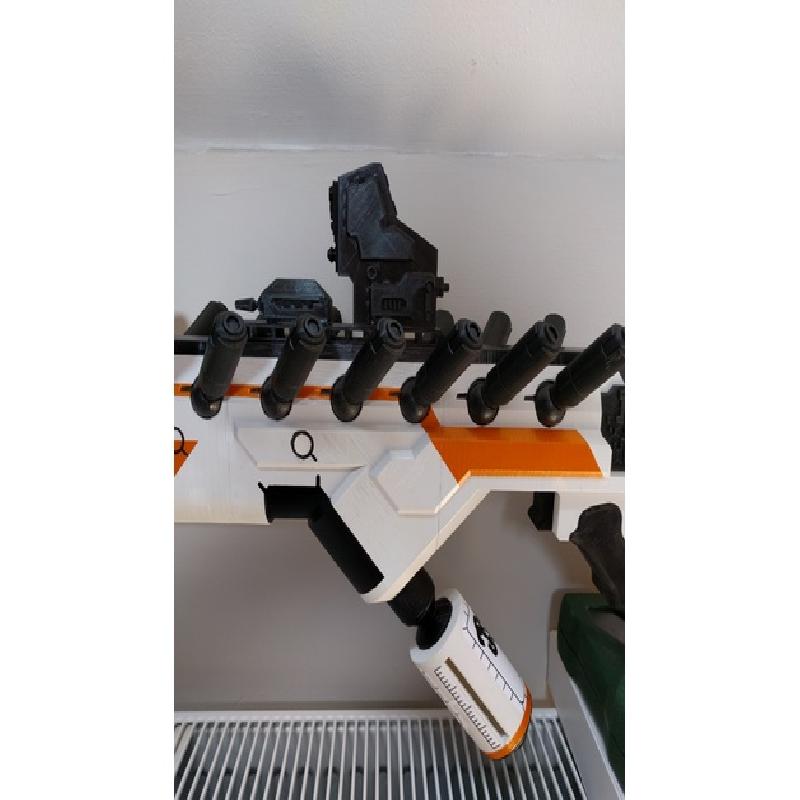
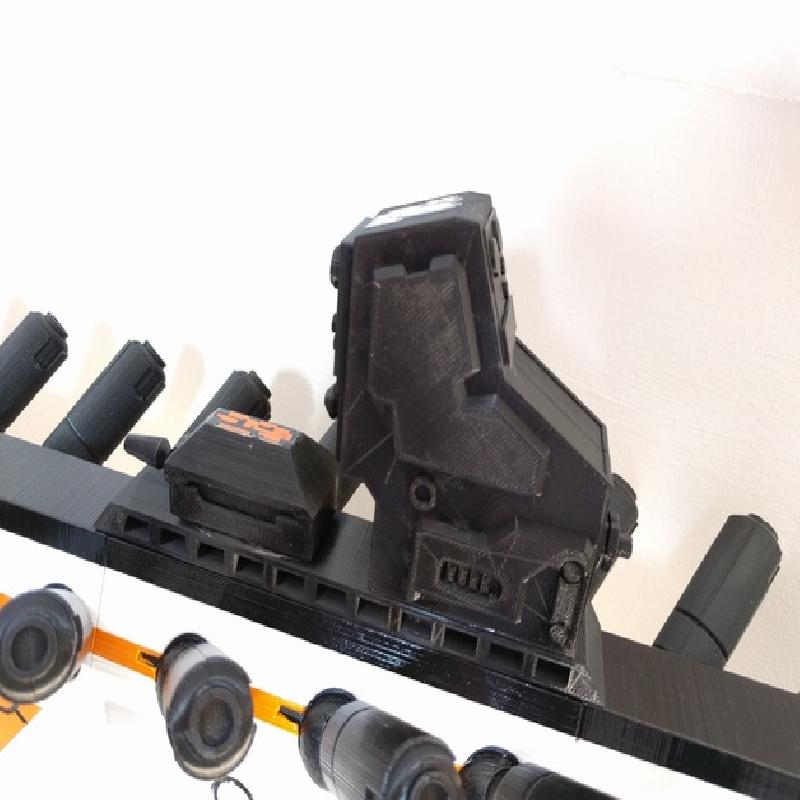
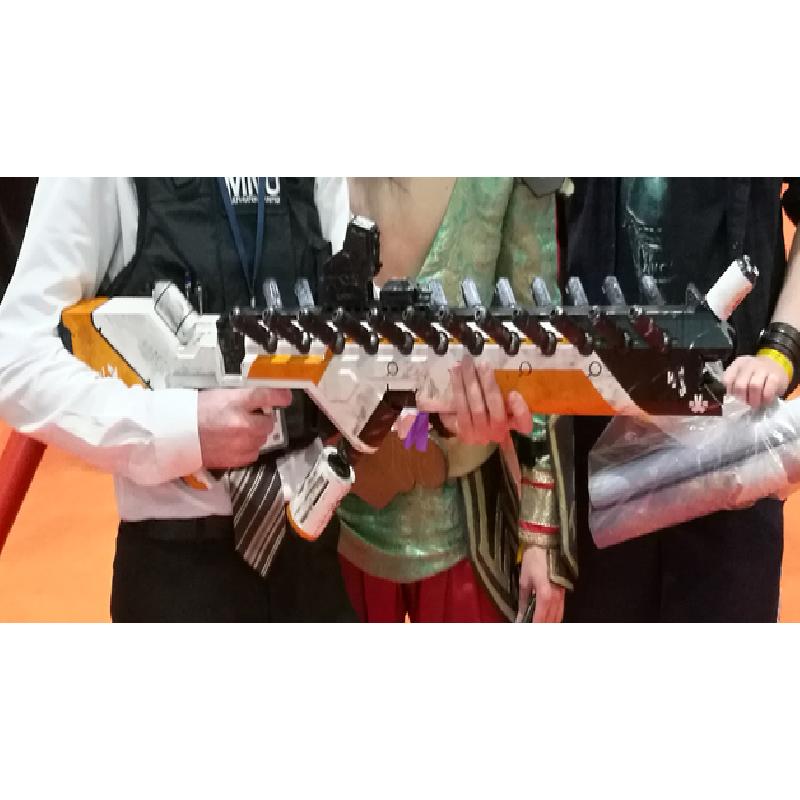
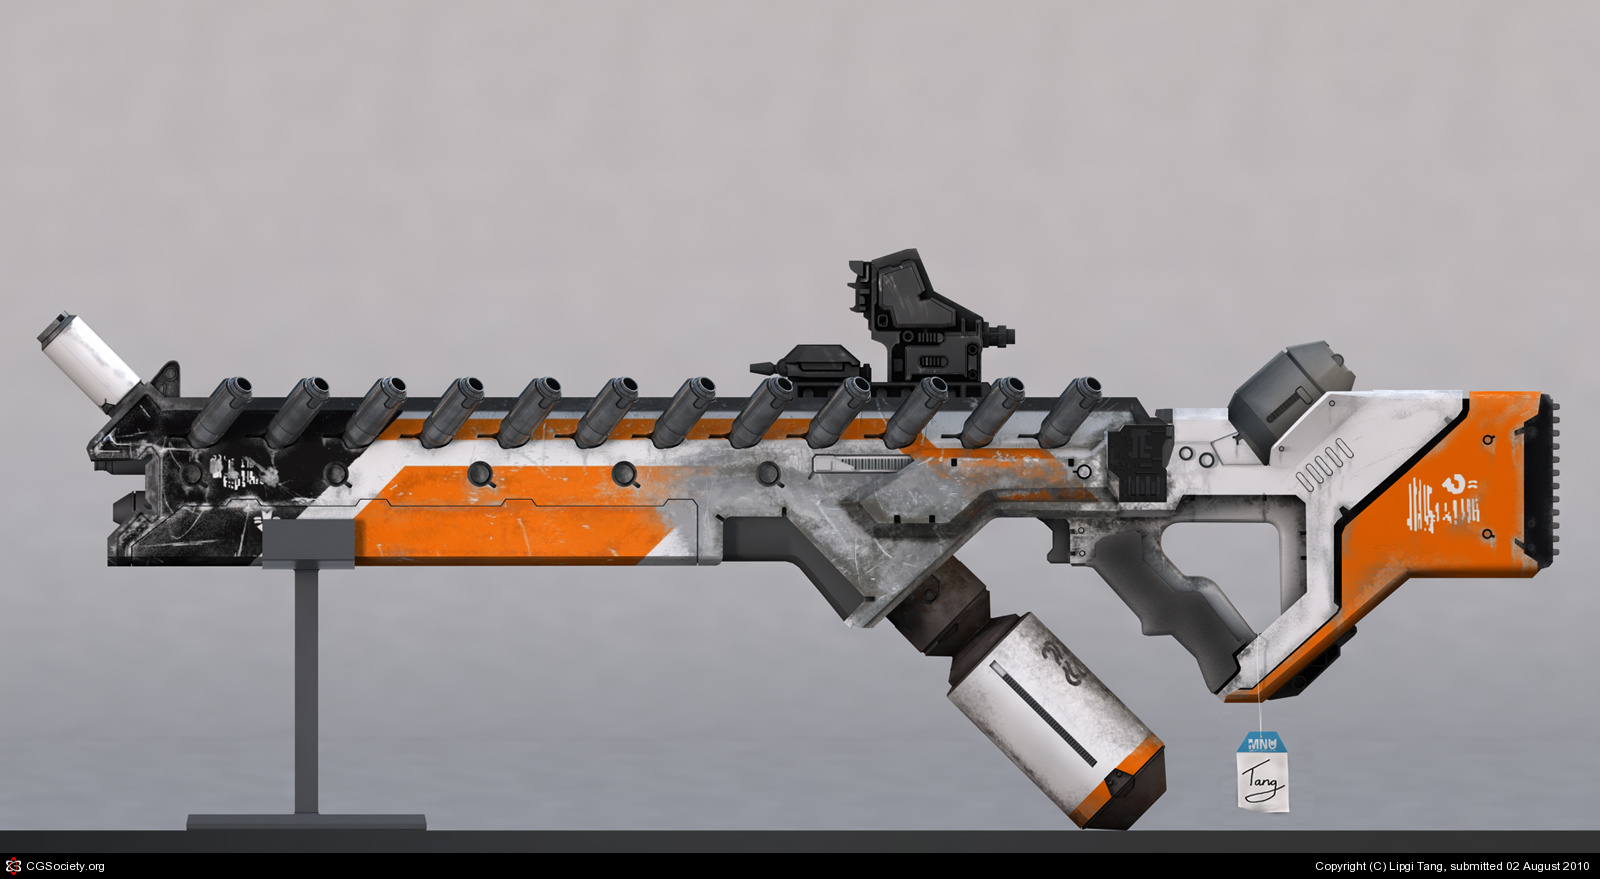
District 9 Assault Rifle - from the Weta Workshop
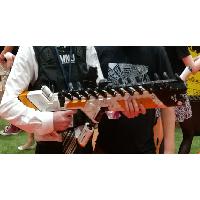
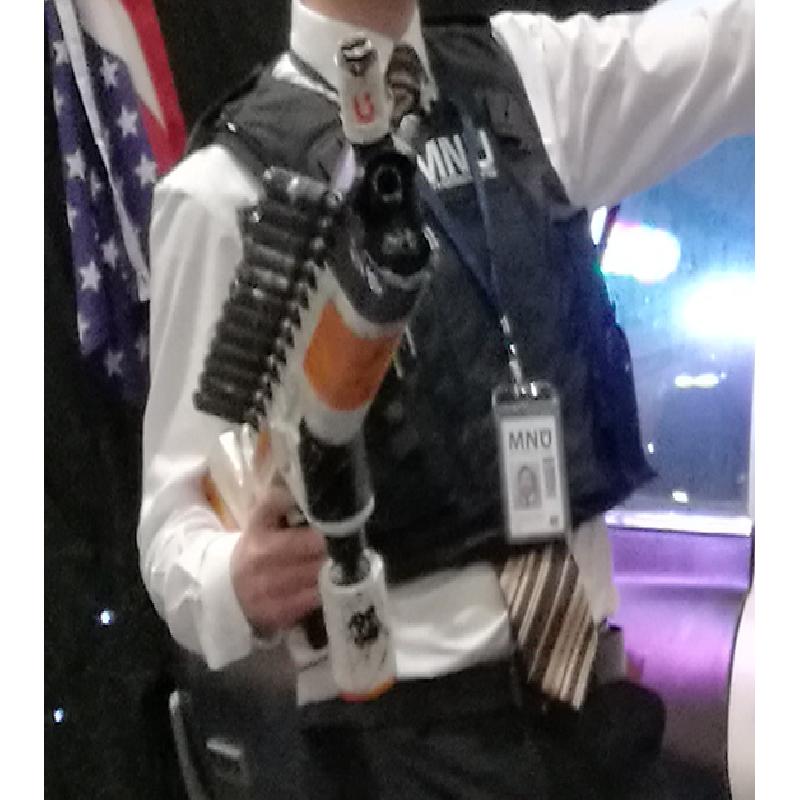
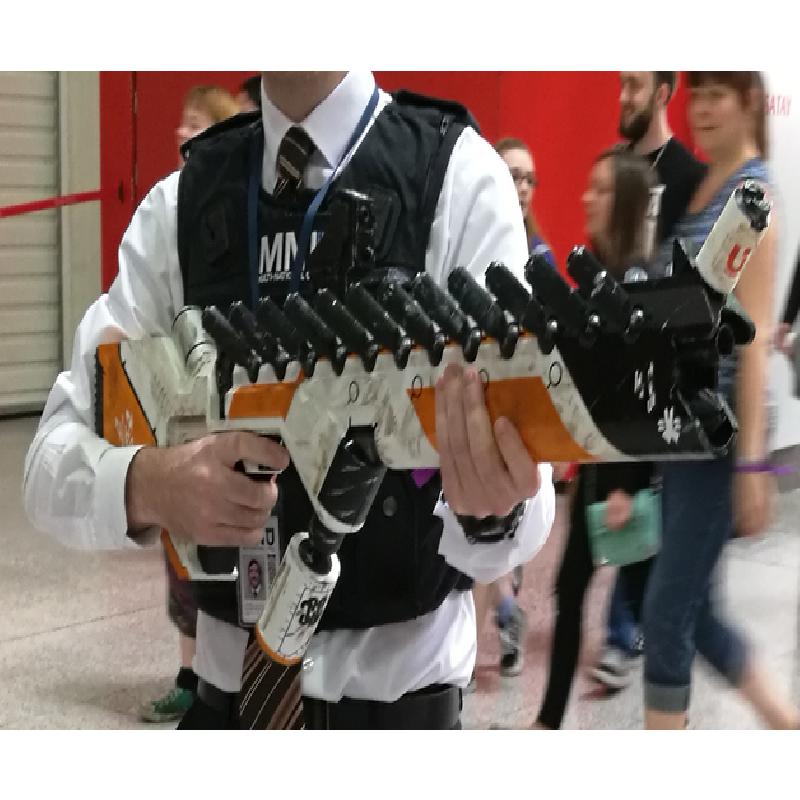
I designed and made this prop as part of an MCM Comic-con 2017 costume.
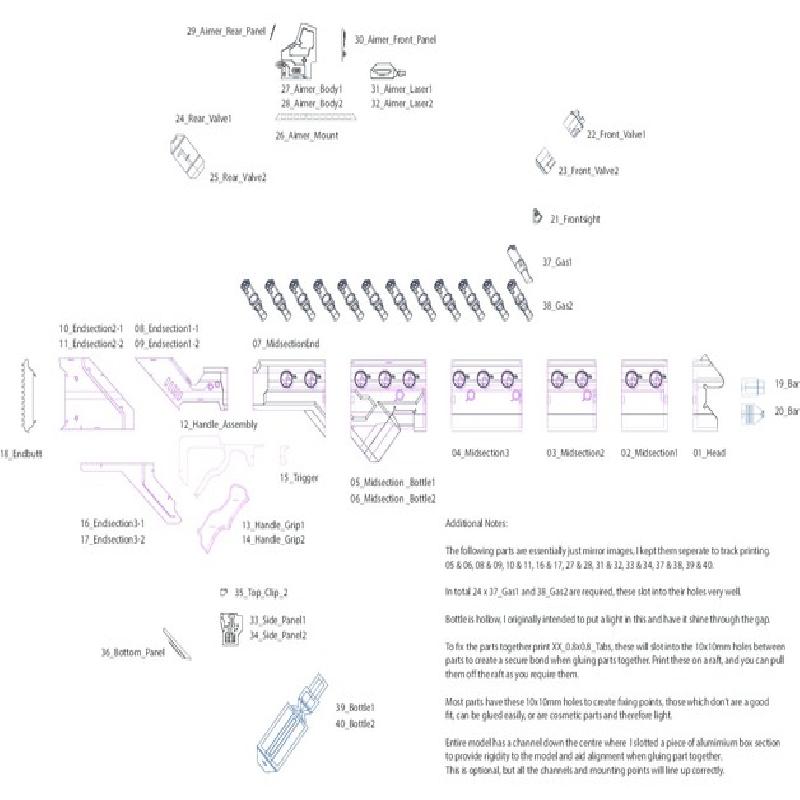
Created the CAD model from scratch, split into parts, printed, reassembled, painted and weathered. It's designed to be fairly easy to assemble, use strong glue coupled with the slots and tabs to give it rigidity.
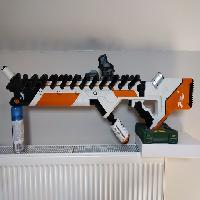
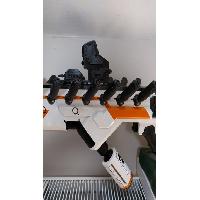
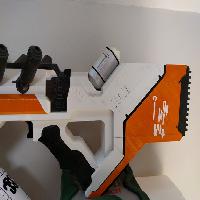
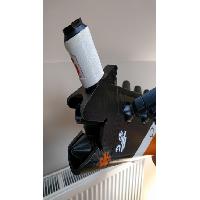
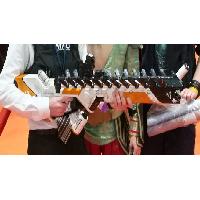
Plenty of photos to see of the finished model. I have named all the parts too and created a PDF of instructions.
This was designed to be just under a metre (3 feet) long. I have taken a small amount of artistic licence by making the bottle part (as I called it) smaller and guessing at the cosmetic details.
When talking to someone at the convention who actually owns an officially licensed Weta prop of this, they said mine was about 80% of the original size. Plus it's a heck of a lot lighter as the official prop is solid resin!
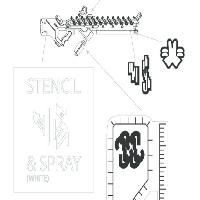
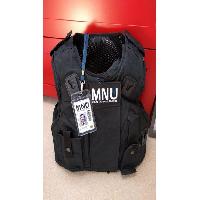
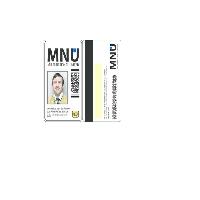
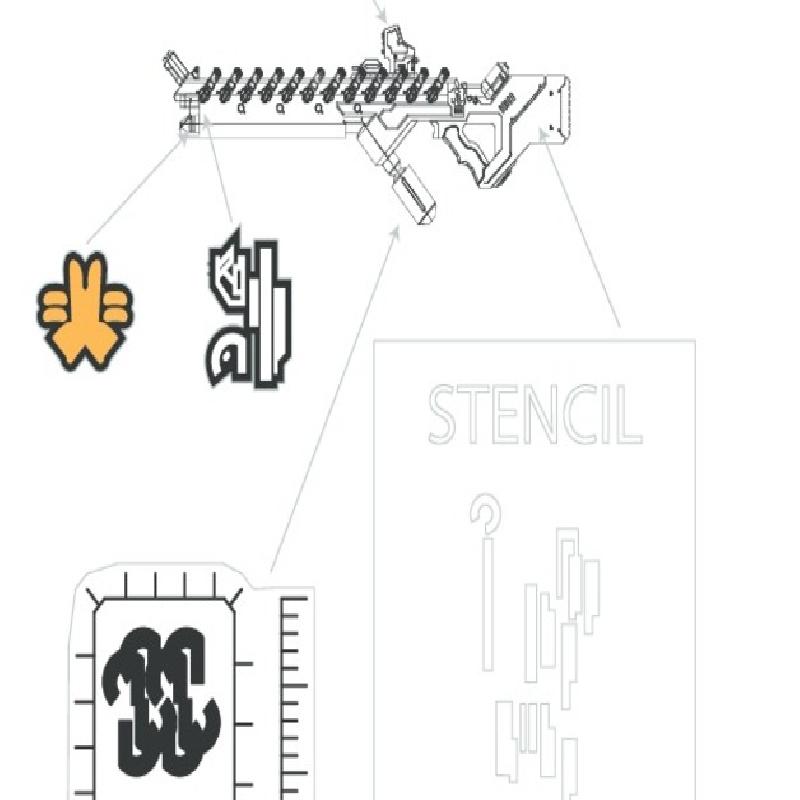
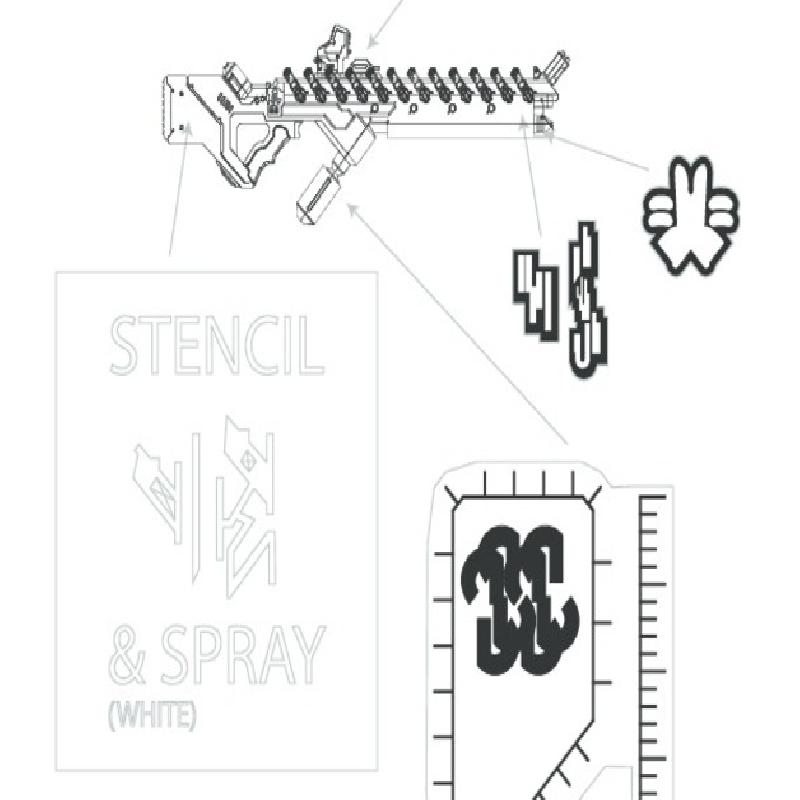
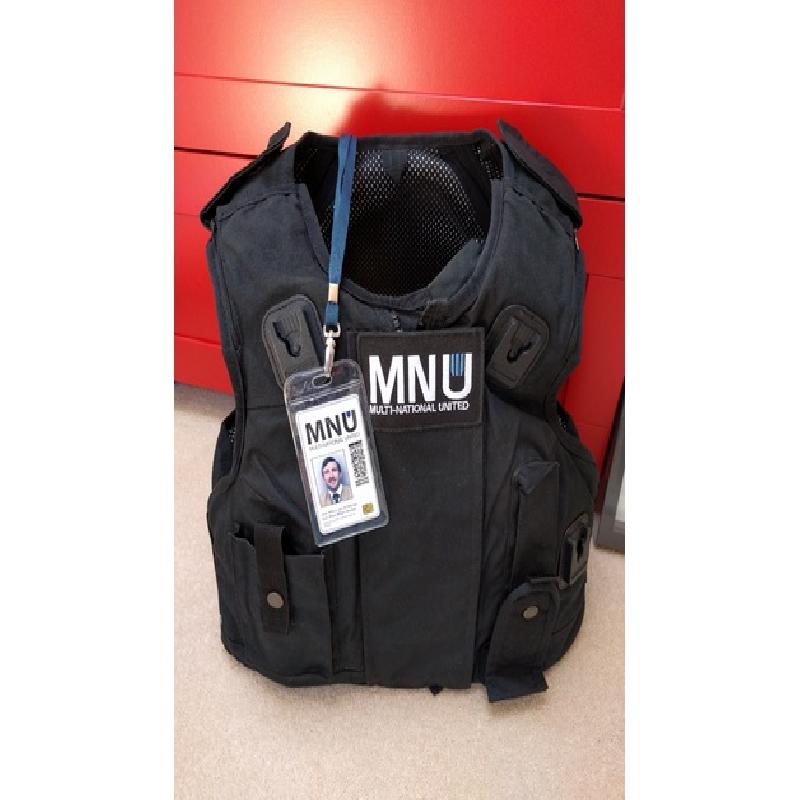
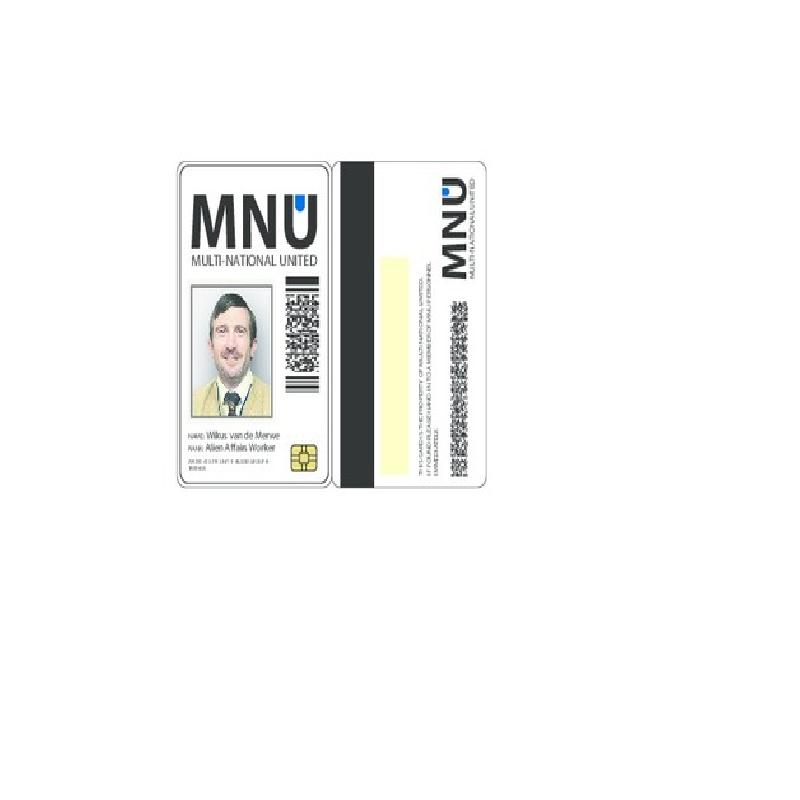
Also included in the images is the PDF instructions, 2 sticker sheets, photos of it at the convention, a picture of the vest armor I created, and also a PDF of the MNU ID badge I designed to round off the costume.
Any questions or if you want help making your own, just message me.
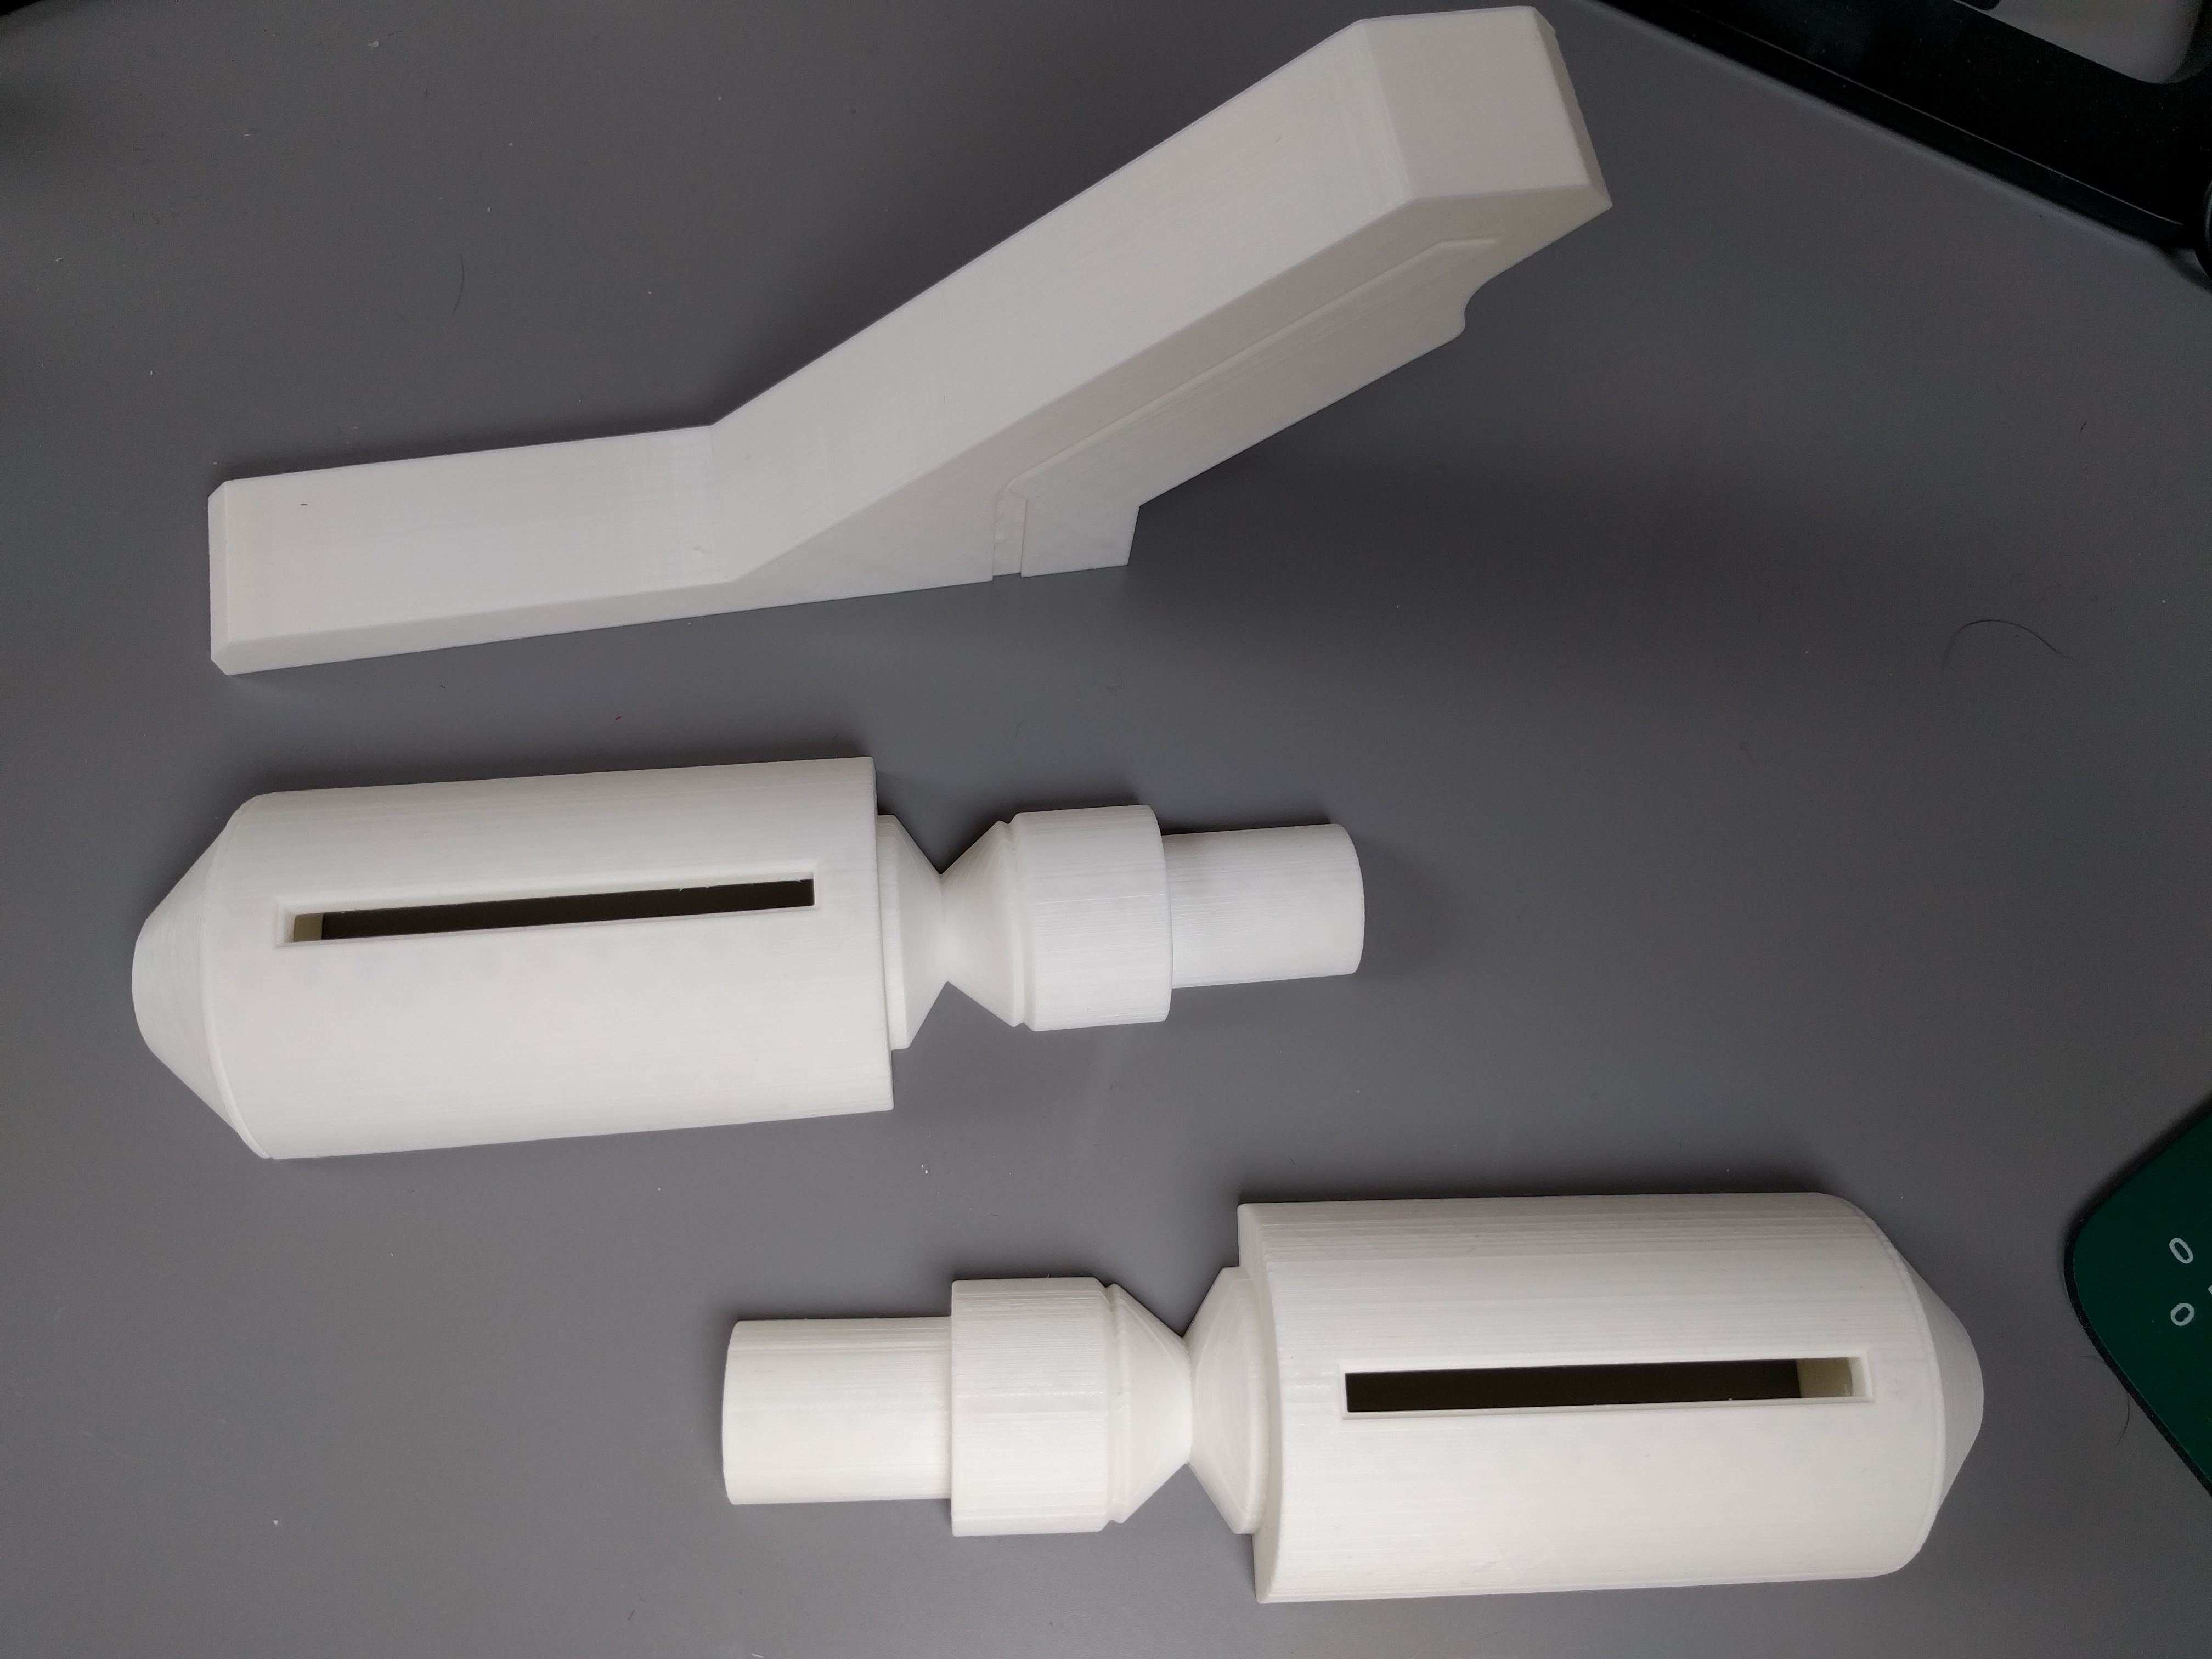
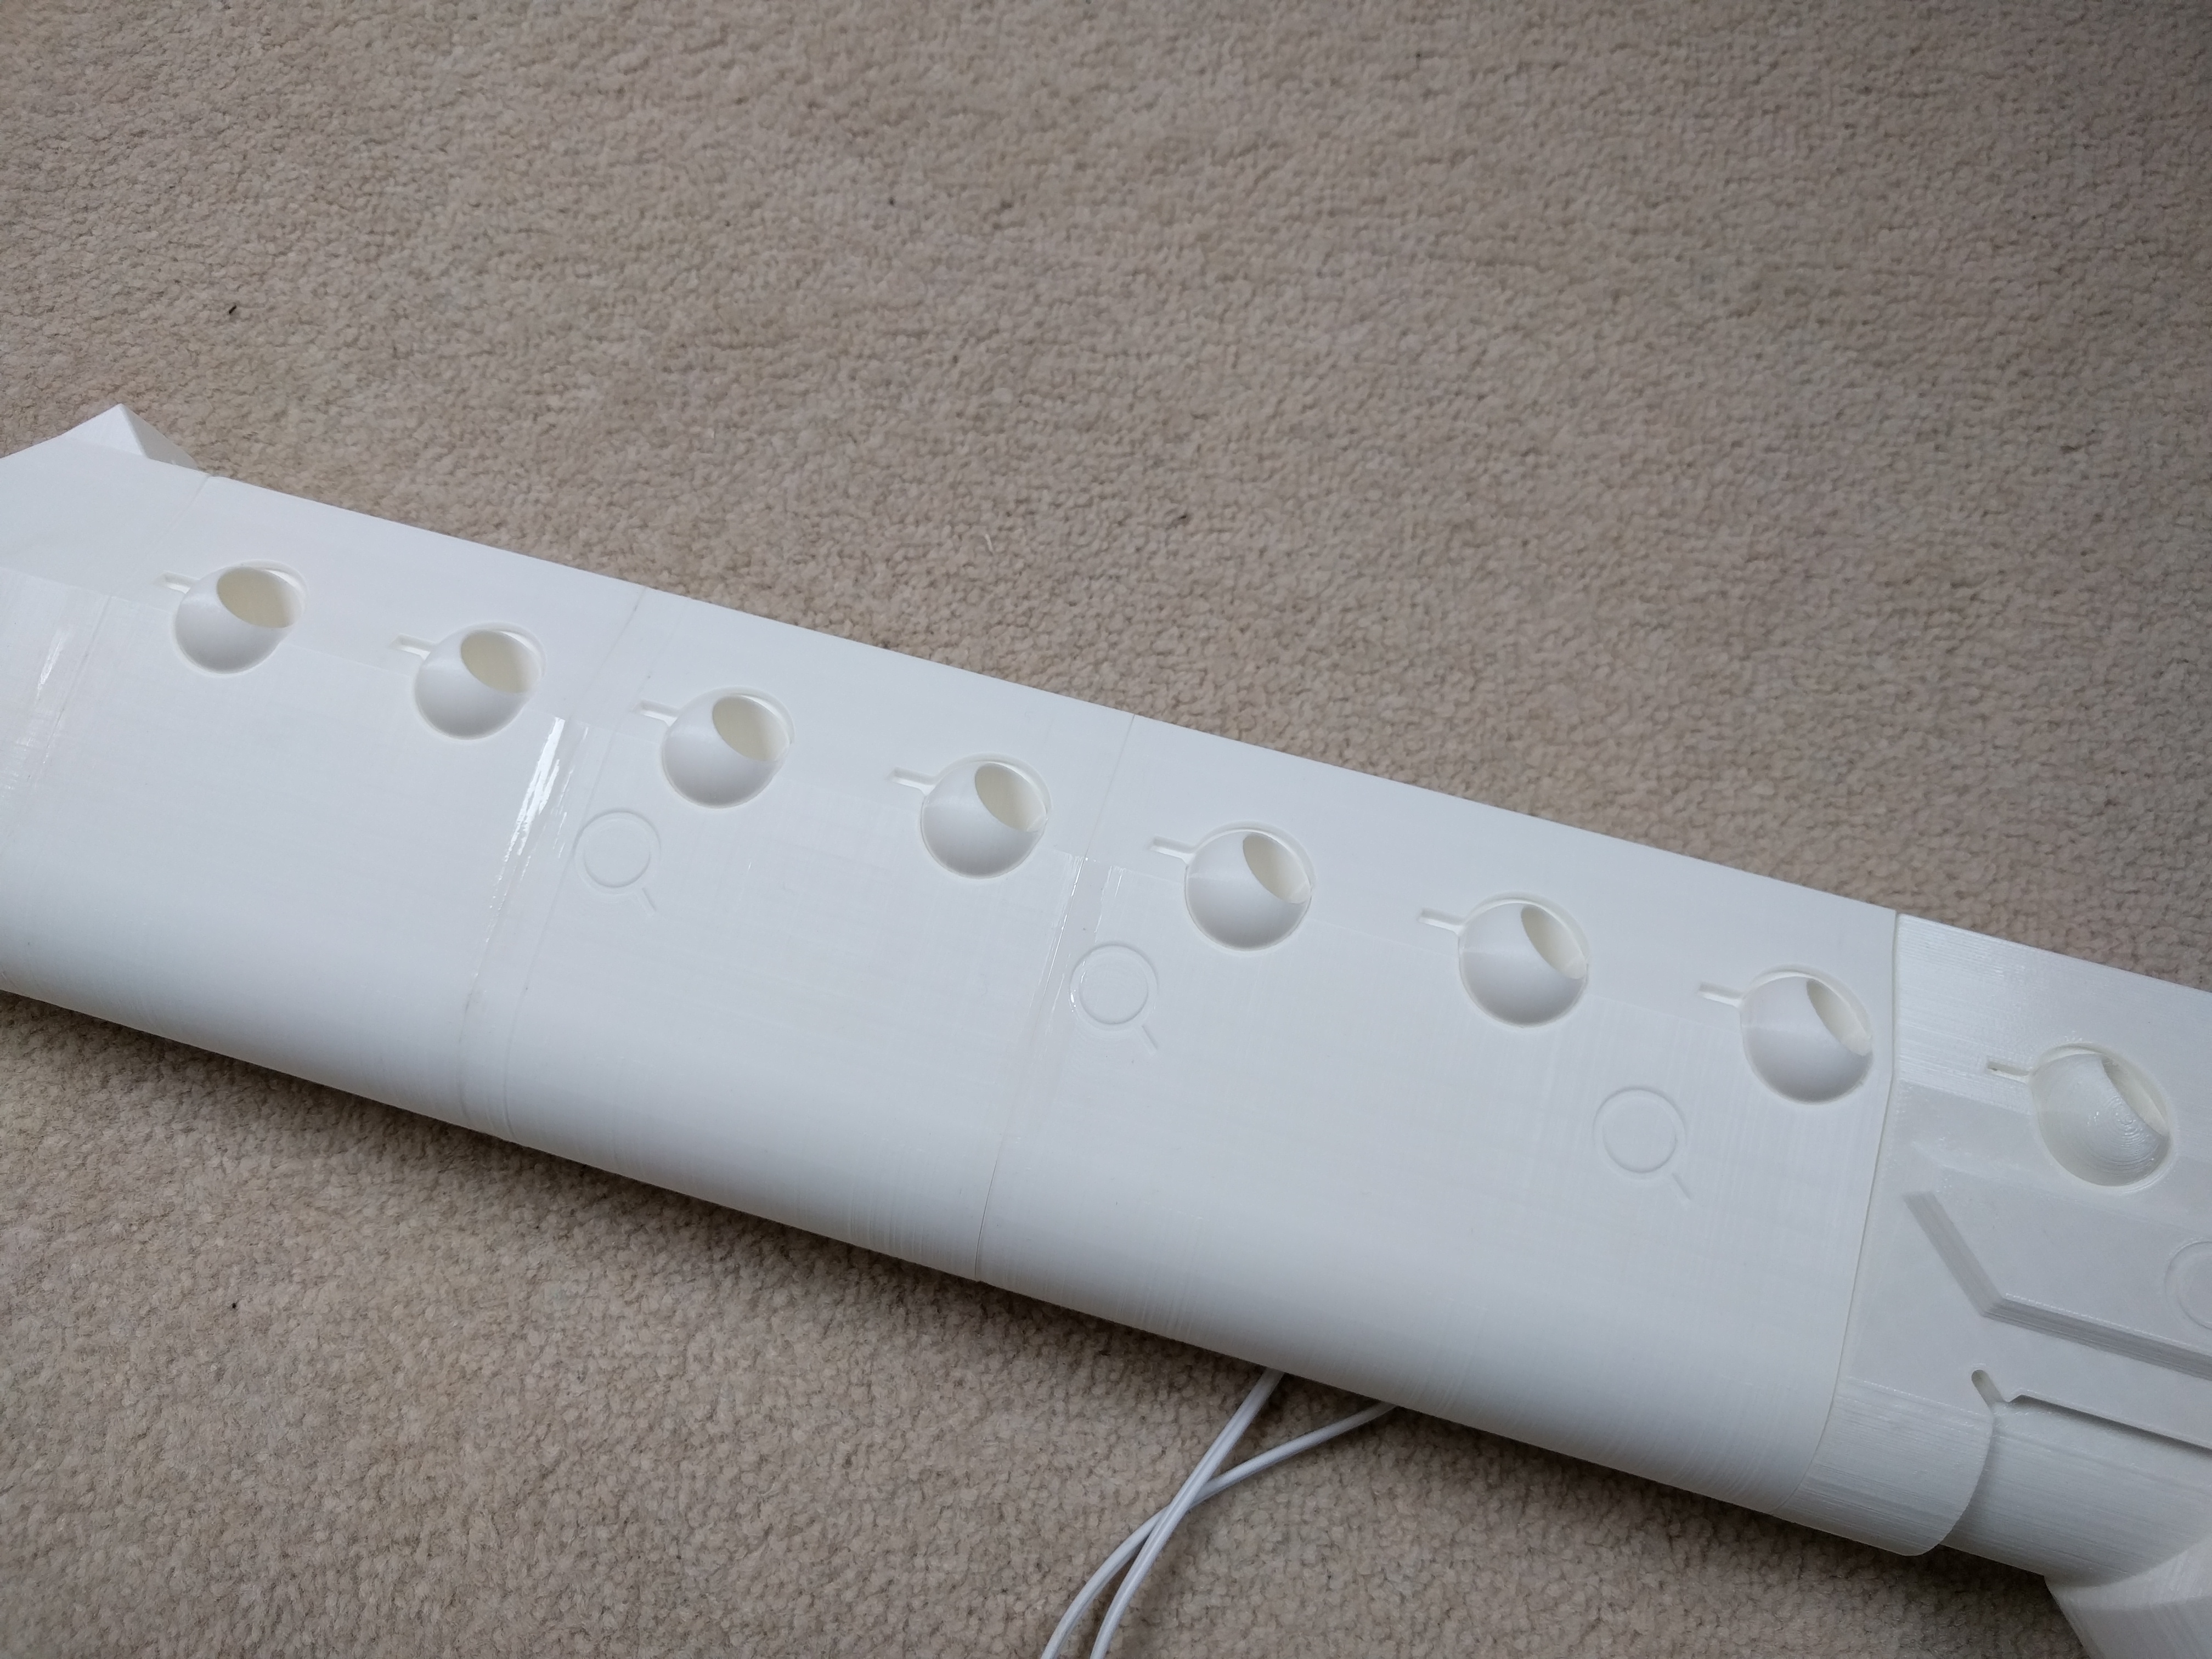
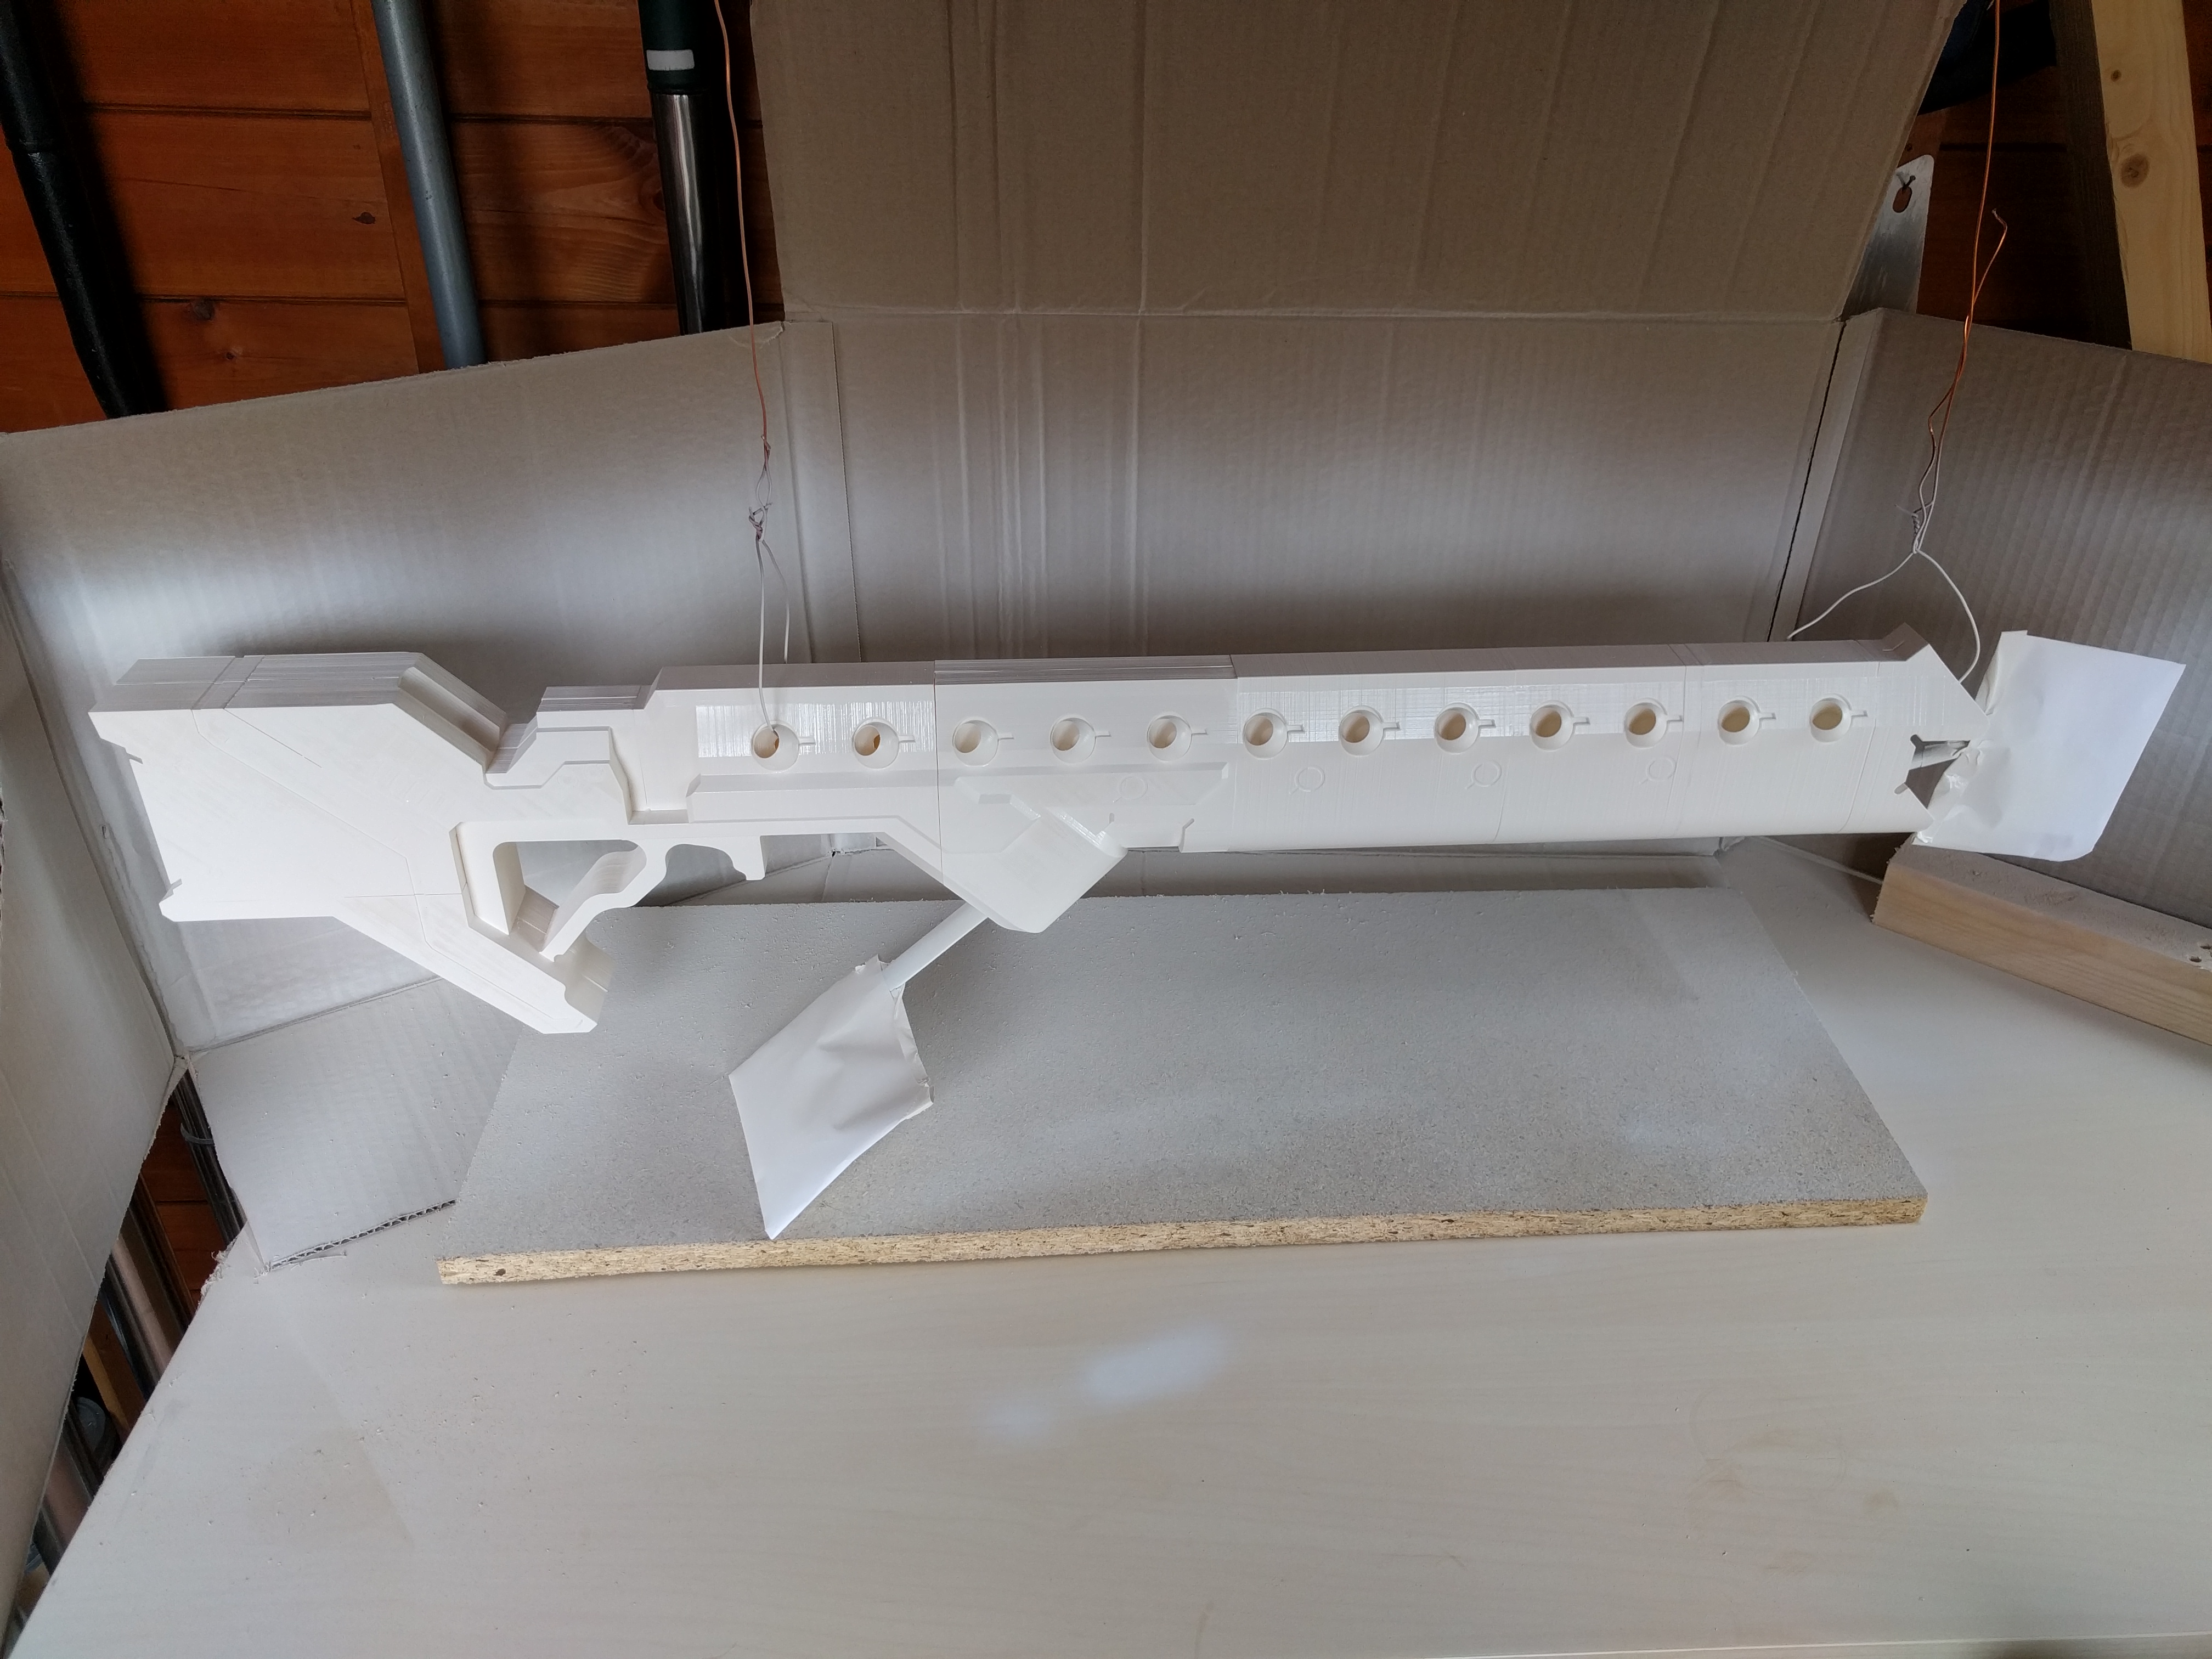
Assembling and finishing snapshot
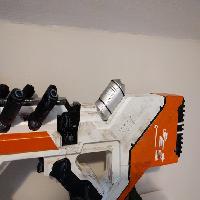
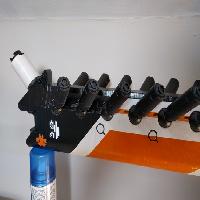
Not much support material etc to remove due to the way the parts are designed. I glued all the parts together, then spray painted primer and top coat, detail and weathering was painted with acrylic paints. I created decals and printed them on vinyl to cut out and stick on prior to weathering.
Some printed parts
Gluing the parts together
Painting white coat

Some painted details
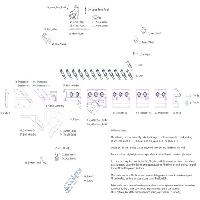
Design Progress Snapshots
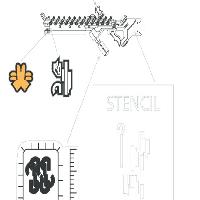
I used a few source images and designed the entire thing in CAD. See screenshots of the design. Then split up the CAD model ready for printing, it was about 200 hours in total of print time. At 0.15mm and 50mm/s
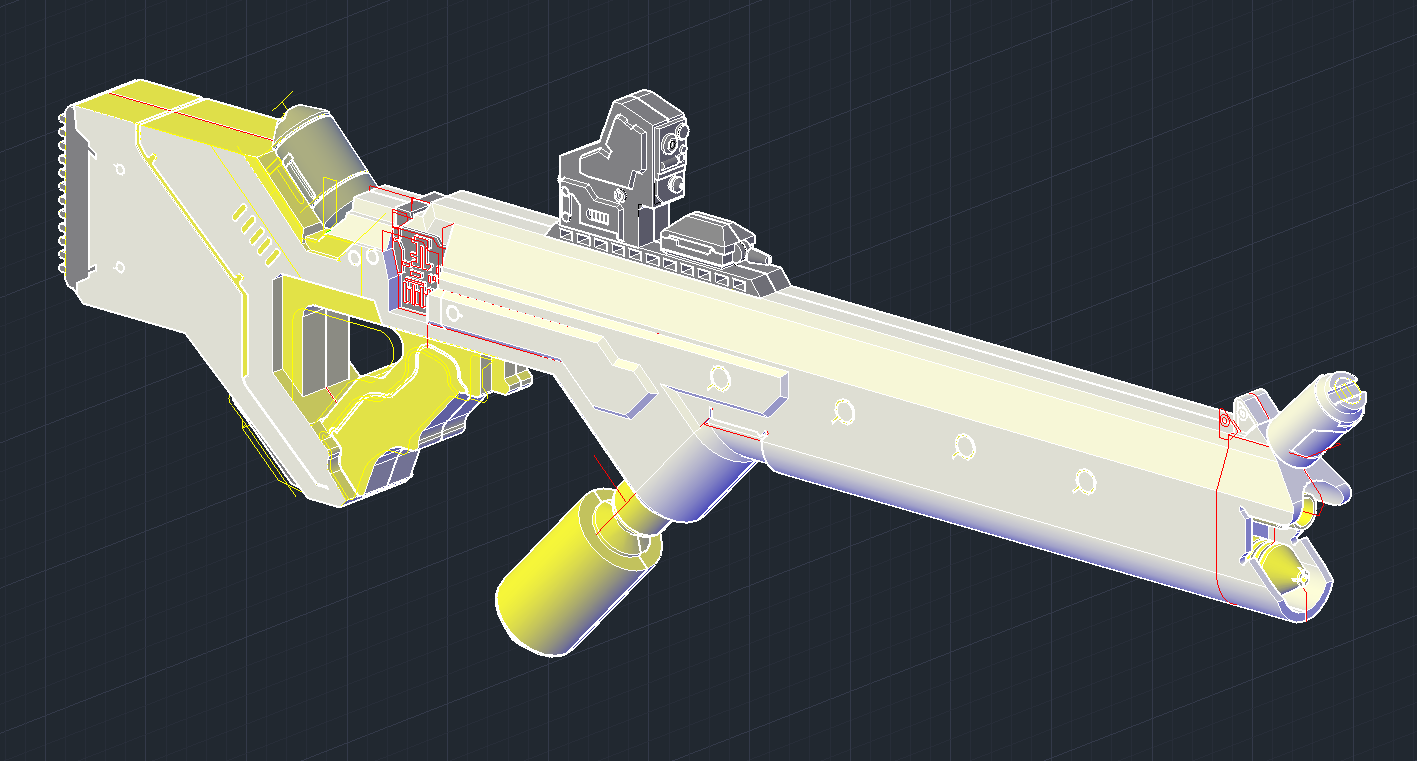
Main body of CAD
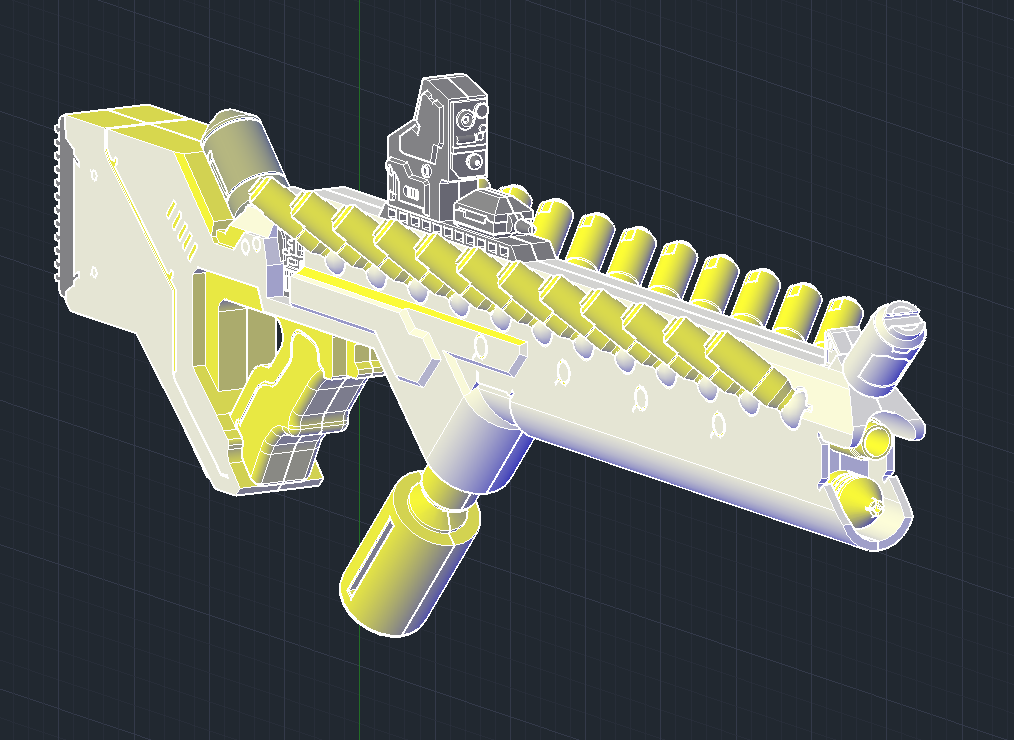
Final CAD file prior to splitting for printing
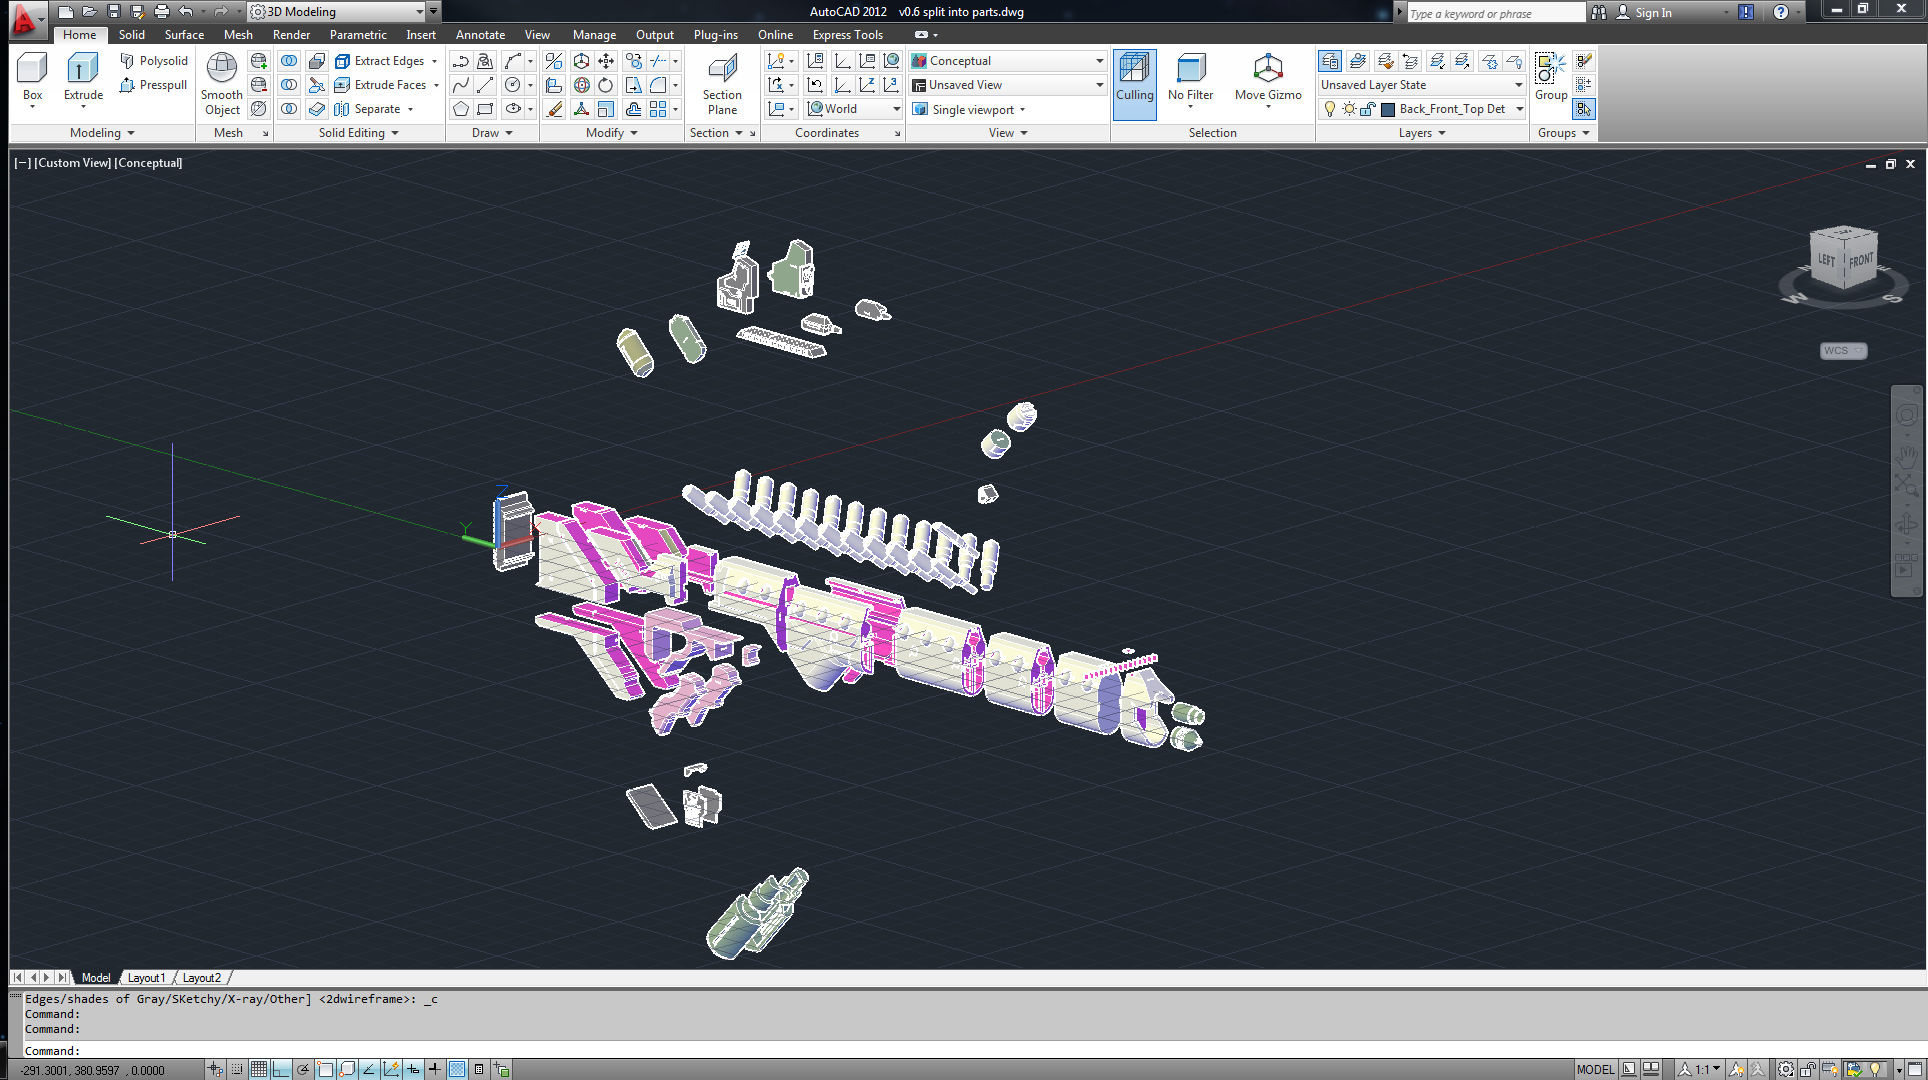
CAD model split up for printing
Source image example