by Agisis, published
Hello, first a shout out to the two that inspired me: Jules_nz for his original mini-face hugger, and then angrychano for adding the ball joints. That said, about 90% of the original model has been completely revamped with:
1) All new joints that are much tighter
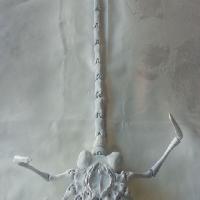
2) All pieces are no longer flat but are now fully formed.
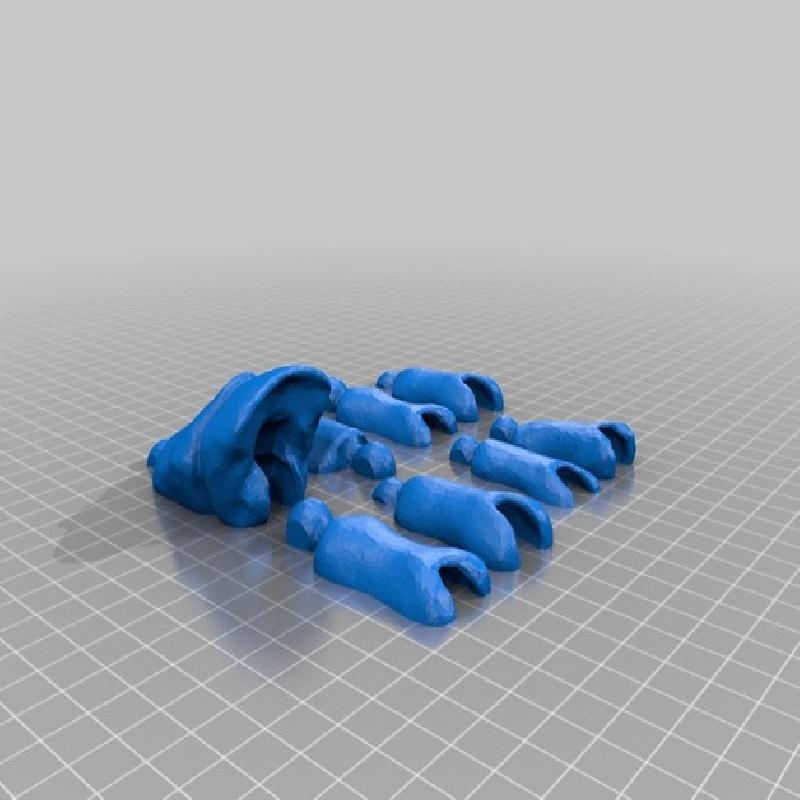
3) The "face" bottom part was modeled
4) Much improved tendons/knuckles
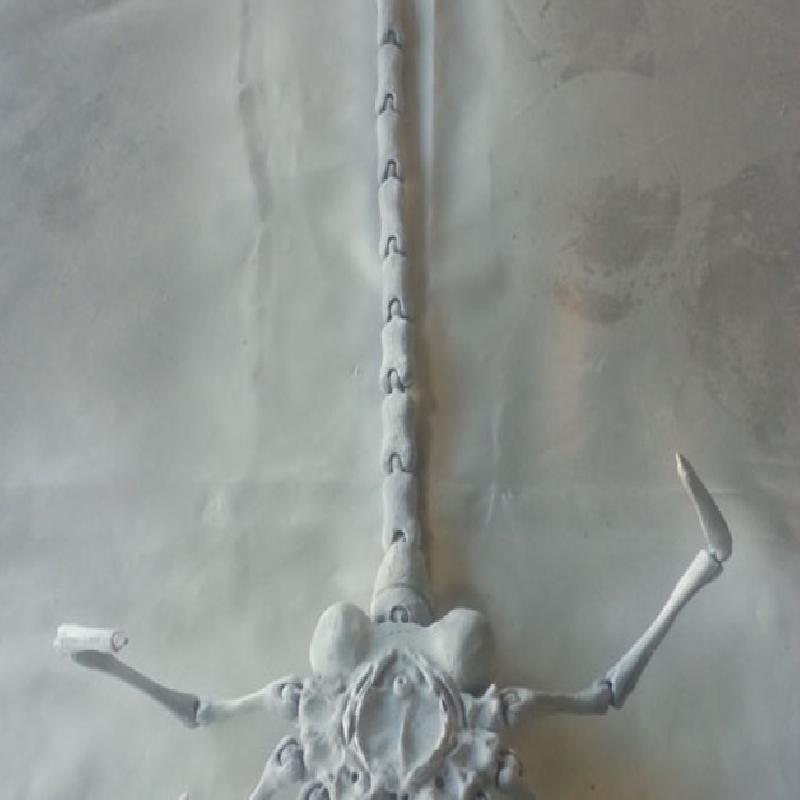
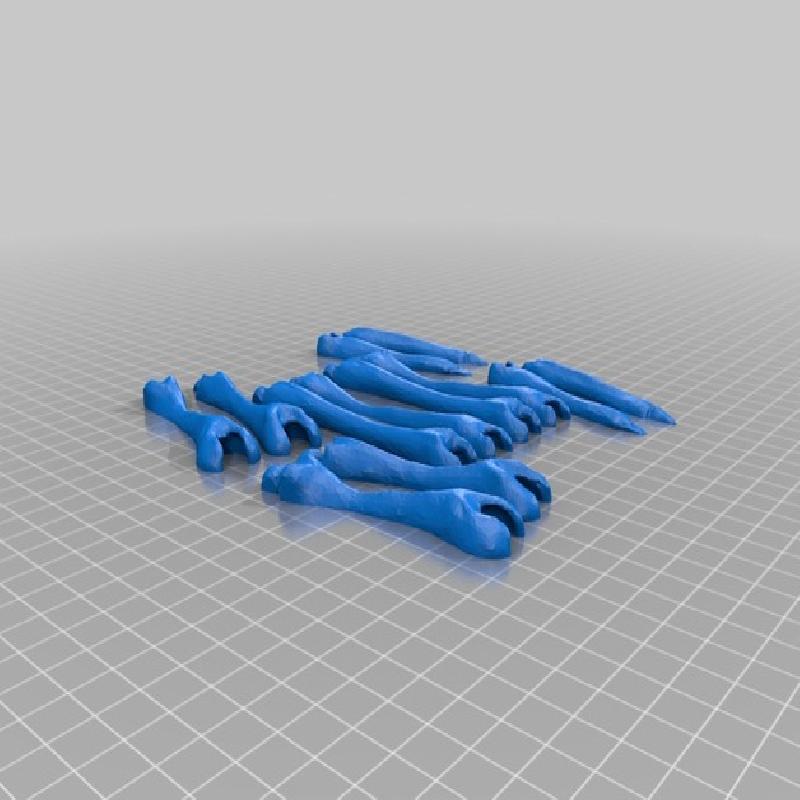
5) Completely new tail
6) Plating and other effects to skeletal structure added.
I taught myself blender and spent about 3 weeks modeling this and printing the pieces over and over again until I got them just right. That said, it's not absolutely perfect, but it did scare the bajeezus out of our cat because she did a backward somersault when i jiggled it while she was sniffing, (It was immensely satisfying and I wish you could have seen it happen), so that is saying something about the quality..
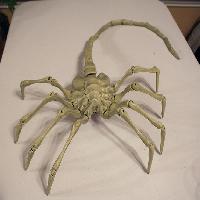
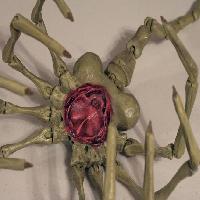
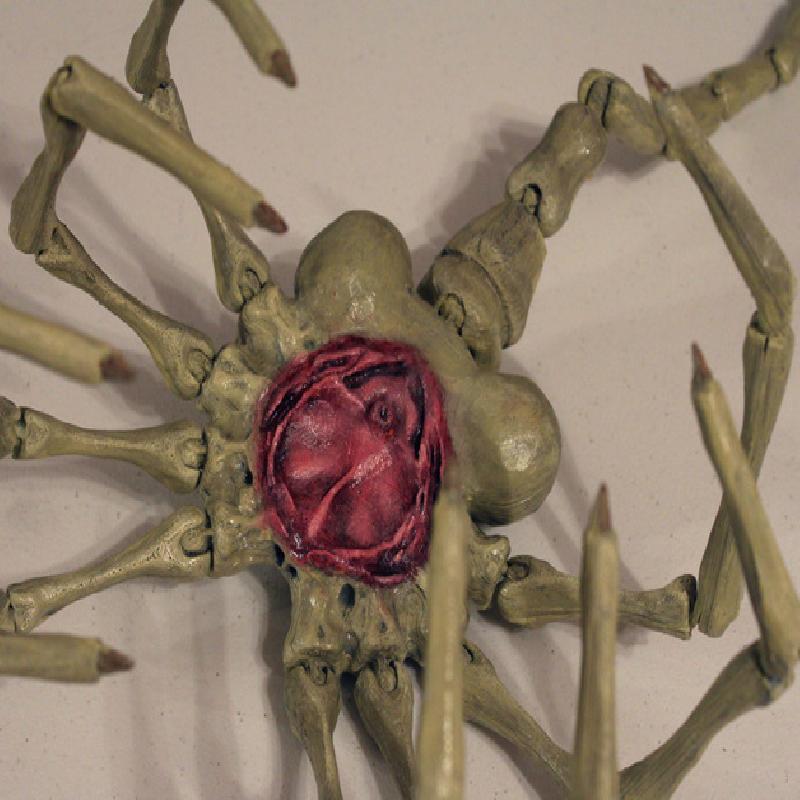
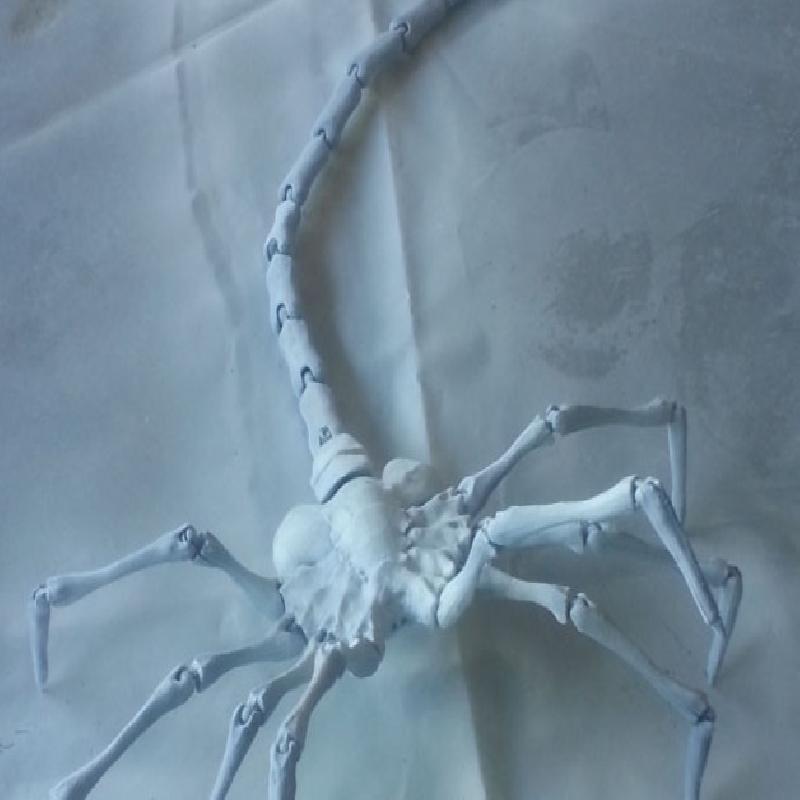
Stop your grinnin' and drop your linen! This is a LIFE SIZE ALIEN FACEHUGGER, coming in at 40in x 23in! It's big and bad enough to clutch your face and wrap the tail around your neck. It is a big print, so no hollering "Game over man, Game over" until you finish the job. Oh yeah! ...that is a face hugger springing out of a alien egg I carved out of a pumpkin this past Halloween just to make H.R. Giger proud, (I think he's dead now so he doesn't really care after all). Anyway, your friends might need nukes, knives, and sharp sticks just to fend this sucker off!
I painted the face hugger using nothing more than a base primer (CITADEL SKULL WHITE) and yellow/grey/red acrylics.
.
.
.
========[ HOW TO PUT IT TOGETHER ]=========
Need: Super Glue and sand paper!
*For certain printers, you may need to turn on "Unstick Protection Geometry"!
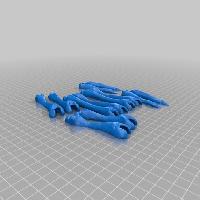
A) You should print the body with as little infill as you can get away with (like 20% if possible). The lighter it is, the easier it will stand up on its own!
B) I used 0.15mm per layer with 4 count perimeter. This is important because the outer layer of the joints need to be thick and sturdy!
C) Print it a bit hotter than usual to get a really good bond between layers.
D) I used PLA, but I think ABS will do a lot better because it has a little flex to it. That is very good for the joints because PLA is pretty stiff stuff and not to forgiving. You may be best served printing the body in PLA, and the legs/tail in ABS unless you put mouse-ears on the body.
E) Sand down the flat parts of the joints with rough sand paper to make them scratched up before using the super glue to get a really strong bond.
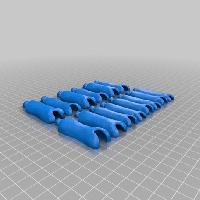
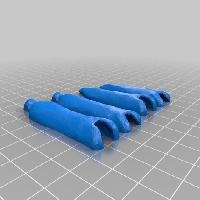
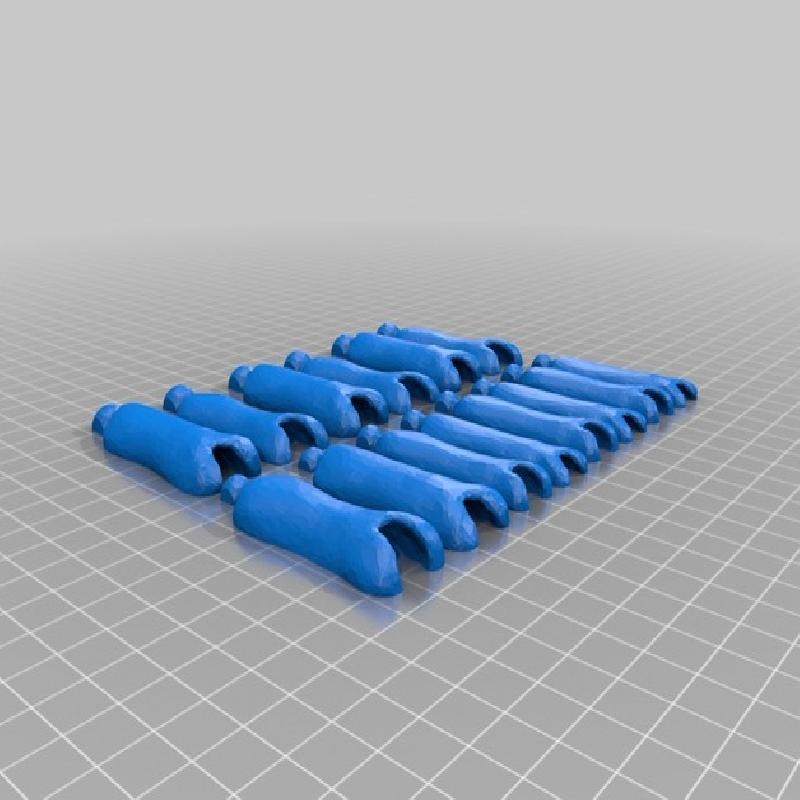
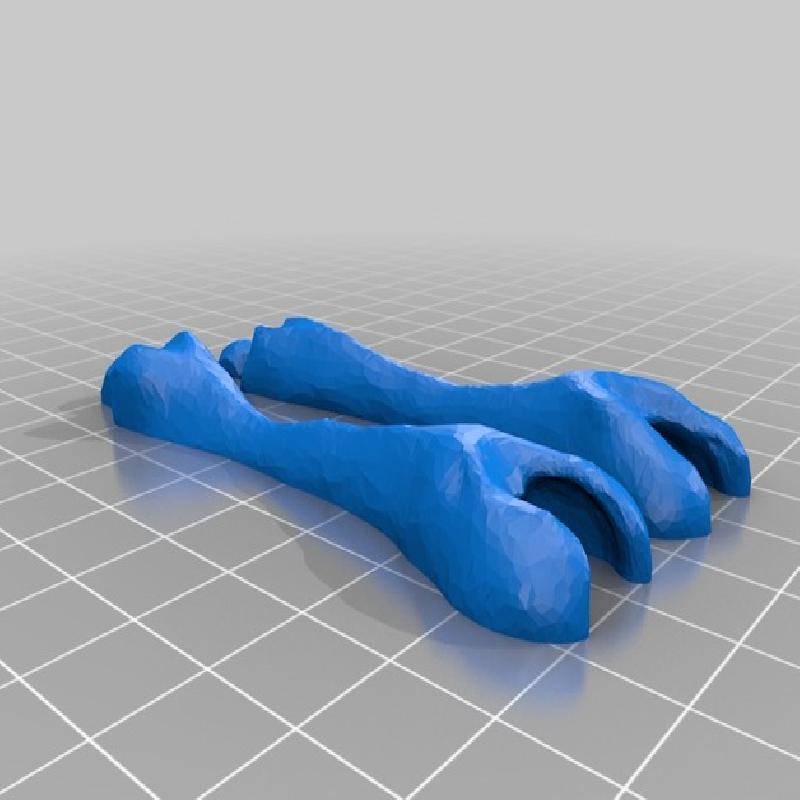
F) When printing the Tail grouping files, the order of the tail pieces is left to right, top to bottom. I provided a STL with two legs you can print at once if you have a large enough bed. If not, use the OneLeg_PLA.stl
G) In the first Tail Grouping, the big part that attaches to the body should be glued so it does not bend. It was not meant to be tight since it's still technically a non-flexible part of the body. But, you may decide to leave it bendable. That is up to you!.
H) In case just a part of your leg print fails (which sometimes happens with multiple pieces in a print), I've supplied the individual leg piece STLs.
Enjoy!
Rafts: No
Supports: No
Resolution: 0.15mm
Infill: 20% for body, 40% for legs.