by iClint, published
Updated 27/3/2016 see change list
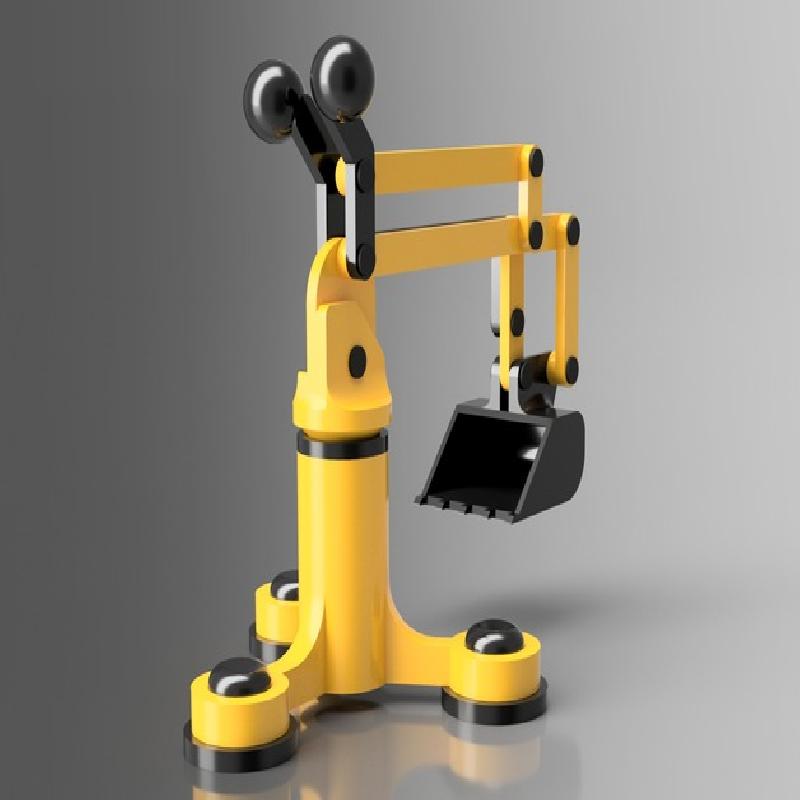
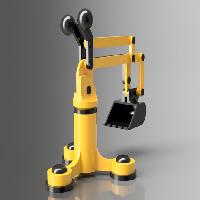
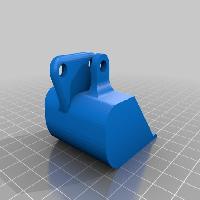
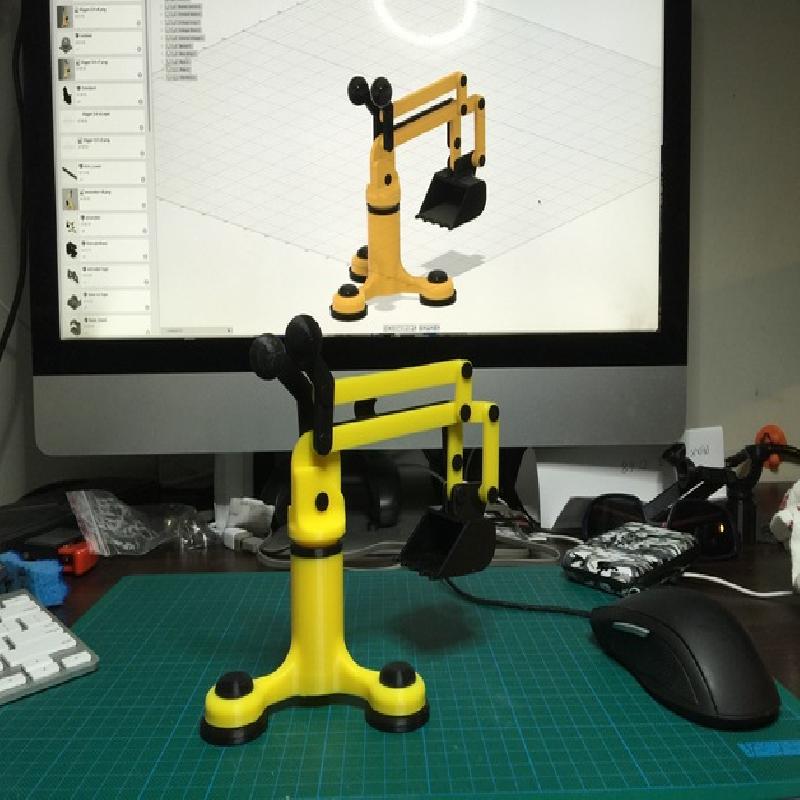
A larger more robust version of my original digger, with a few minor tweaks.
only the bucket.stl requires supports
testprint.stl is only for testing your ability to print a sphere, and not needed for the model.
Change list:
Added lego style assembly instructions with pictures
Uniformed all peg holes as some were not the correct size
Increased tolerance to 0.4mm for all connected parts
Linkage Long no longer has its pegs incorporated into the model
Reduced number of files by combining STL files.
Printer Brand: Printrbot
Printer: Simple Black
Rafts: No
Supports: No
Resolution: 0.1
Infill: 50%
Notes:
Only the bucket requires supports, the rest of the parts will print fin in their correct orientation. Singing a brim for the base will help prevent warping, and ensure adhesion to the print bed for the Pivot.
Step 1
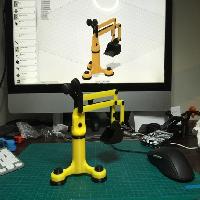
Once you have all your parts printed and cleaned up to your liking assembly is fairly straight forward.
The parts should just press fit together but a small amount of super glue is recommended to give the model some strength.
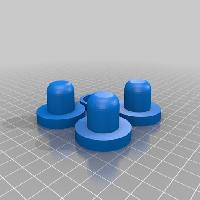
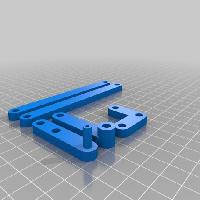
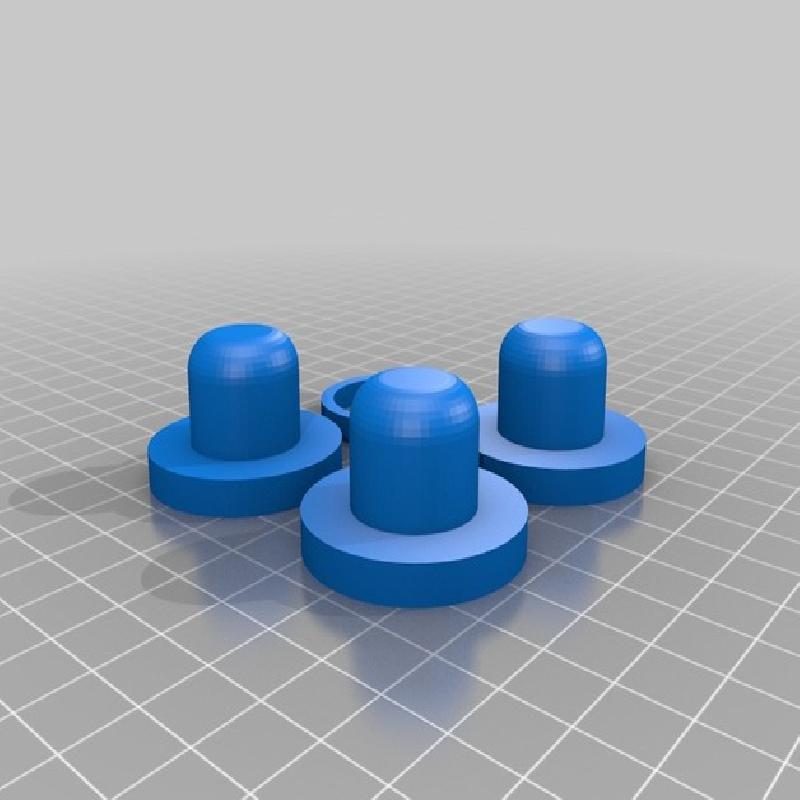
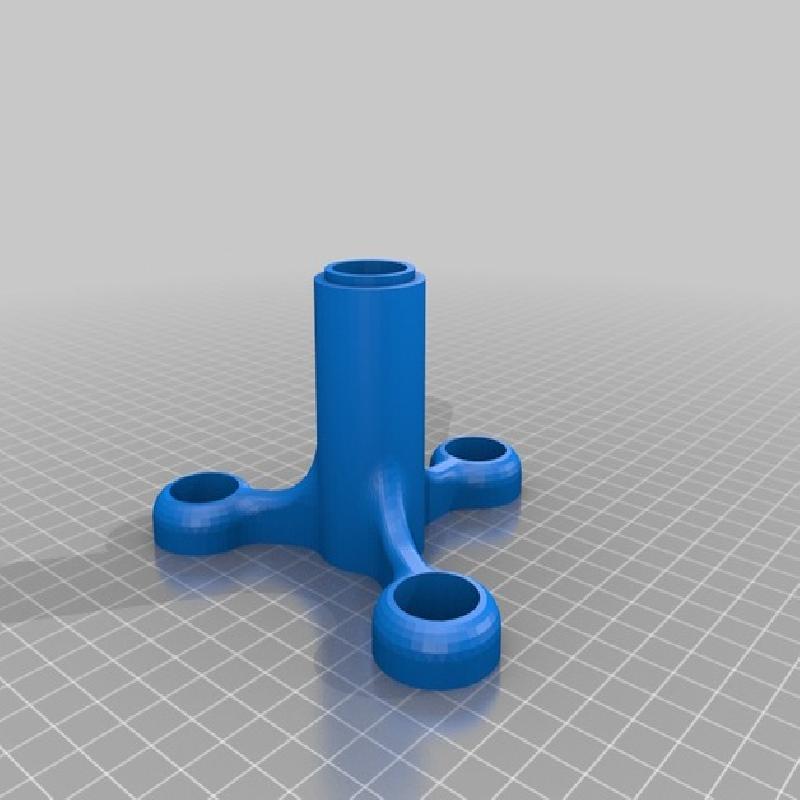
Starting with the base. take the 3 feet and press them into the 3 holes on the outriggers.
Then take the ring and press it on to the top of the base.
if needed a drop of glue between the parts can be used to ensure they stay together.

Step 2
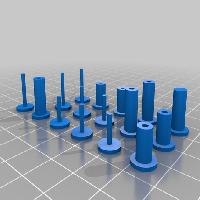
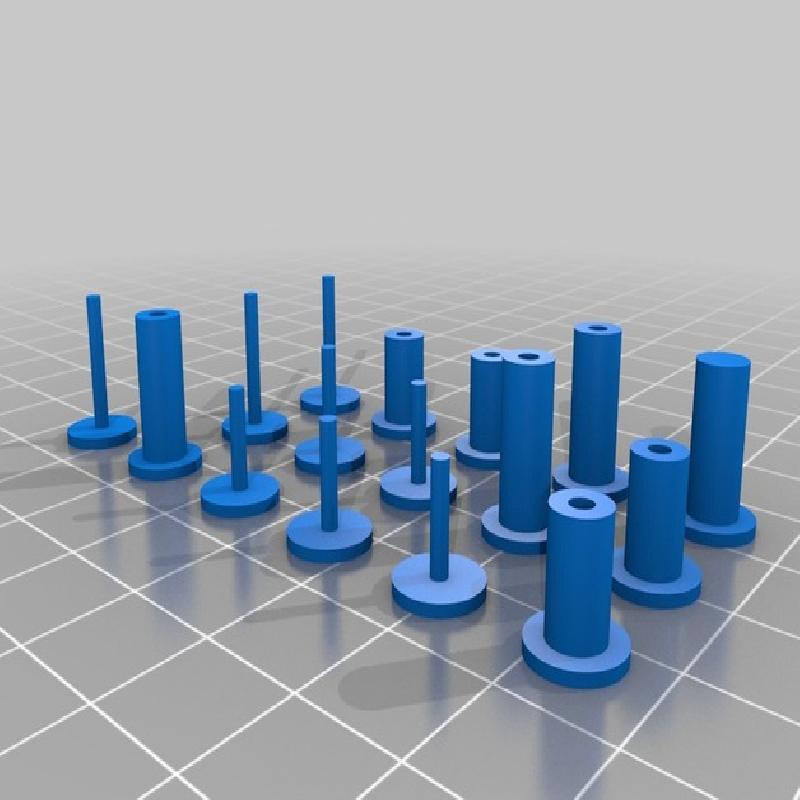
Arrange your pegs ready for assembly there are:
3x 12mm male and female.
4x 8mm male and female.
1x 8mm male
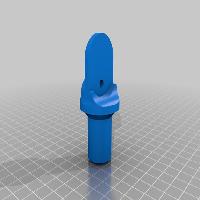
1x 11mm large male (no hole down the middle)
If using super glue having a number of bulldog clips at the ready will help clamp parts to gather while the glue sets.

Step 3
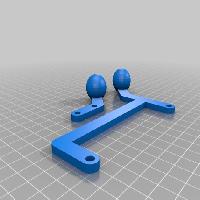
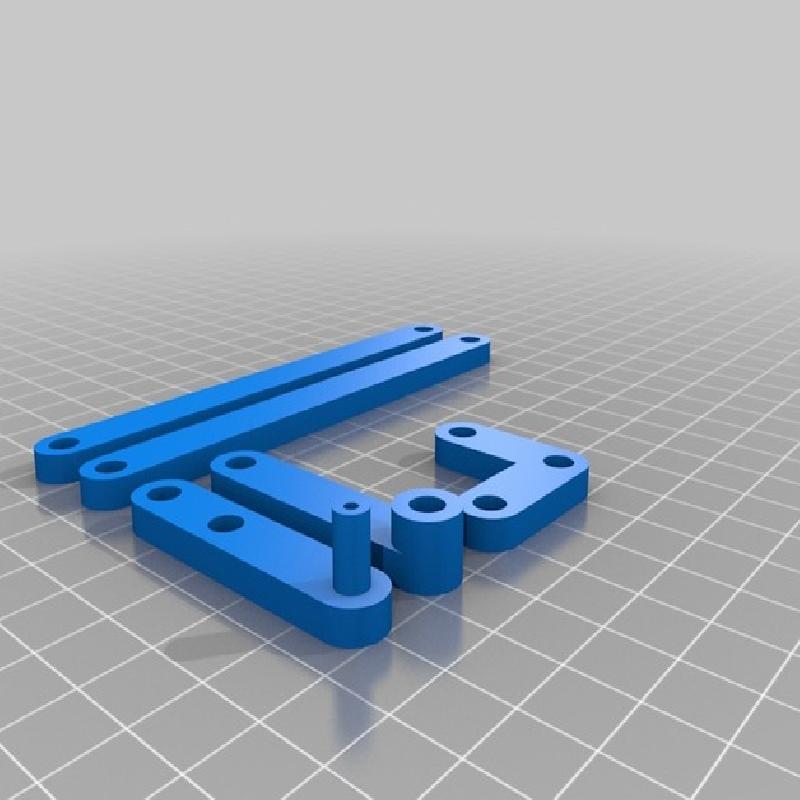
starting with the bucket assemble the forward-boom to the bucket using 12mm male and female pegs.

Step 4
Assemble Boom arm and 90 degree linkage with 8mm male peg

Step 5
Assemble short linkage with 8mm pegs in the top hole and 12mm pegs in the bottom hole

Step 6
Assemble long Linkage with 8mm pegs

Step 7
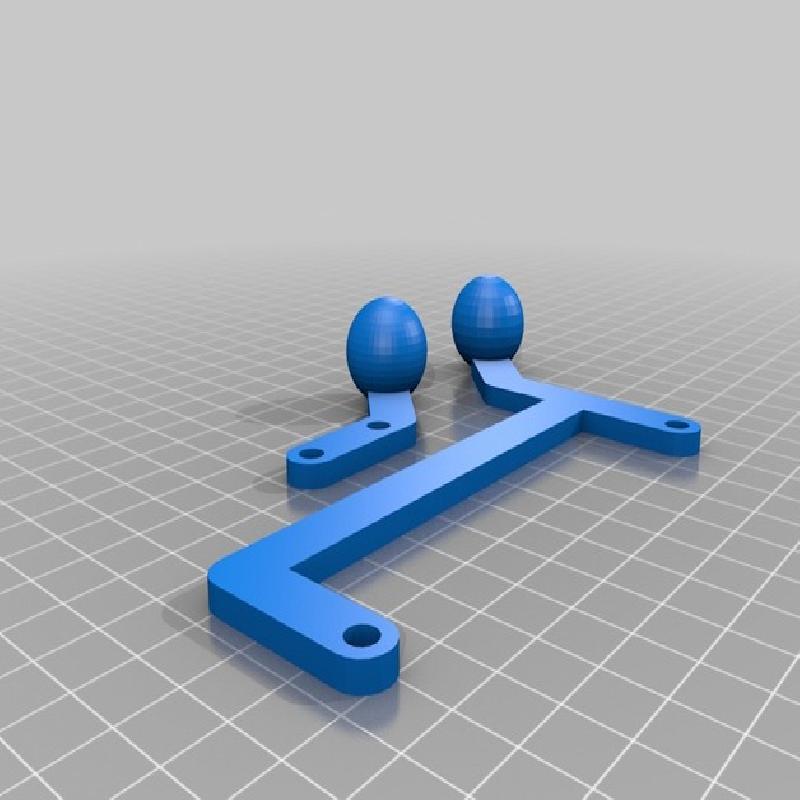
Assemble bucket control with 8mm pegs

Step 8
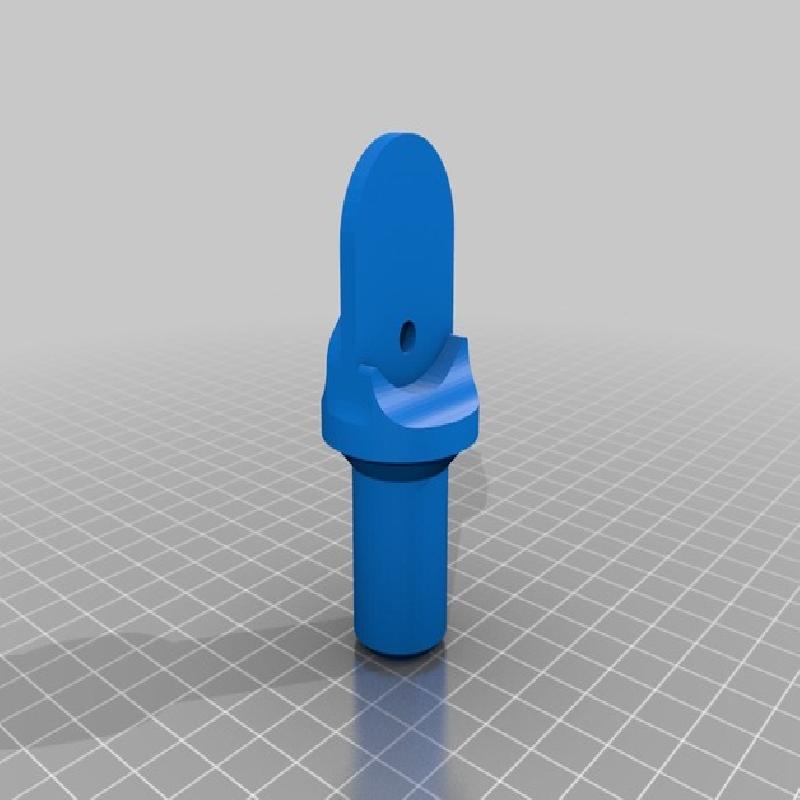
attach the bucket and boom assembly to the Base-pivot using the 11mm large male peg (no hole down the middle).
This will be a very tight fit.

Step 9
Assemble the boom control using 8mm pegs at the bucket end and 12mm pegs at the base end.

Step 10
Insert what you have assembled into the top of the base assembly

Step 11
Manipulate all the joints to free them up, they may be stiff to begin with but with movement they will begin to move much easier.