by djholt, published
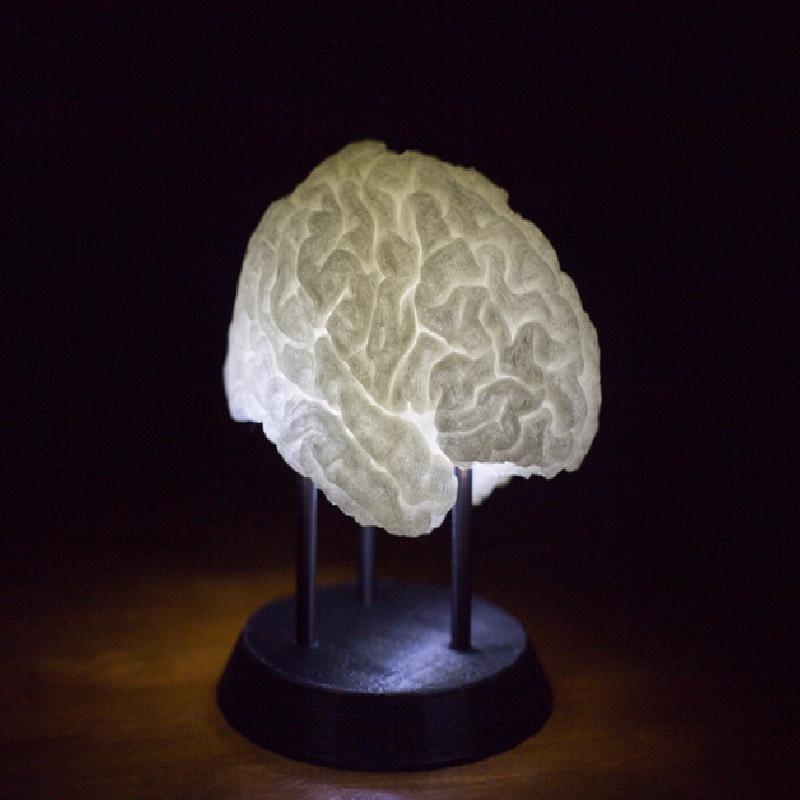
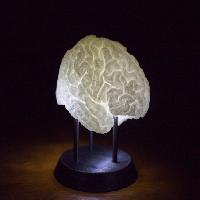
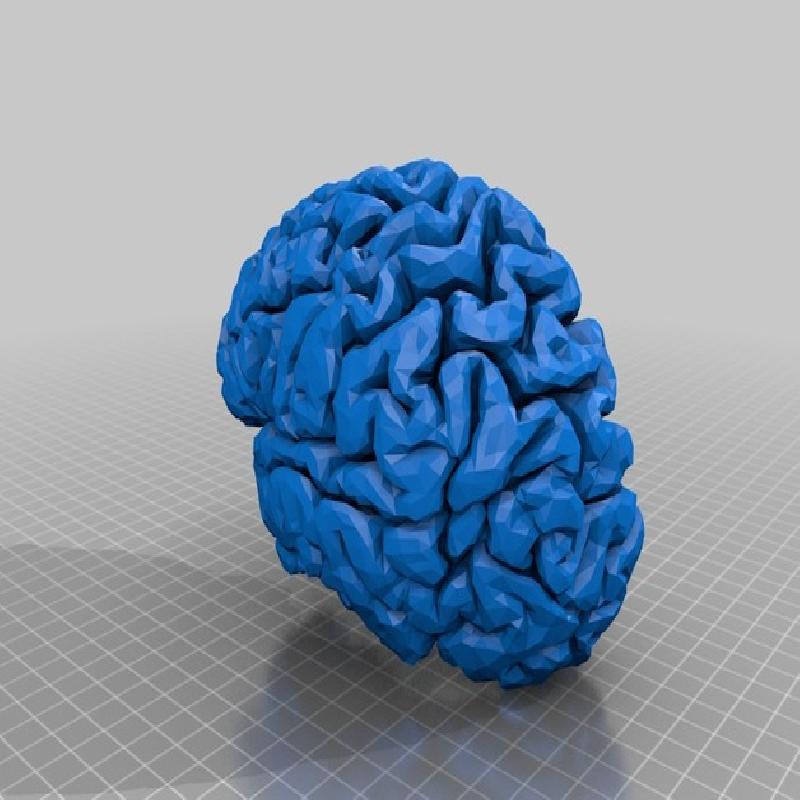
A full-scale replica of a human brain (modeled from an anatomical MRI scan) mounted on a printable stand, featuring LED lights installed within each of the three supports.
We want to see one printed using glow-in-the-dark filament. If you print one, send pictures.
If you happen to have an MRI scanner handy, or want to participate in a study at your local university, then it might be easier than you think to print a replica of your own brain instead.
The print is very straightforward. Here's what we did:
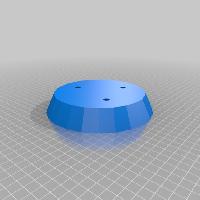
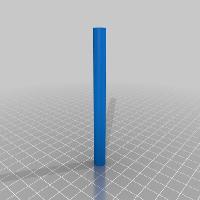
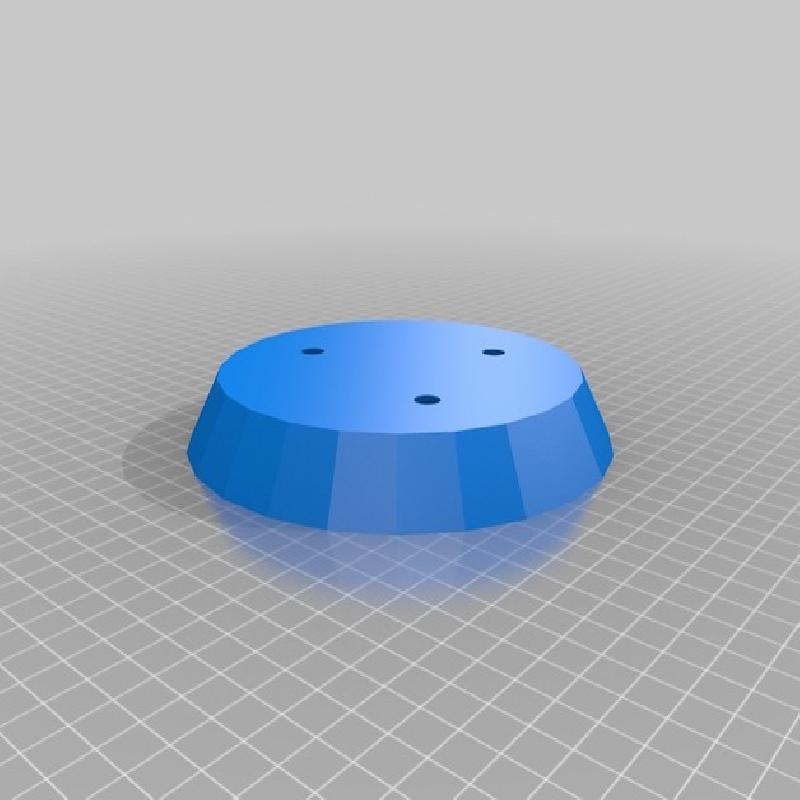
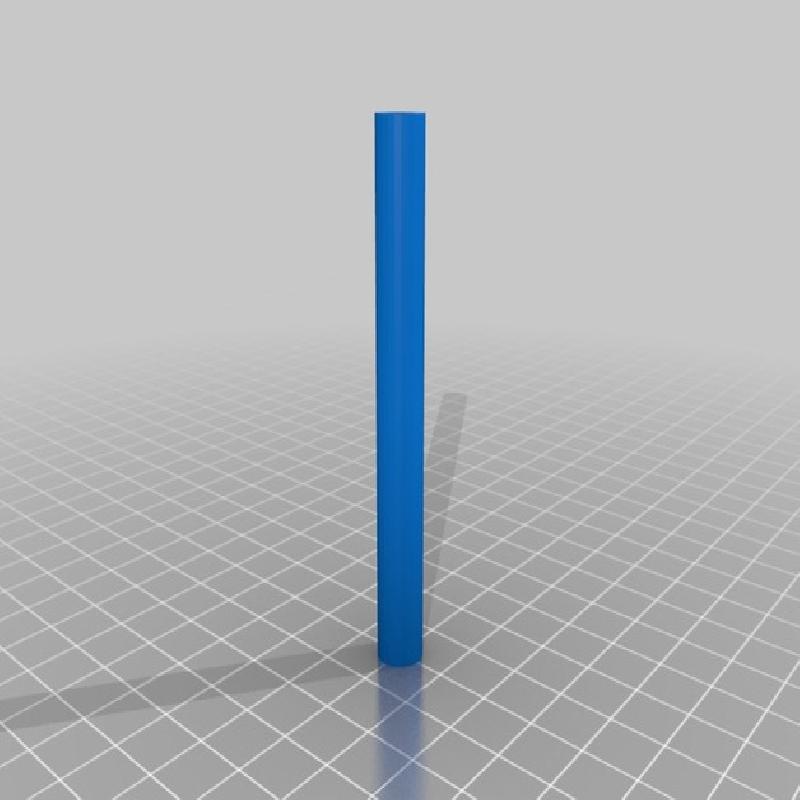
Print using standard settings, with a raft, using a dark-colored filament. Print the stand's base upside-down to avoid the need for supports. Print the stand's three supports (the tubes) vertically.
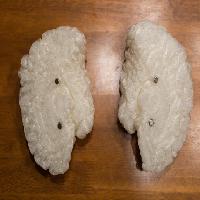
Print using standard settings, with supports and a raft, using natural (clear) filament. Position each hemisphere of the brain with the flat side downward, parallel to the print surface. We printed the brain hemispheres approximately 5mm above the print surface, to make the supports easier to remove.
The brain itself requires a decent amount of filament (and time) to print. Each side requires about 24 hours and 1/2 pound of filament. That's 48+ hours and a pound of filament total.
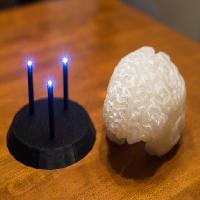
Here is what you'll need to install the three LED lights. You can buy most of this at RadioShack.
Three 5mm LED lights of any color (we used white)
Some solid-conductor wire (22 to 26 gauge)
2xAAA battery holder and 2 AAA batteries
Basic on/off switch
Heat-shrink tubing
Solder and soldering iron
Super glue
Wire cutters and wire strippers
The brain hemispheres are connected using two pairs of neodymium magnets, glued into recesses that were melted into the plastic.
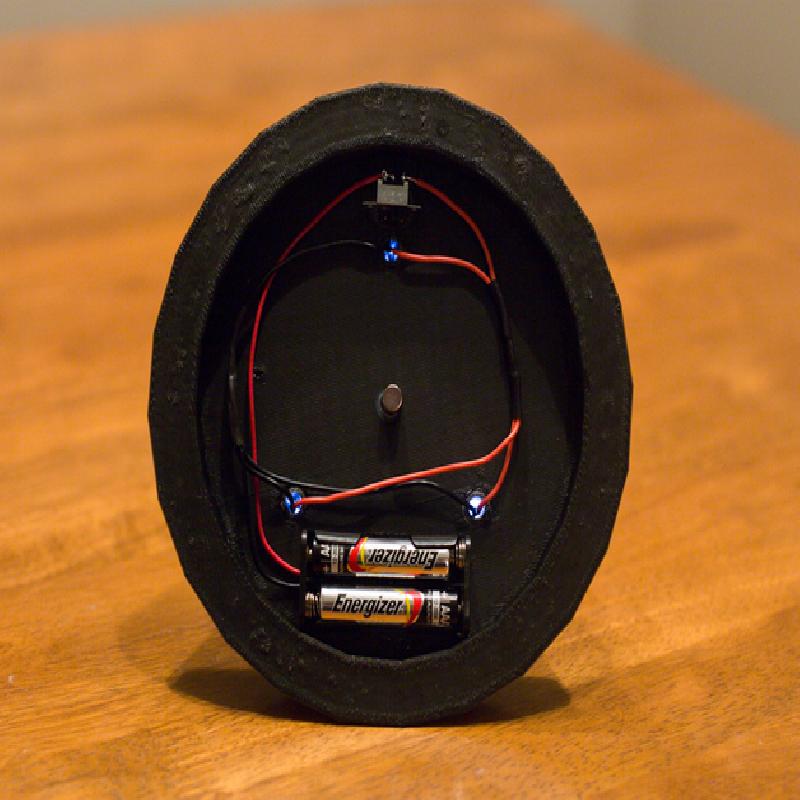
The battery holder and on/off switch are glued into the compartment on the bottom side of the stand's base. Wires are soldered to form a circuit between the LEDs and the battery holder, with the switch installed to terminate the circuit.