by TechSupportGo, published
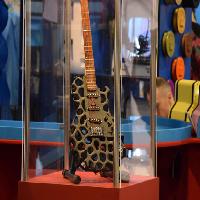
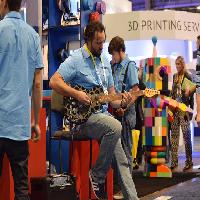
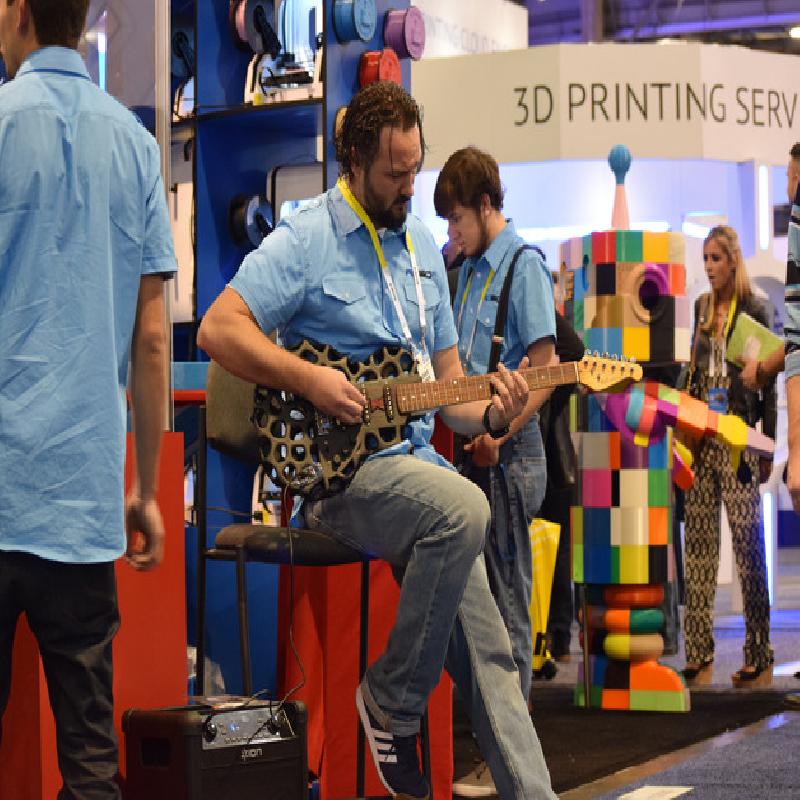
SHOWCASED @ CES 2016!!!
Here is my story!
https://www.linkedin.com/pulse/how-3d-printing-renewed-my-sense-purpose-life-jessie-sasser?trk=pulse_spock-articles
https://www.youtube.com/watch?v=E2DFGc3nYXE&feature=youtu.be
I have decided to release my files to the public for everyone to enjoy! I had a lot of fun creating this project and wanted to share my experience with others. None of this would have been possible if it were not for Braydon Moreno and his team at Robo 3D. A big thanks goes out to everyone that inspired and encouraged me to continue this project!
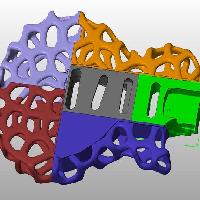
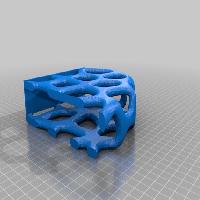
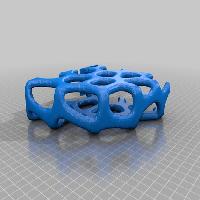
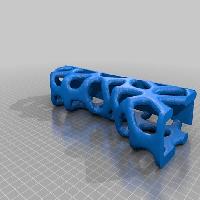
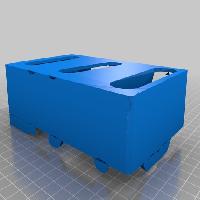
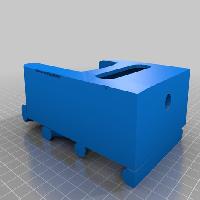
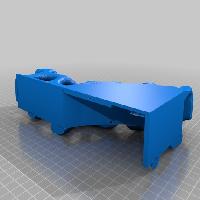
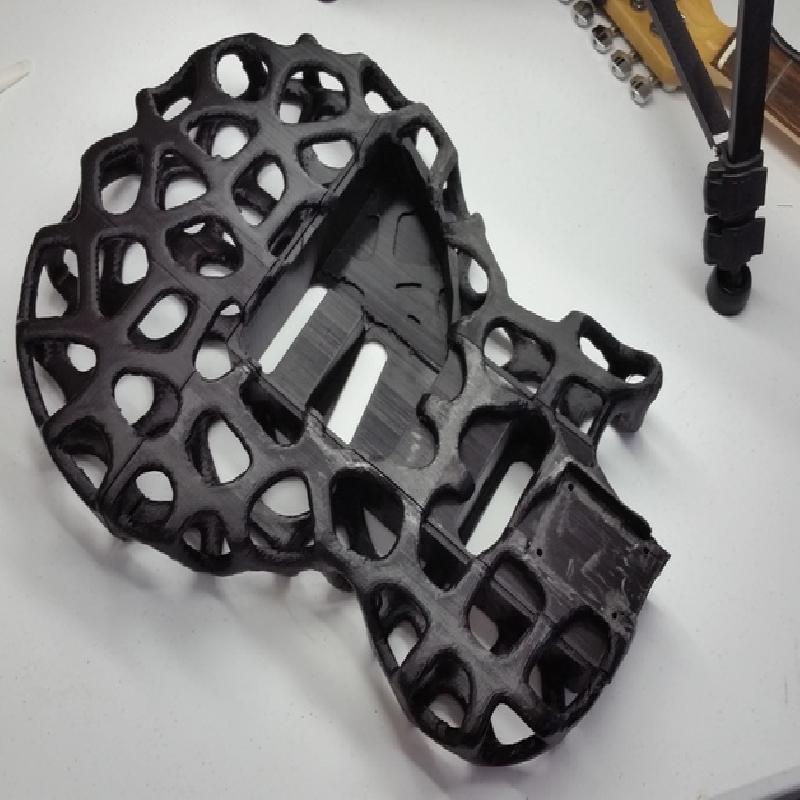
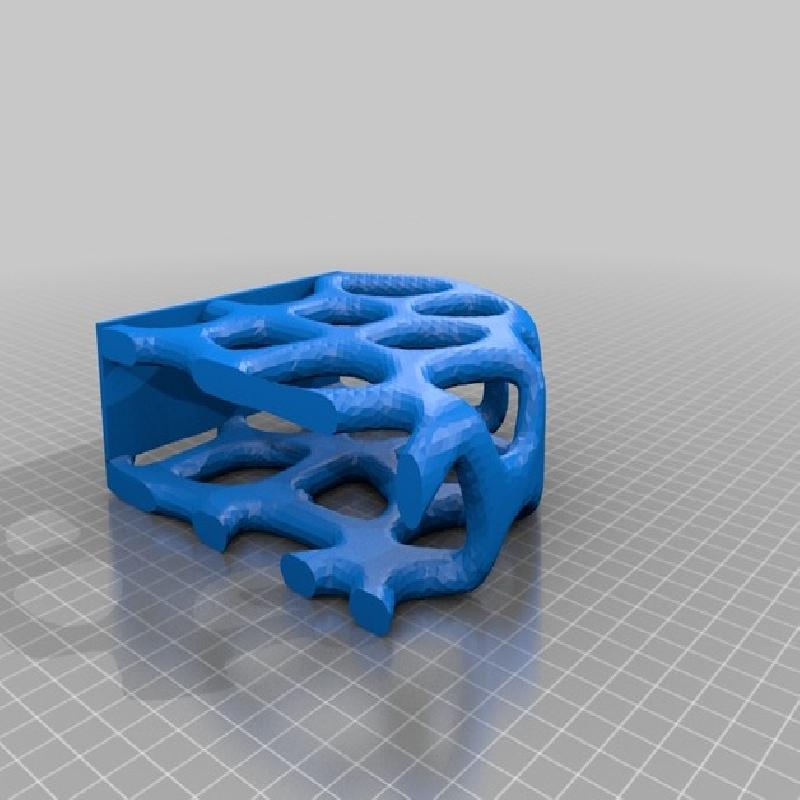
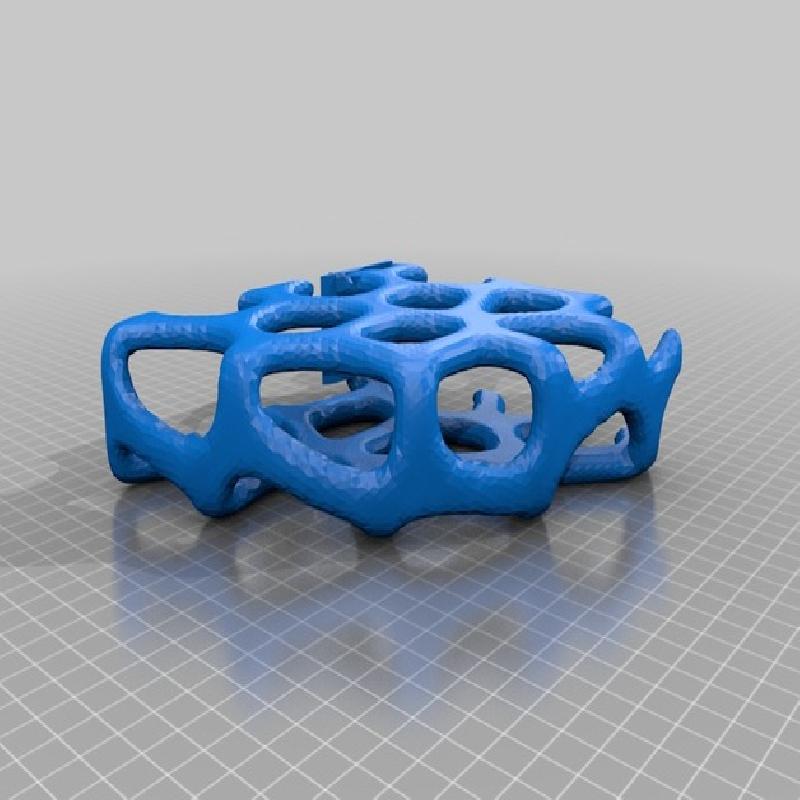
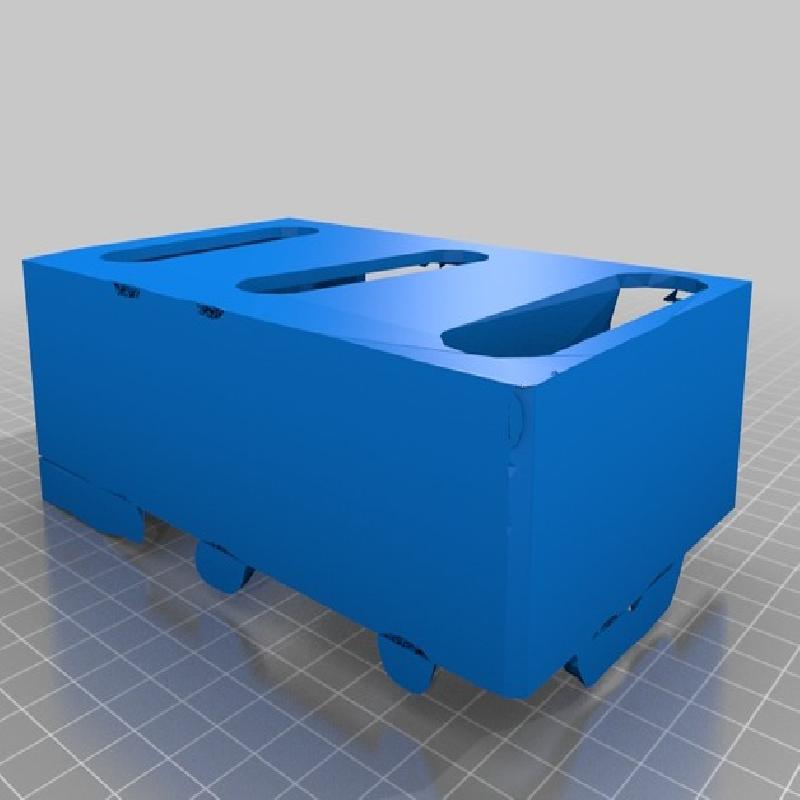
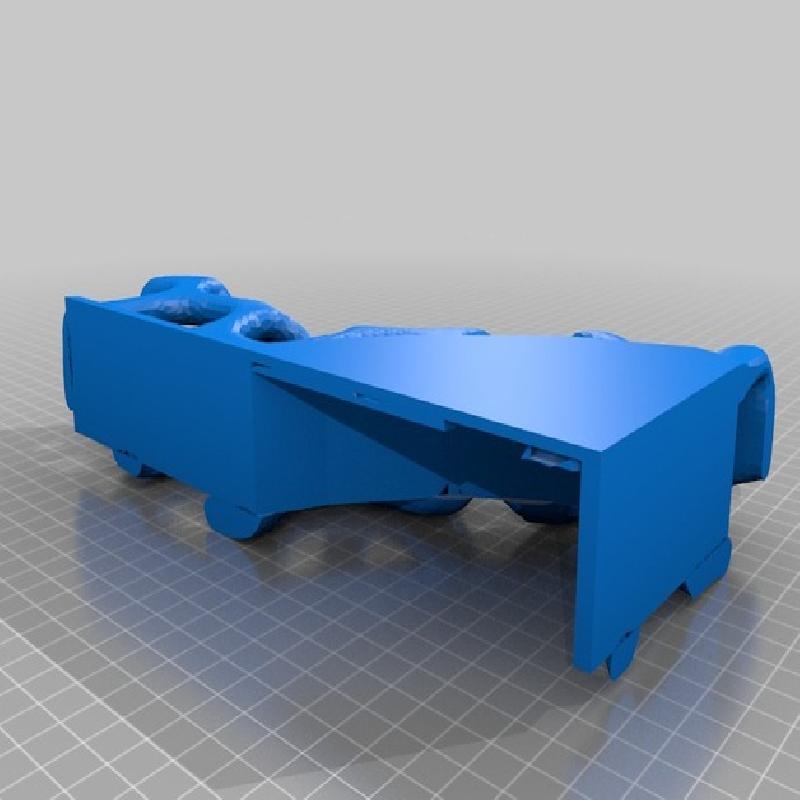
Designed in 3D Studio Max / MeshLab and printed on the Robo 3D R1 using little or no support. I split the design into six different pieces so each one would print on my Robo 3D R1. The center pieces are printed using 100% infill for stability and the other pieces are printed at 60% infill.
If you are reading this, this is a work in progress. My final guitar required minor modifications and manipulation after printing in order for all the pieces and electronics to come together. You will need to modify your files or printed pieces in order to achieve your desired effect and it will be project dependent. If you print, this please share with us your accomplishments as well as your challenges. Even if you do not finish I would be interested in seeing the progress of your build.
Thanks again, and please be kind on the comments, if you have a question I will do my best to answer it :)
Creator “Jessie Sasser”
Total Print Time – 100 Hours
Filament Type – Black PLA “HATCHBOX”
Printer – ROBO 3D R1
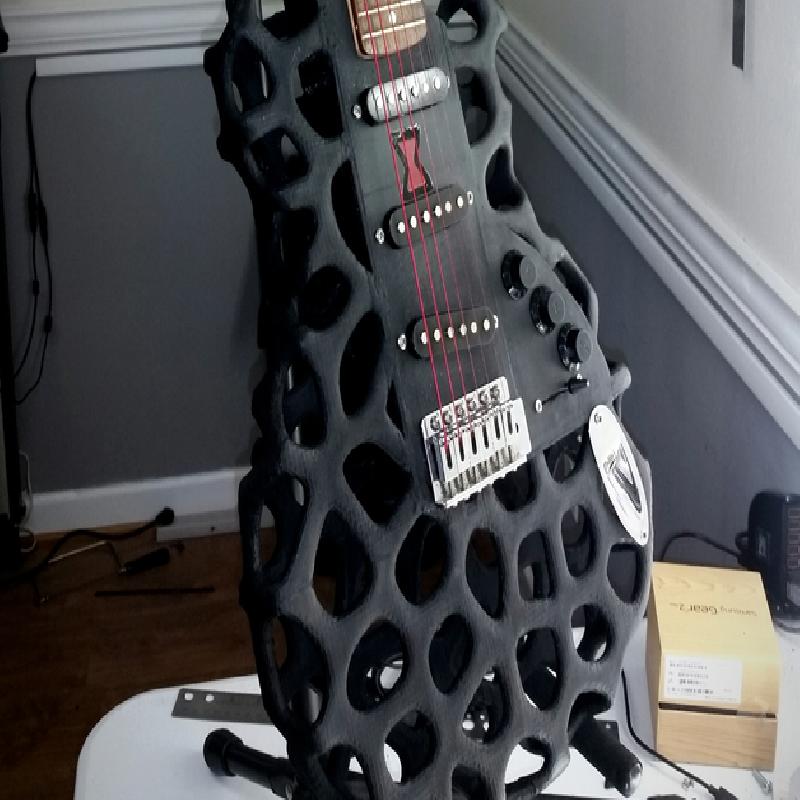
Widows Web 3D Printed Guitar ©2015
Jessie Sasser
TechSupportGo.com
Rafts: No
Supports: Yes
Resolution: .20
Infill: 60-100%
Notes:
Multiple settings with support for some and not for others. If your printer can handle bridging well you may not need support. Printed using Simplify3D, the best software I have found for slicing and printing 3d projects!
Assembly
I printed the two center pieces first the assembled everything from the center out using LocTite
http://www.amazon.com/Loctite-1363118-Plastic-Bonder-Syringe/dp/B0044FBB8C/ref=pd_sim_60_5?ie=UTF8&refRID=1P3KNT3D1P1NXY2279XS&dpID=51-tVGTaiQL&dpSrc=sims&preST=_AC_UL160_SR160%2C160_
I used a fender style guitar for the donor neck and electronics.
I allowed 24 hours for each piece to adhere before attaching the next piece.
Once the main body was assembled I lightly sanded everything and sprayed it with flat black spray paint.
When the paint was completely dry I installed the electronics then the strings.
Don't forget to line the inside with a little aluminum tape to ground the electronics or you may get grounding noise when you plug it in.
Attention!! Assemble and use the electronics at your own risk!!
Have fun and do not forget to turn it up!
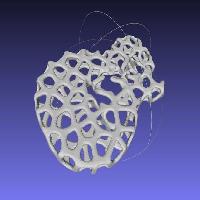
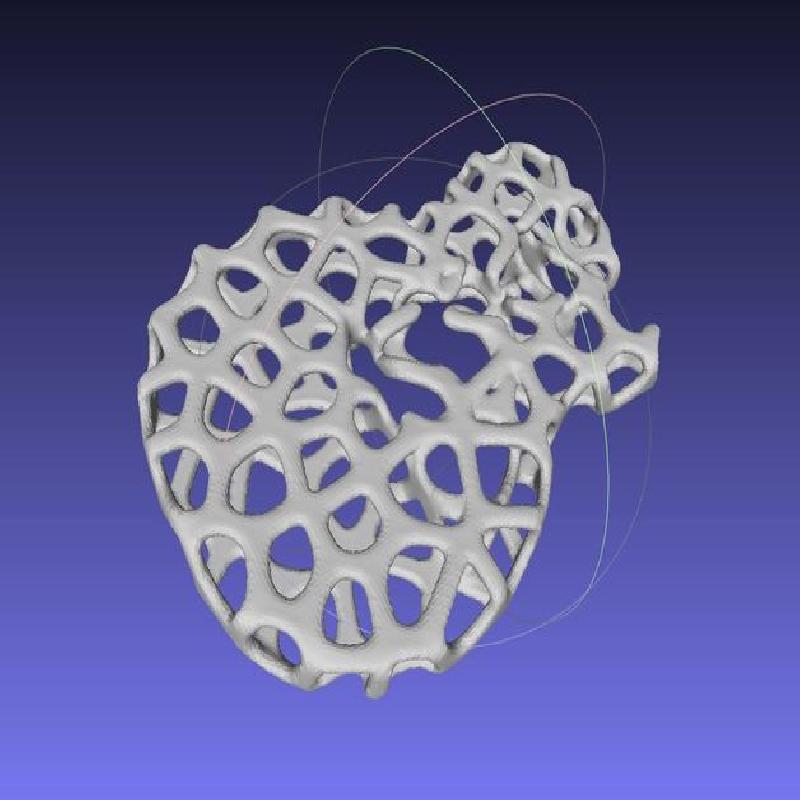
I started with creating a base shape in 3DS Max the applied voronoi in MeshLab. I had to take several things into consideration when deciding how and where to slice the model. This just barely fits on my Robo 3D R1.