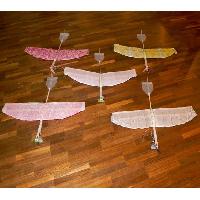
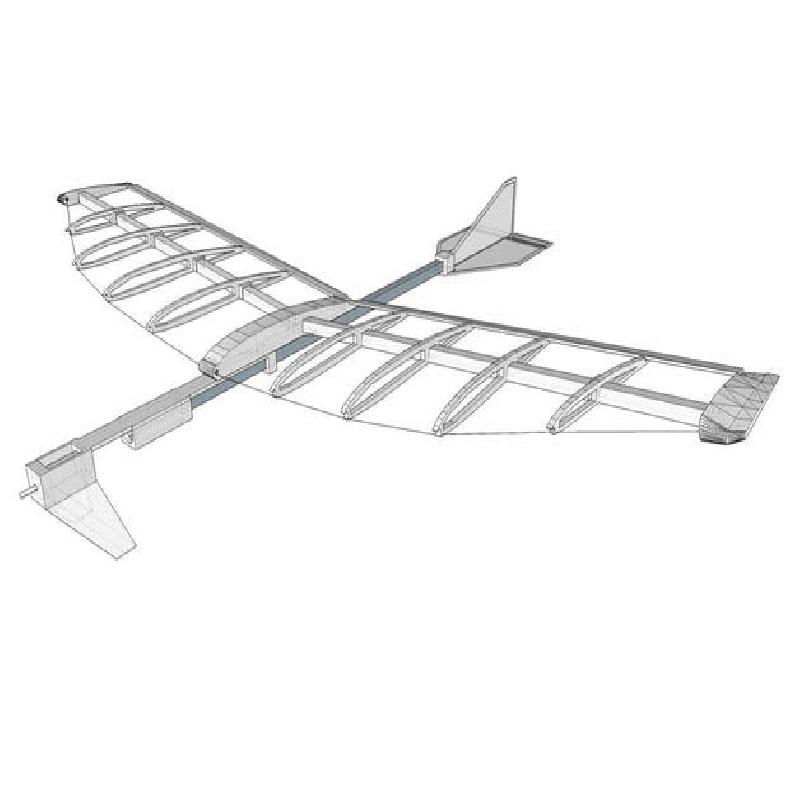
An airplane of about 50g weight with a wing span of 44,2cm and 20mm * 8mm motor with 3d printed parts, balsa wood and tissue covering the wing. It uses inexpensive motor and battery from common quadcopter repair packs resulting in a cost in parts of about 10 Euro per plane.
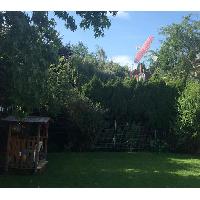
So far, the plane design survived many grass landings but it will break printed parts and sometimes the propeller when landing on hard floor such as concrete.
The length of flight heavily depends on tuning, weight and improvements to the design.
Please consider using safety googles due to the extremely fast spinning motor.
Printer:
Anet A8
Rafts:
Doesn't Matter
Supports:
Doesn't Matter
Resolution:
0,2 mm
Infill:
0%
Notes:
I was using 1,75mm PLA and successfully printed with and without support. In doubt, try using support first. The print tends to be cleaner without support.
In my case, I had to print the motor body part at 110%, or else inserting the motor would break the part. The STL with all parts has this part scaled to 110%, the single STL file is at 100%, so you can try your luck.
The design of the wing is based on Ultralight RC Glider From Scrap (licensed CC BY-NC-SA at time of download) by charlieCG.
All parameters were determined by Modellberechnung-V01 by Christian Forrer.

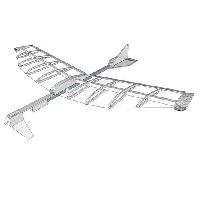
The airplane is built from 3D printed parts, balsa wood and other parts. There are some links to amazon for the parts.
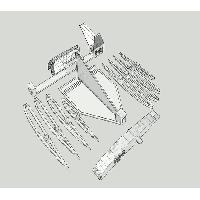
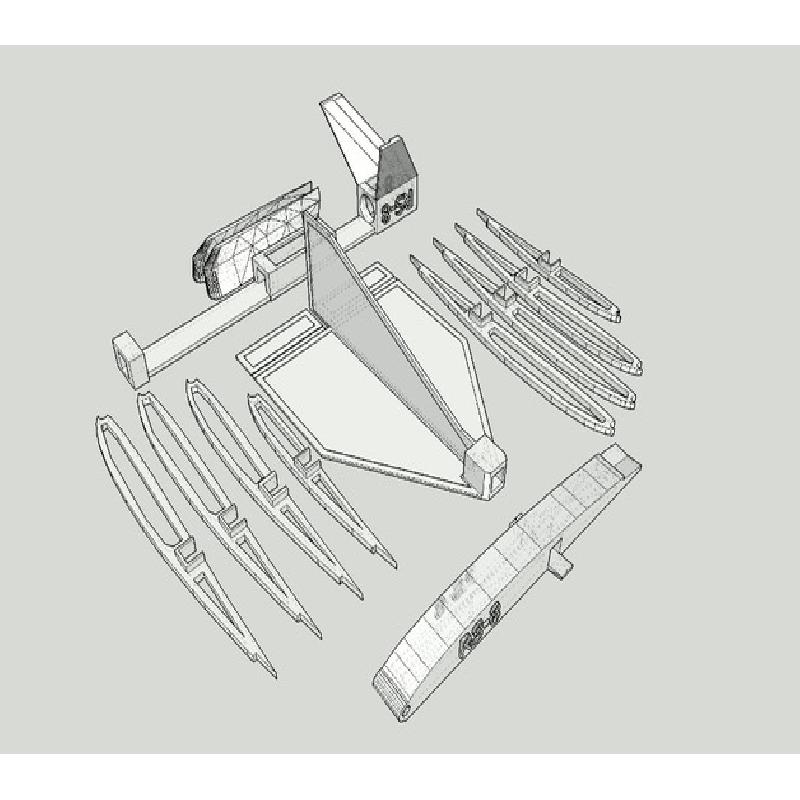
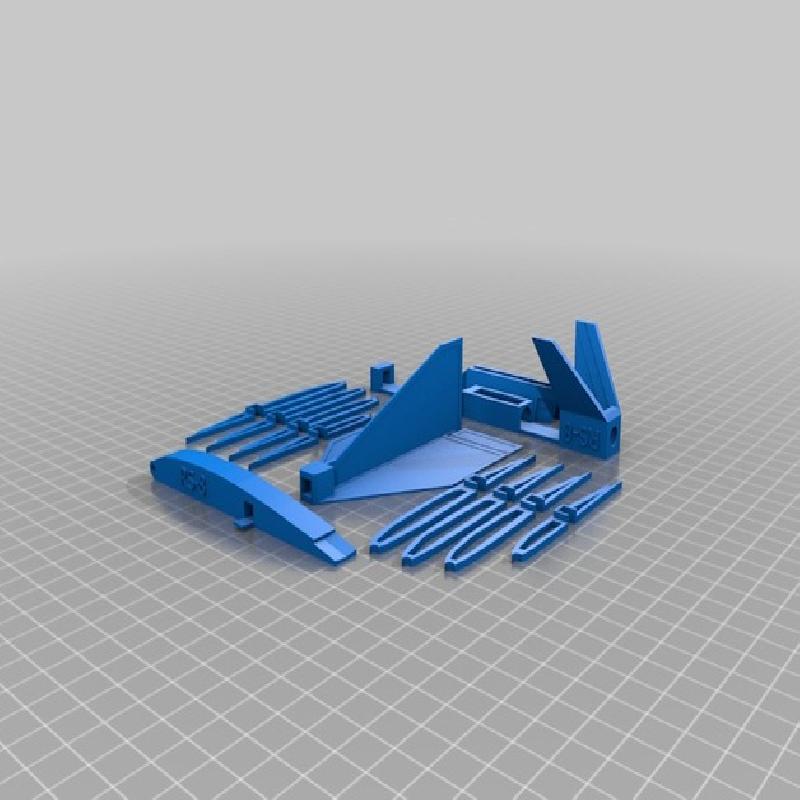
3D printed
wing body
8 wing supports
2 wing tips
motor body
tail
Balsa Wood
2 wing bar 20,8 cm x 0,5 cm x 0,5 cm
fuselage bar 22 cm x 0,5 cm x 0,5 cm
balsa wood 5 mm x 5 mm x 1000 mm
wing tail 42,6 cm x 1 cm x 0,1 cm
balsa wood 1 mm x 100 mm x 1000 mm
Others
motor 3,7 V , 2,0 cm length, 0,8 cm diameter
replacement motor for H107C H107D quadcopter, attach connector pins
4 motors with propellers, 6 motors w/o propellers
propeller
16 propeller blades
3,7V 150 mAh LiPo
6 LiPo 3,7V 150mAh with USB charger, 6 LiPo 3,7V 150mAh with USB charger
42,5 cm filament with 1,75 mm diameter for the front of the wing
rubber band
tissue (Chinese napkin)
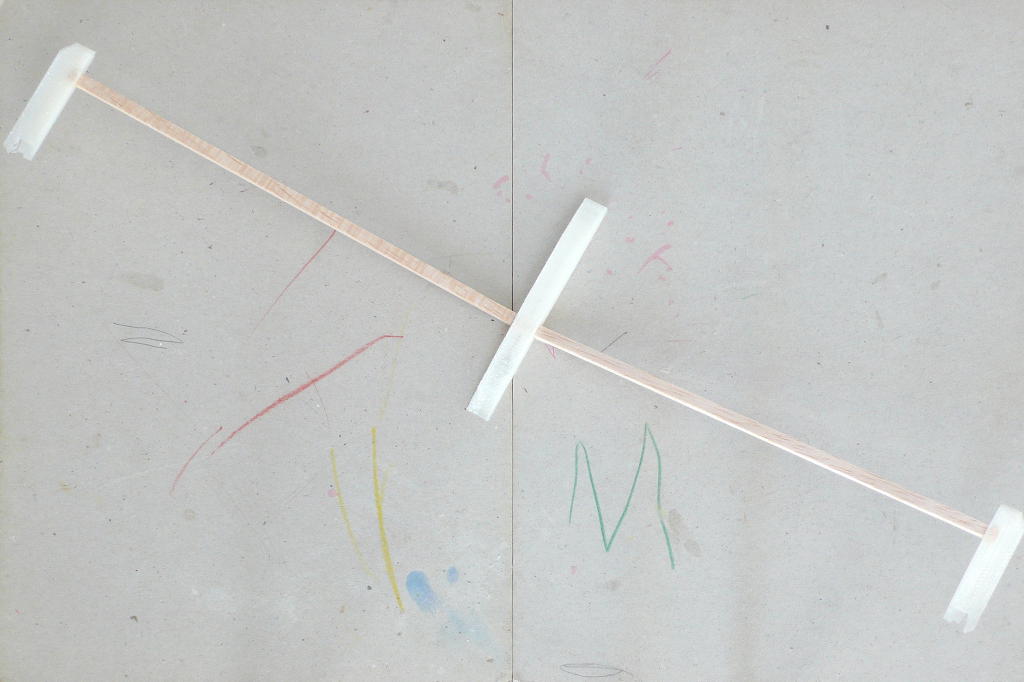
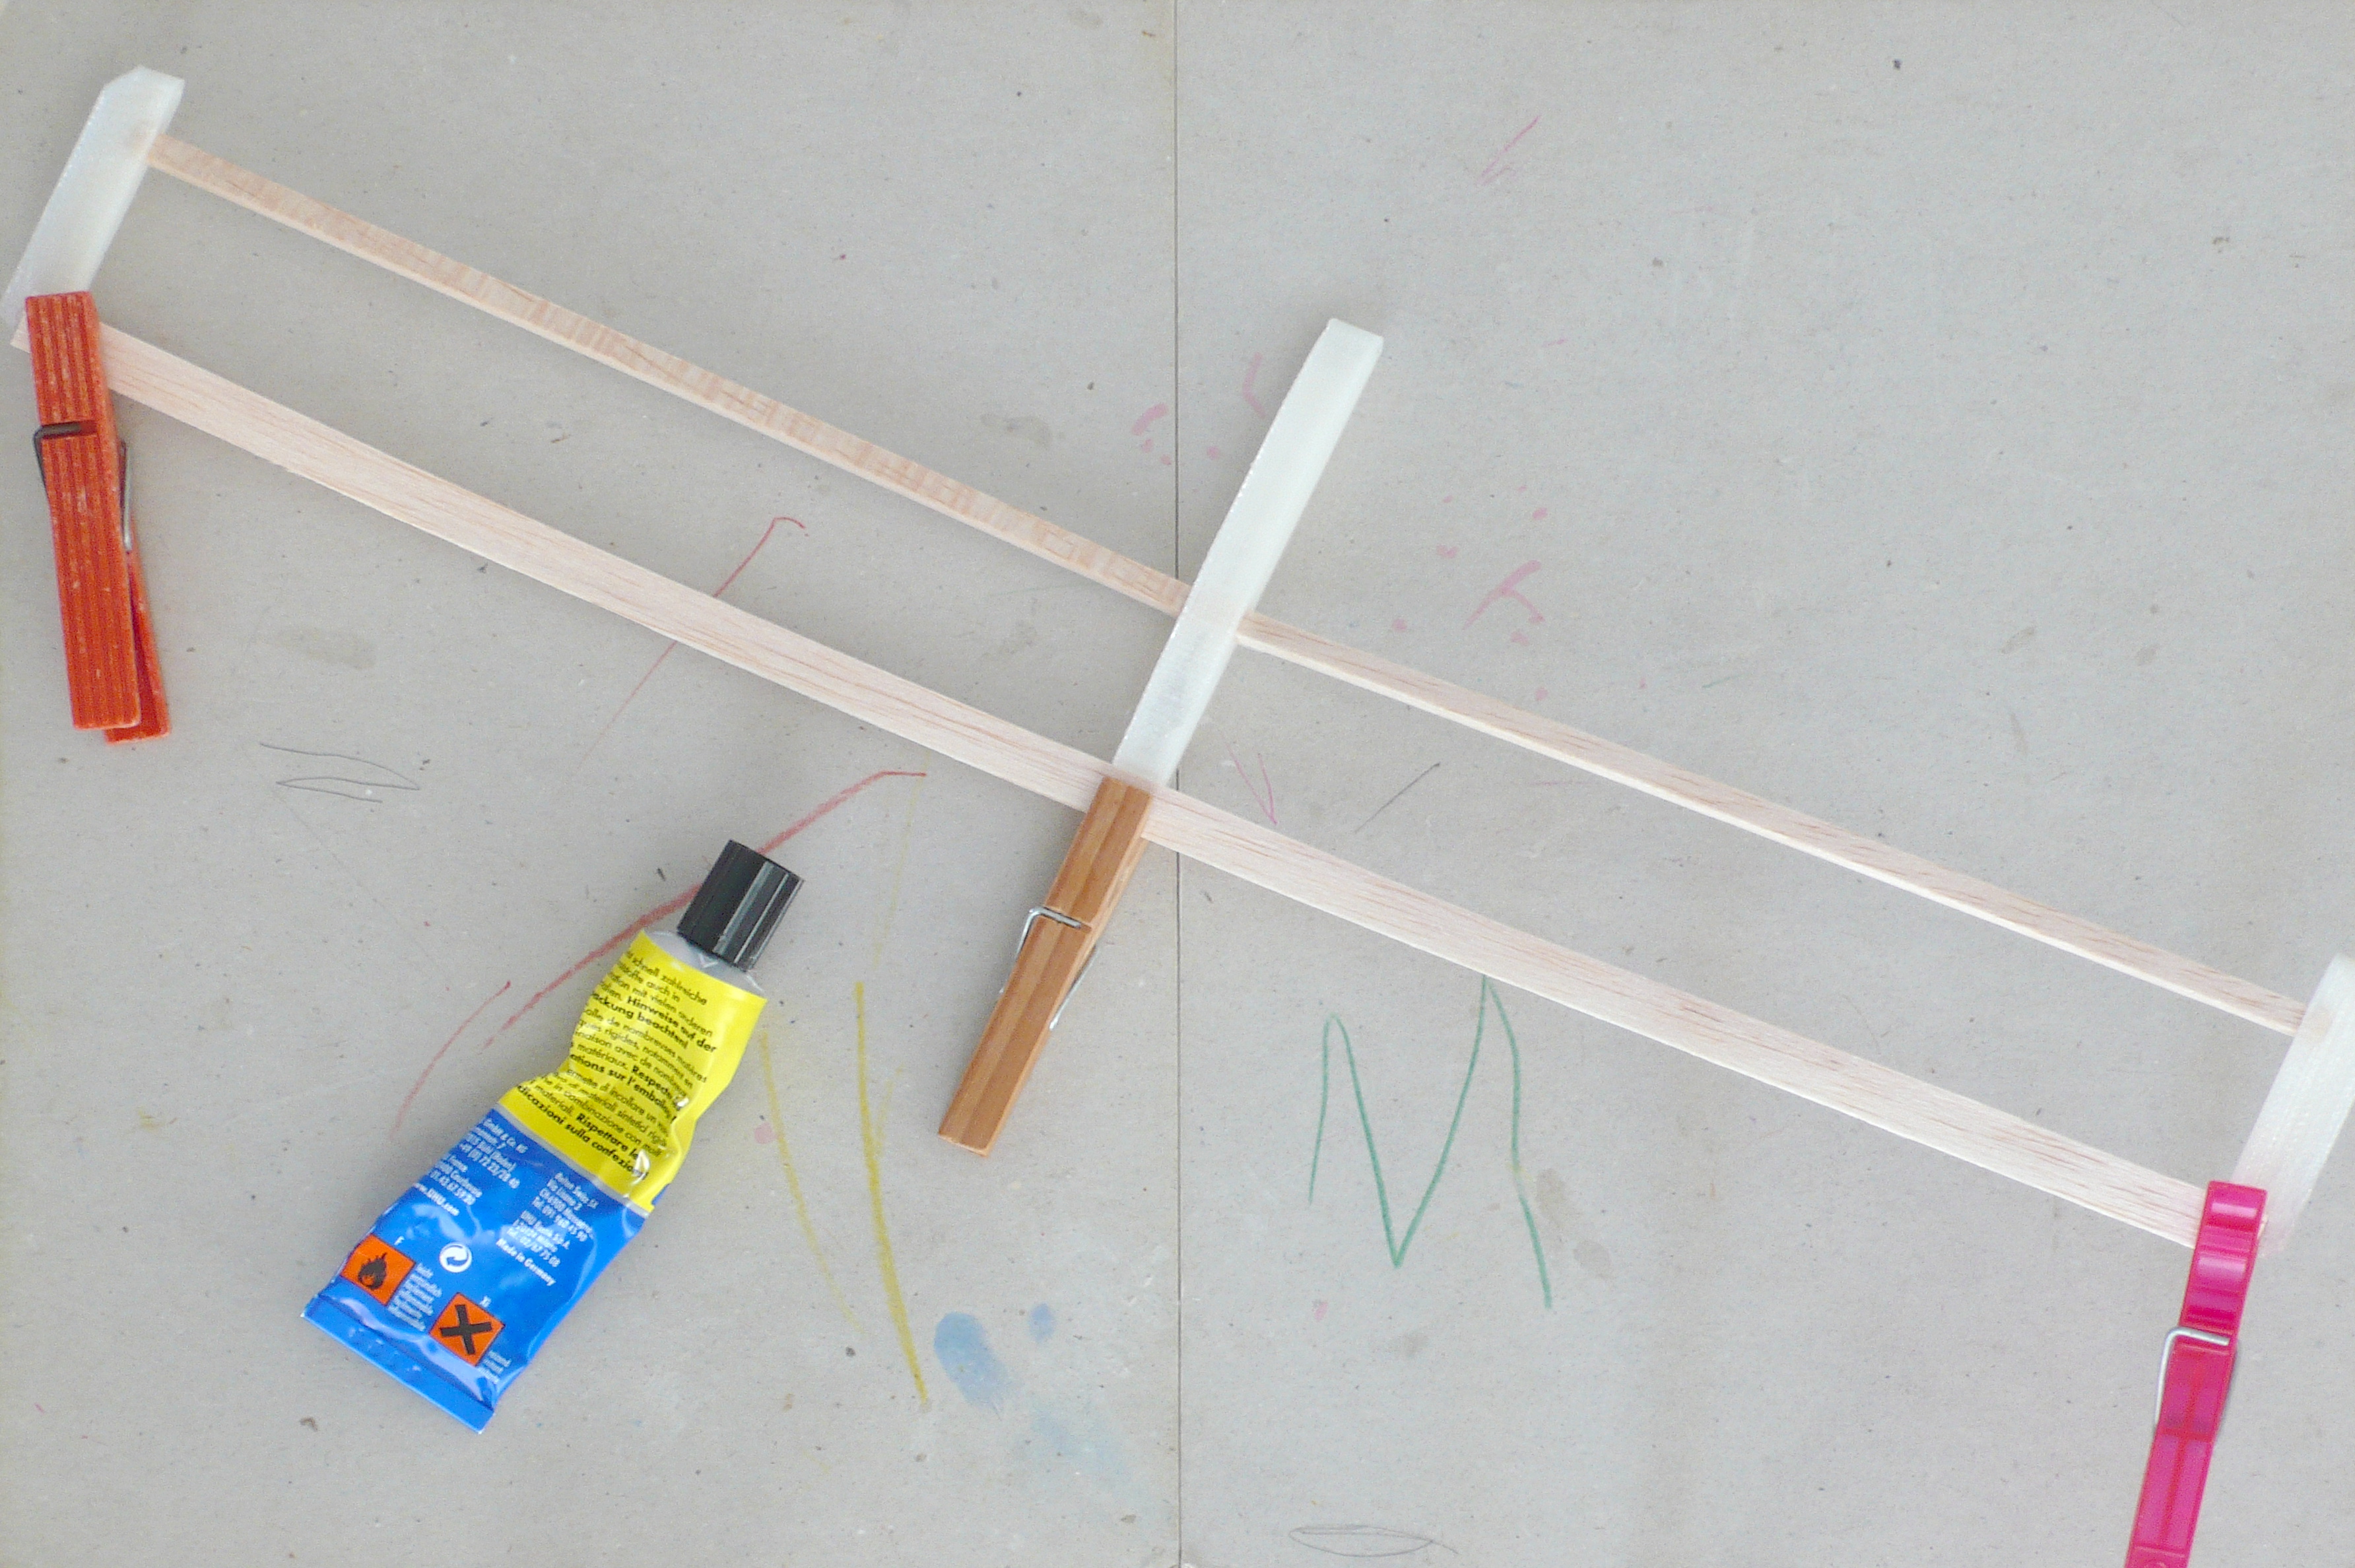
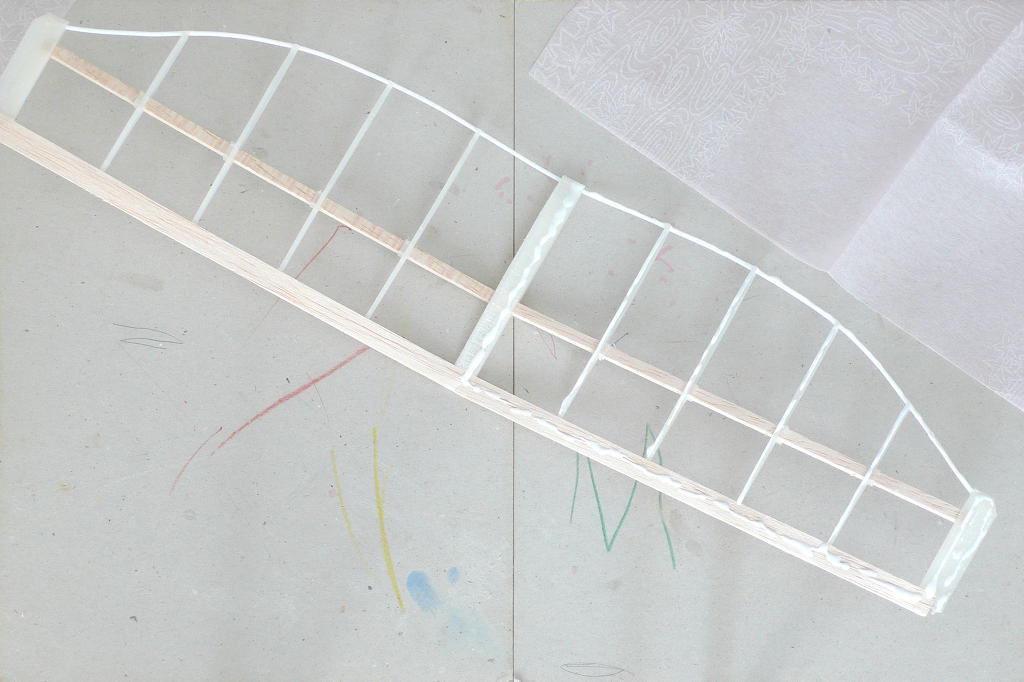
Step 1: Start with the wing body and wing tips and connect them with the two 20,8cm balsa bars
Step 2: Glue the 42,6cm wing tail onto the wing body and tips with strong glue and some pressure.
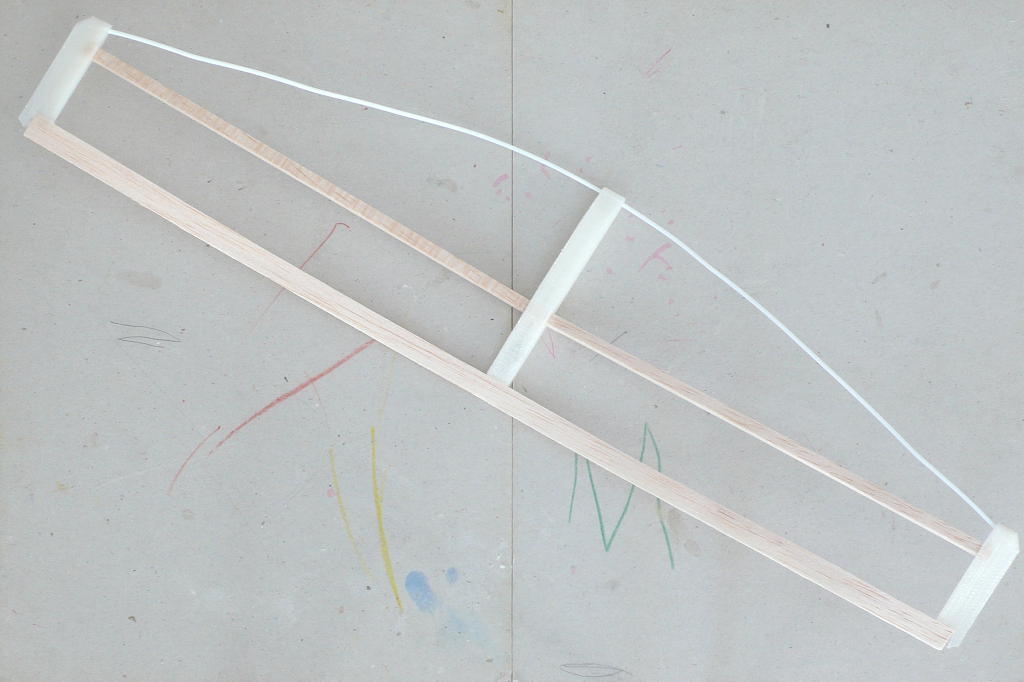
Step 3: Pull the 42,5cm long 1,75mm filament trough the wing body and stick it into the wing tips.
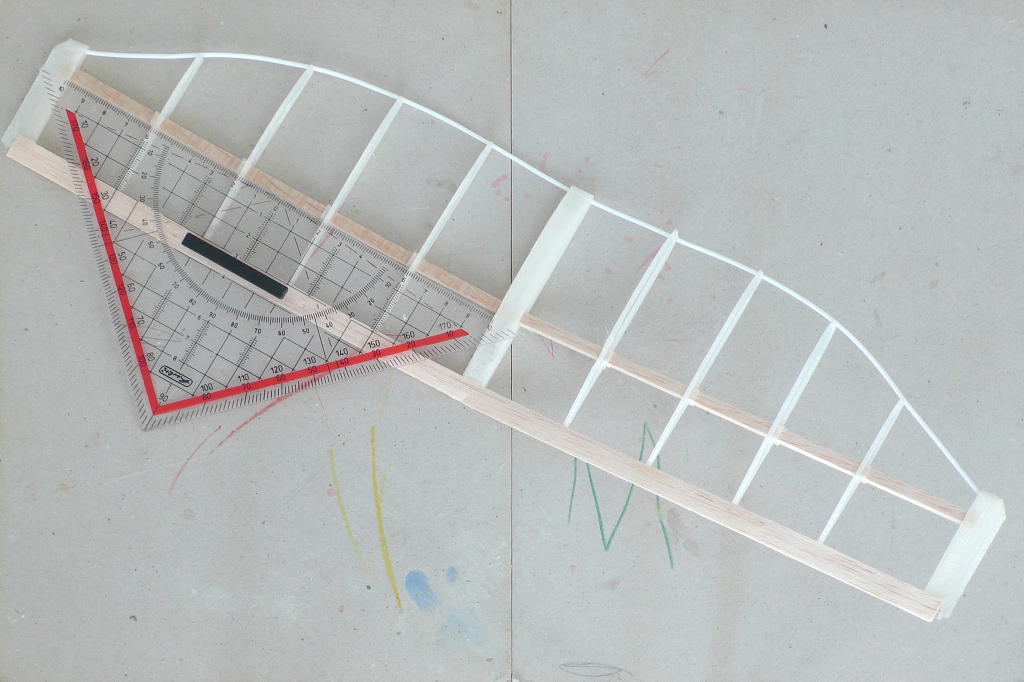
Step 4: Place the wing supports onto the center bar but below the wing tail with an exact distance of 4cm between each support. Align the filament wire to the support. Starting from the center, use a drop of strong glue to fix the wire to the support in a straight position. Then, again starting from the center, use the glue to fix the support to the wing tail with some pressure.
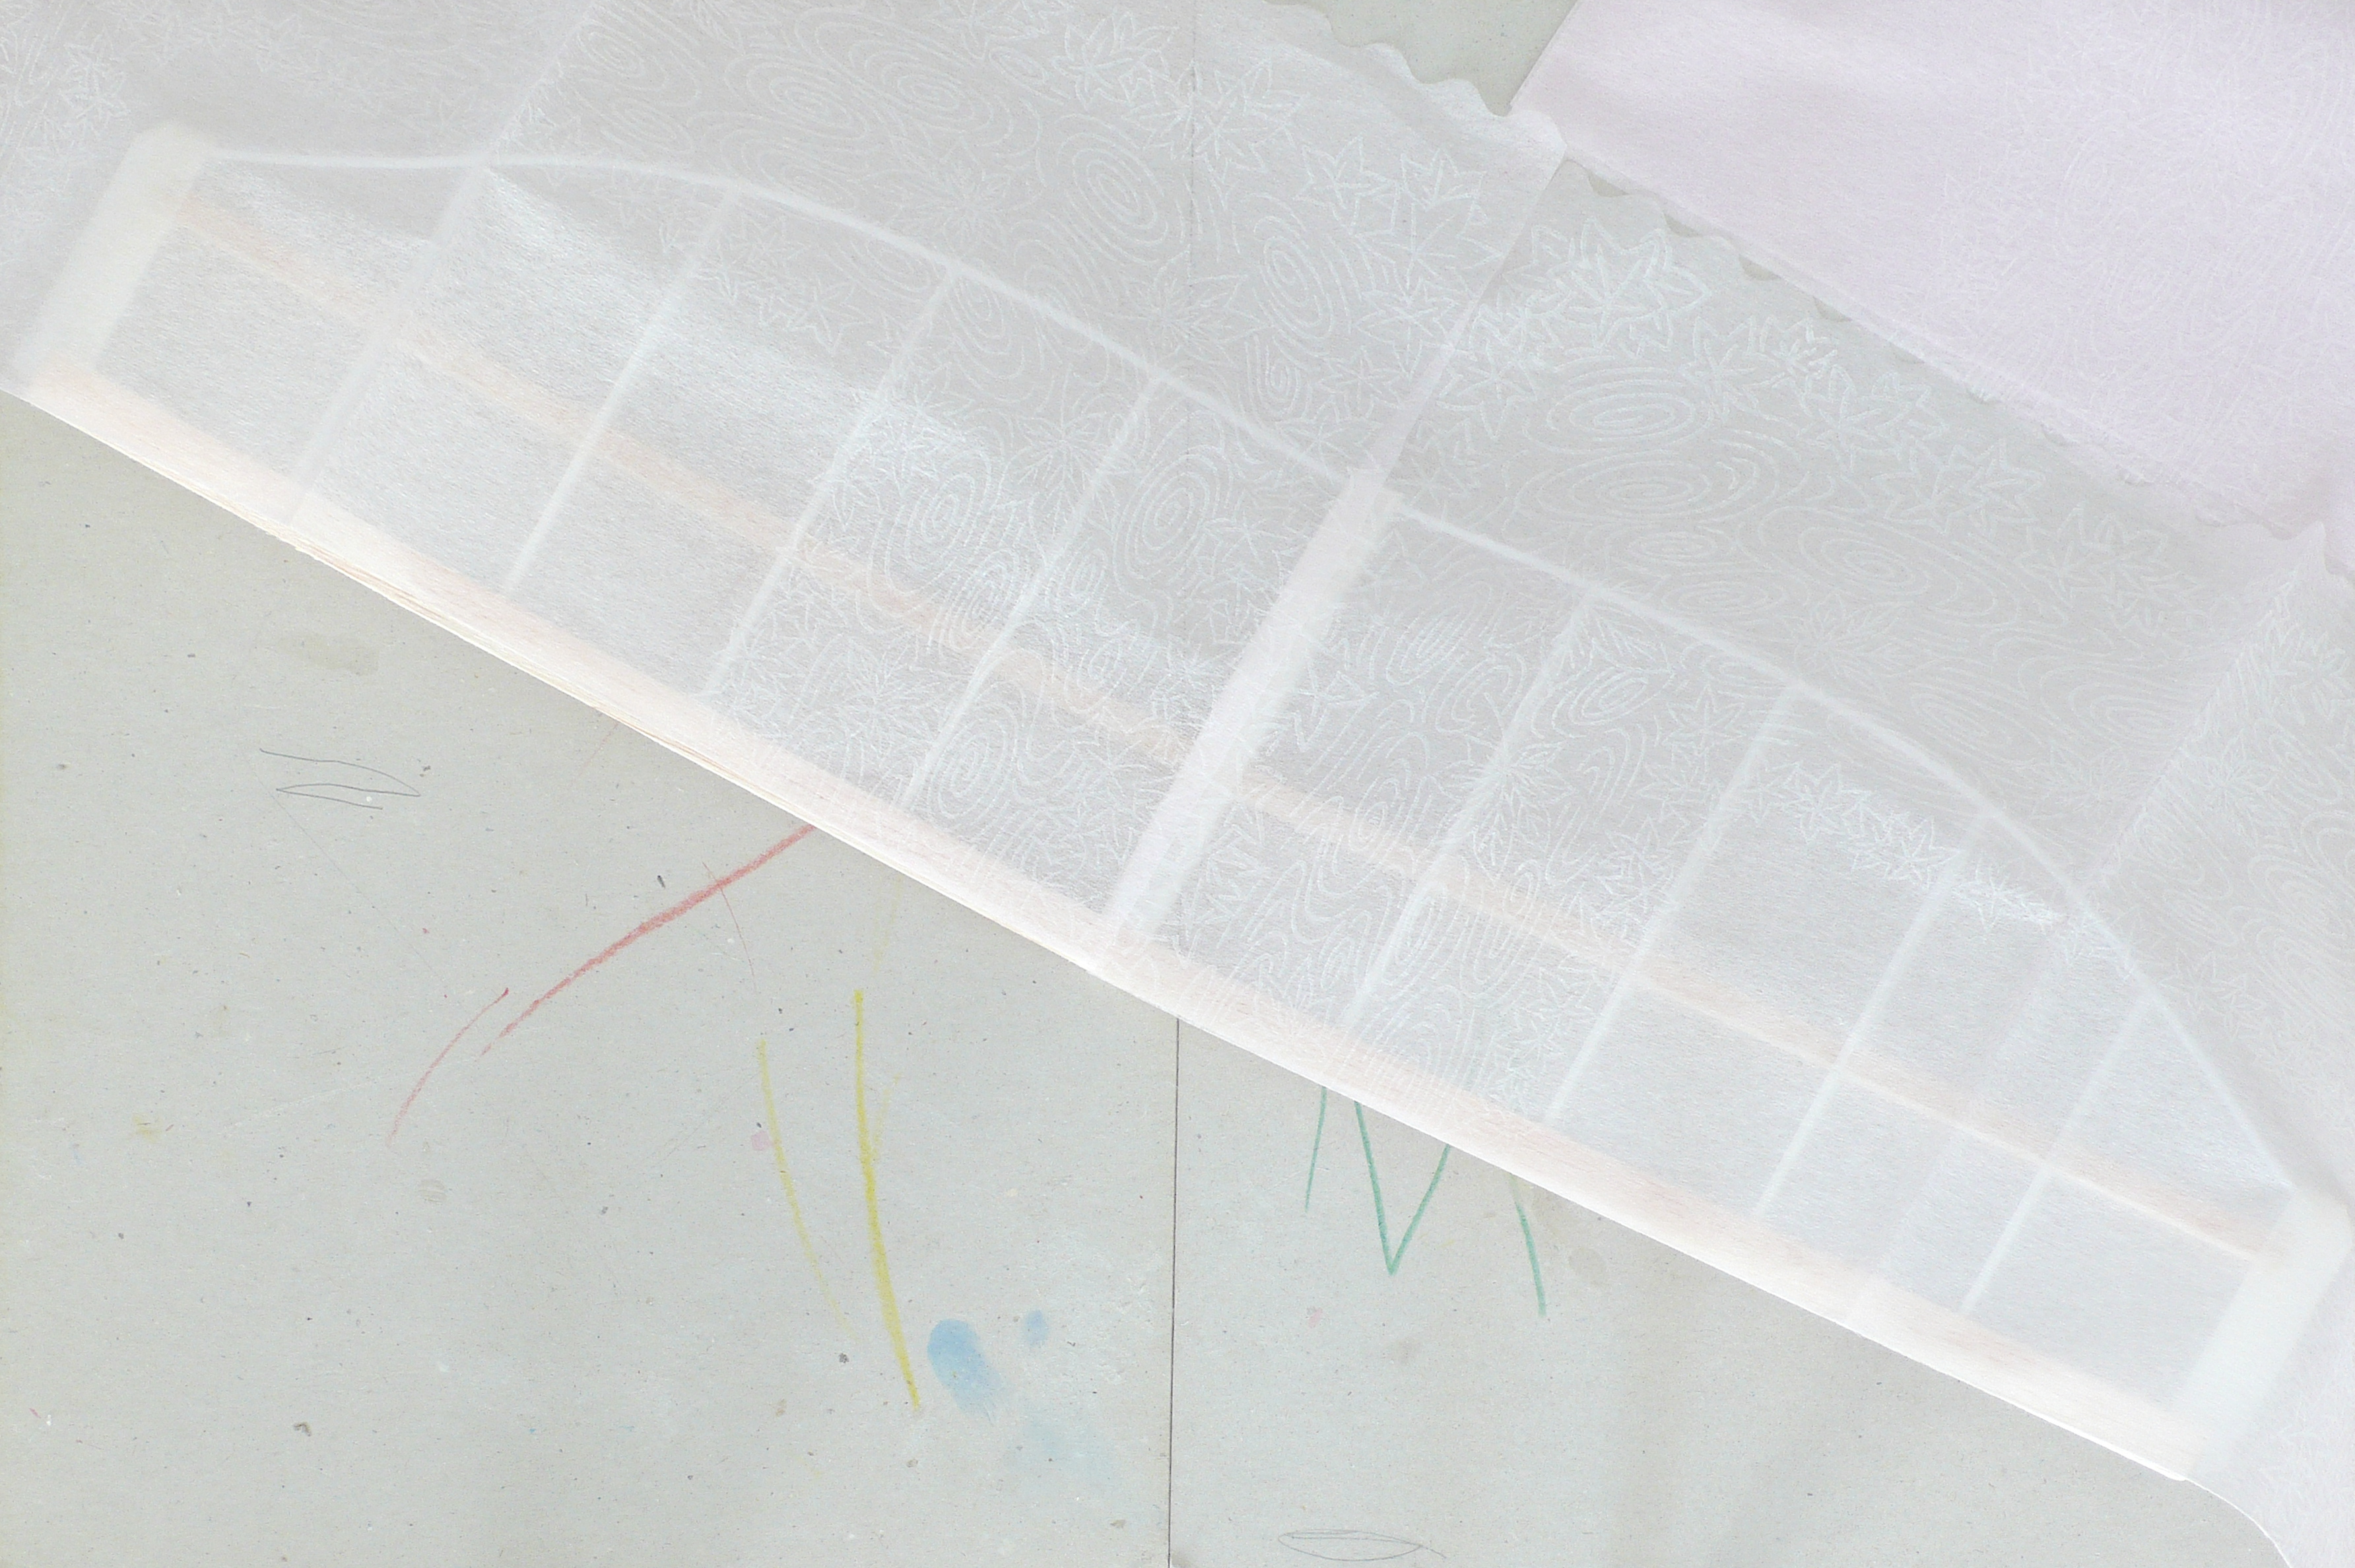
Step 5: Unfold the napkin or tissue and separate its parts. Cut it in half create two straight edges for the center and the back side. Do this for the left and right side of the upper side of the wing.
Step 6: Apply paper glue lightly onto the wing and put the tissue on it. Pull it straight without tearing it apart.
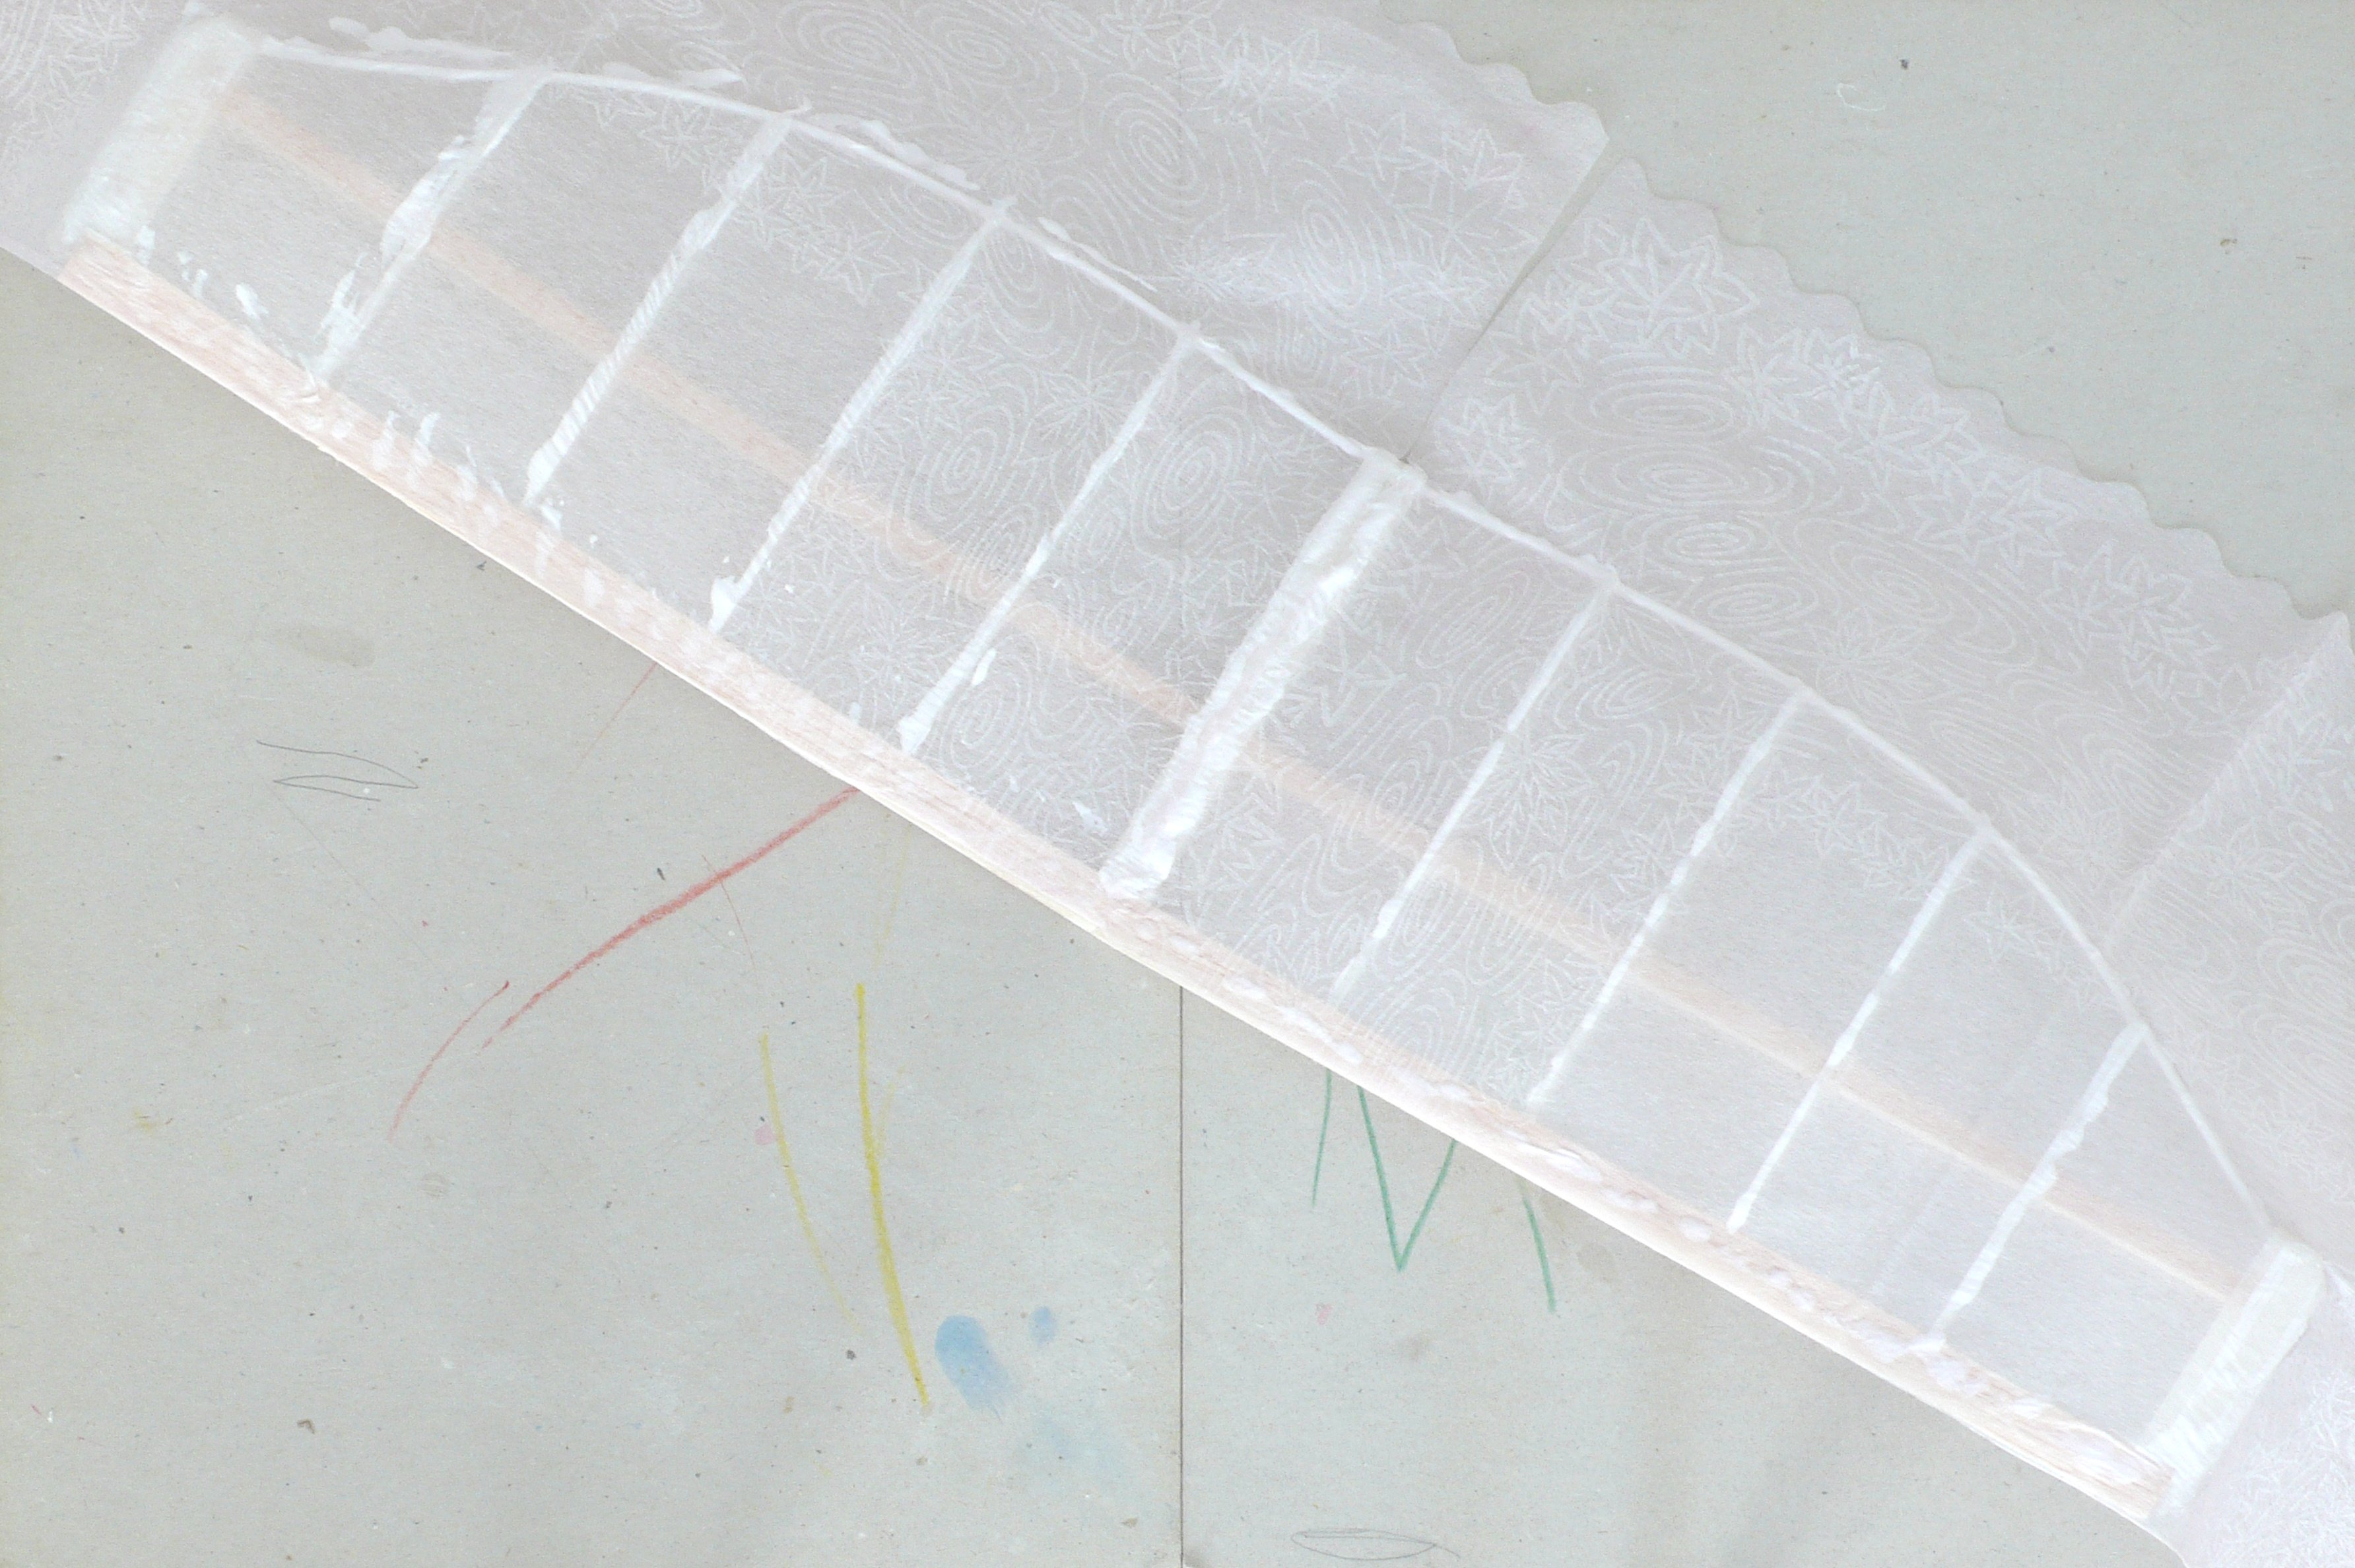
Step 7: Wait for the glue to dry.
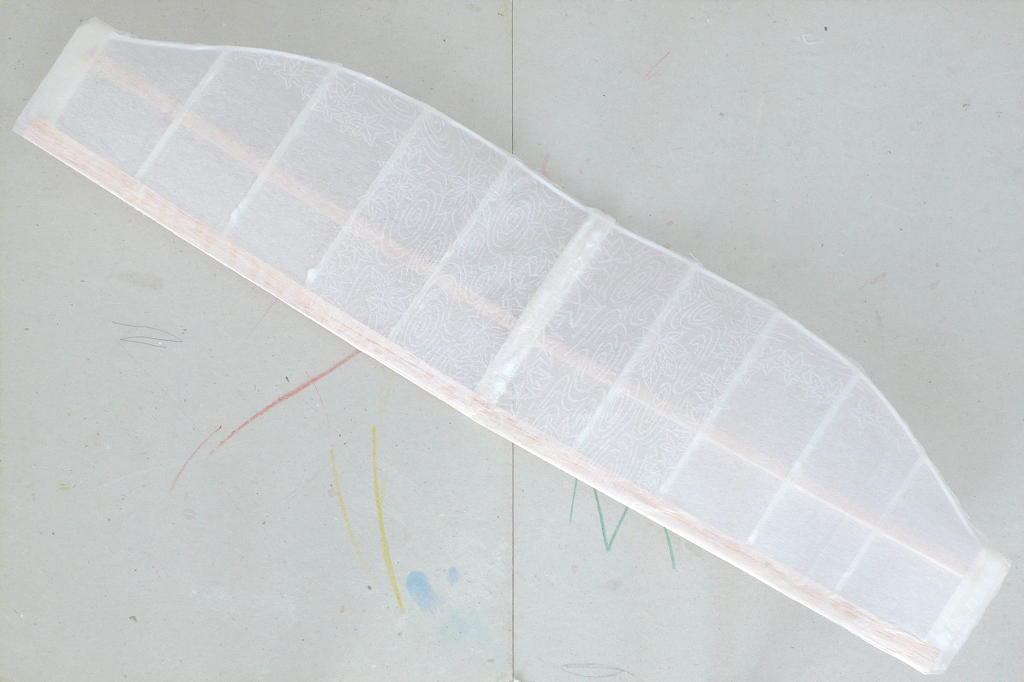
Step 8: Cut the overlapping tissue. You might want to save the tissue for repairs, in case the surface breaks after some flights.
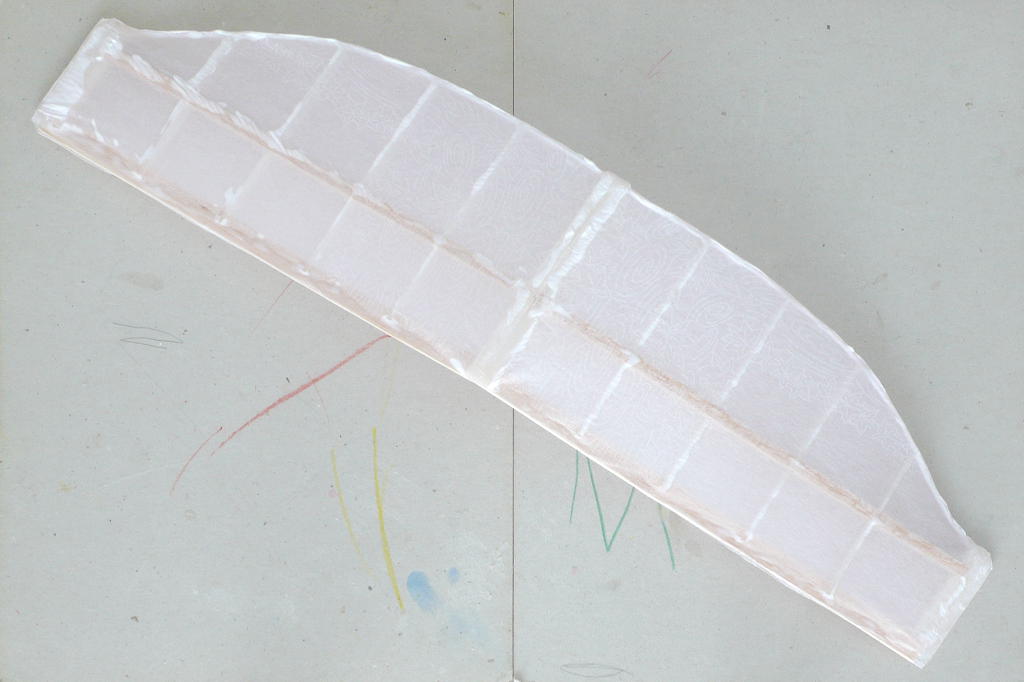
Step 9: Turn the wing around and redo steps 5-8.
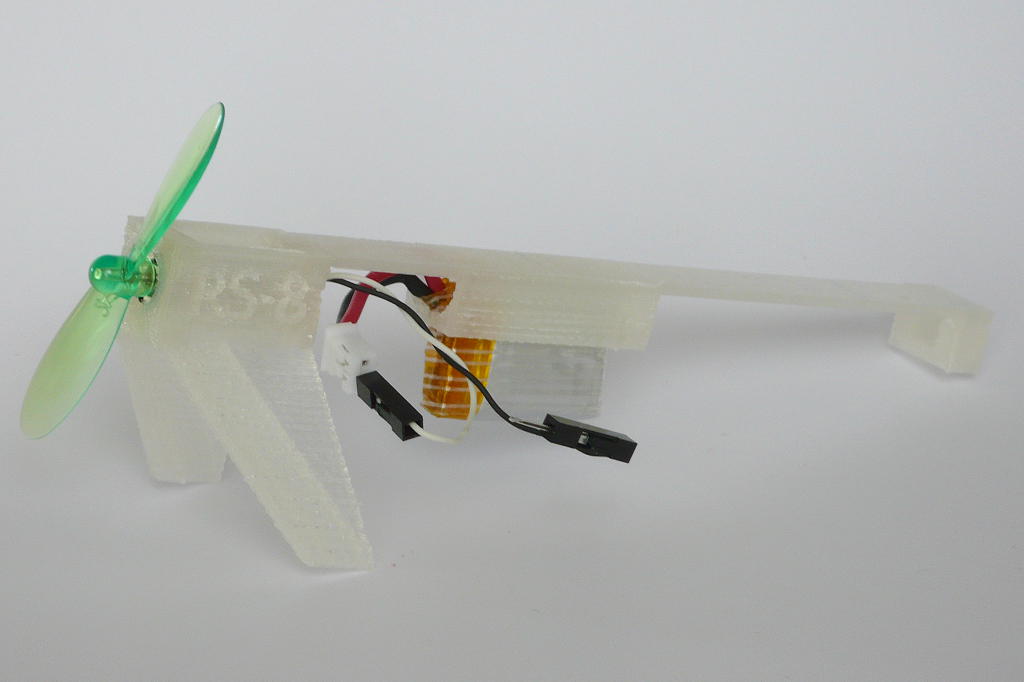
Step 10: Carefully place the motor into the motor body. Do some sanding or cutting until it fits, or your body will break. It is advisable to solder some pins onto the motor wires. Put the battery in, depending on the exact size, you might have to turn it around to stick it in. Test the polarization and turning direction of the propellor. Switch the polarization until the propeller blows the wind backwards. Safety google are advisable.
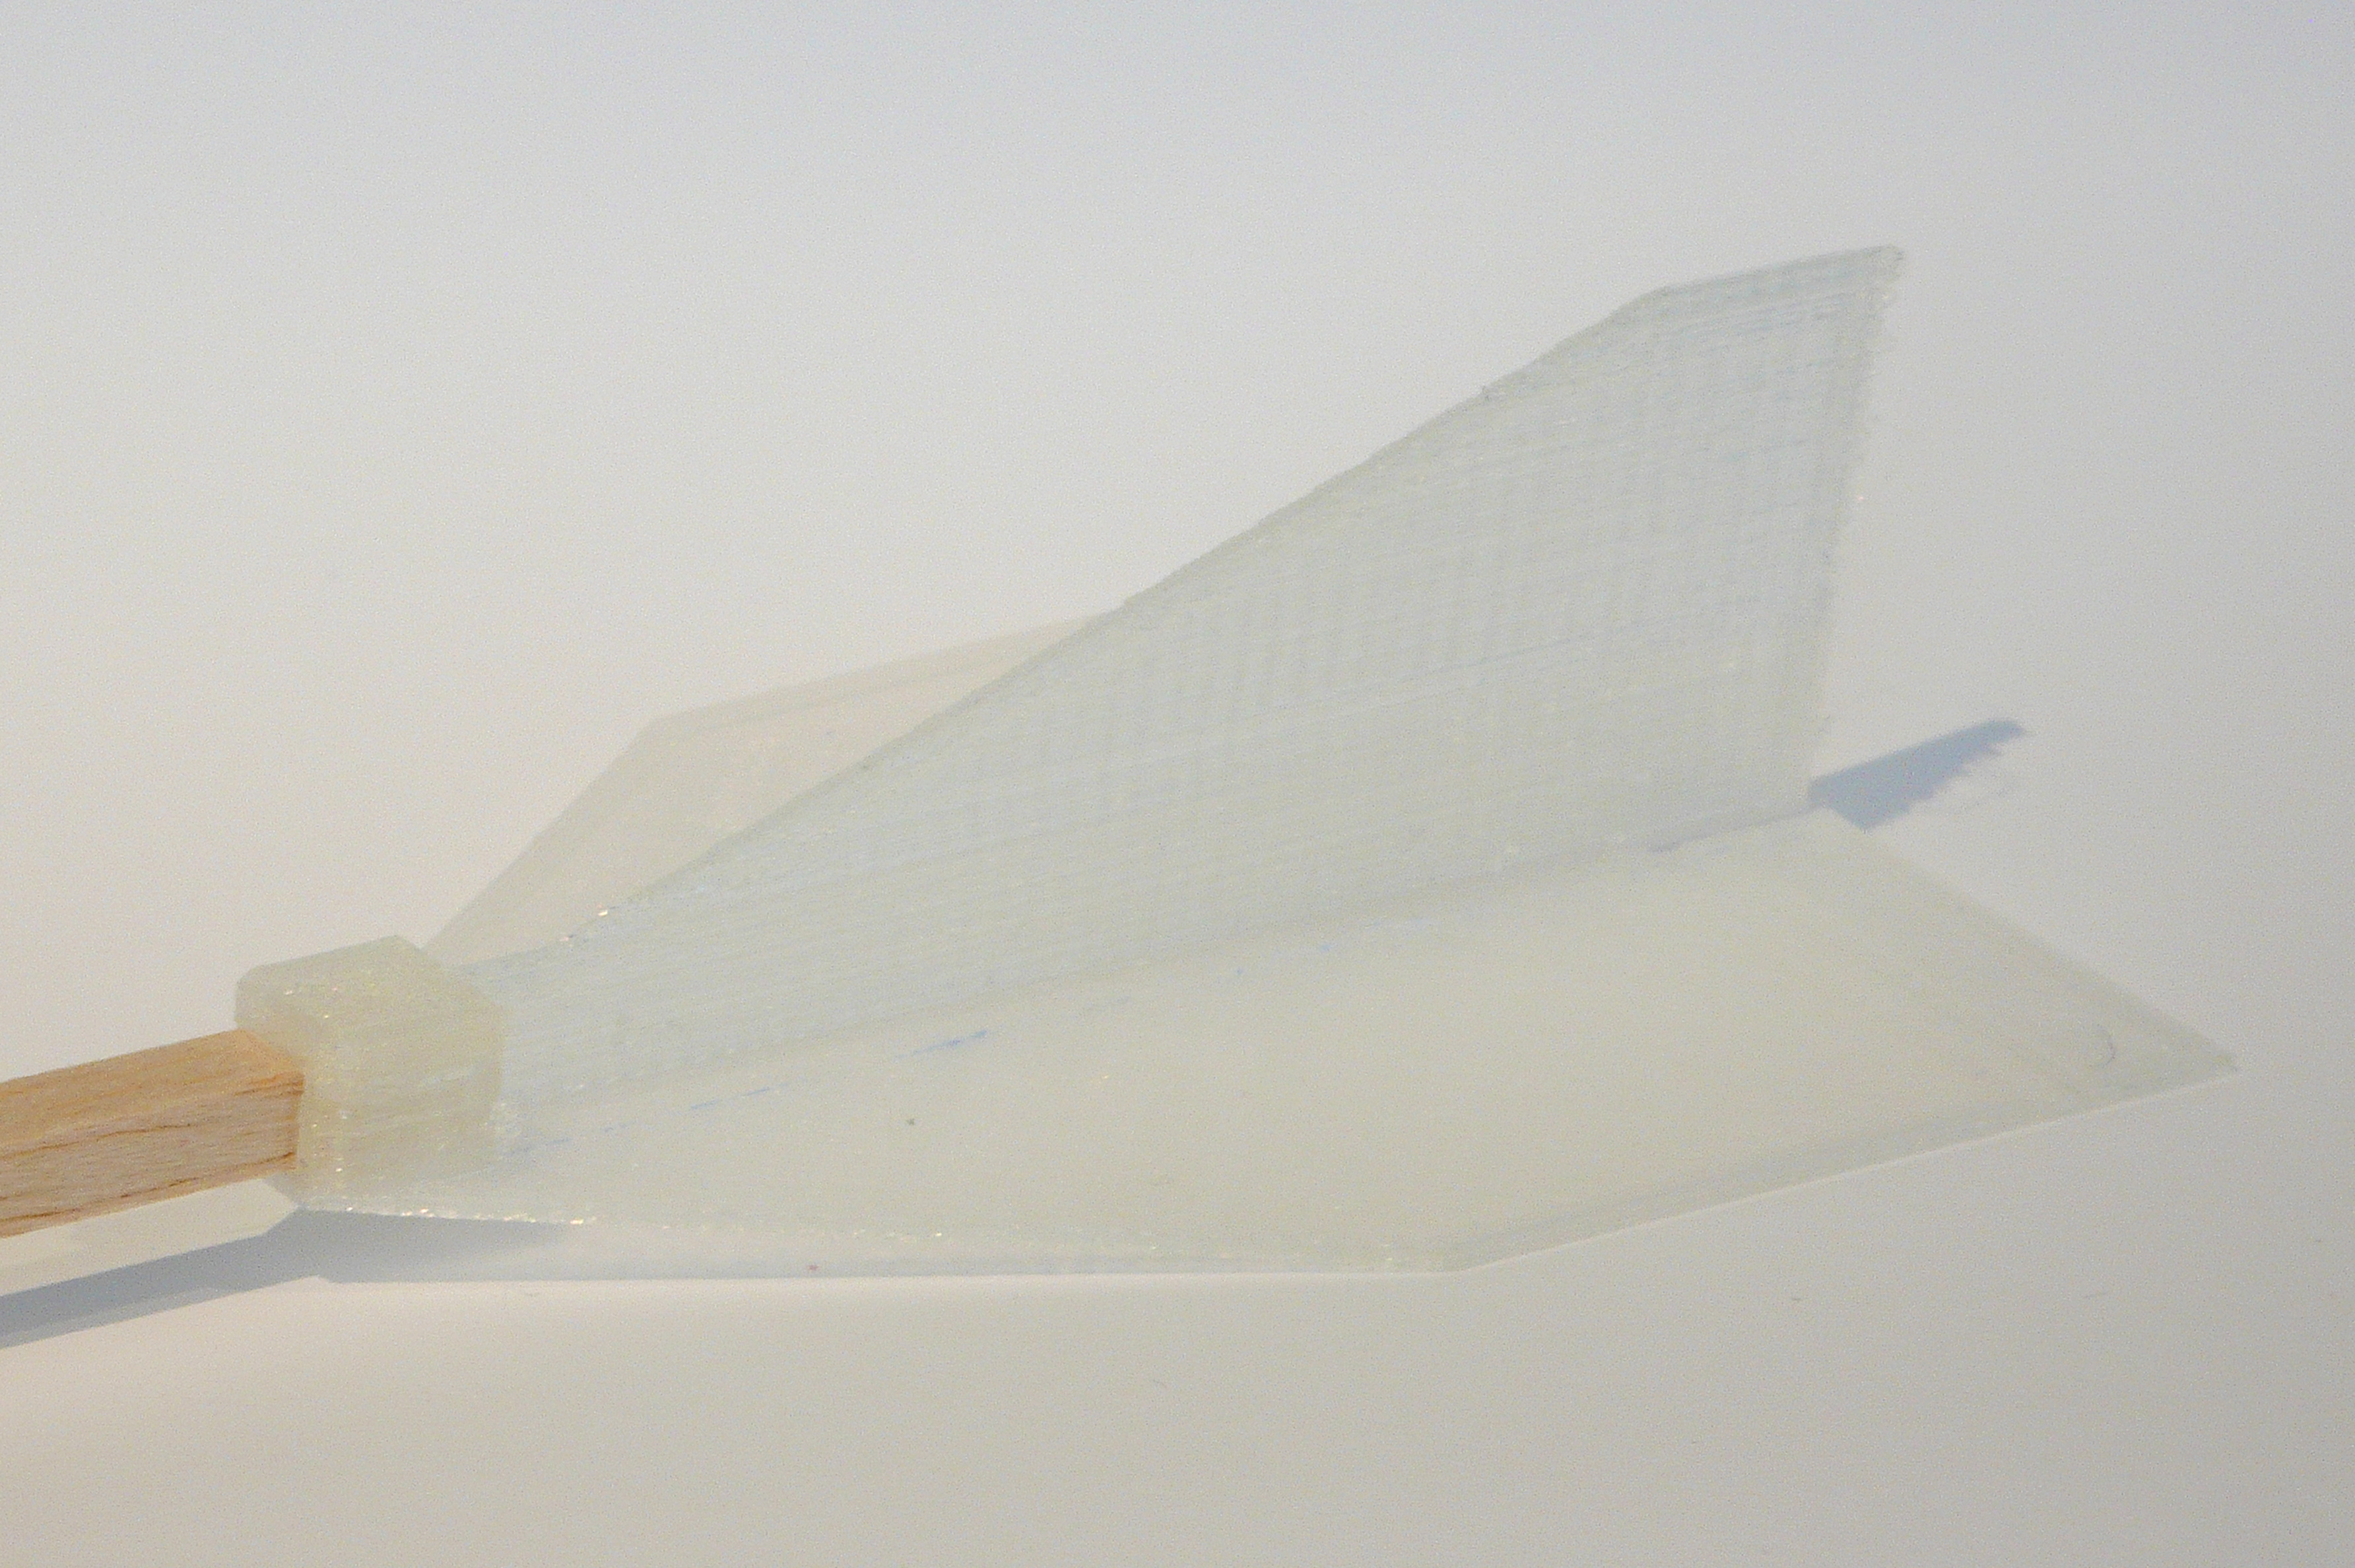
Step 11: Put the tail onto the fuselage bar.
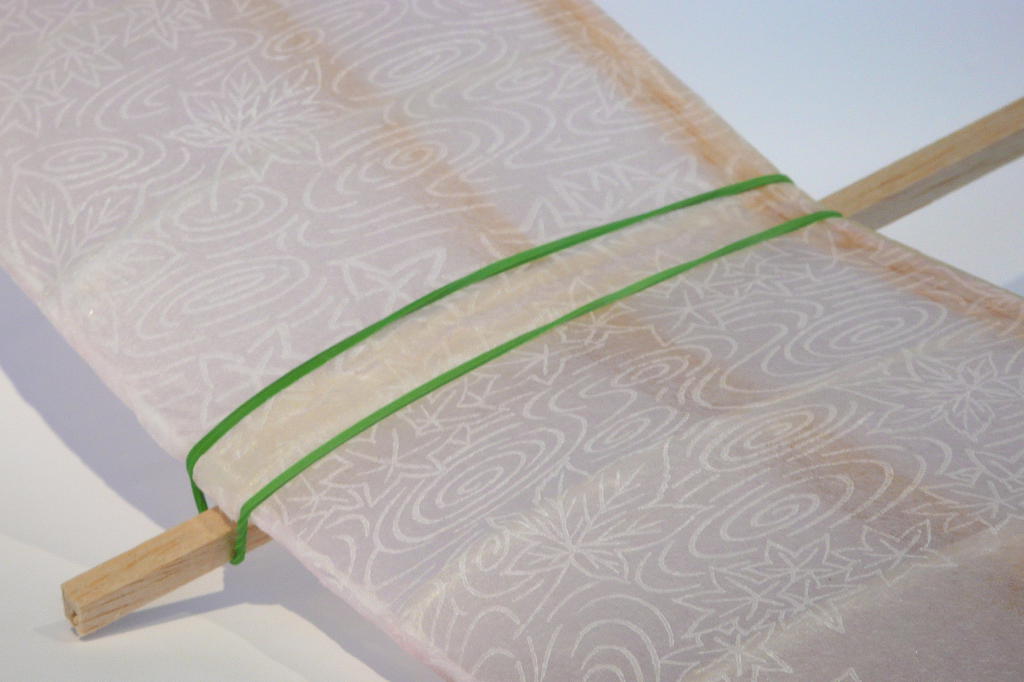
Step 12: Carefully attach the wing onto the fuselage bar using the rubber band.

Step 13: Turn the wing around and carefully insert the fuselage bar into the motor body part. Lift the rubber band on the one side and the wing on the other side onto the motor body part.
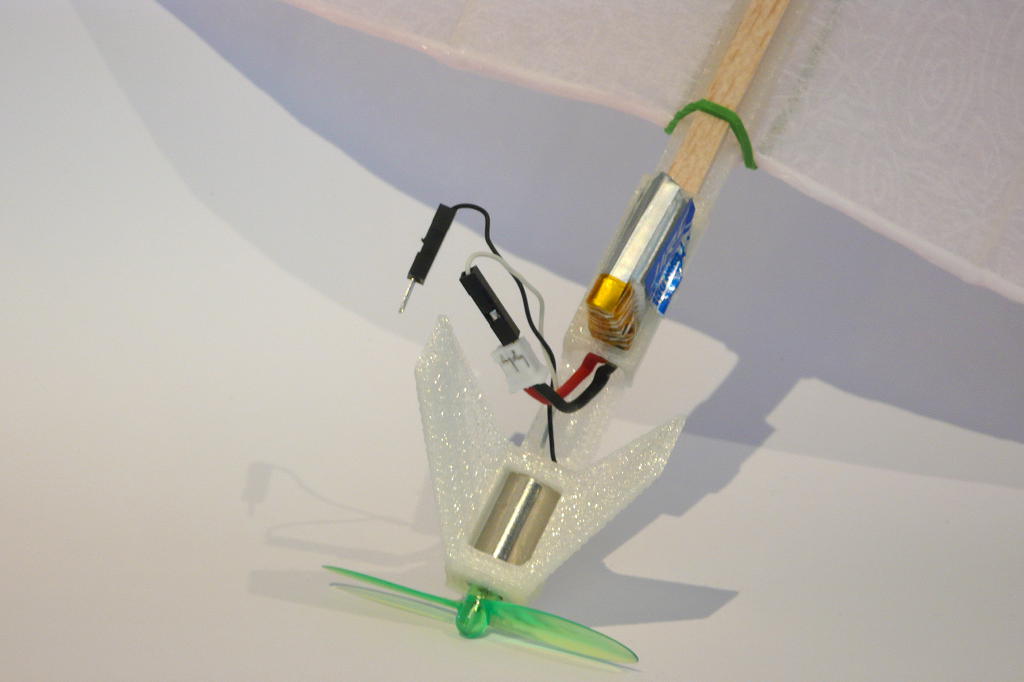
Step 14: Push the fuselage bar into the motor body part until it is flush with the battery holder. Position the wing until the back part to the body part is approximately at the center of gravity.
Step 15: Have a flight over grass by throwing the plane into free air space!
Try modifying the wing position, and try bending the tail flaps. Share your experiences and improve the design!