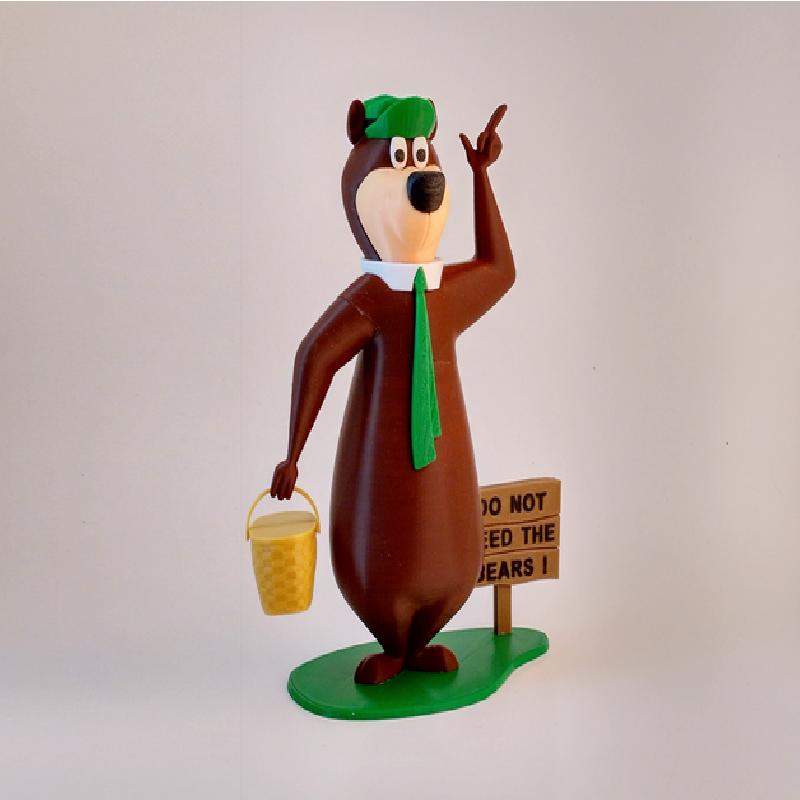
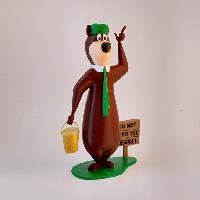
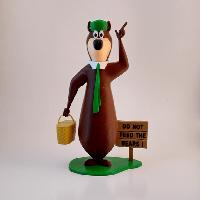
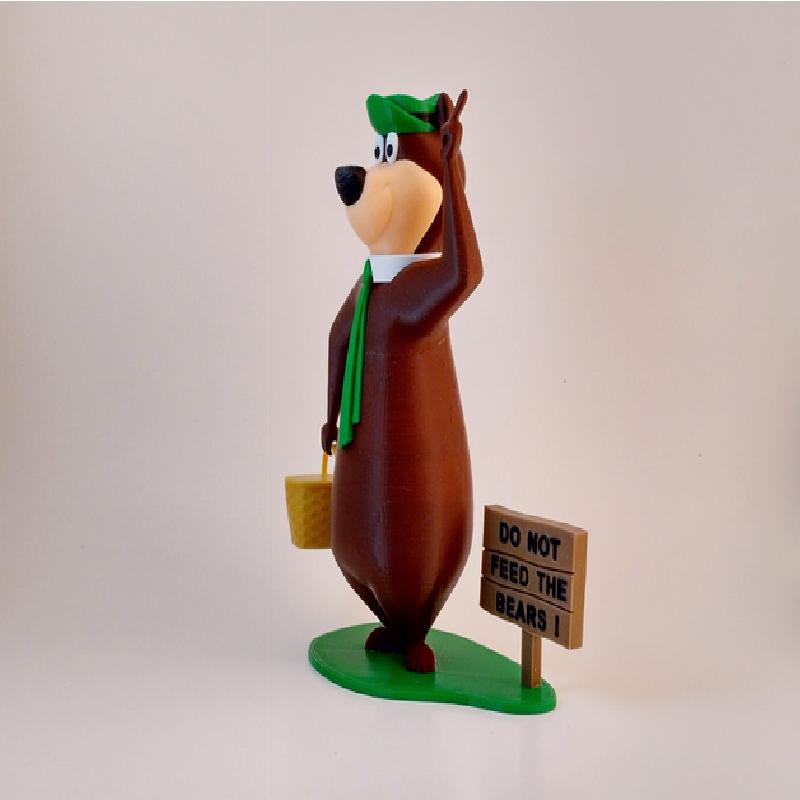
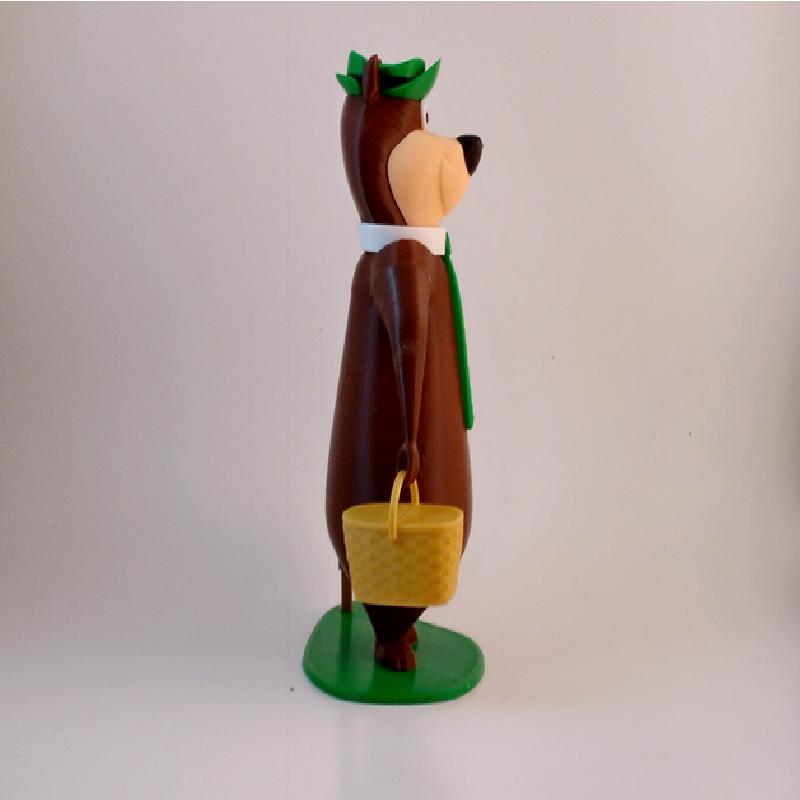
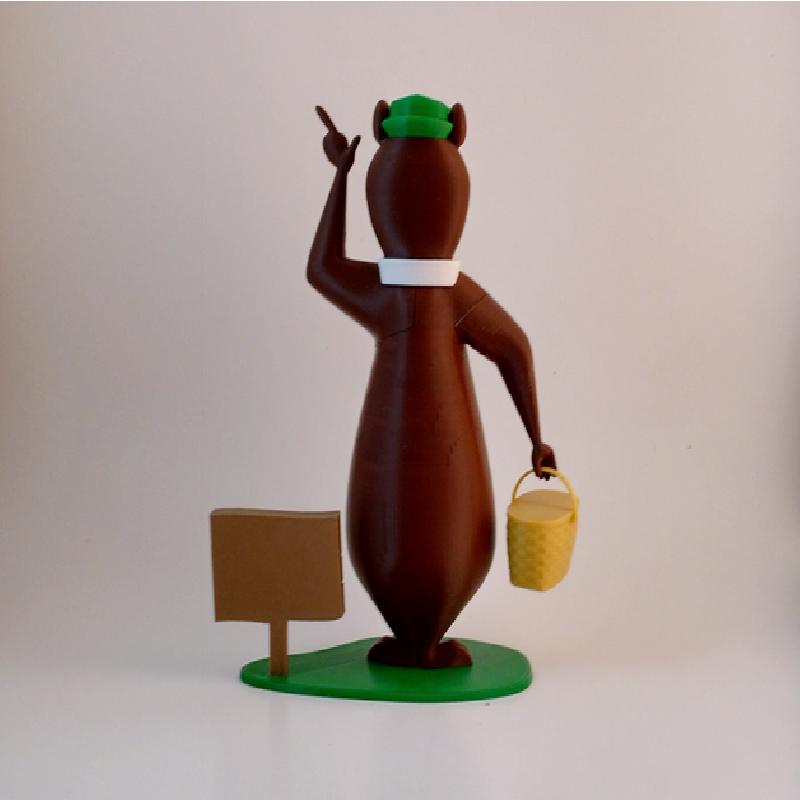
Yogi Bear, from the cartoon series by Hanna-Barbera.
Yogi is from Jellystone Park and his most popular saying is "I'm smarter than the av-er-age bear!", although he often overestimates his own cleverness.
No supports are required. If you have the proper filament colors, no painting is needed.
The model is 200mm tall.
Enjoy, and don't forget to bring along your own "pic-a-nic basket" like Yogi.
Printer:
FlashForge Creator X
Rafts:
Doesn't Matter
Supports:
No
Resolution:
.2mm
Infill:
10%
Notes:
See below for helpful printing and assembly tips.
Colors (there are no multiple printed pieces)
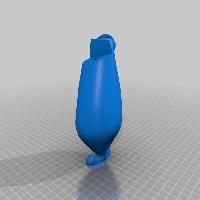
Dark brown:
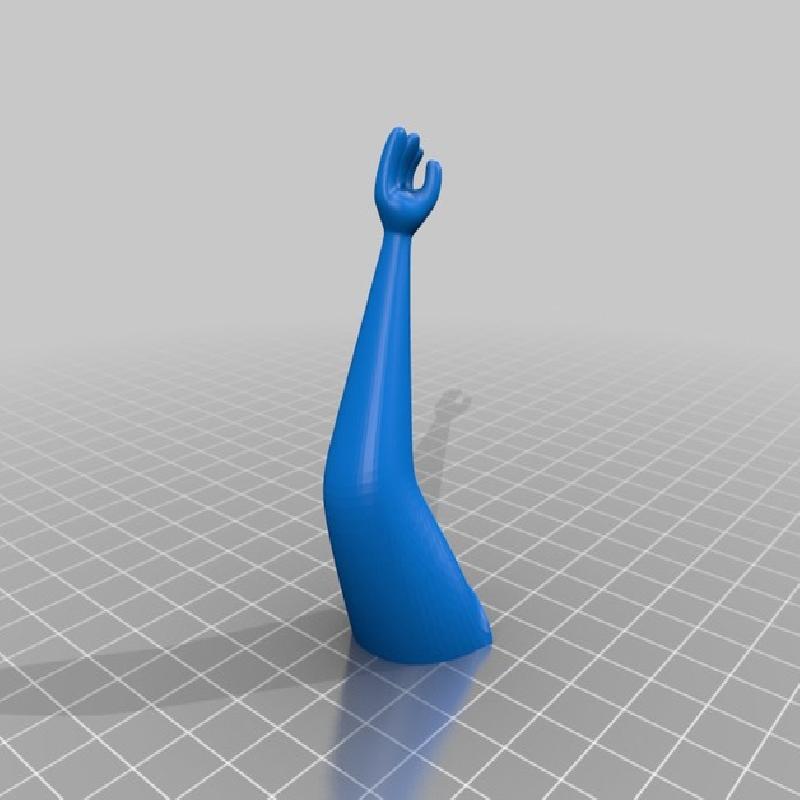
arm_left
arm_right
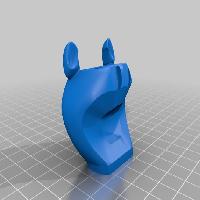
head
body
..
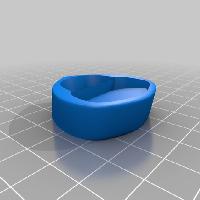
Green:
base
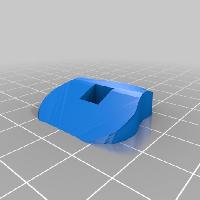
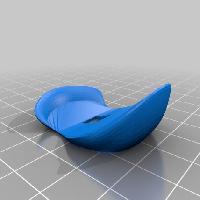
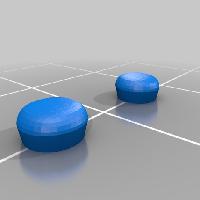
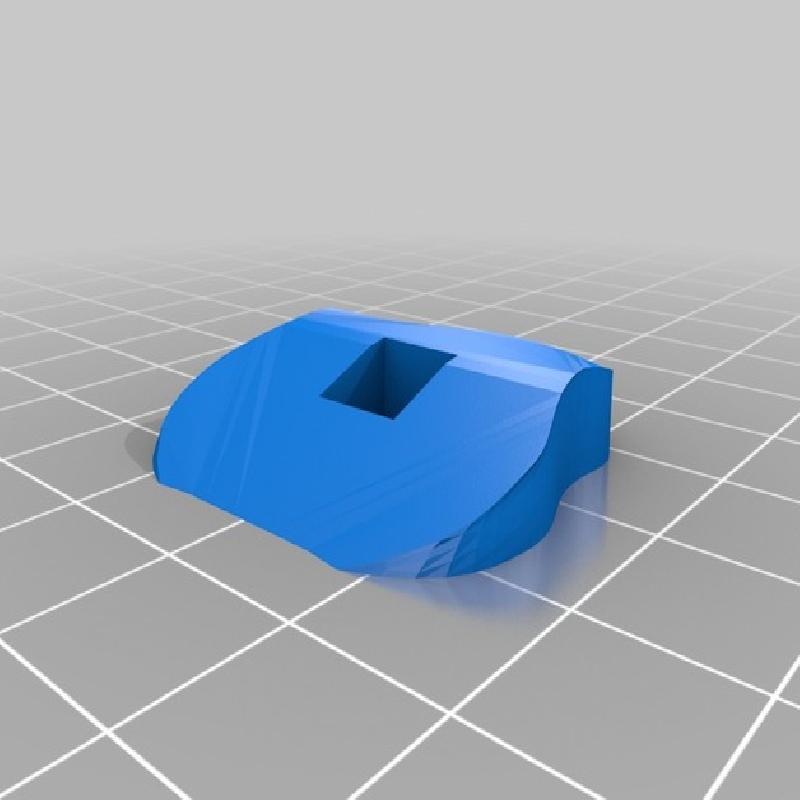
hat_bottom
hat_top
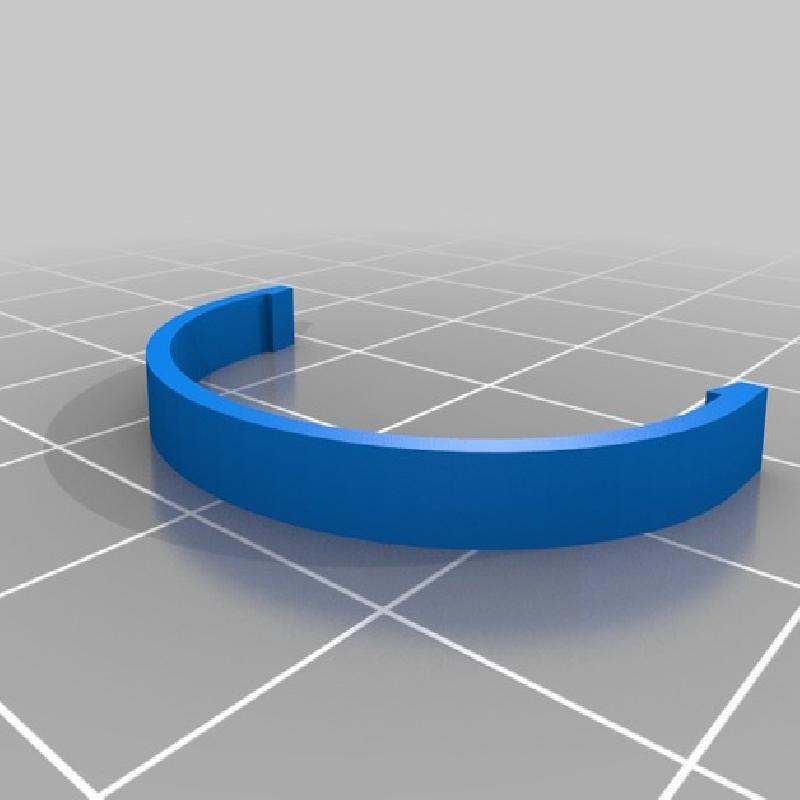
tie
..
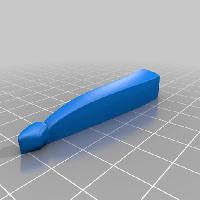
Gold:
basket
basket_handle
..
Black:
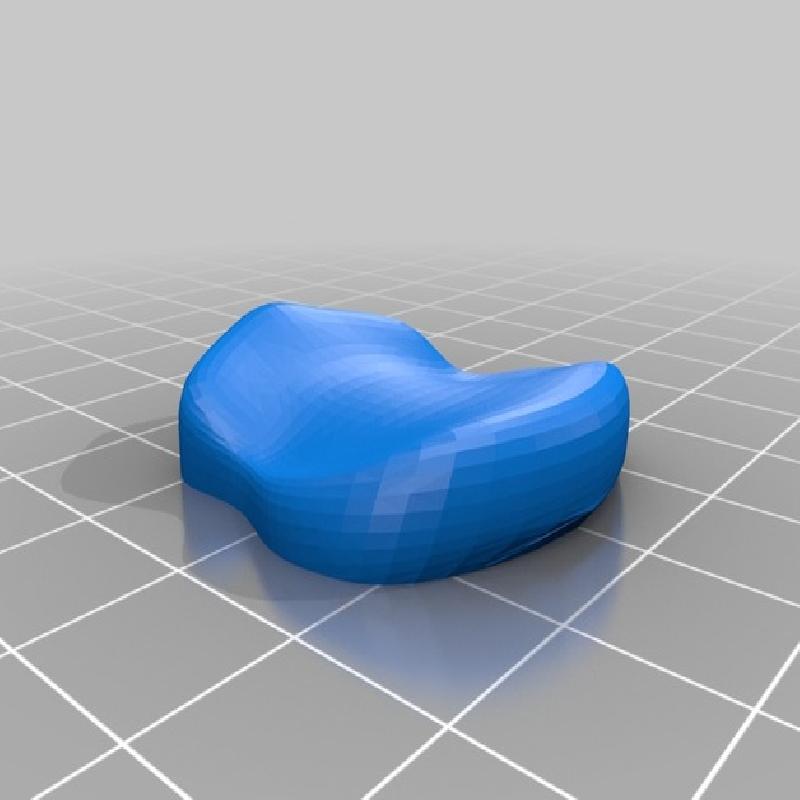
nose
hat_middle
eye_blacks
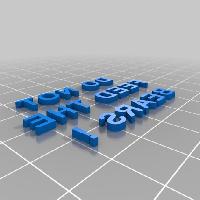
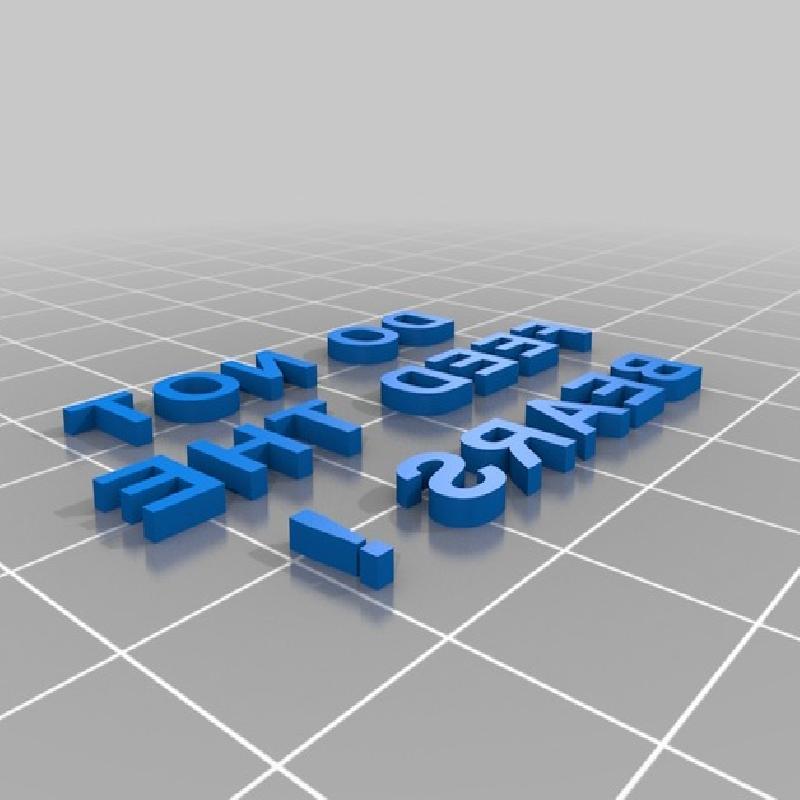
sign_letters (purposely upside down, see notes)
..
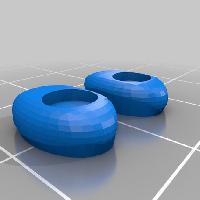
White:
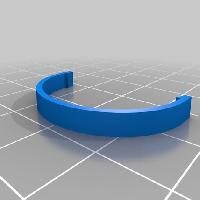
collar
eye_whites
..
Beige/skin:
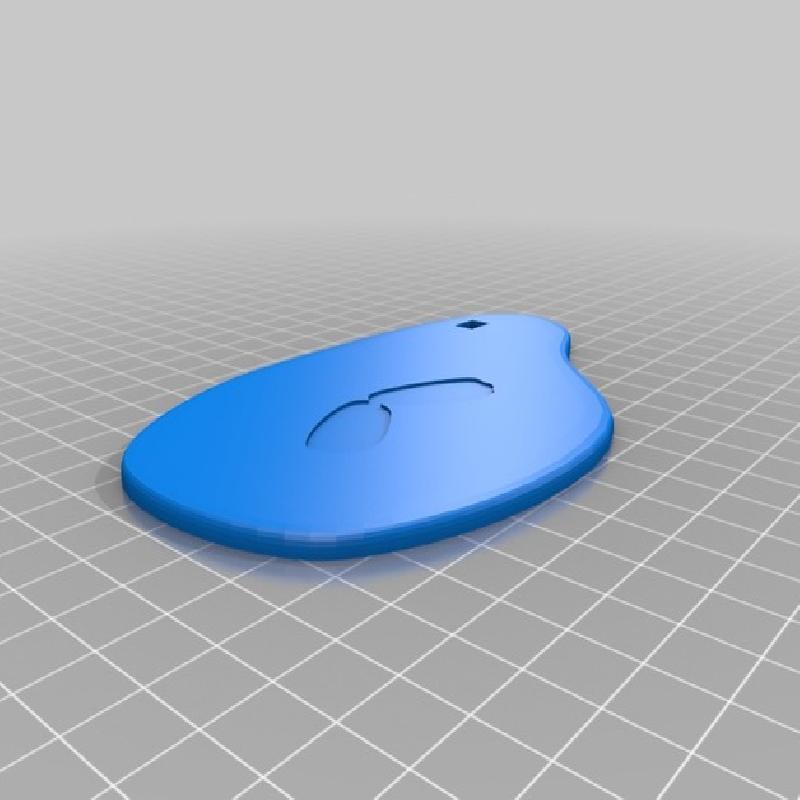
face
..
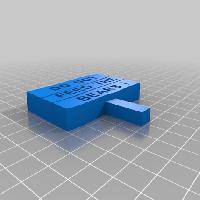
Light brown:
sign
..
Any color (hidden pieces)
pins (contains two pins)
Printing and assembly tips
Printing tips
1-As with most of my models, no supports are required.
2-Be sure to clean any first layer squish if you have any problem joining parts. The parts should fit nicely when printed cleanly.
3-I did not require any rafts or brims for any of the parts, except for the main body. It's the largest piece and has a small 'footprint' so I used a brim as a precaution.
4-I purposely have the words for the sign positioned to print upside down. I've found that for accuracy, the top layers of a printed part are more consistent in size than the very bottom layer (no matter how well leveled you plate is). This way the flat side from the printer bed becomes the side that you see and the top layers of the letters get pressed into the sign. Simply flip the words stl if you do not agree, and print them normally.
..
Assembly tips:
1-There are only two pins required, one for each arm. I originally planned for a pin in the hat but determined that the hat fit better without the pin. Ignore the hole for the pin.
2-The left and right eye_whites are not the same, use the top of each eye_white piece to match the slight curve of the hat.
3-Glue the basket_handle to the basket only. Attach the basket to the hand simply by tilting the basket into the hand. No gluing is required and the basket can swing a bit.
4-Each letter is put into the sign individually as per the above explanation.
5-Refer to the assembly diagram for putting the model together. The model is meant to be glued.
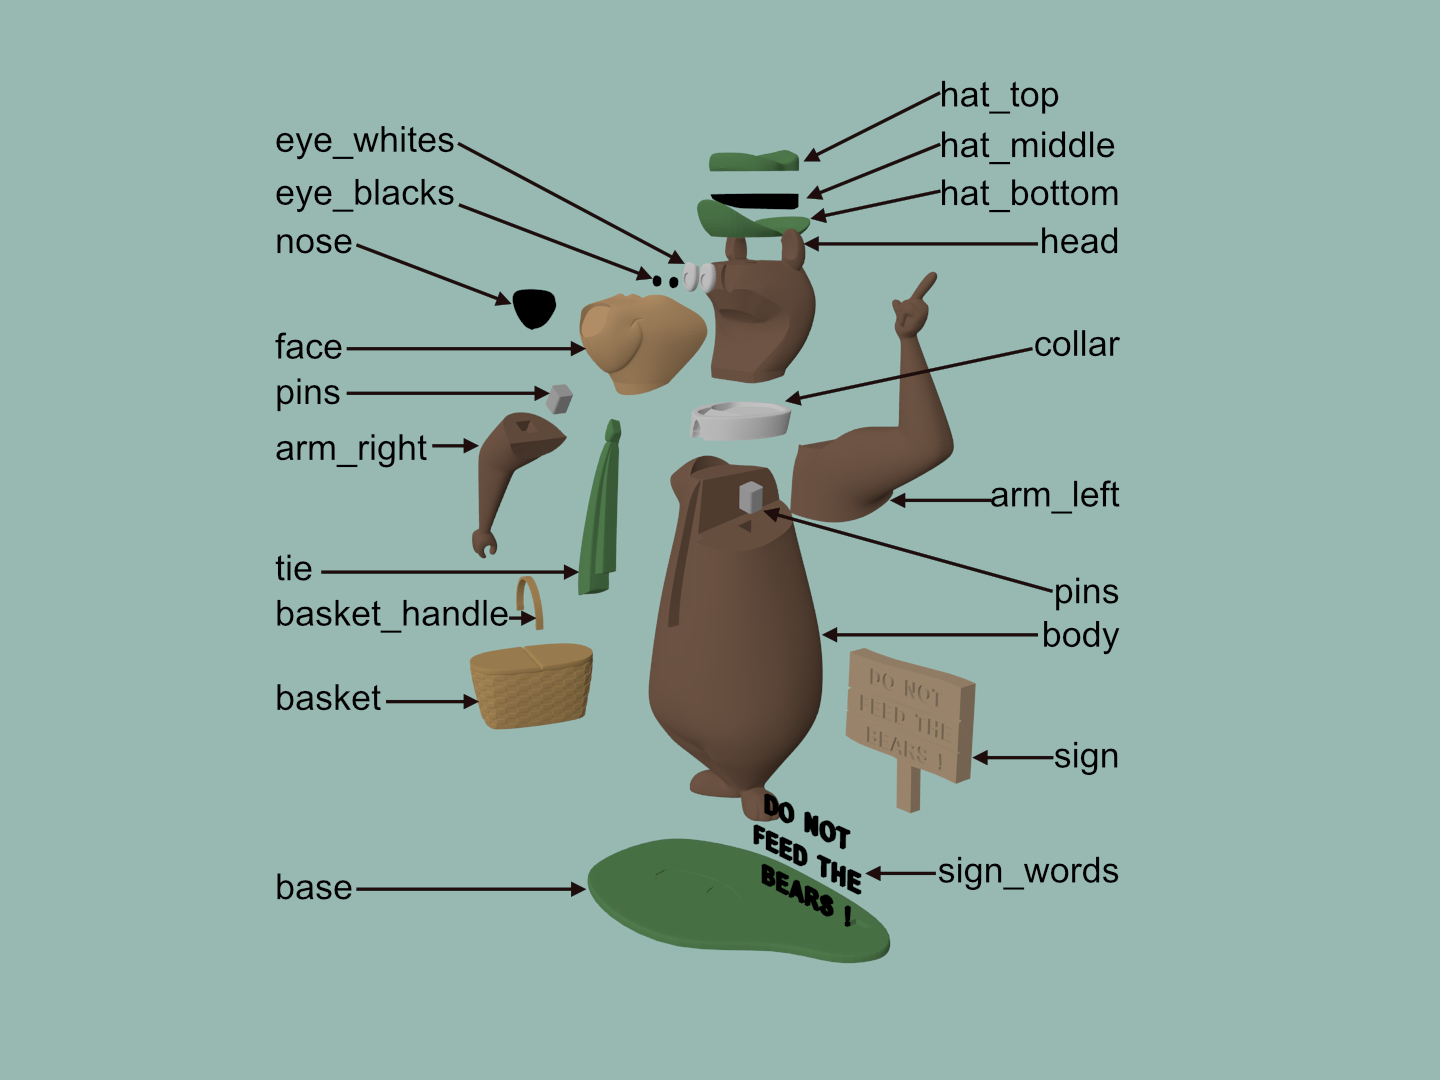
Yogi Bear assembly diagram